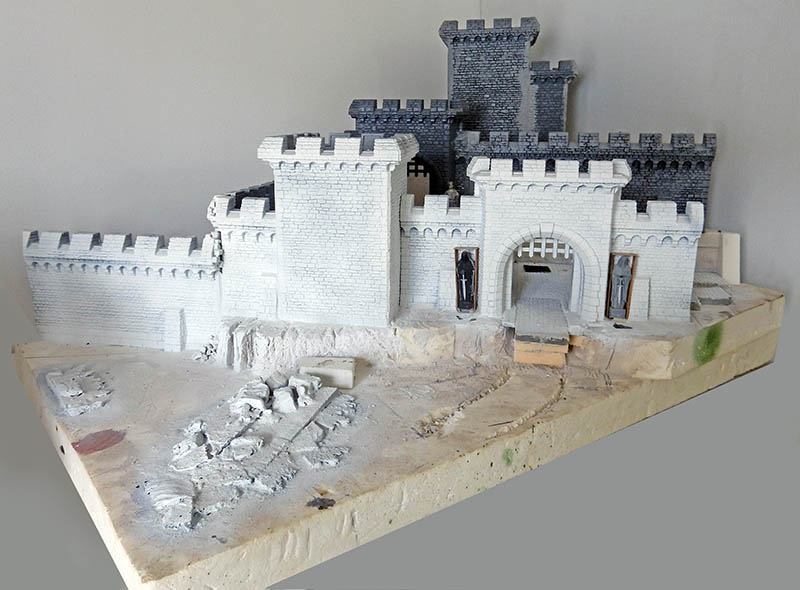
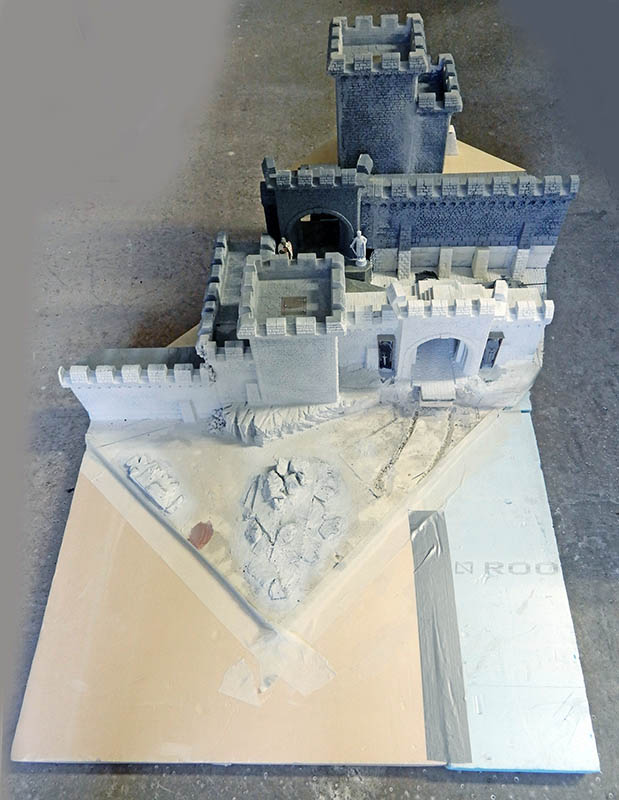
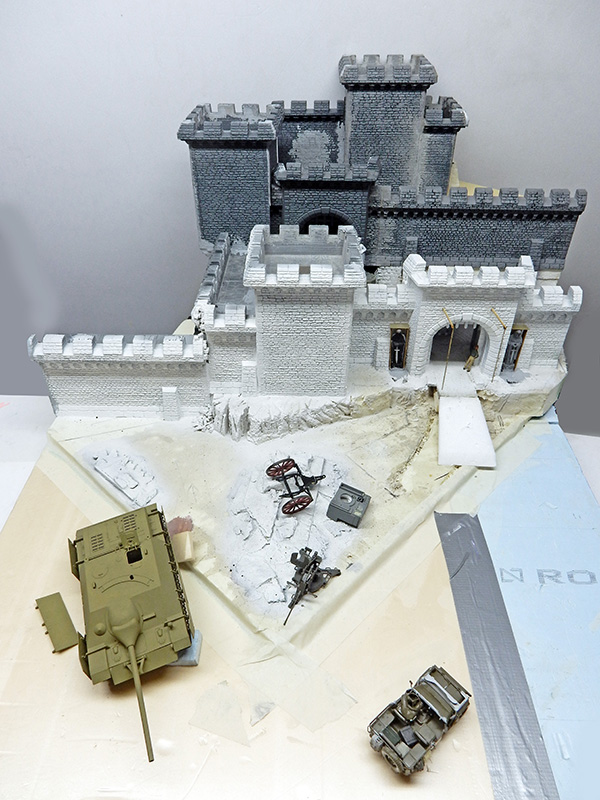
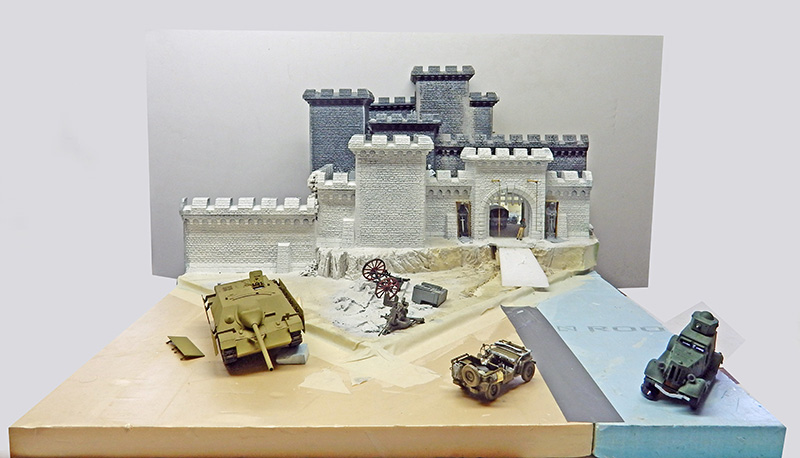
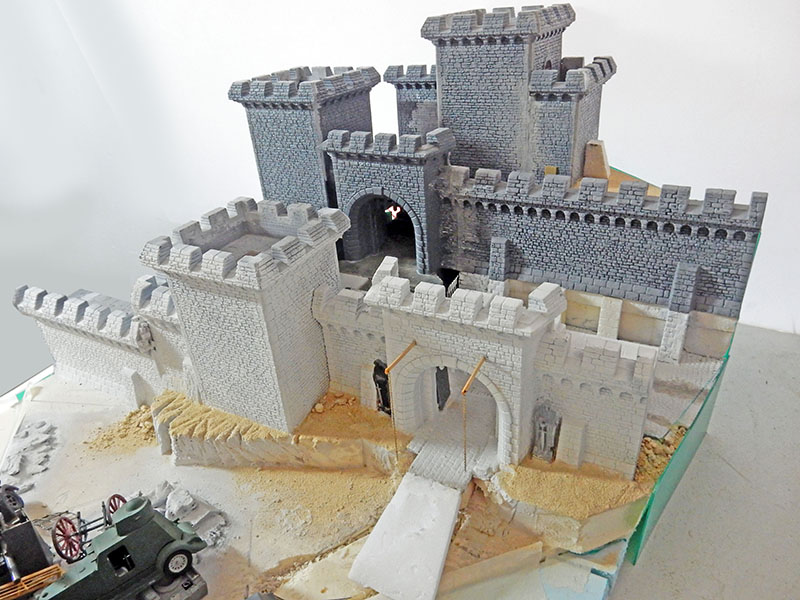
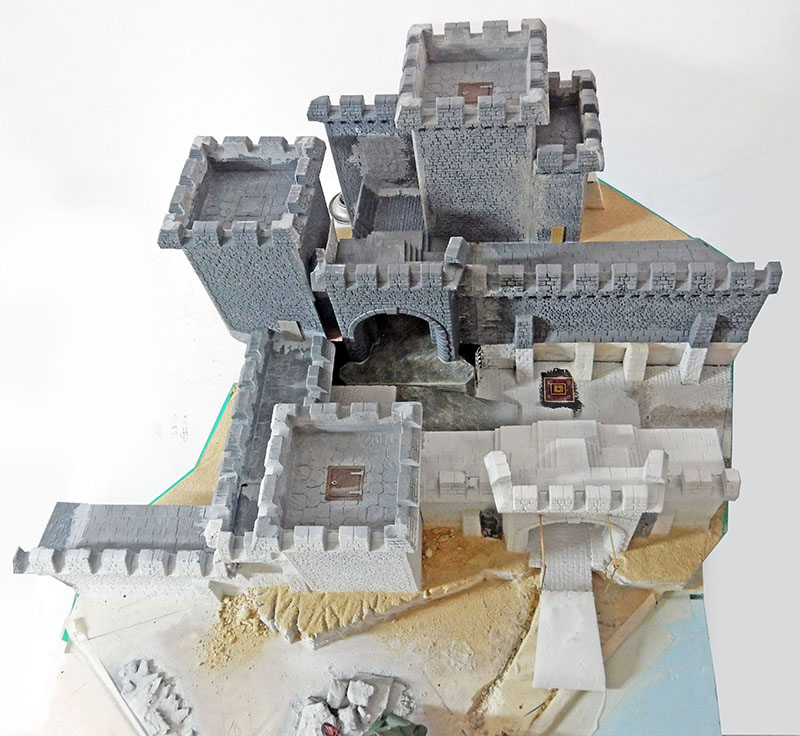
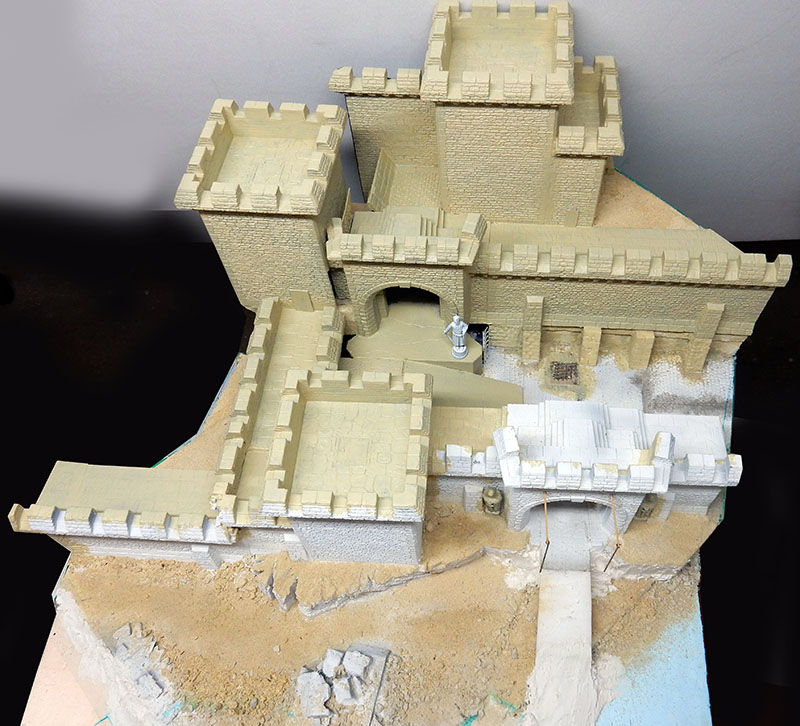
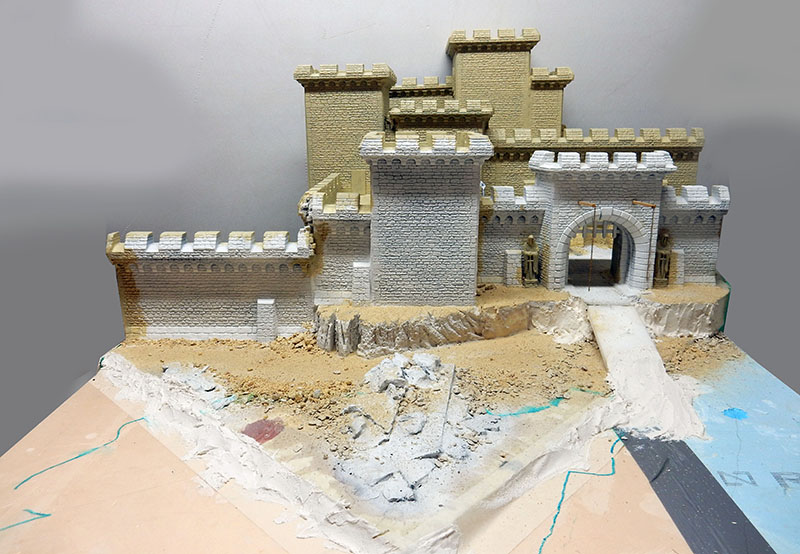
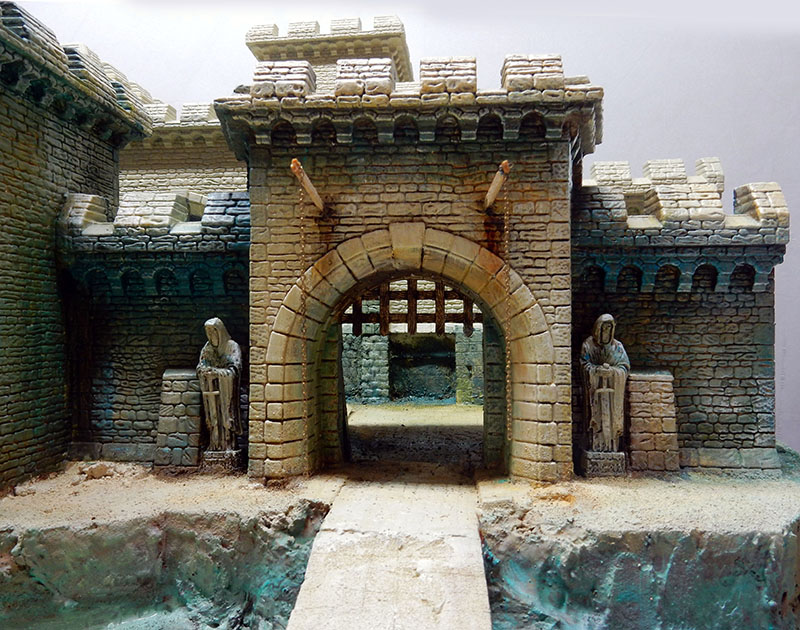
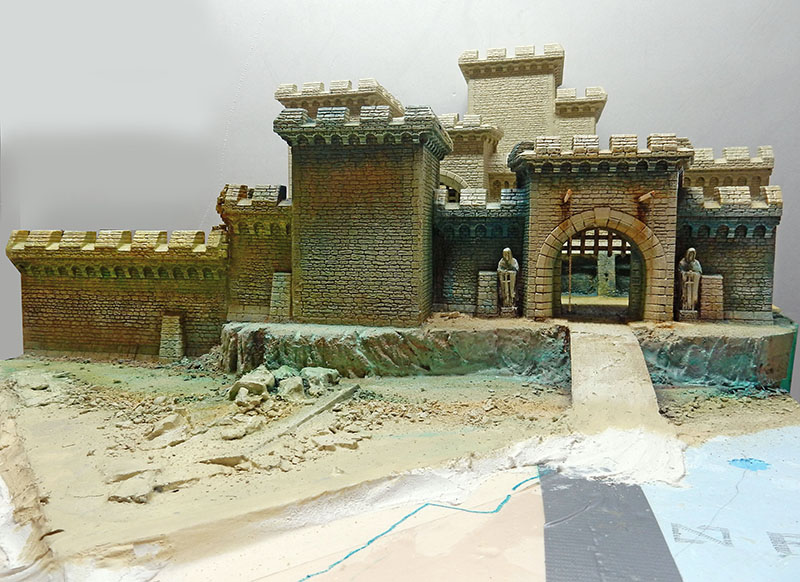
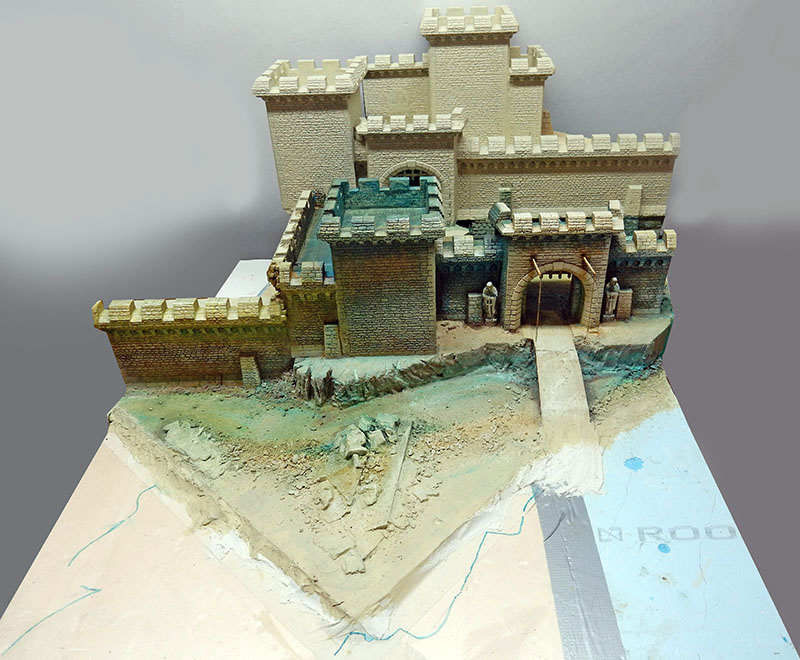
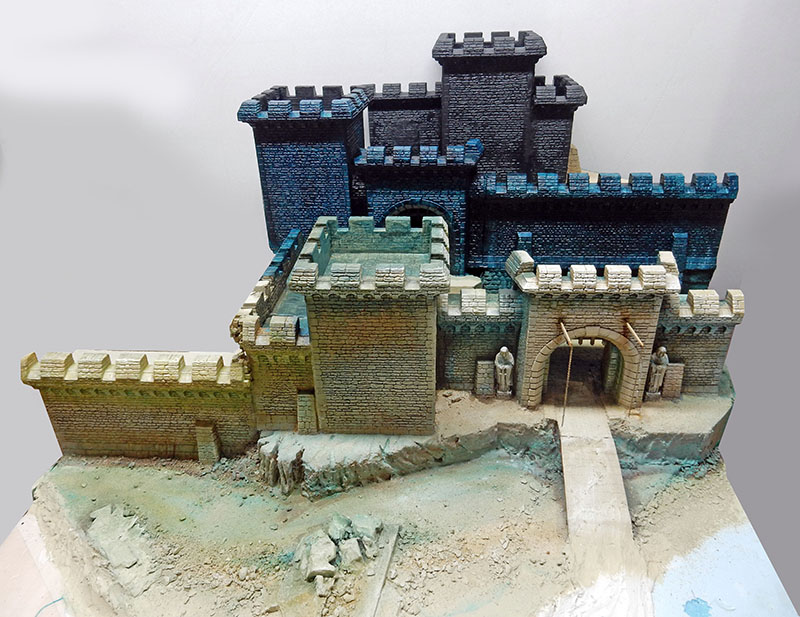
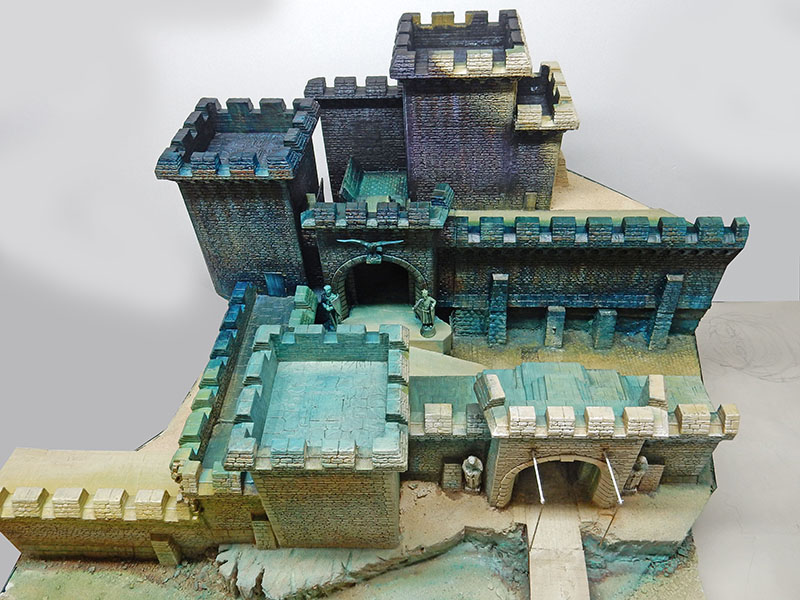
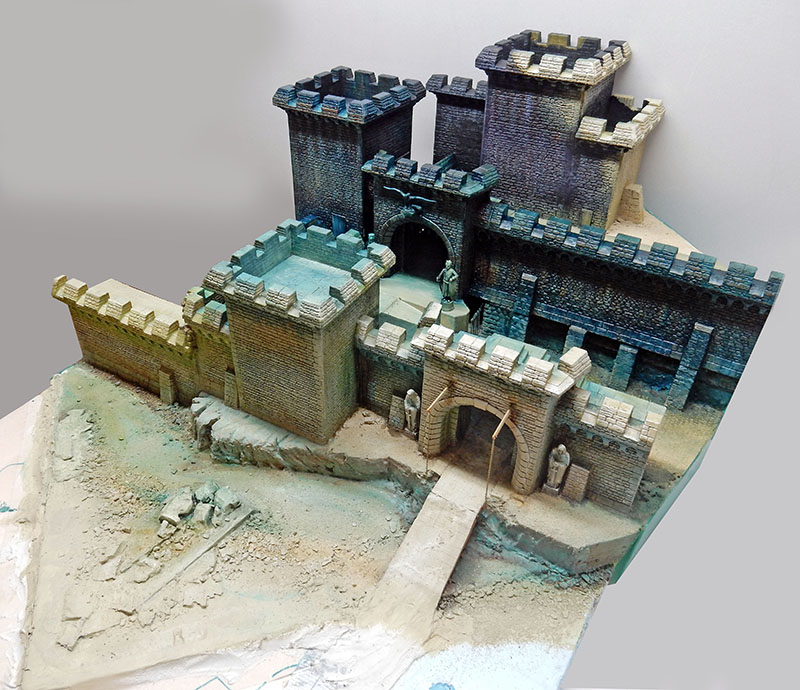
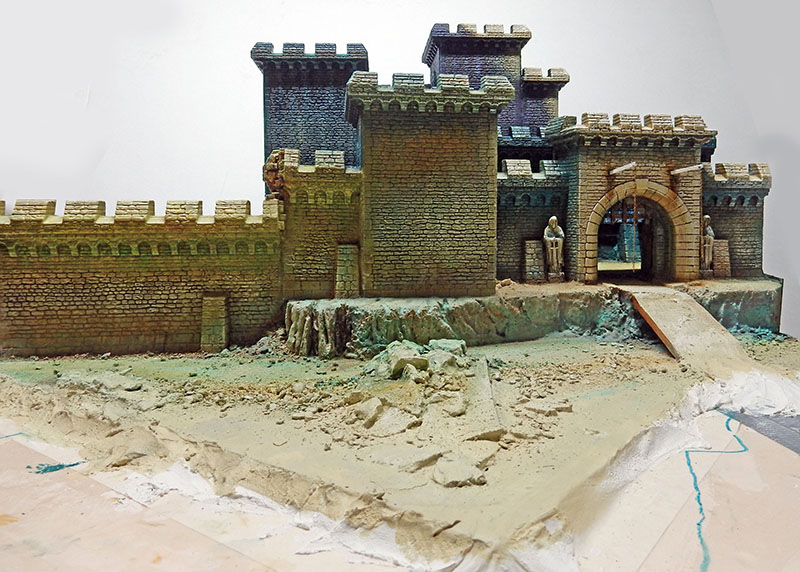
The idea for this three-tiered diorama came about after I acquired some plastic castle pieces used for 25mm role-playing games from a friend—some of which were already assembled...
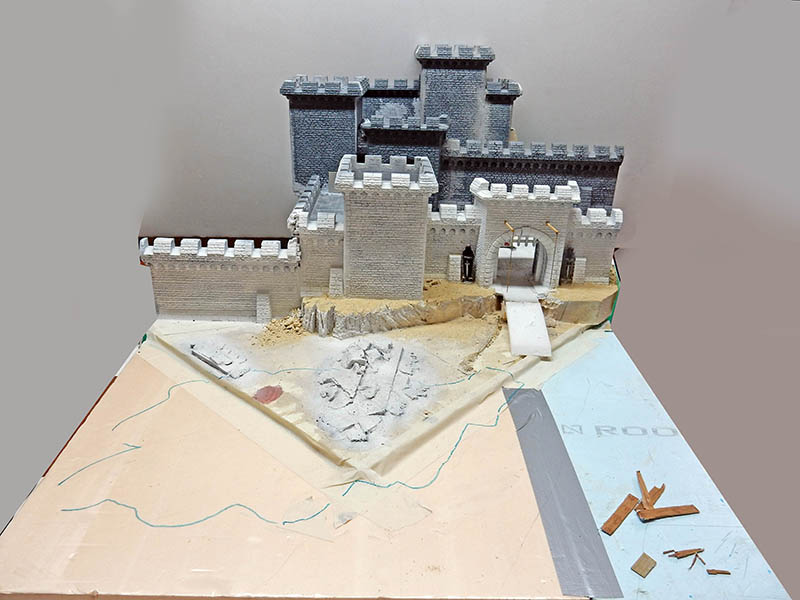
The base in the foreground has been widened to allow for the addition of elements...
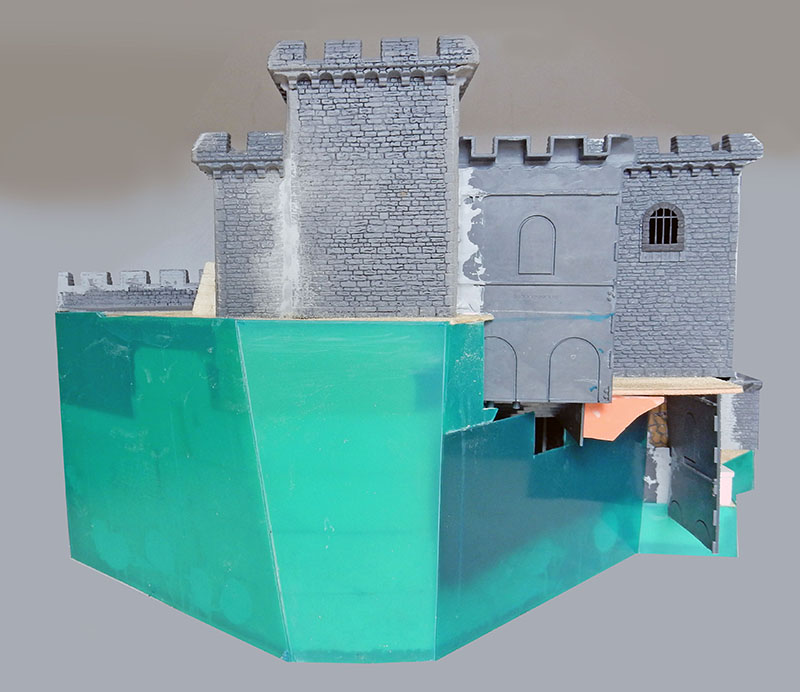
Other parts of the castle are attached to the back to enhance the imposing effect...
Now that the castle is finished, the back is closed and wrapped in plastic...
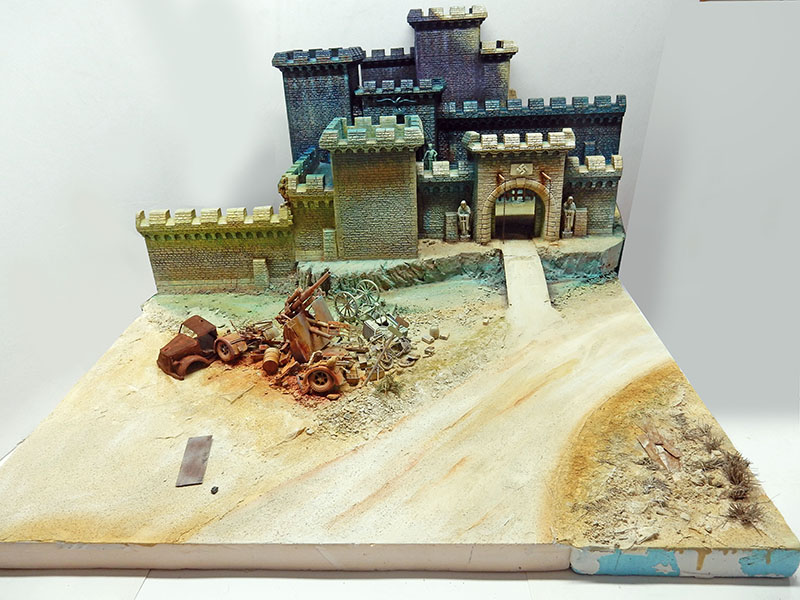
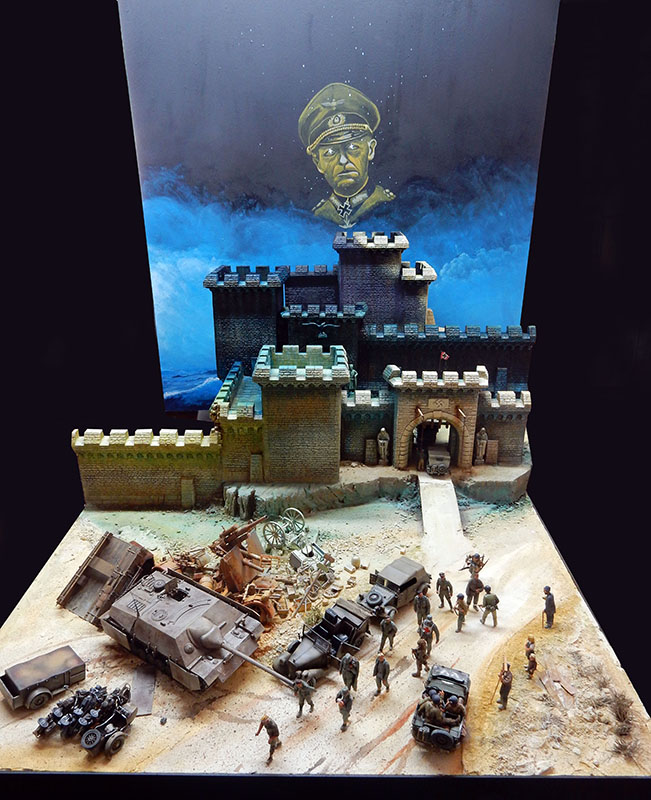
The diorama is meant to depict the U.S. Army's capture in 1945 of a castle that had been occupied by the German high command during the war...
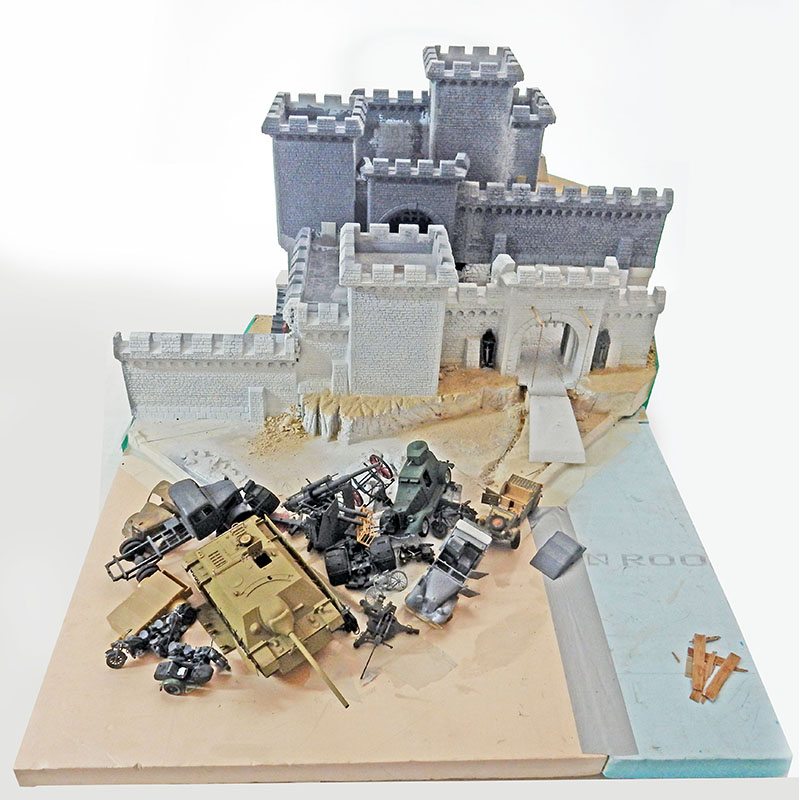
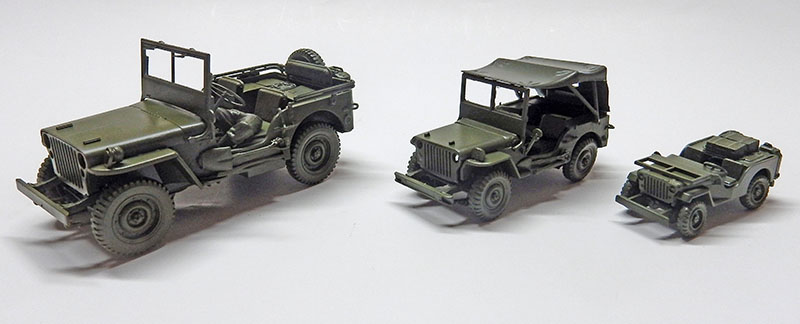
The challenge—to avoid creating a set that was too imposing—was to achieve continuity across three different scales—1/35, 1/48, and 1/72—without disrupting the visual effect...
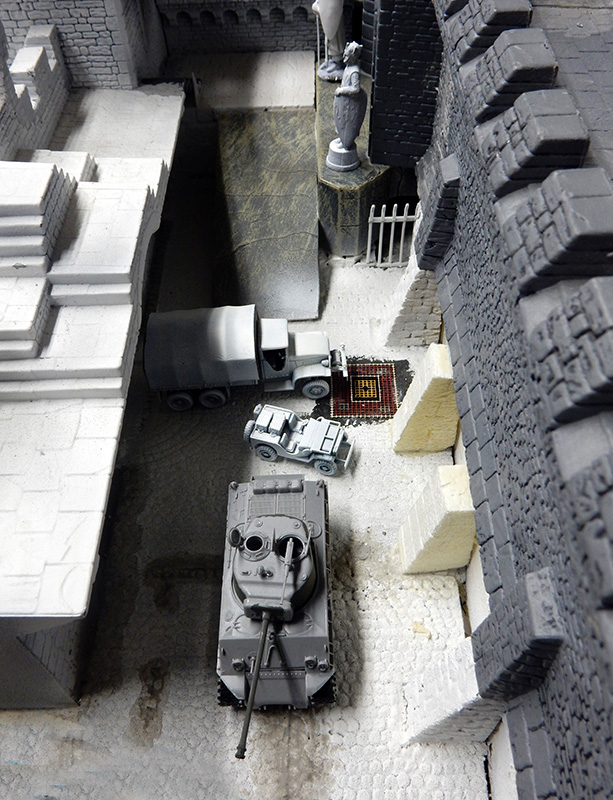
Placing the 1/72-scale vehicles in the inner courtyard for a first look...
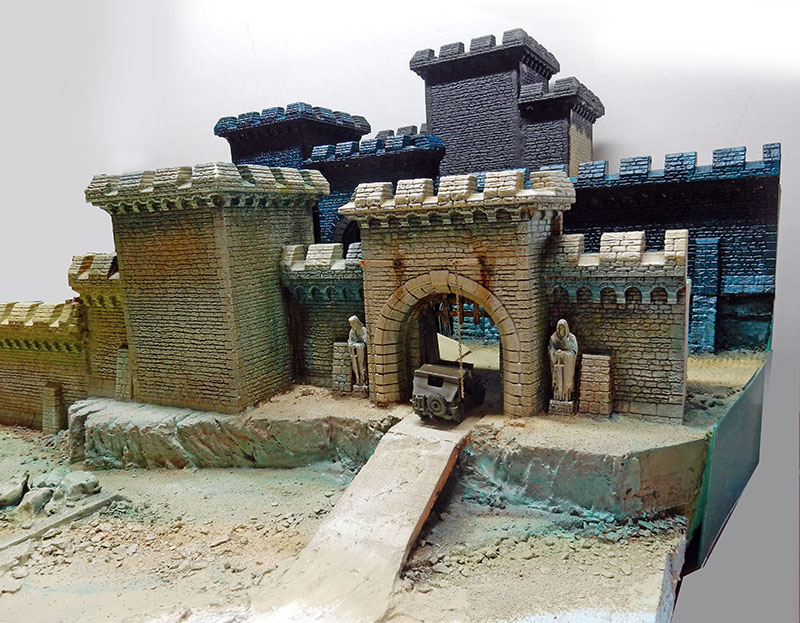
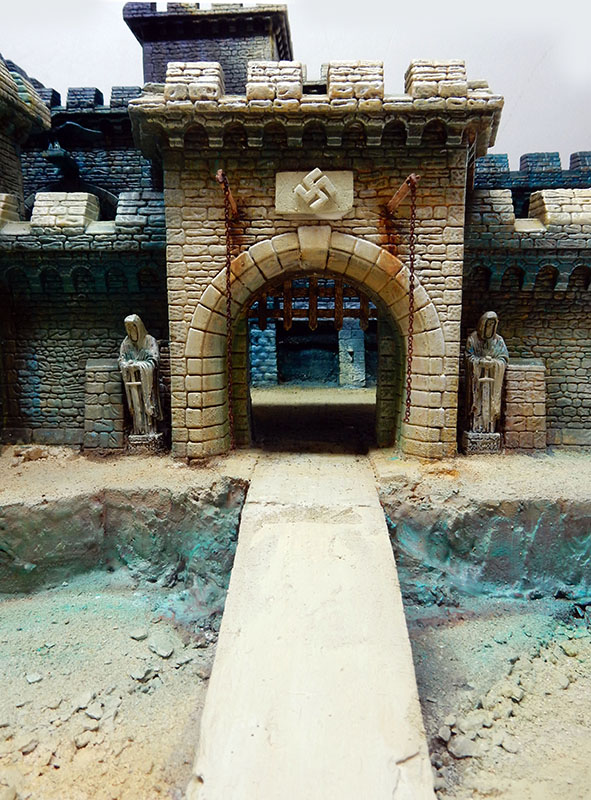
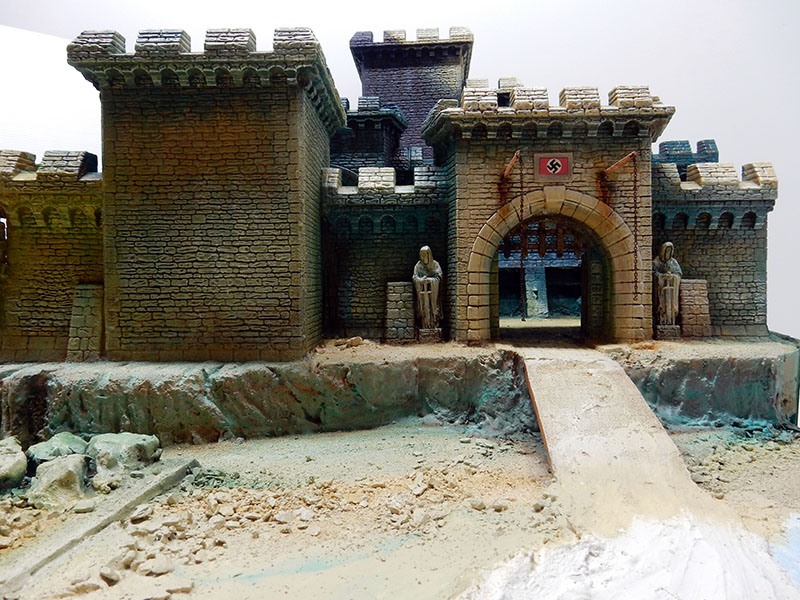
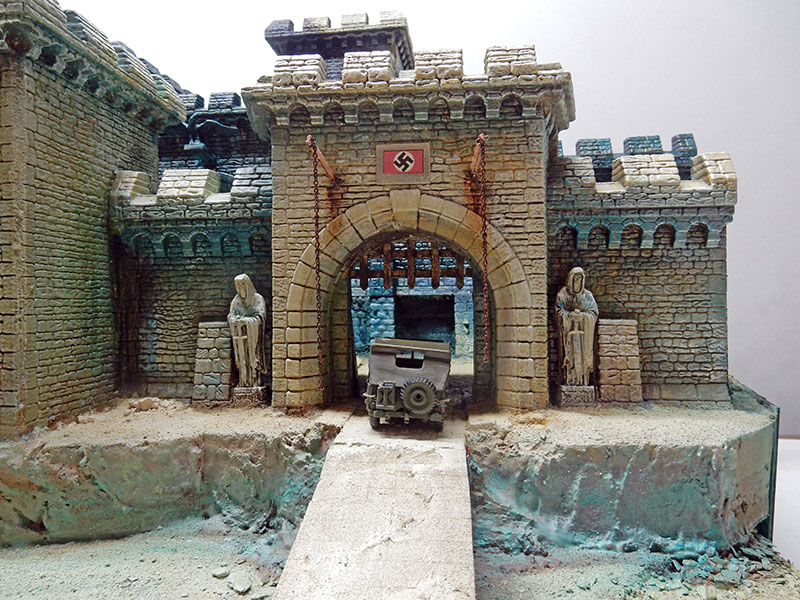
Remnants of the drawbridge—beams and a chain—have been added, while a section of road spans the dry moat...
A view of the finished model...
The foreground area is defined (background, road, curb)...
Painting of the castle
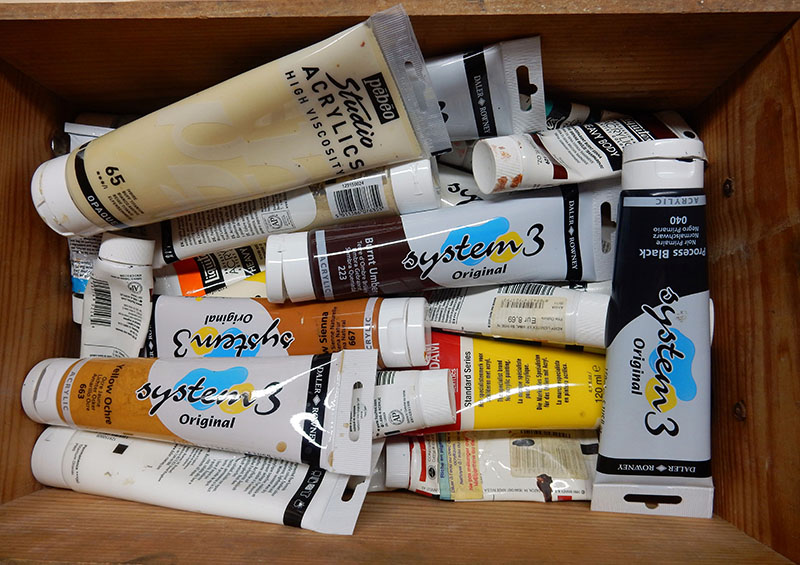
The entire piece will be painted with acrylic paint from tubes using various brushes...
The rear part of the building is being coated with a layer of acrylic, which will serve as a primer for the future paint job...
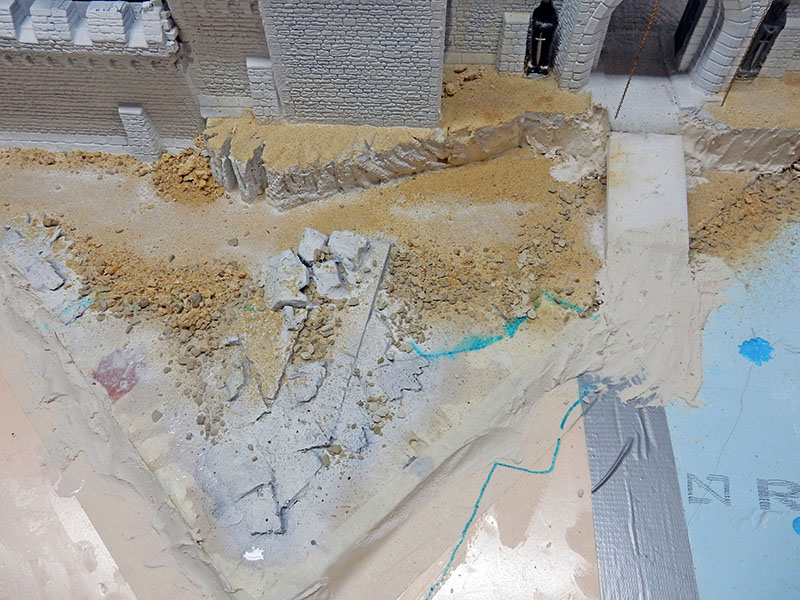
An initial sanding of the floor is performed on a layer of wood glue around the edges of the castle...
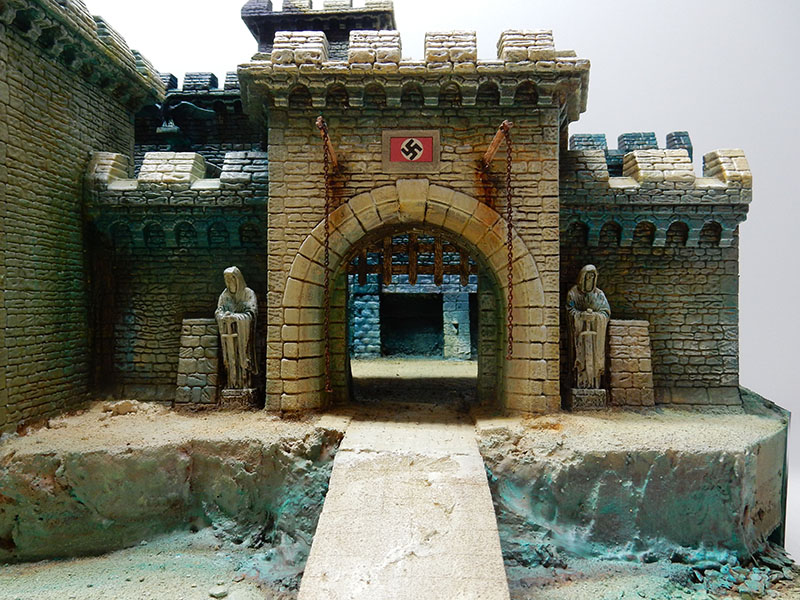
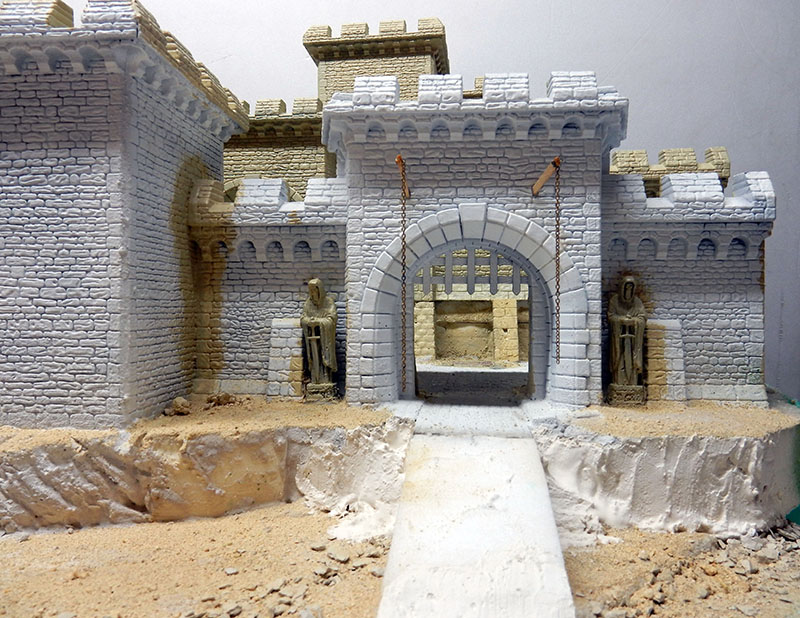
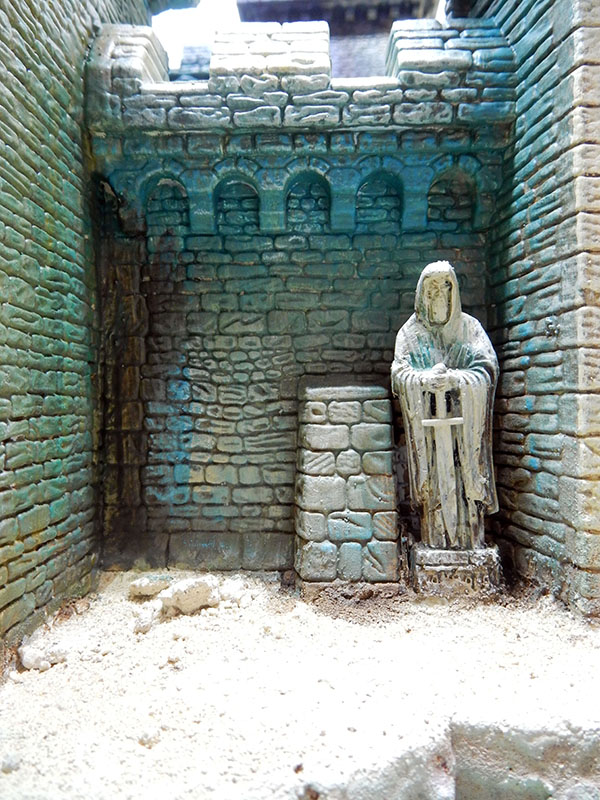
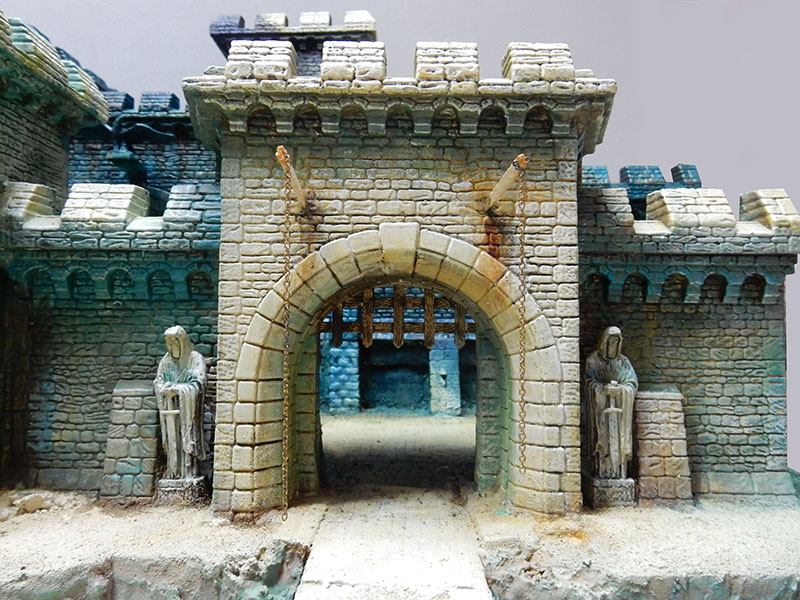
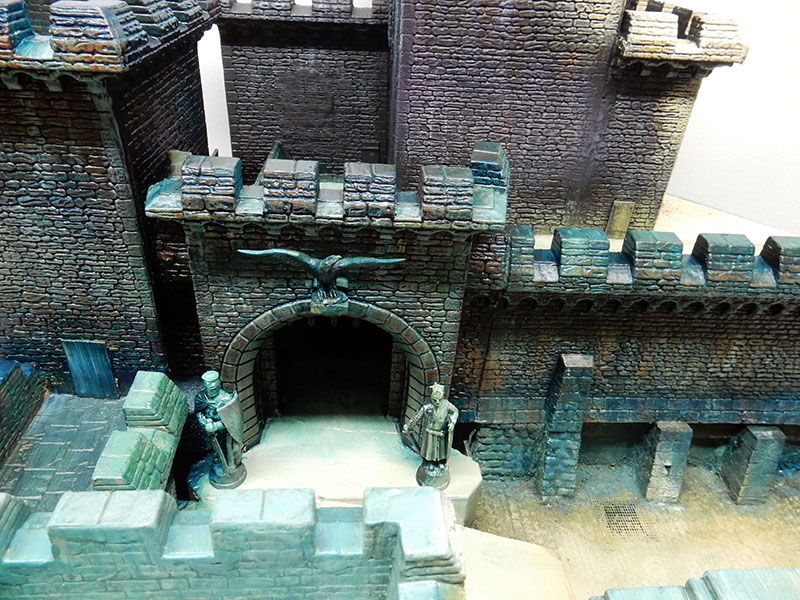
Two 1/35-scale statues adorn the main entrance...
The point here isn't to paint a stone-colored castle as mere scenery, but to treat it like a painting—as if you'd sketched it out—and, above all, to emphasize the light to create interesting effects and depth that highlight the foreground of the diorama...
We're assuming the scene takes place at sunset. So there will be three distinct color ranges, progressing from light to dark. The facade is painted in shades of beige and ochre, with orange, sienna, and yellow highlights on the brightly lit stones, and shades of brown, green, and dark blue in the shadowed corners (as night falls, the colors change)...
The nooks and shaded areas are accentuated with muted blues and greens...
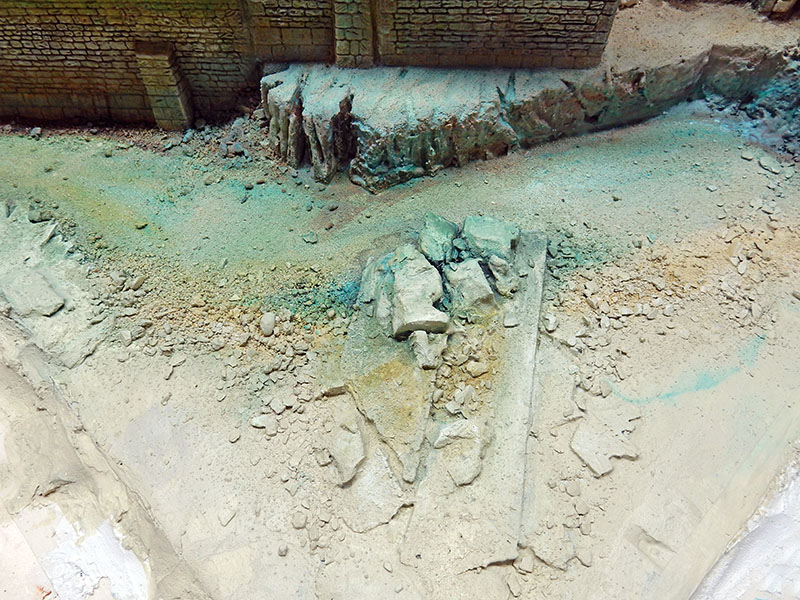
The scenery of the moat in front of the castle hasn't been overlooked, with blue/green effects in the moat (the closer you get to the foreground, the more normal the colors become)...
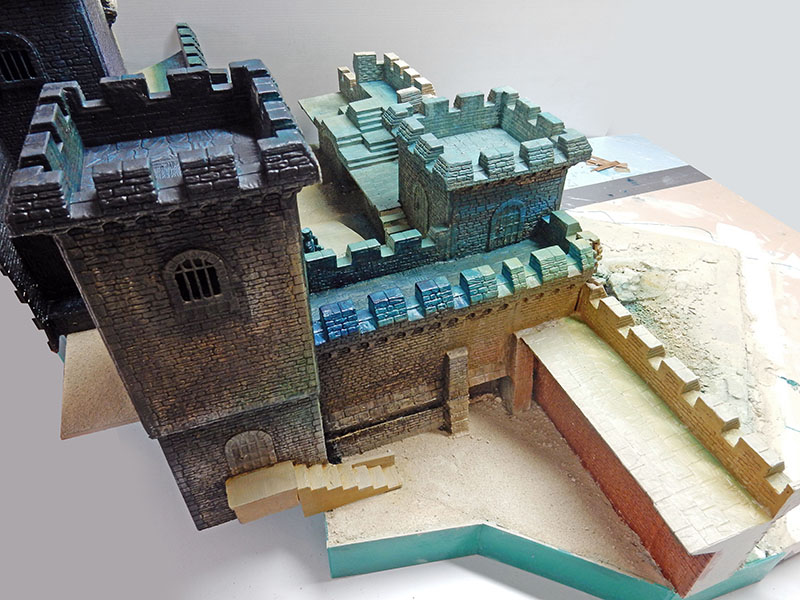
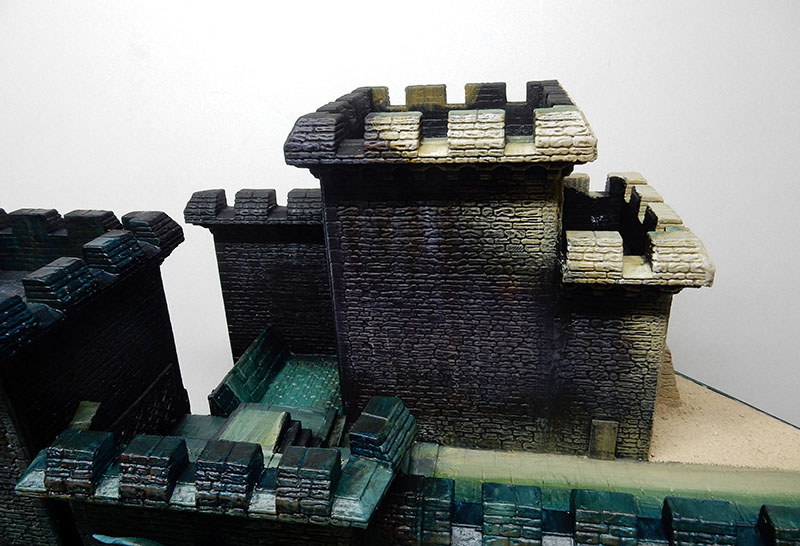
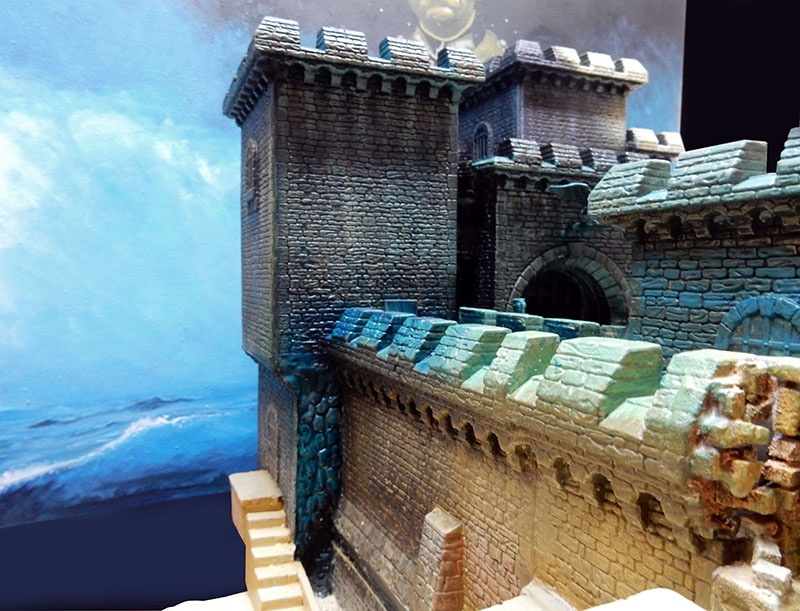
The second set of ramparts is painted in shades of dark blue, red, and green. The last set of ramparts is painted in shades of midnight blue, purple, and black...
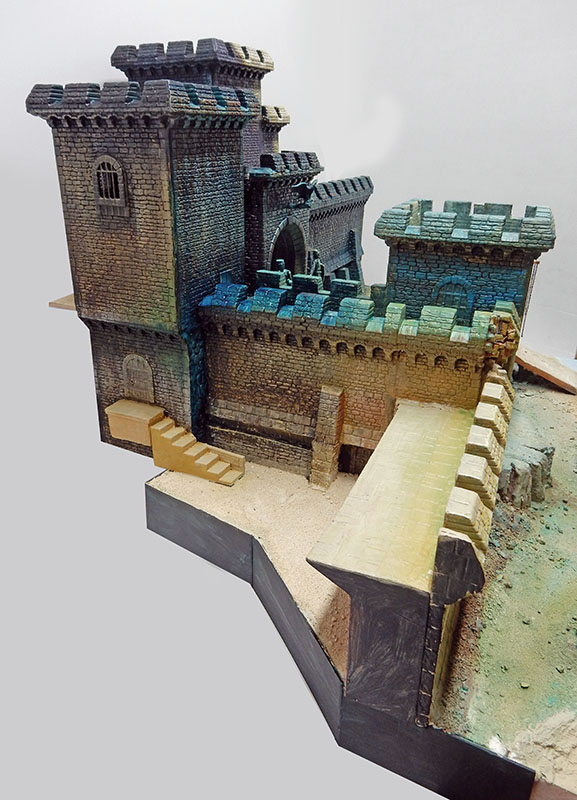
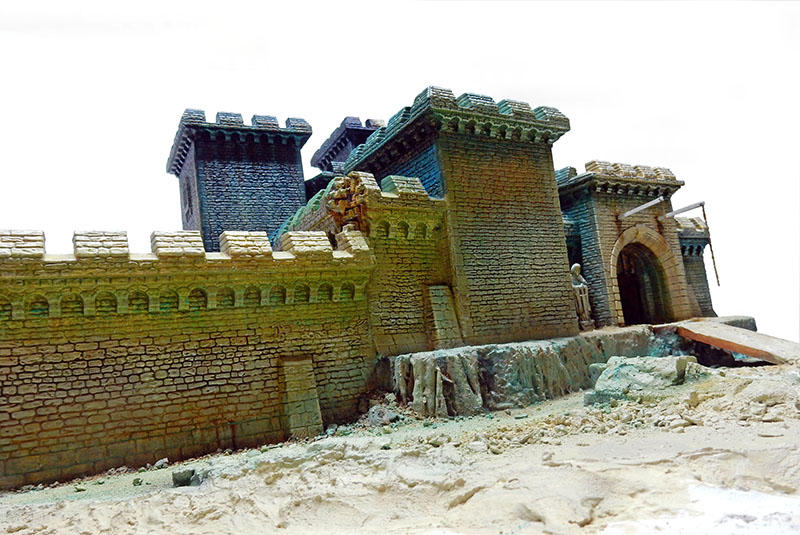
Side view: on the left, the brown tones are accentuated by lighting—the tower’s facade; on the right, yellow, orange, and red hues illuminate the interior walls of the courtyard with warm colors, while the upper part remains in shadow...
Another view...
The sun shines on the top of the tower, which takes on natural colors...
Overview...
The edges of the facade's stone slabs are highlighted in white to add dimension. Through the entrance gate, one can see the bluish twilight of the distant landscape, which lends depth to the scene...
A look at the shades of the facade in the three photos above ...
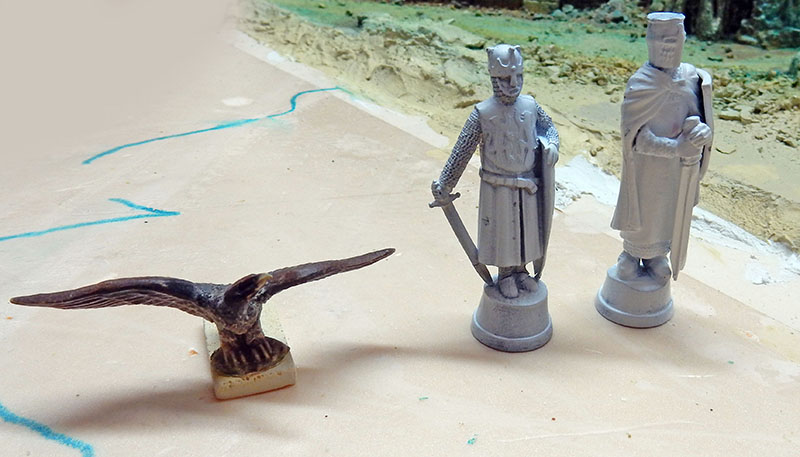
Ornaments from the castle's second entrance... The lead knights are bought at newsstands or come from garage sales. After sanding the seams, they are given a coat of primer...
The painted figurines placed within the scene...
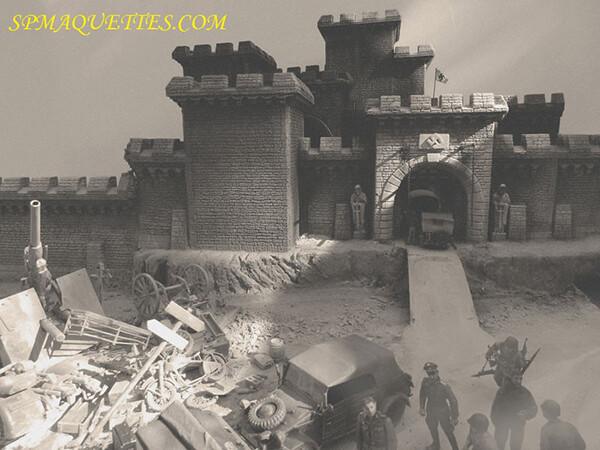
The plaque with the swastika is made of extruded polystyrene and glued in place with wood glue. Weathered effects are added along the beams, and the chains are painted and rusted...
At first, a pennant was used in place of the marble plaque, which will ultimately create a more impressive effect...
The Setting
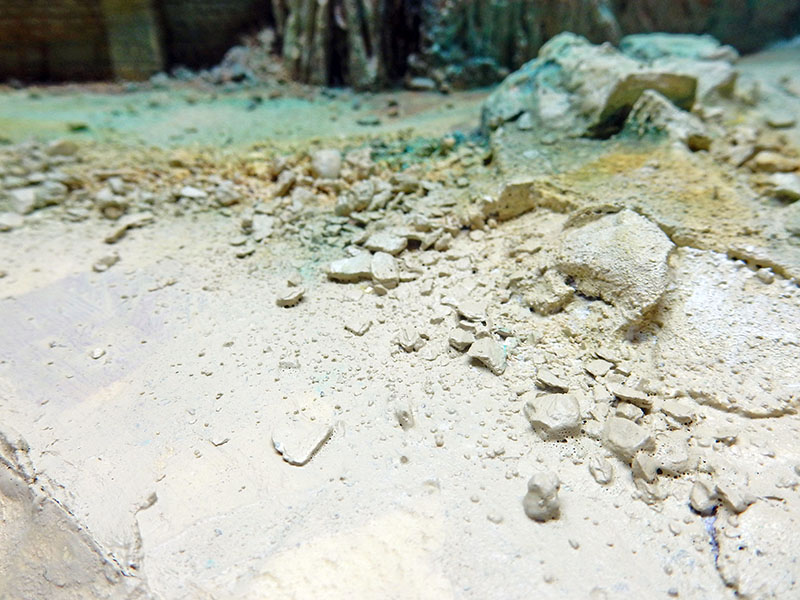
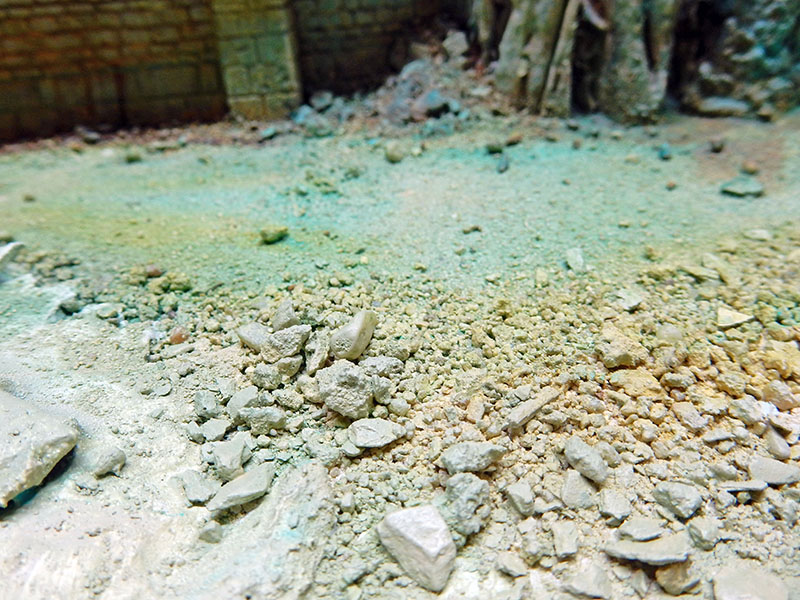
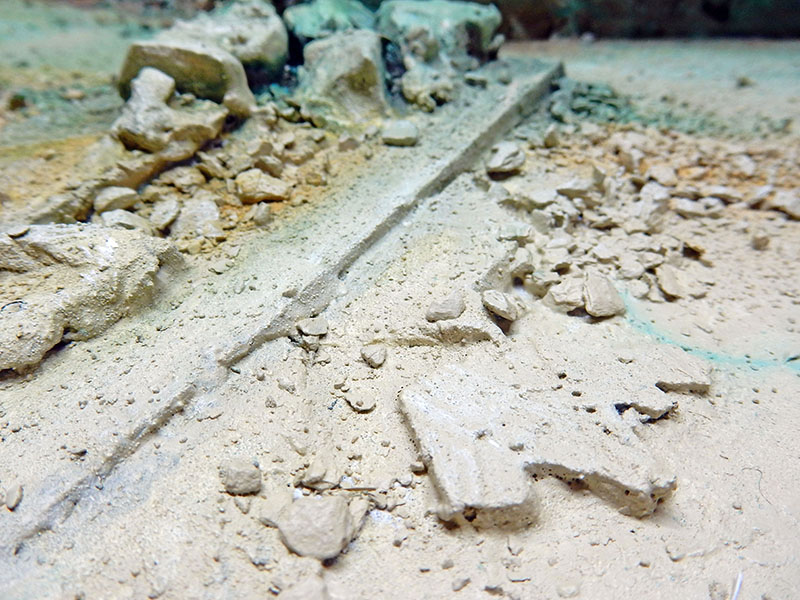
Cat litter will be used for the larger rocks. We'll add some fine dust on top to even it out...
The floor after painting...
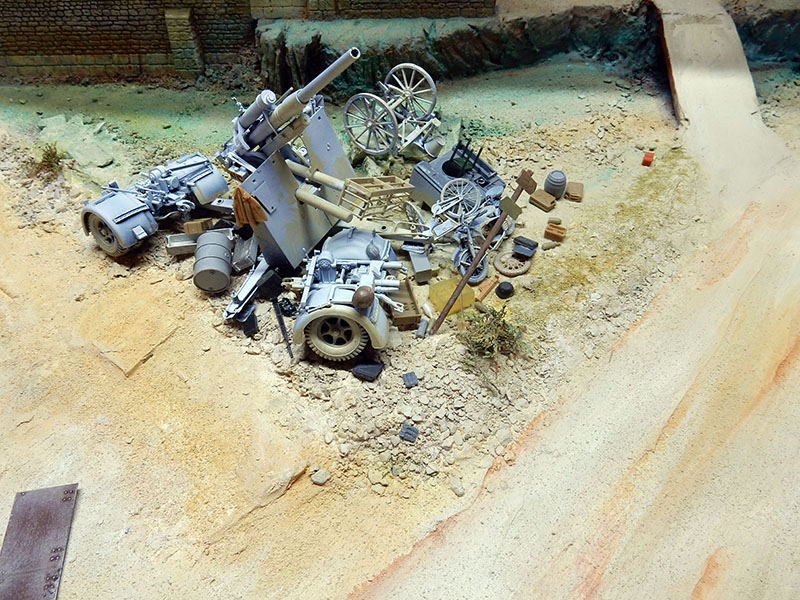
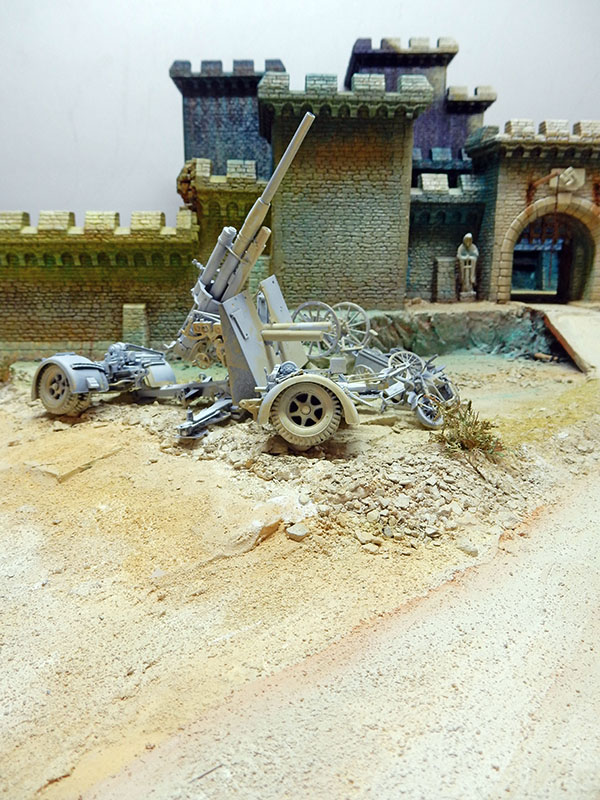
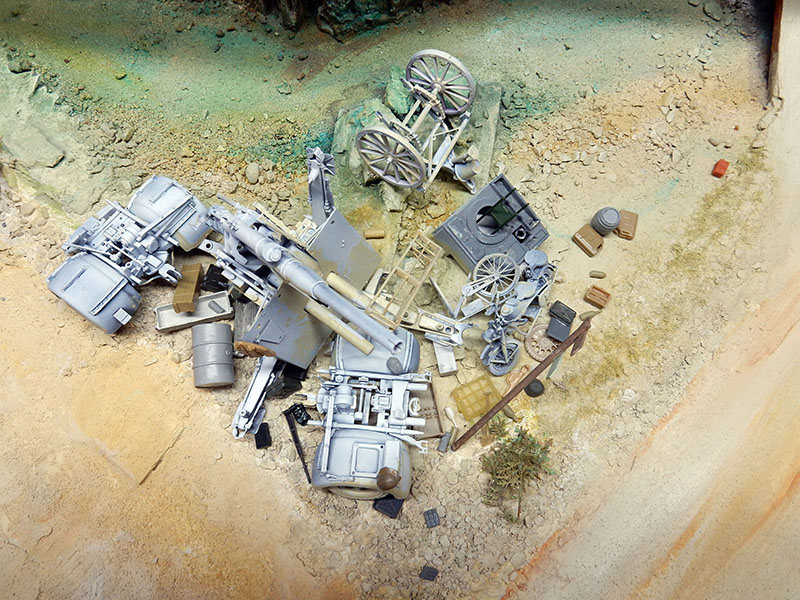
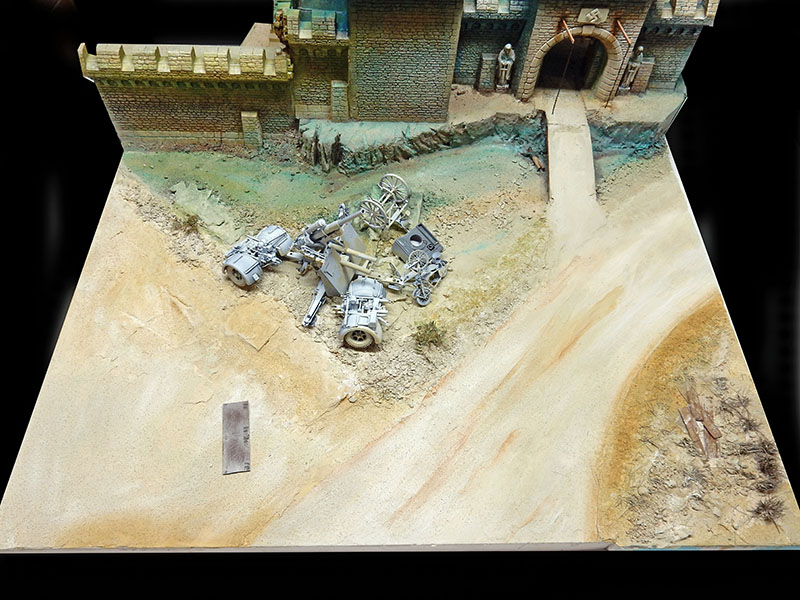
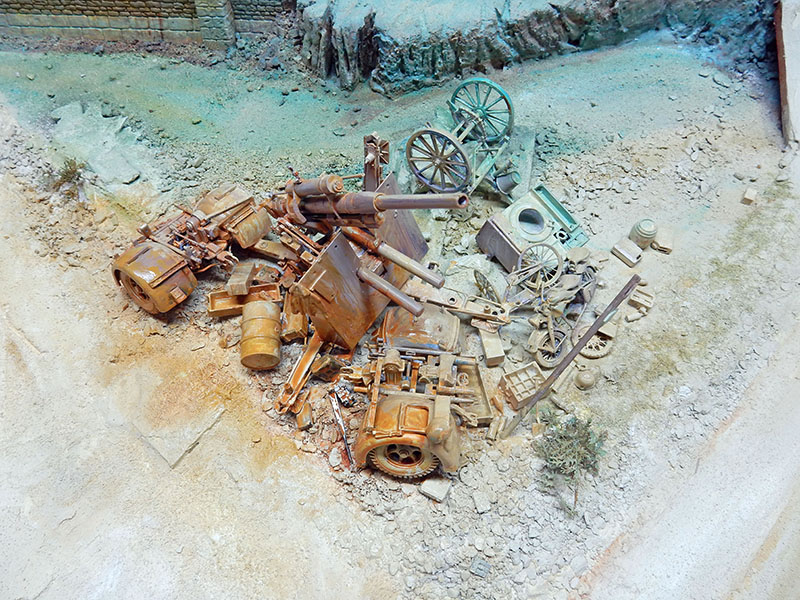
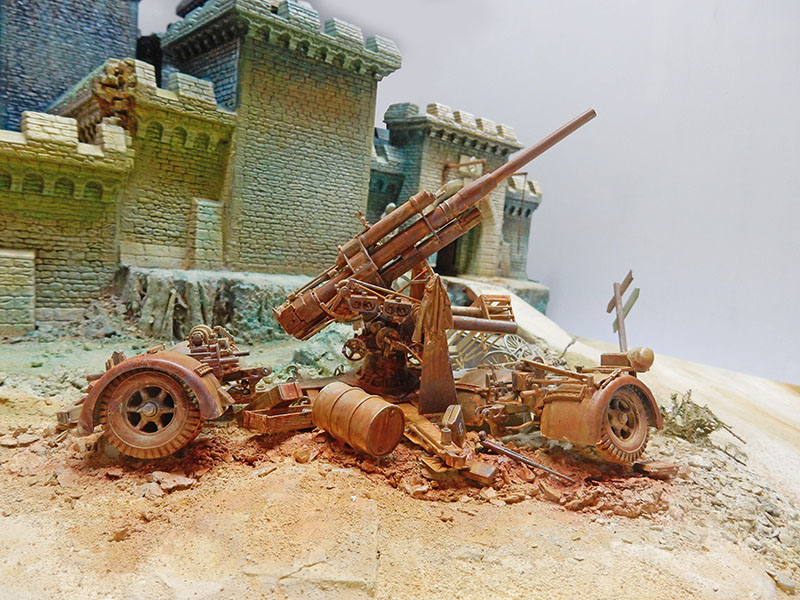
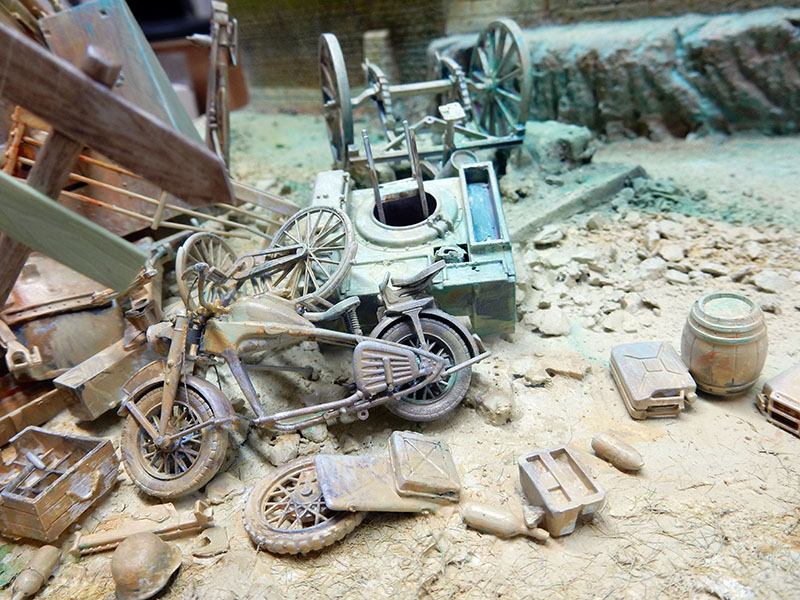
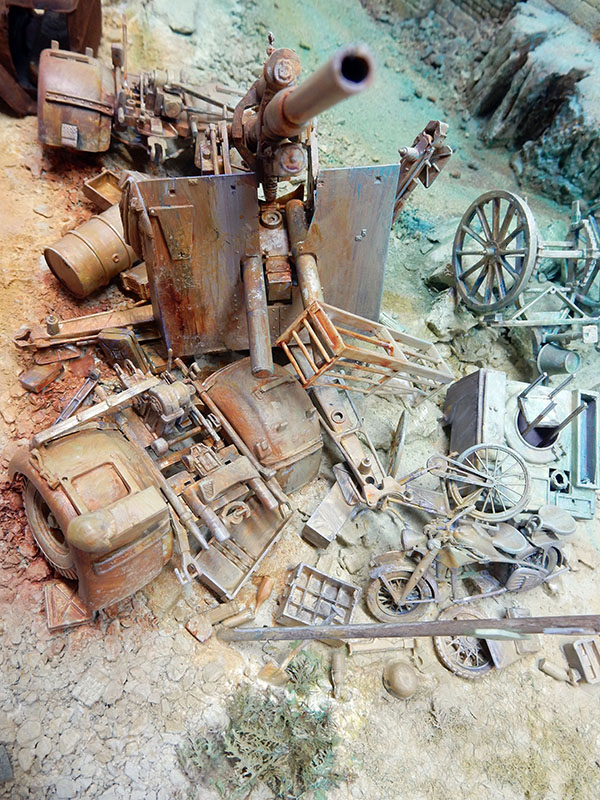
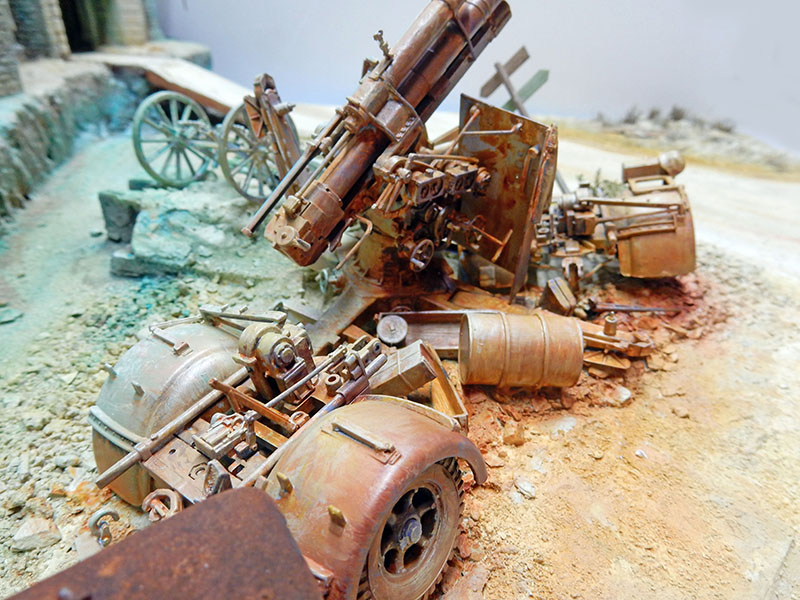
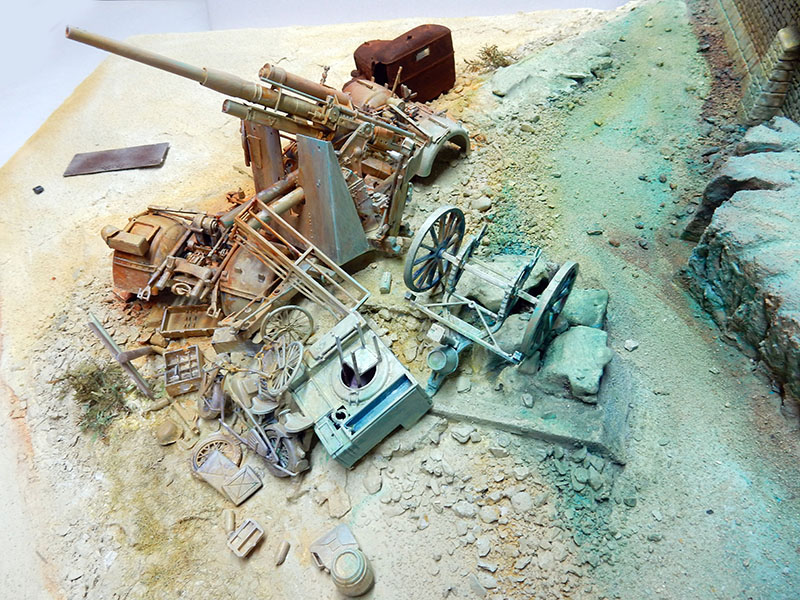
The 88mm gun and various accessories are also part of the scene and are given a coat of acrylic primer before being glued into the ground, which we continue to smooth out...
Overview of the finished floor with its accessories...
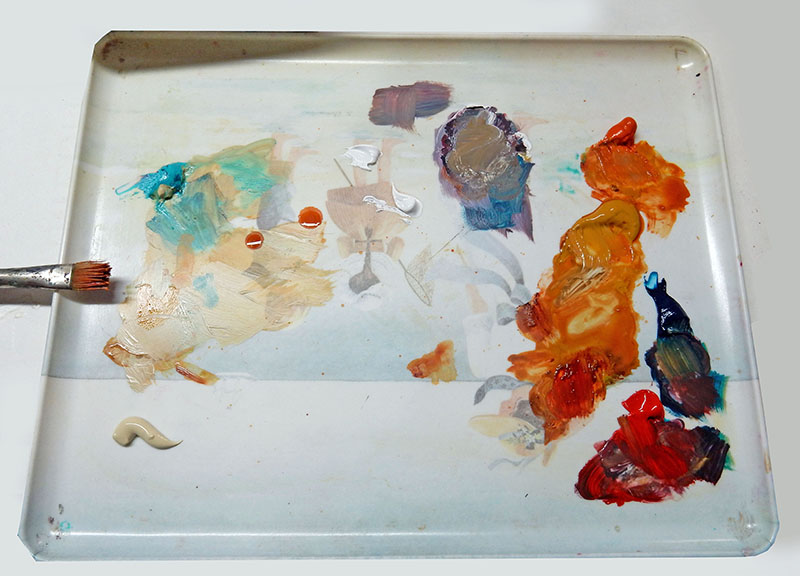
The acrylic paints used to finish the set...
In front of the castle, the lighting also changes (these elements are part of the set)...
The barrel isn't rusty, but its color changes depending on the ambient lighting...
More views...
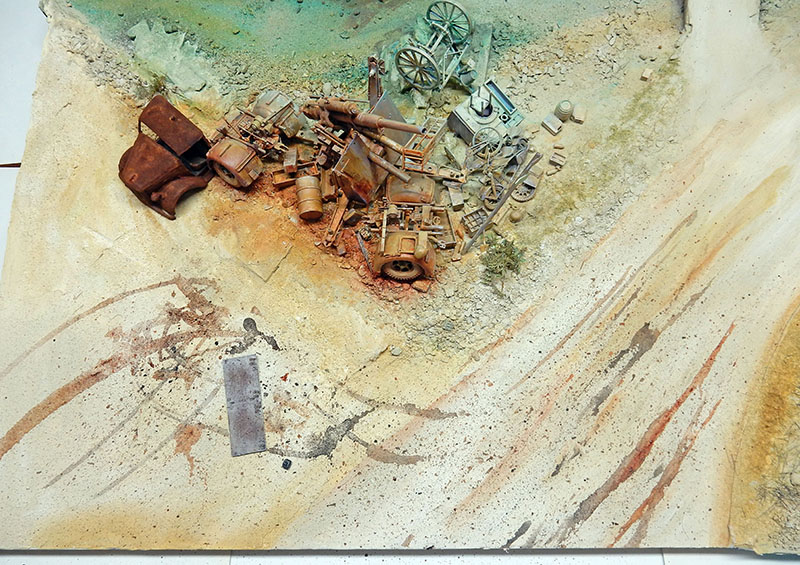
We'll finish up with the dirt marks on the road. Here, there are no tracks in the ground from the tracks; the road is dry and dusty...
The figurines
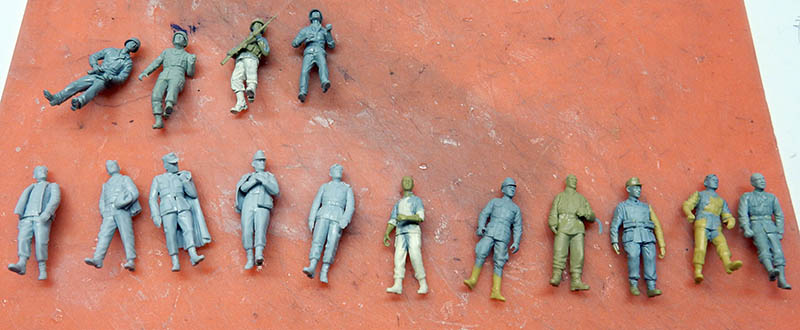
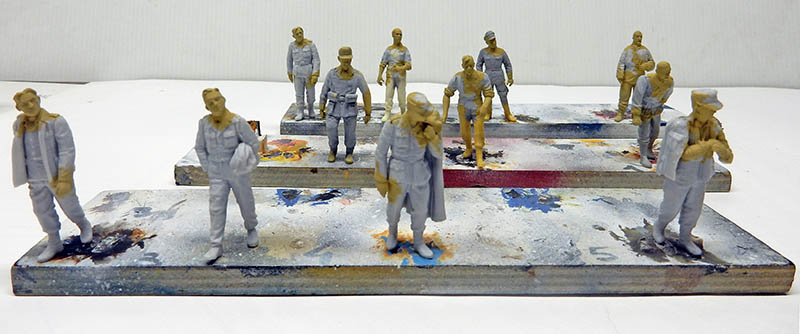
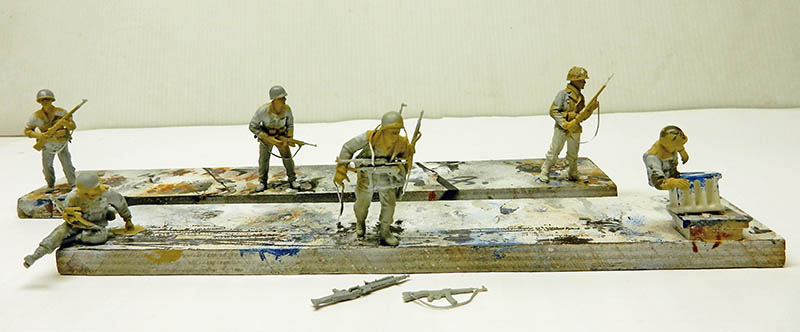
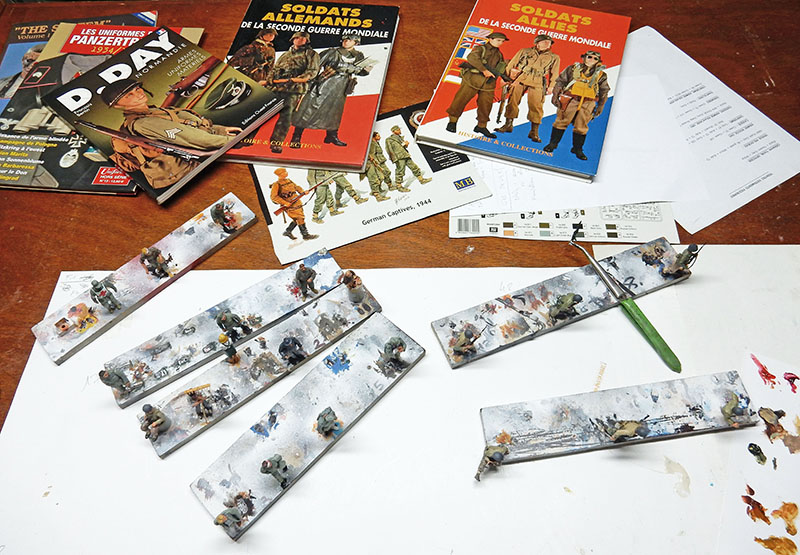
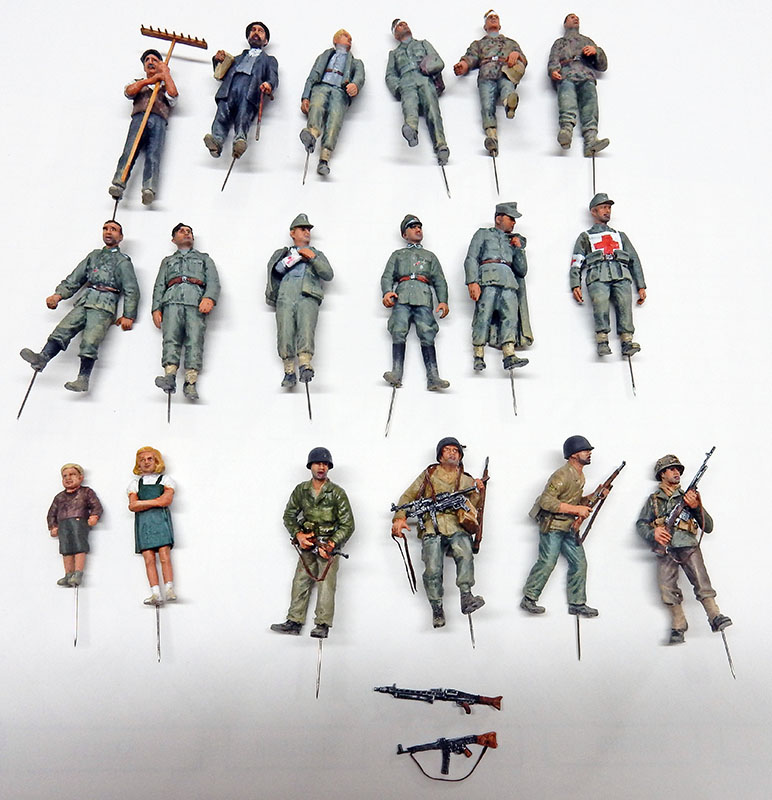
1/35-scale figurines. The five on the bottom left are from the Masterbox brand—made of high-quality plastic with natural and original poses, reasonably priced; some have been modified...
Humbrol Sand Yellow 94 base for skin tones...
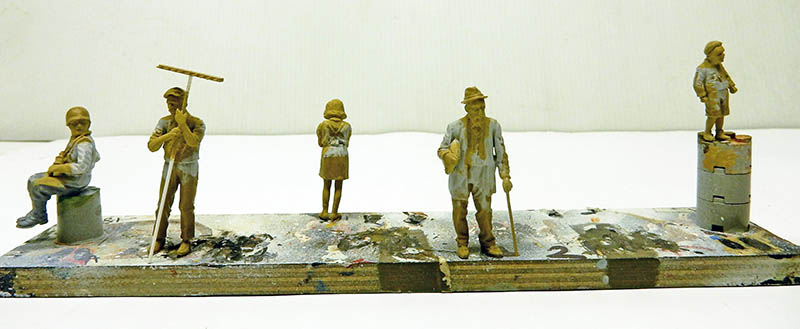
The four civilians on the right are also from Masterbox...
Documentation is always valuable for painting when you're working on historical subjects...
The parts are painted entirely with Winsor & Newton oil paints, except for the metal parts. The 1/48-scale and 1/72-scale figures will also be treated separately...
Testing the placement of the main figures...
U.S. vehicles
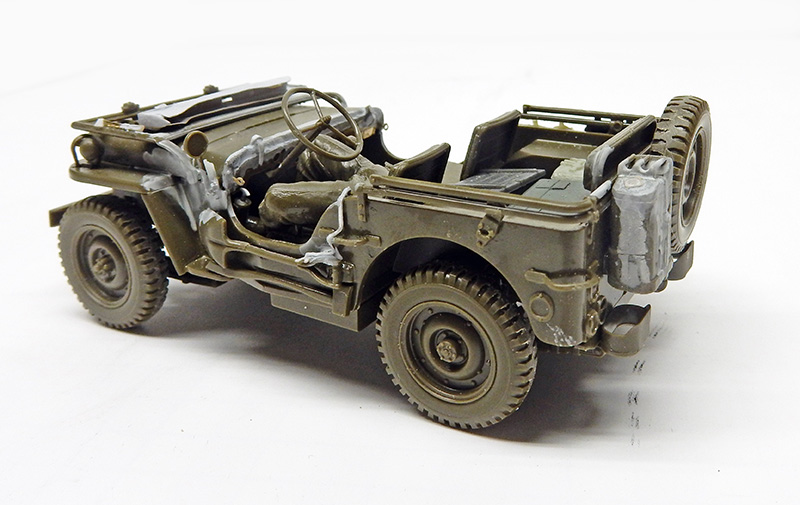
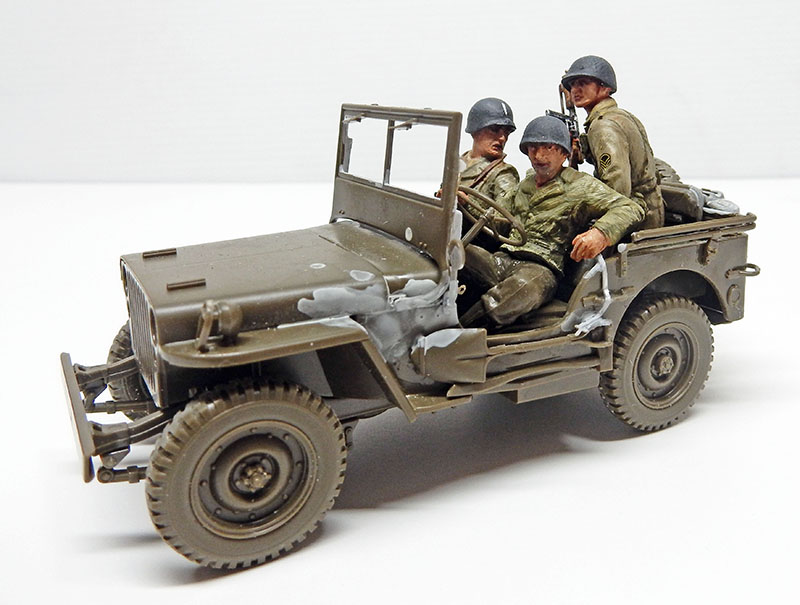
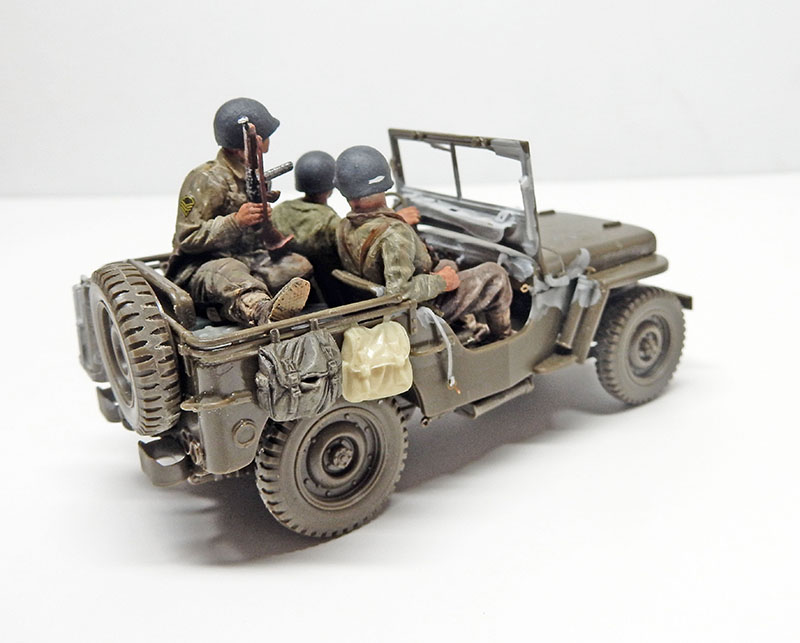
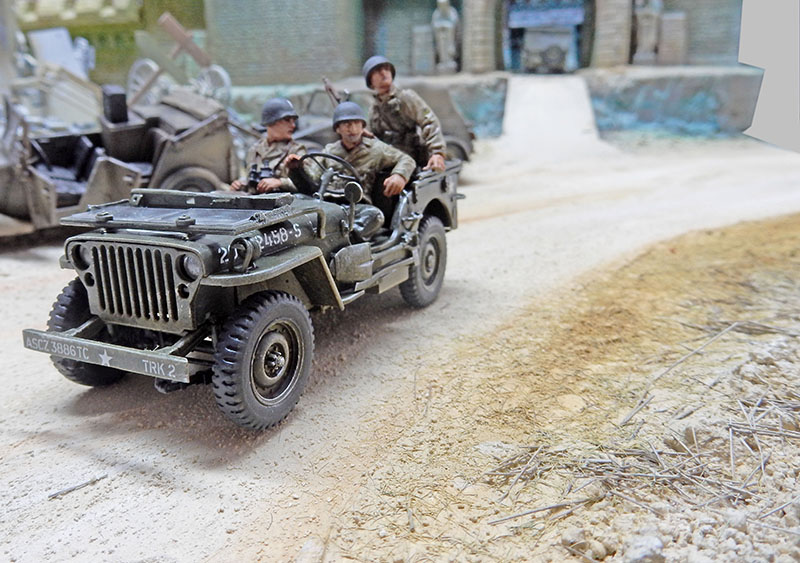
The Tamiya Jeep in 1/35 scale...
Excellent kit, very precise...
It was nevertheless enhanced with a photo-etched kit...
Like all the American vehicles in the diorama, it will be given an acrylic base coat of Hobby Color 309 Green + Hobby Color 58 Interior Green. The dry-brushing will be done using Green 179 + Sand 94 + White.
Here, the dusting and juicing haven't been done yet...
The entire Jeep family, each with its base color airbrushed on...
The 1/48-scale Jeep will be positioned on the drawbridge, waiting to move forward...
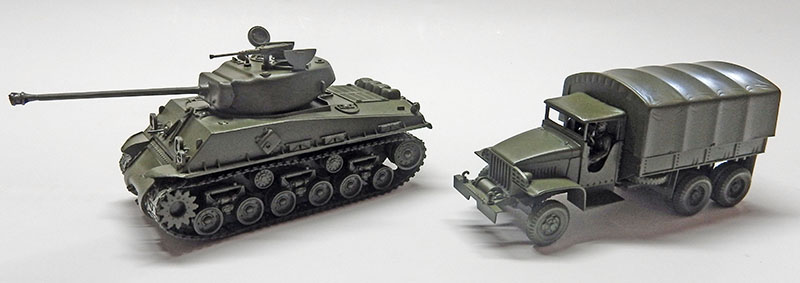
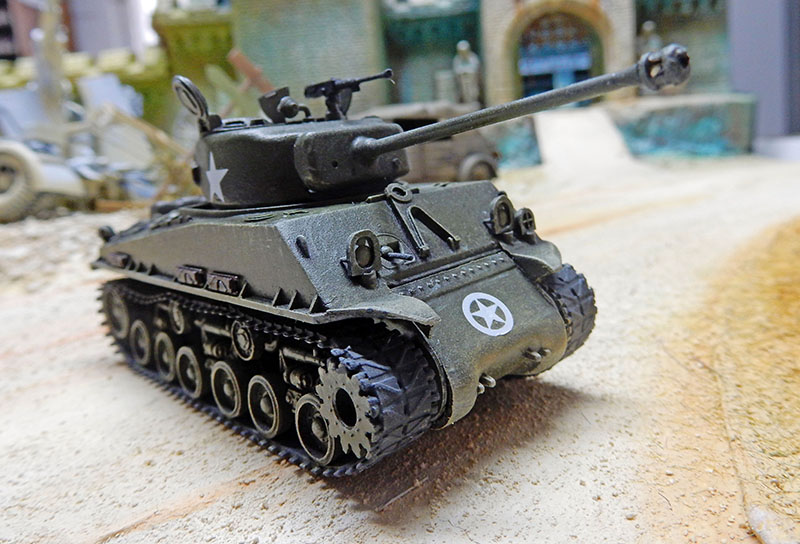
The Sherman and the GMC...
The Sherman tank before it was dirtied up and dusted... It wasn't refined or reworked during assembly because it, too, serves as part of the castle's interior decor...
German vehicles
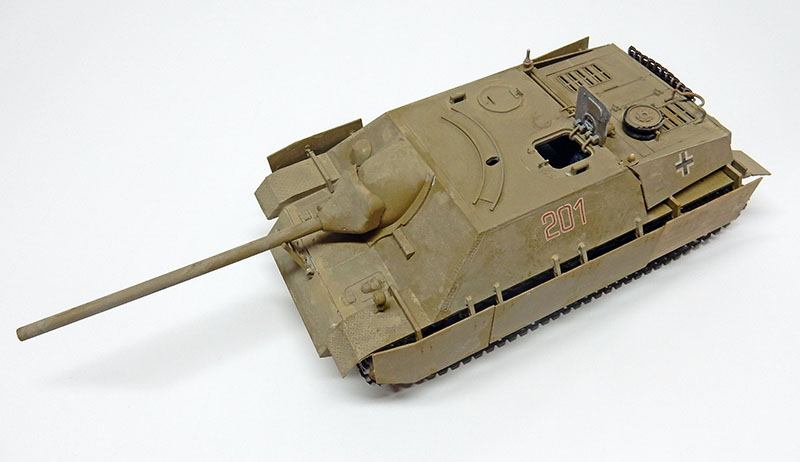
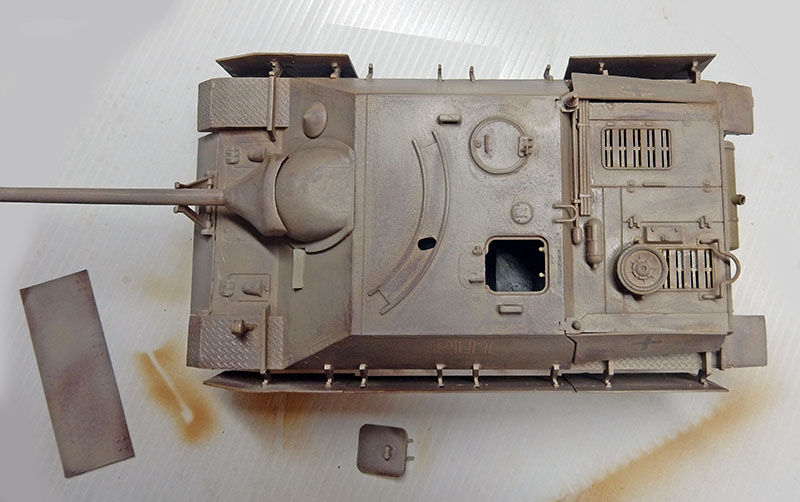
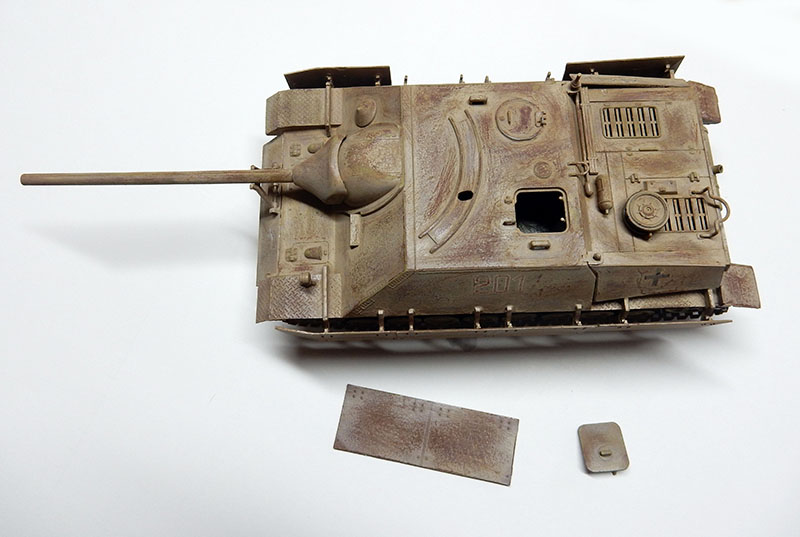
The Jagdpanzer IV. It has been repainted in Humbrol brown after adding a hatch and various accessories. Once dry, the markings are applied...
... Then it is painted with a coat of Humbrol 113...
Then a coat of Hobby Color Tan 27 acrylic paint. It is immediately treated with hairspray (see the tutorial on the Catalina)...
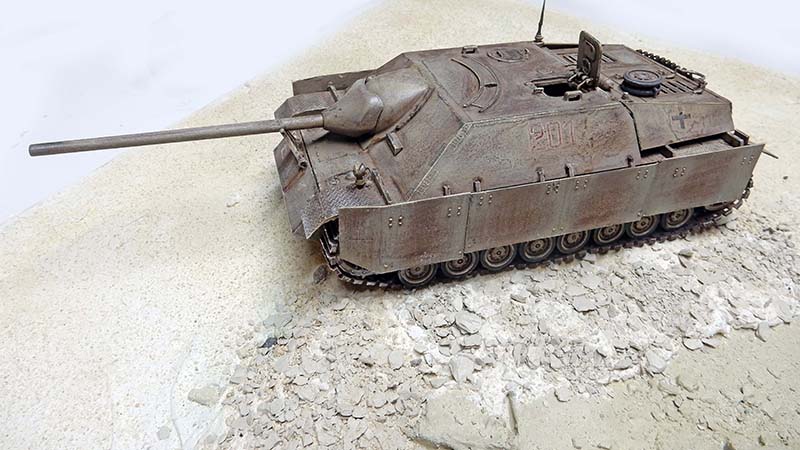
We'll finish with a coat of Hobby Color 79 Sandy Yellow + White for the dust effect...
The Jagdpanzer positioned in its spot. The tracks' imprints on the loose ground were created when the ground was laid out to position it precisely...
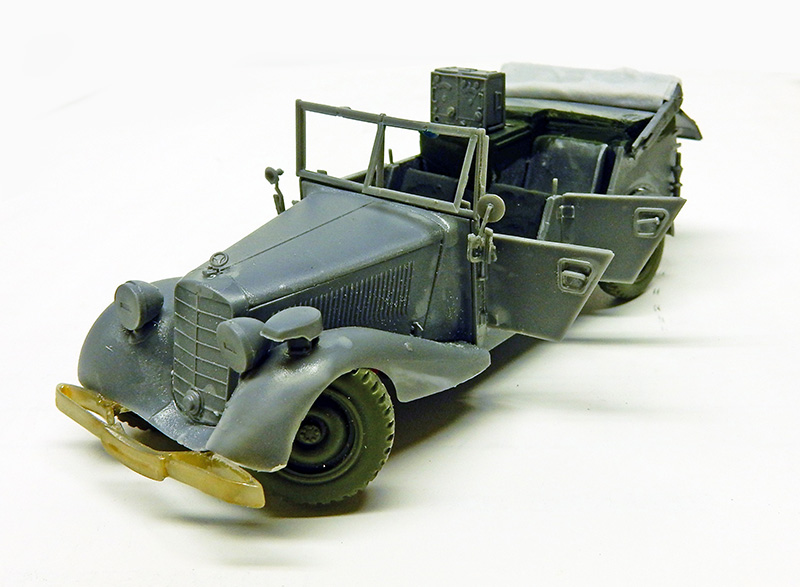
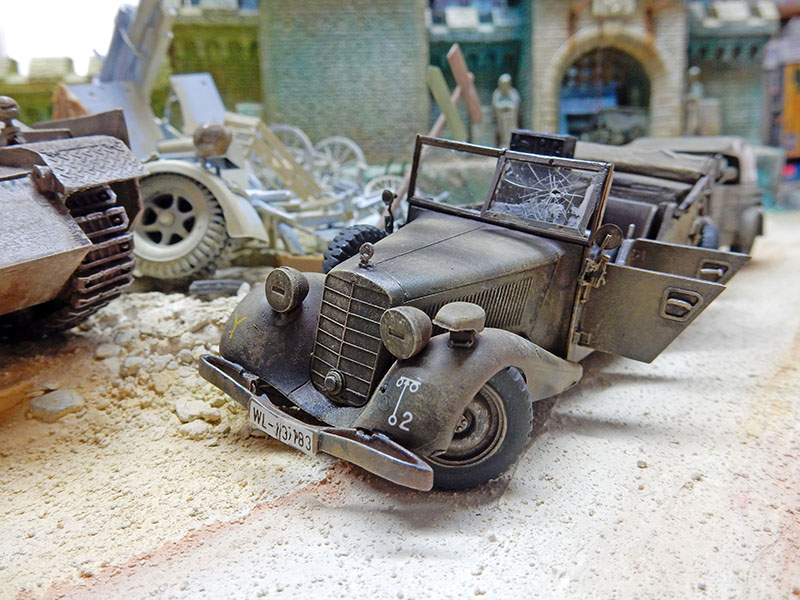
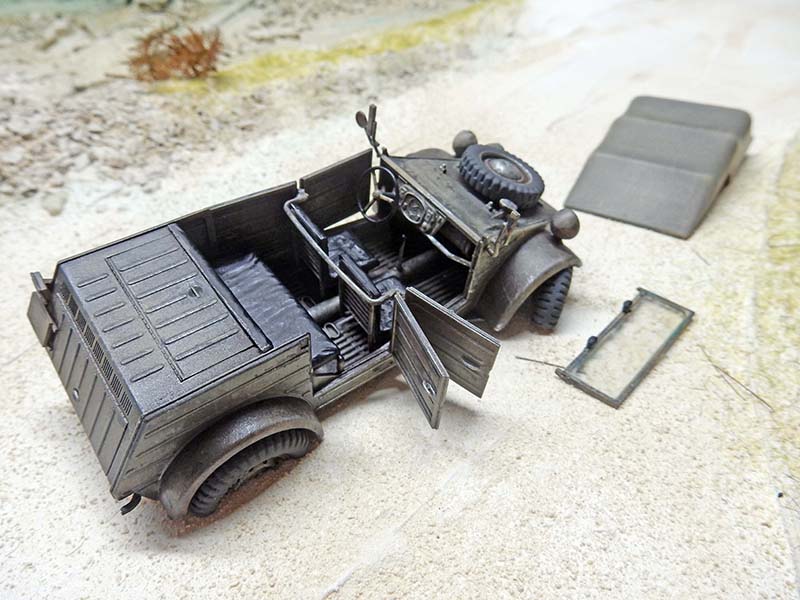
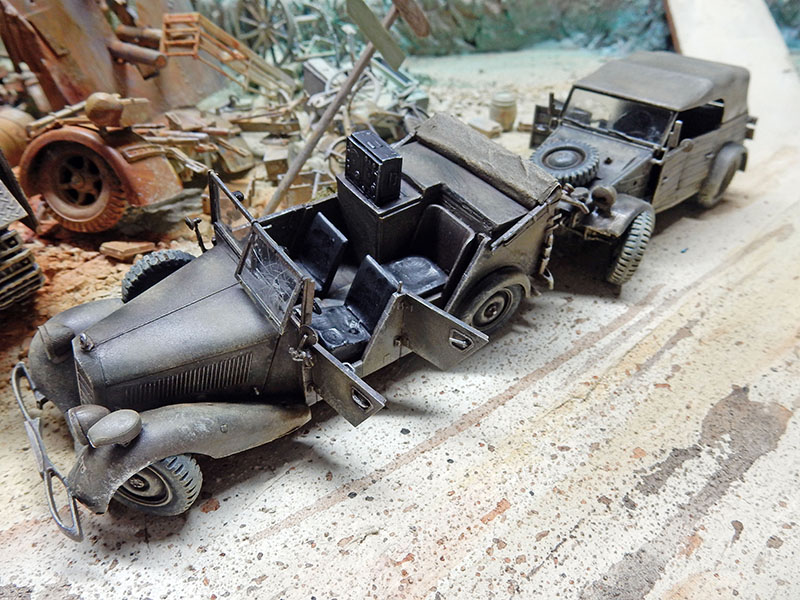
The Mercedes 170. It, too, came from the surplus bin and had to be refurbished. The roof tarp was remade using paper soaked in very runny wood glue...
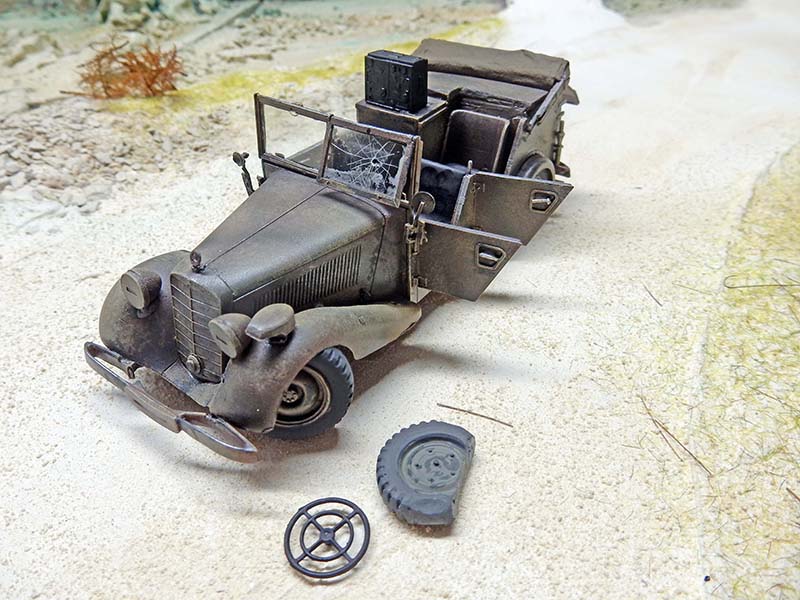
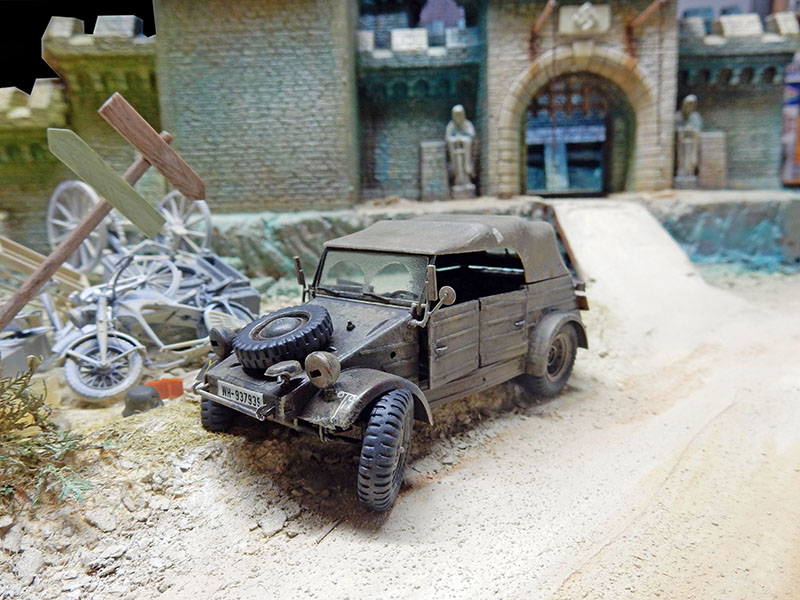
It is painted like the other German vehicles—except for the gray Zundapp—using Tamiya 68 (chocolate) + black and Hobby Color 27 tan. The light camouflage patterns are painted in green and rust-brown...
It is placed on the set...
The Kubelwagen follows the same process...
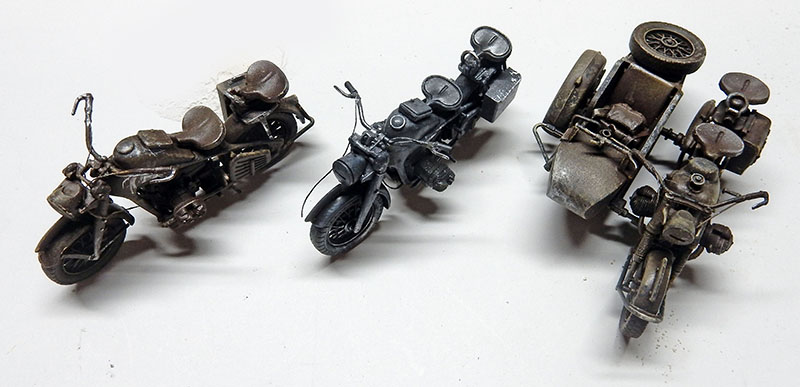
And finally, the motorcycles and the ammunition trailer...
The Background
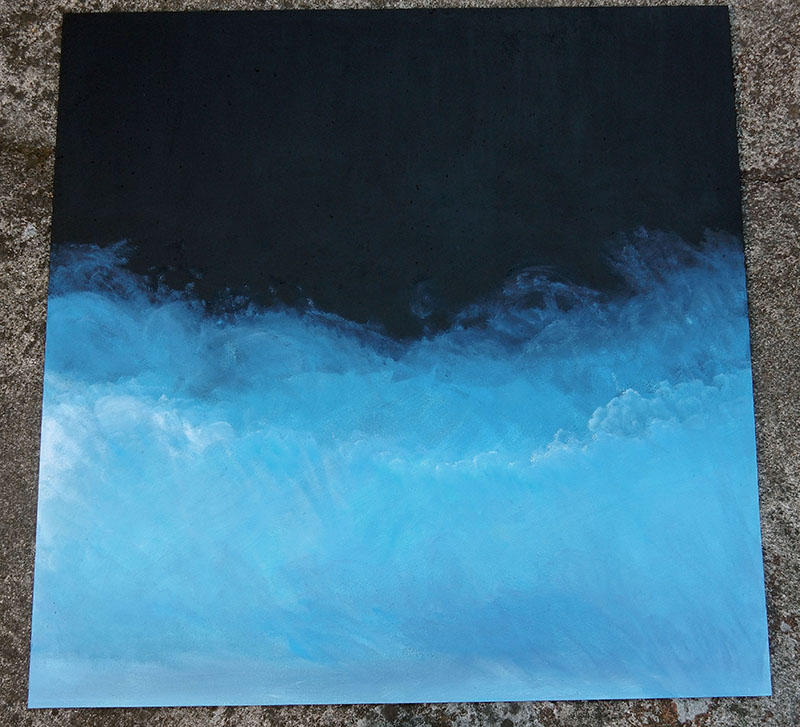
A background was needed to highlight and set off the castle’s bluish colors. It will be made from a sheet of Isorel and will measure 0.70 cm x 0.90 cm...
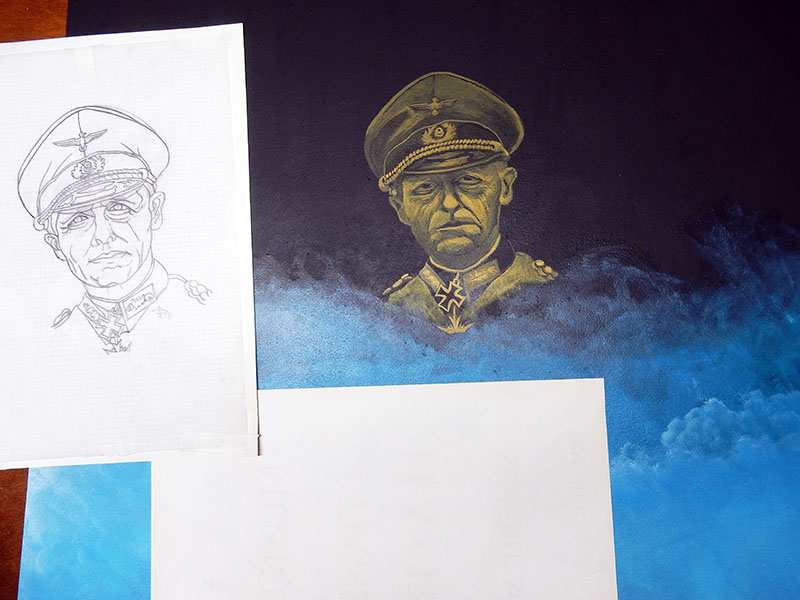
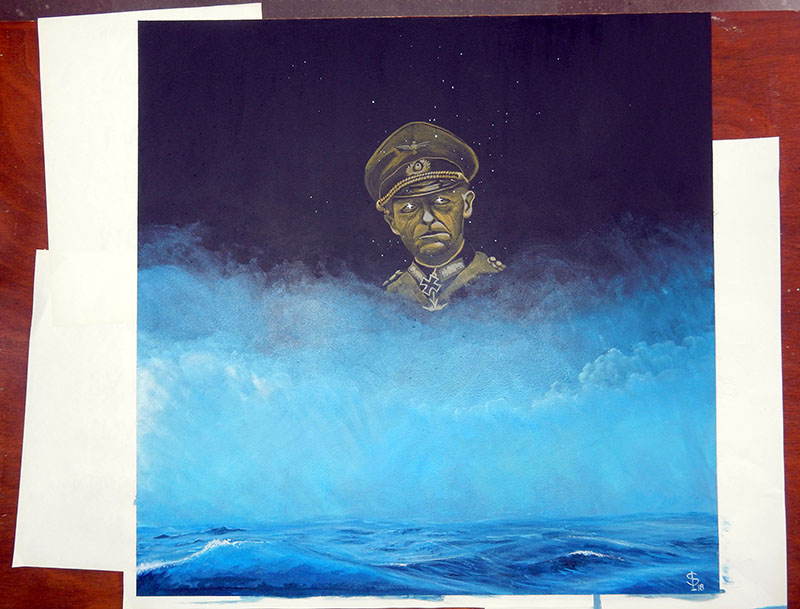
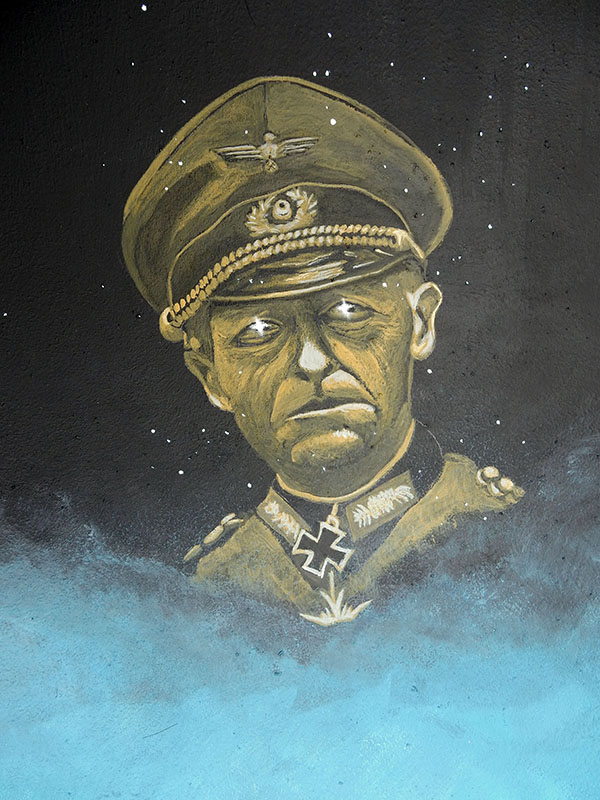
A portrait of a German officer will be added to decorate the piece and evoke that era. The sketch is drawn on tracing paper, transferred to the surface, and painted...
Water will simulate the presence of a lake behind the castle...