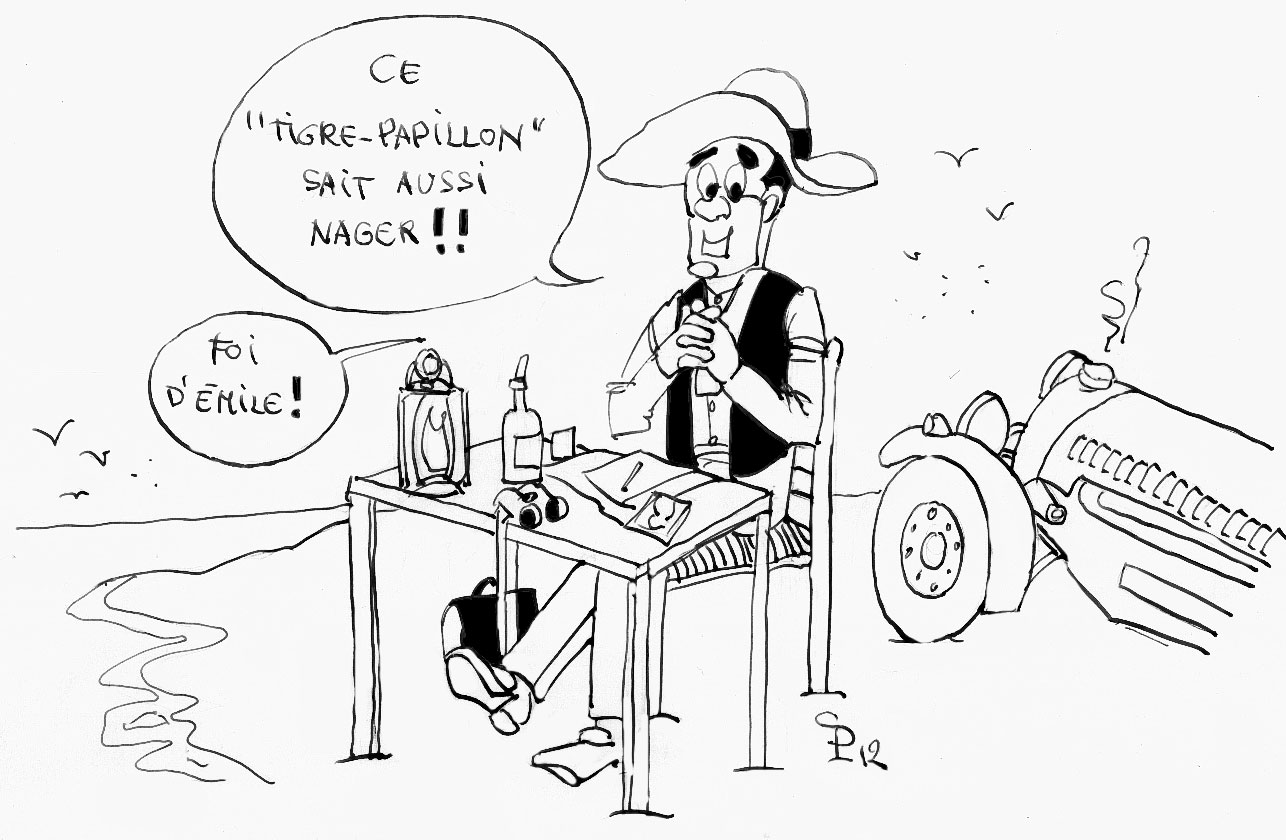
THE "TIGER MOTH" - DH-82A/C TIGER MOTH
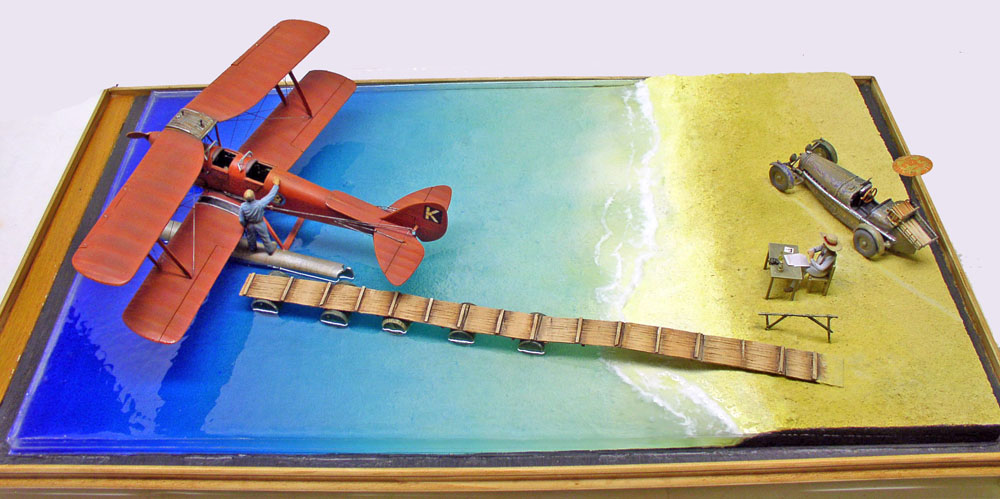
This diorama provides an opportunity to get a first-hand look at resin techniques for creating water and ocean effects. The resin used here didn’t live up to our expectations, but it did help us better understand the challenges specific to this material. It is an aerospace-grade epoxy resin (polyester resin should be avoided at all costs because it ALWAYS cures over time) that is not sold to the general public. Its main advantage is minimal edge shrinkage during drying...Another brand that’s easier to find is featured in a tutorial here, which shows the step-by-step technique for making “your own” resin...
DH-82A/C TIGER MOTH
Emile Folks' plane is a biplane from the last war. The 1/32-scale Matchbox kit dates back to... 1979 and needs some improvements. Here, as befits a diorama, it will become a seaplane...
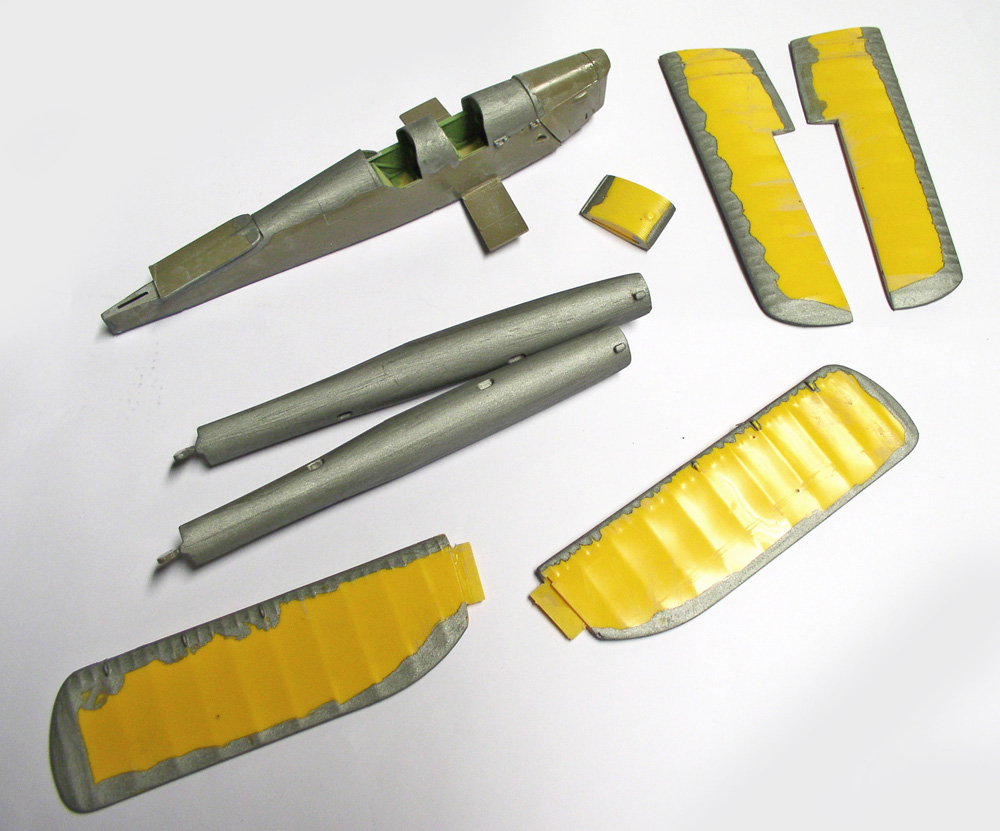
First thing: glue and fill the two-piece parts, then sand them down...
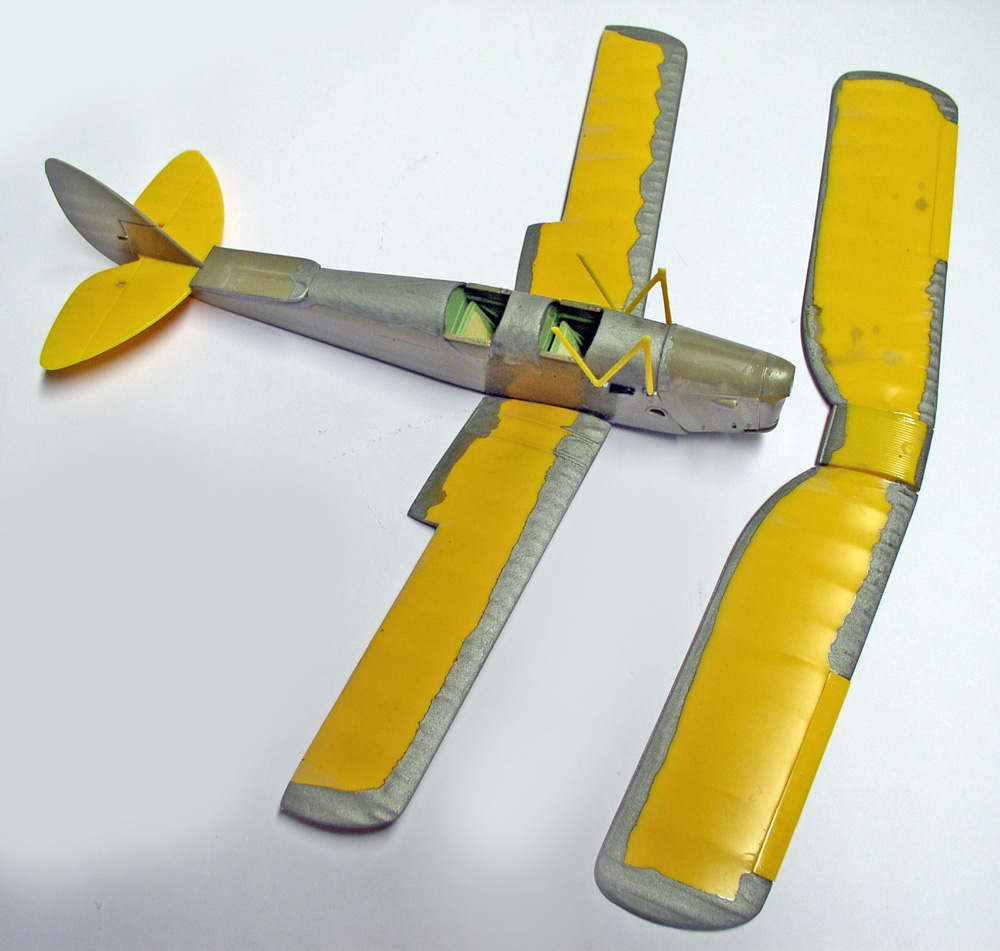
Given the kit's age, the more or less warped wing and float mounts have been replaced with Evergreen parts...
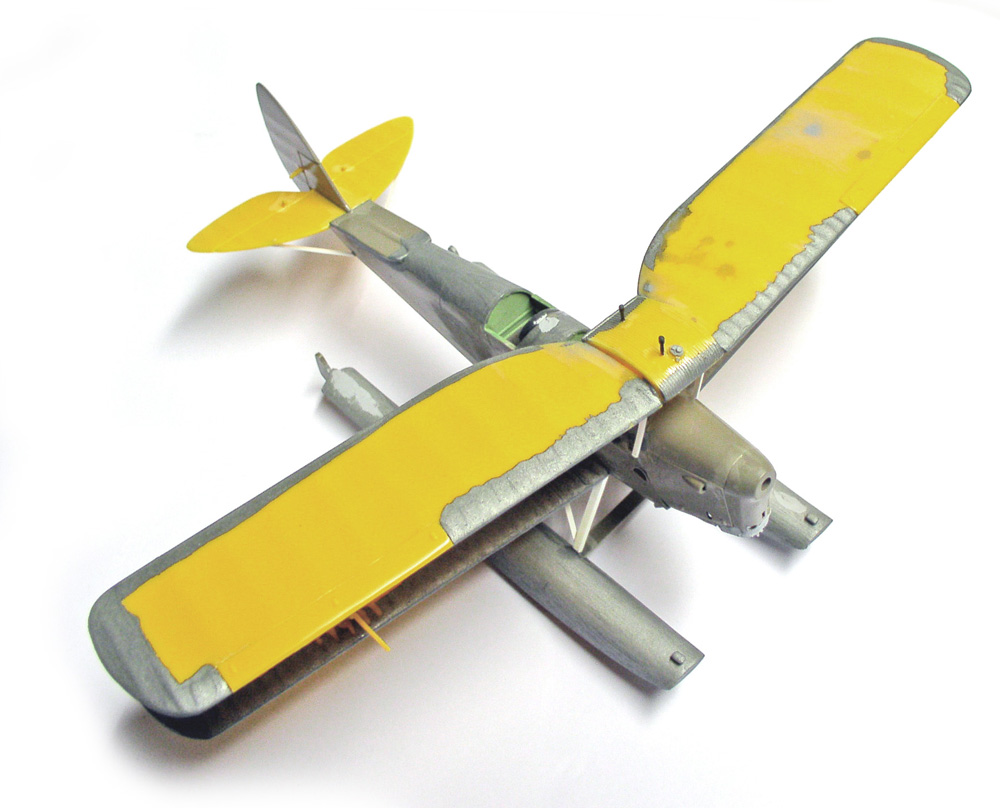
When gluing, make sure the entire assembly is symmetrical—wings, tail, floats...
The main challenge lies in combining these subsets...
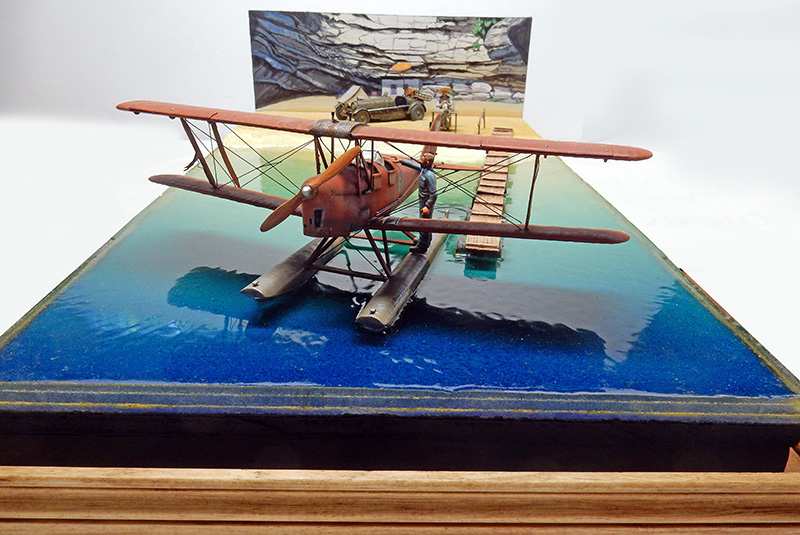
In this front view, you can see that the wings are slightly warped... This isn't due to the wiring, but rather to age... The struts are added using fishing line. We drill the pre-marked holes with micro-drills, then, once the line is glued in place, we fill the top and bottom areas with putty and sand them down...
Painting.
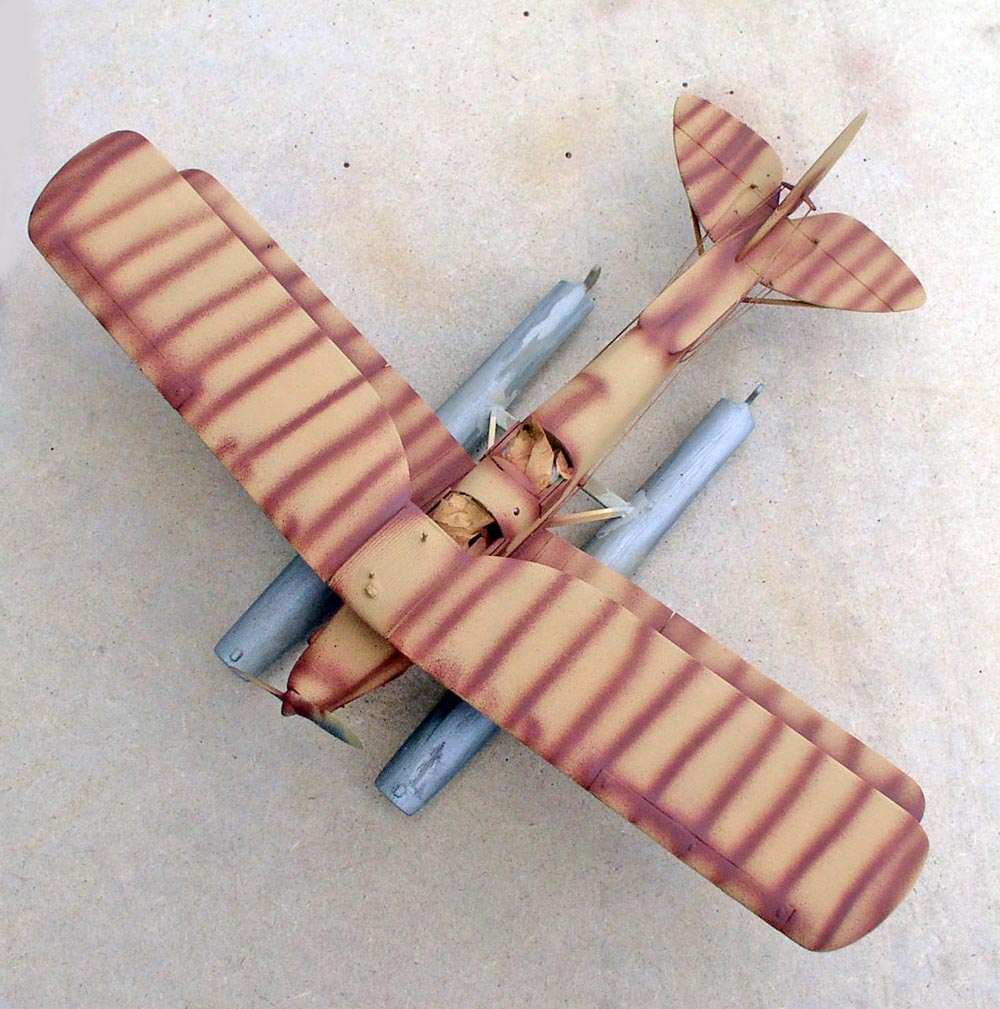
The paint used is Humbrol oil paint. Here, a coat of light sand was applied to even out the overall look, and 160 was used to add shading to the aircraft...
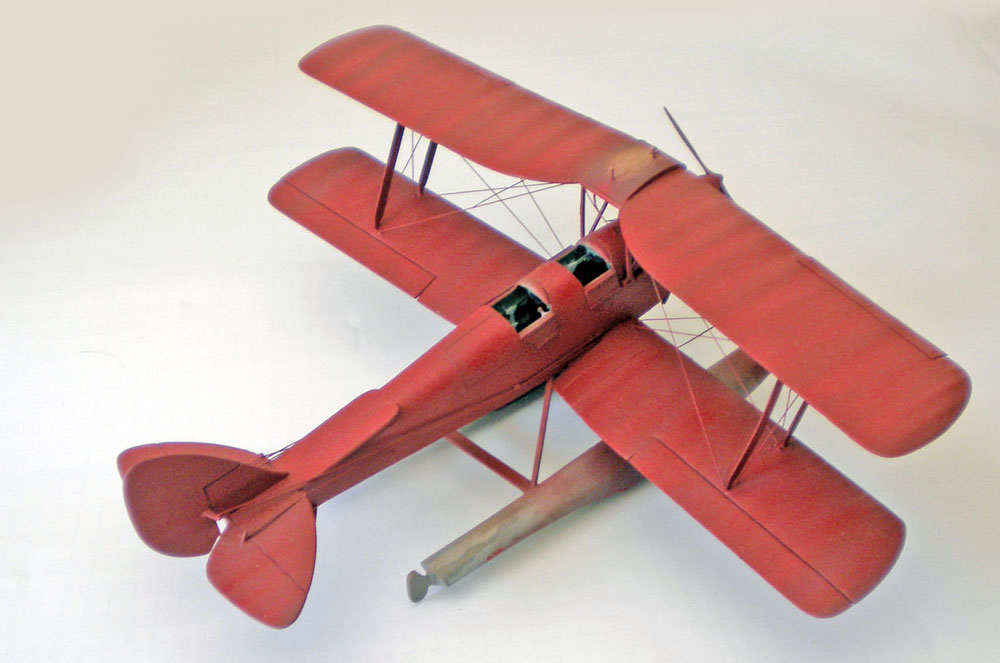
I decided to make it red, just like in Miyazaki's magnificent animated film *Porco Rosso*, which inspired me to create this diorama...
The four images above show the progress of the painting. Base 133, then 73, 153, and 60. Next, a turpentine wash was applied using base 63. We continue with a dry-brush technique using 20, 60, 100, and 82...
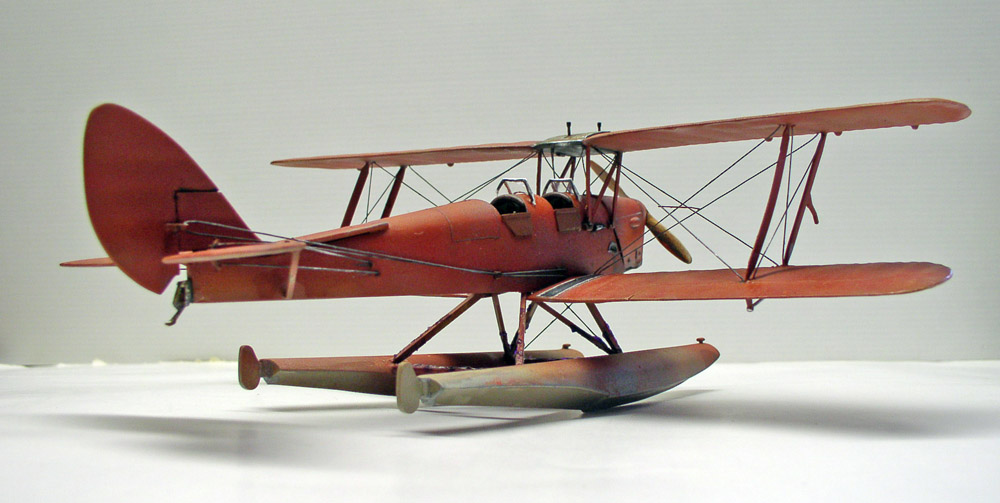
Here, the wooden propeller is painted over a white undercoat, then with Naples yellow and Sienna. Once dry, it will be varnished... The oil reservoir (?) is also aged using a mixture of Umber and Sienna...
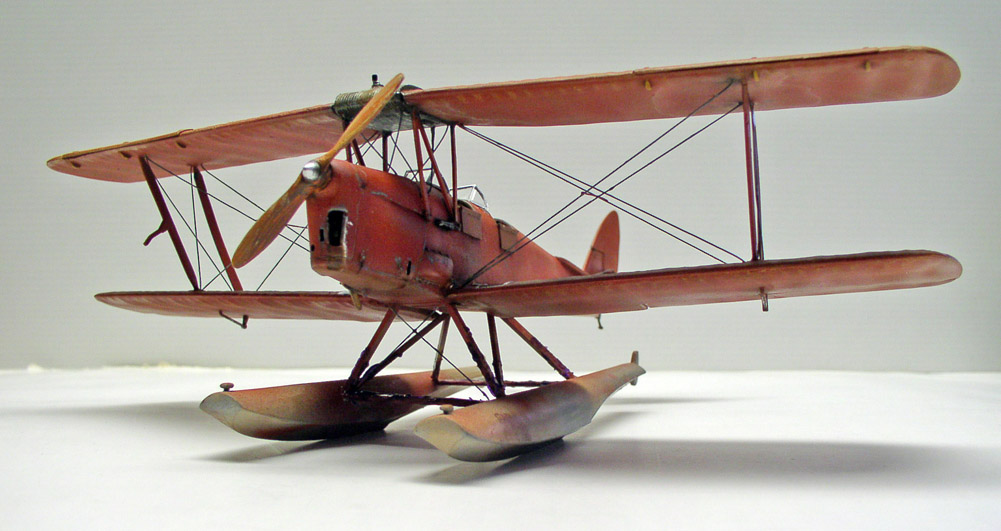
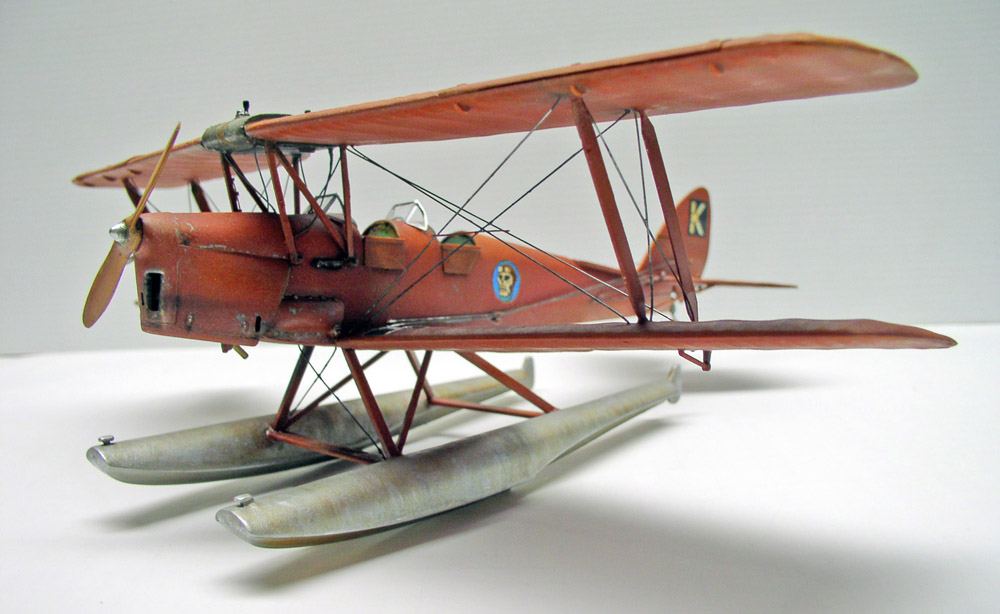
The floats are painted with Models Master silver and then, once dry, with a wash made from Terre d'Ombre and Terre de Sienne...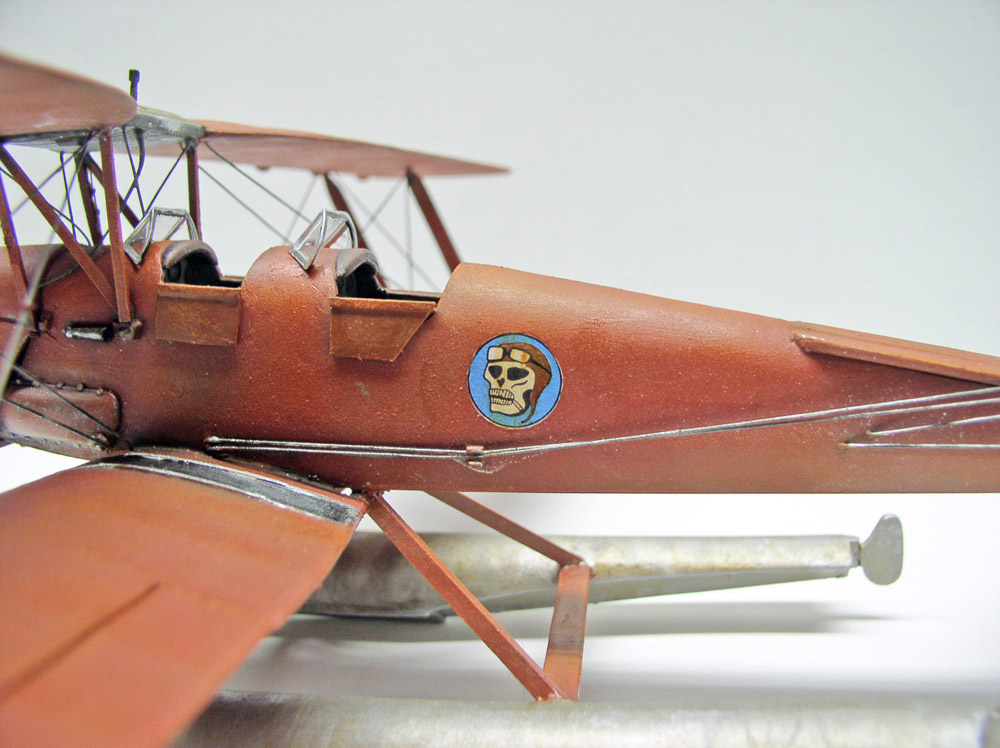
The crew doors were rebuilt using plastic sheet, and nuts were added to the exhaust. Decals were applied...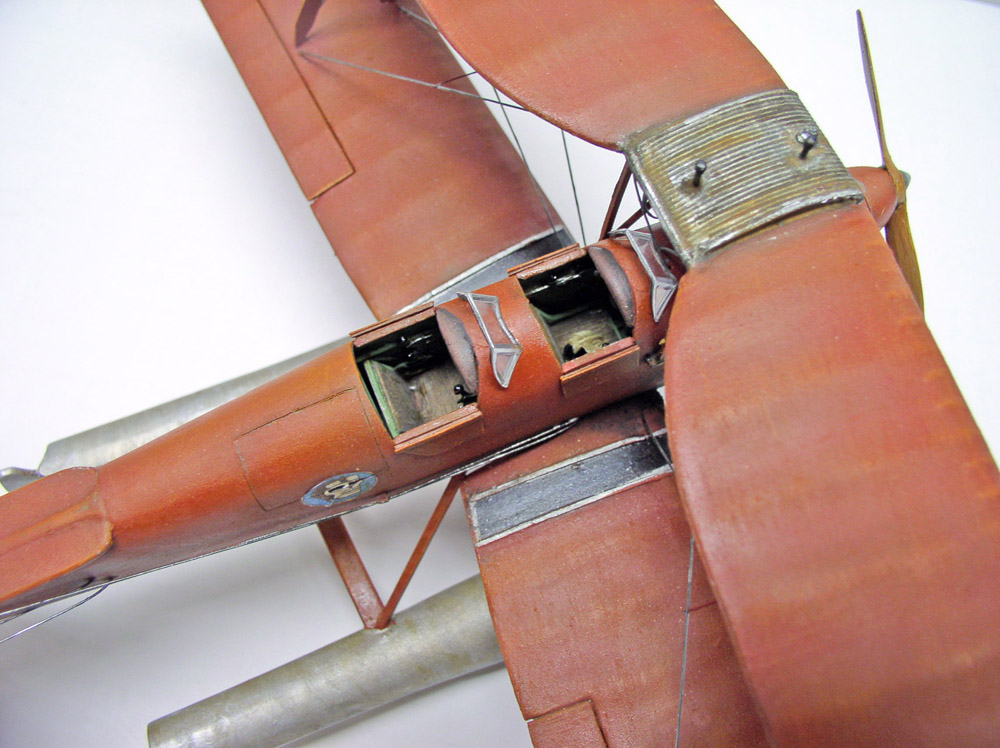
The Bugatti
An old Matchbox kit that was reissued a few years ago by Revell...
The car was modified to turn it into a comic book vehicle. A roof rack was added, and the spoked wheels were replaced with "solid" ones. The base paint is Humbrol HI-2 Overall Green...
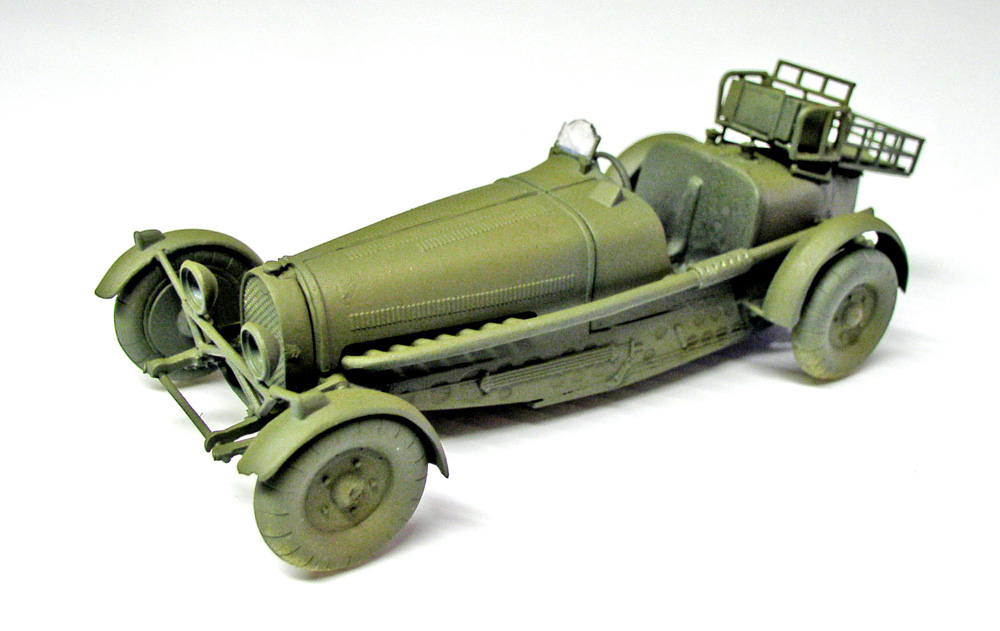
Then apply a Models Master weathered olive...
A mixture of black and 98 was applied to the entire model. After dry-brushing with Humbrol 158, I added weathering with a fine brush using Humbrol HX5 Light Aircraft Gray...
A front view showing the headlights. The bulbs are made of flame-stretched translucent plastic and painted with Tamya neon yellow acrylic paint...
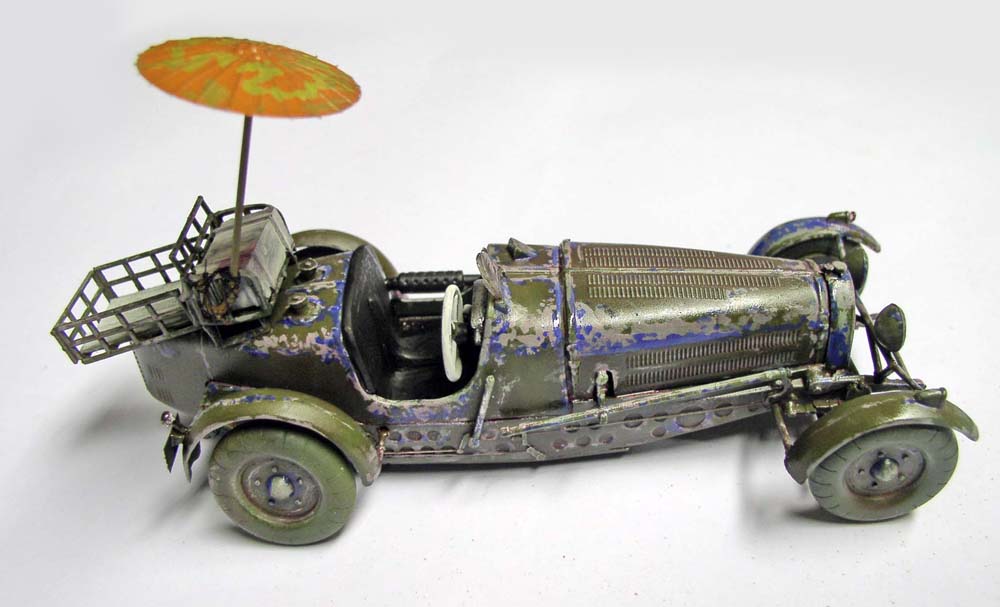
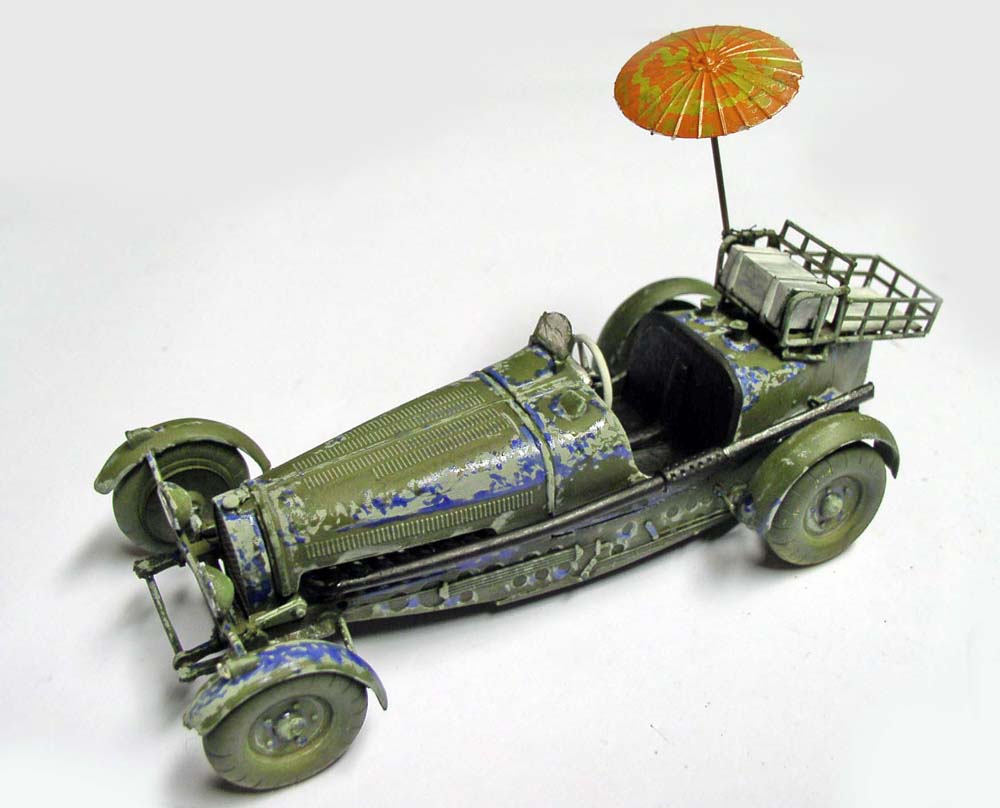
Two views showing the chipping, finished with a No. 14 blue...
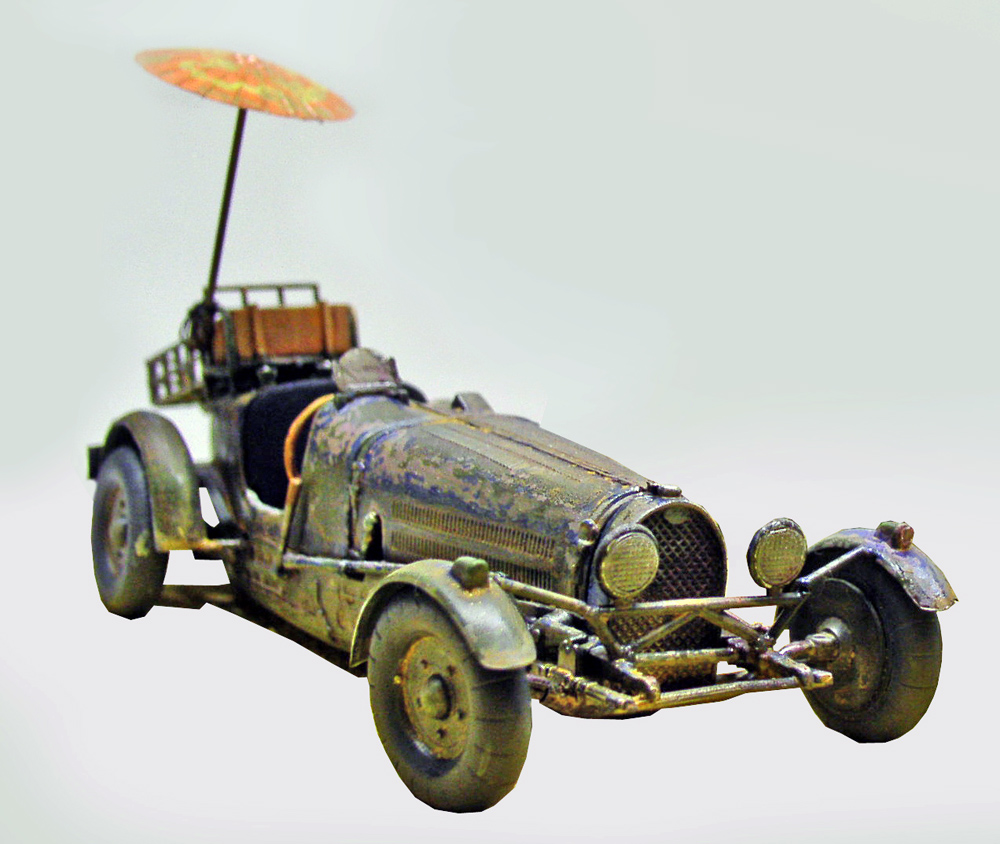
The vehicle is treated with a juice-based filter, and then the finishing touches are applied. Dashboard, seats, steering wheel, luggage, exhaust, wheels...
The vehicle is fitted with a juice-based filter, and then the final touches are applied. Dashboard, seats, steering wheel, luggage, exhaust system, wheels...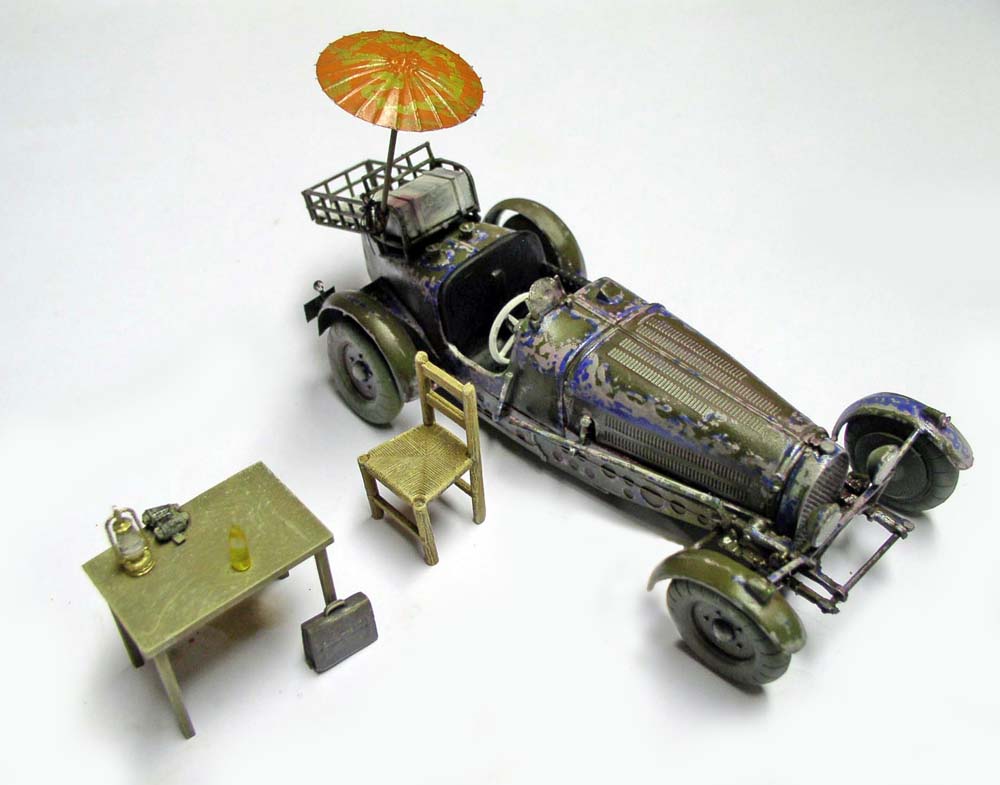
The Setting
We used a few sketches to come up with a good visual that would showcase the scene...
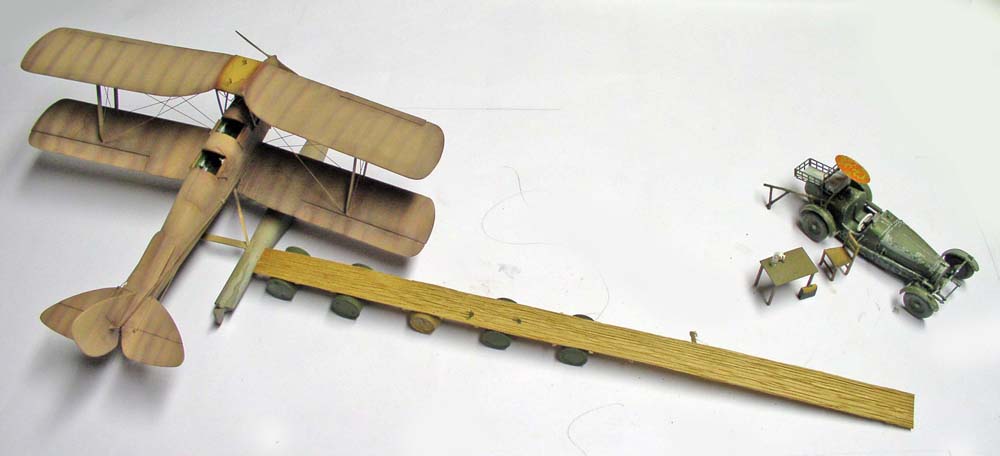
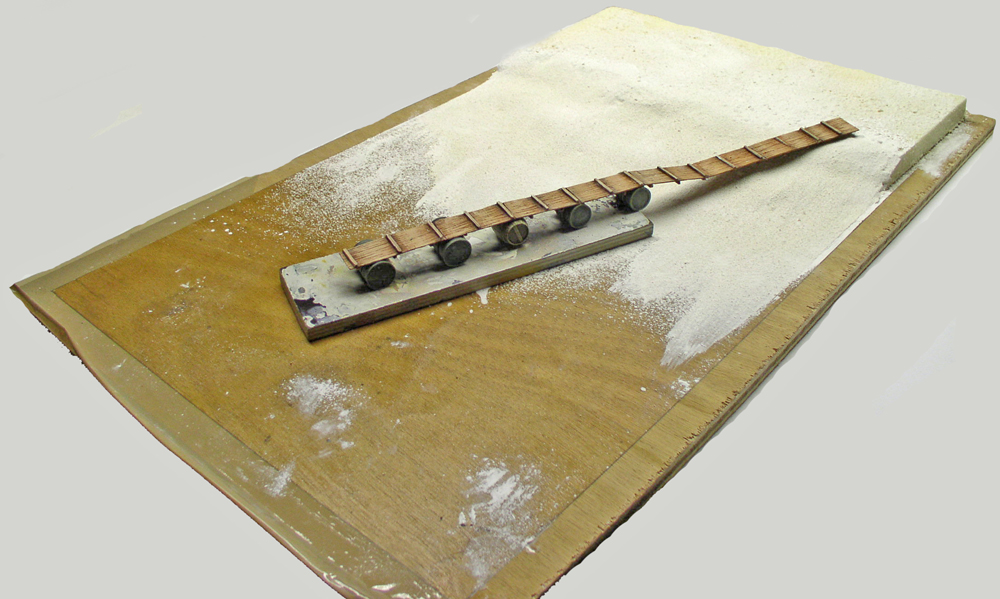
The set. Extruded polystyrene and plaster of Paris for the sand. Plywood for the background...
Decorative painting
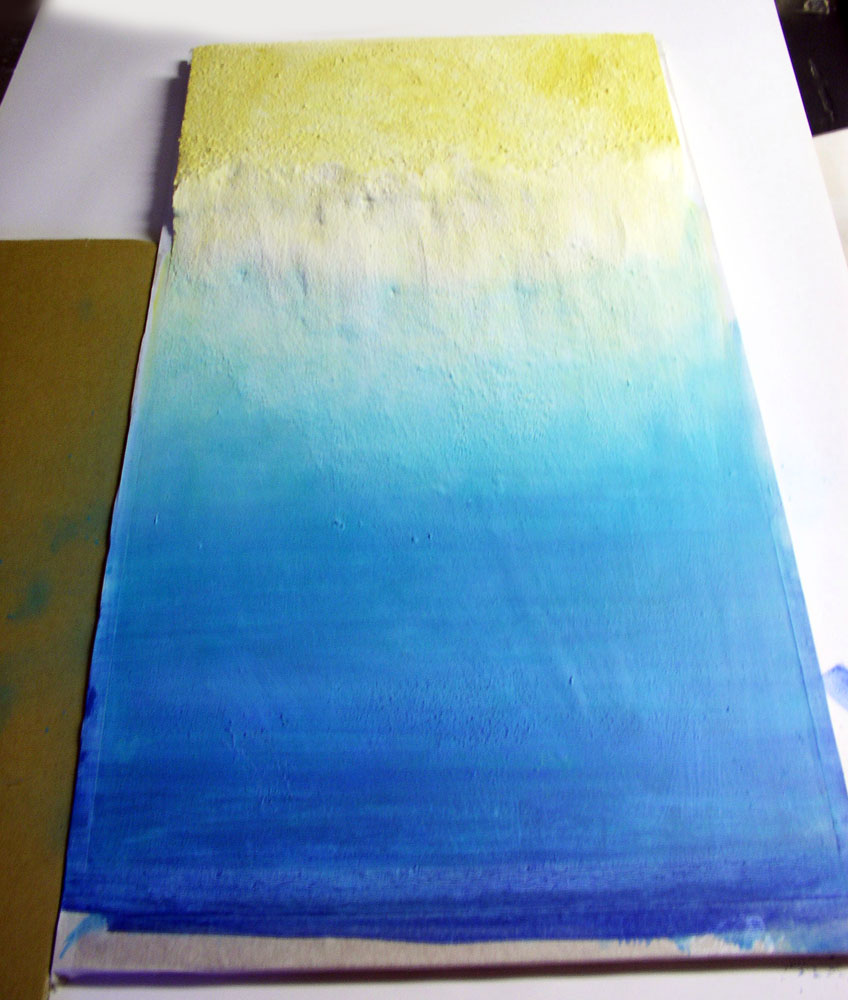
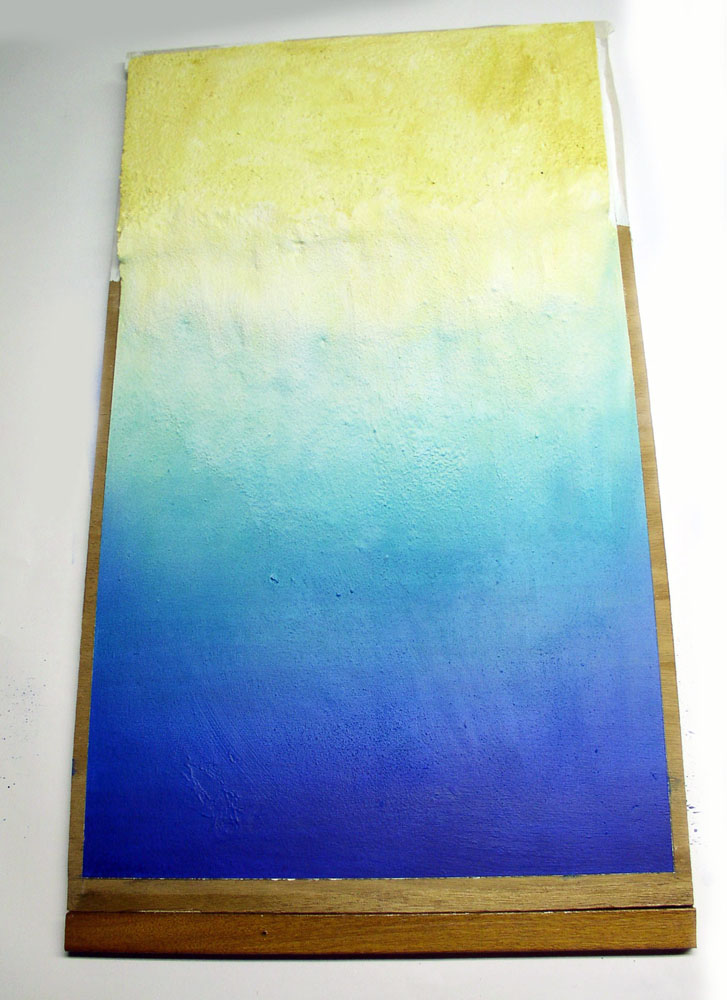
The water is finished with an airbrush...
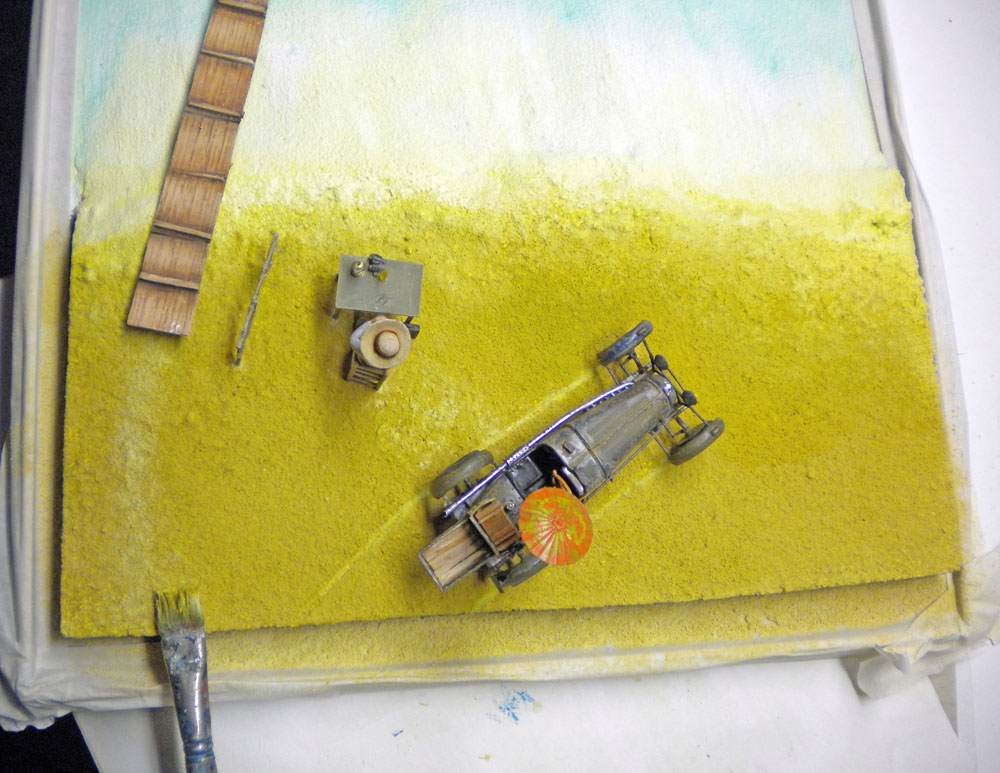
The figure and accessories are set up, and a flocked finish is added to bring the whole thing together...
Resin
Resin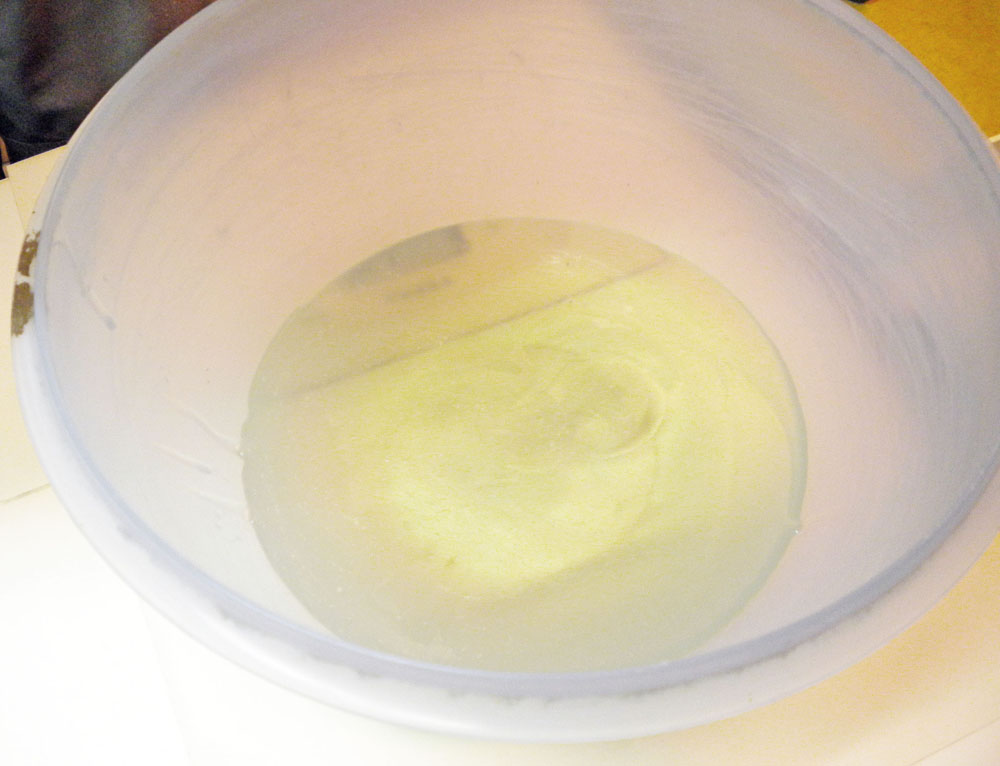
Resin and hardener. Both products are weighed to determine the correct amounts based on the volume and thickness to be covered...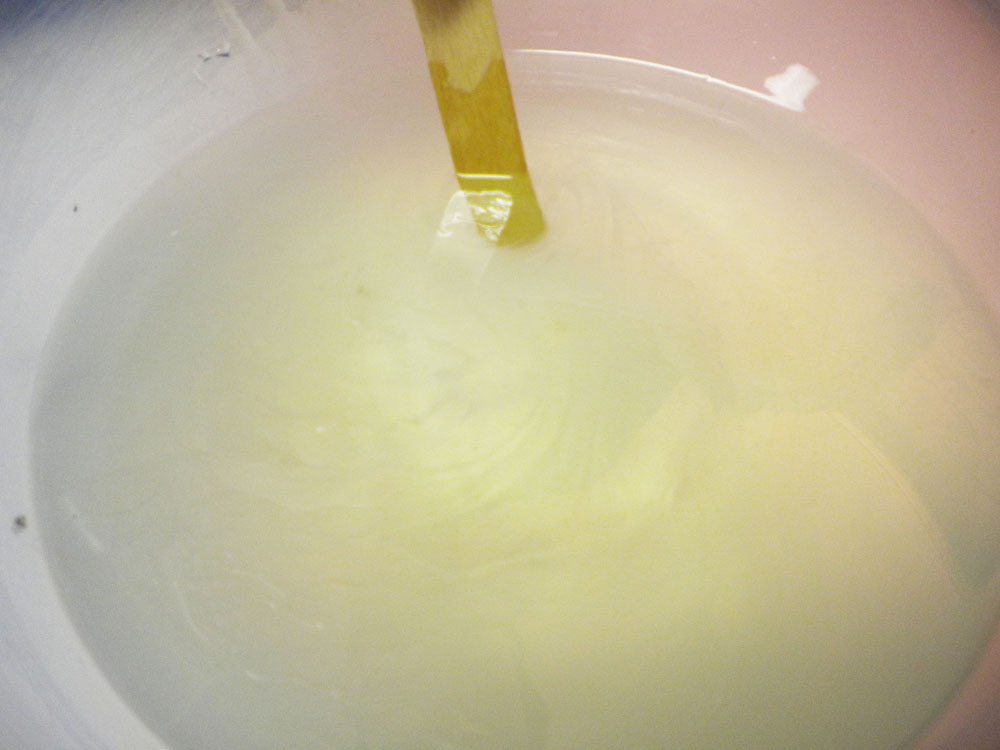
Everything must be mixed thoroughly, avoiding bubbles as much as possible...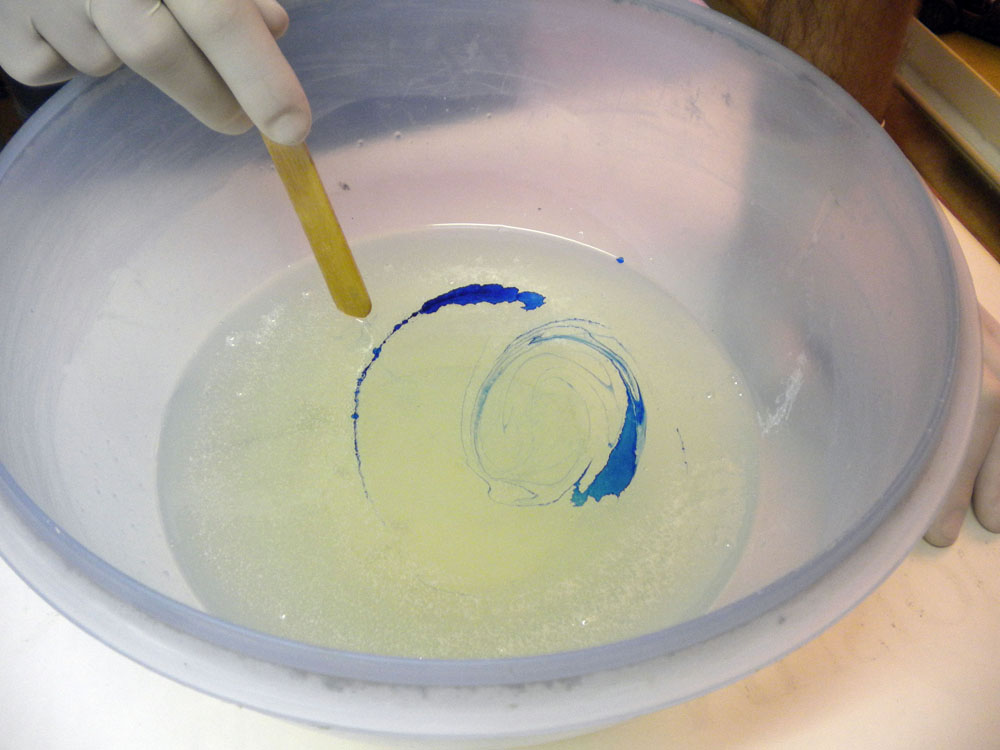
A blue dye is added to enhance the depth effect...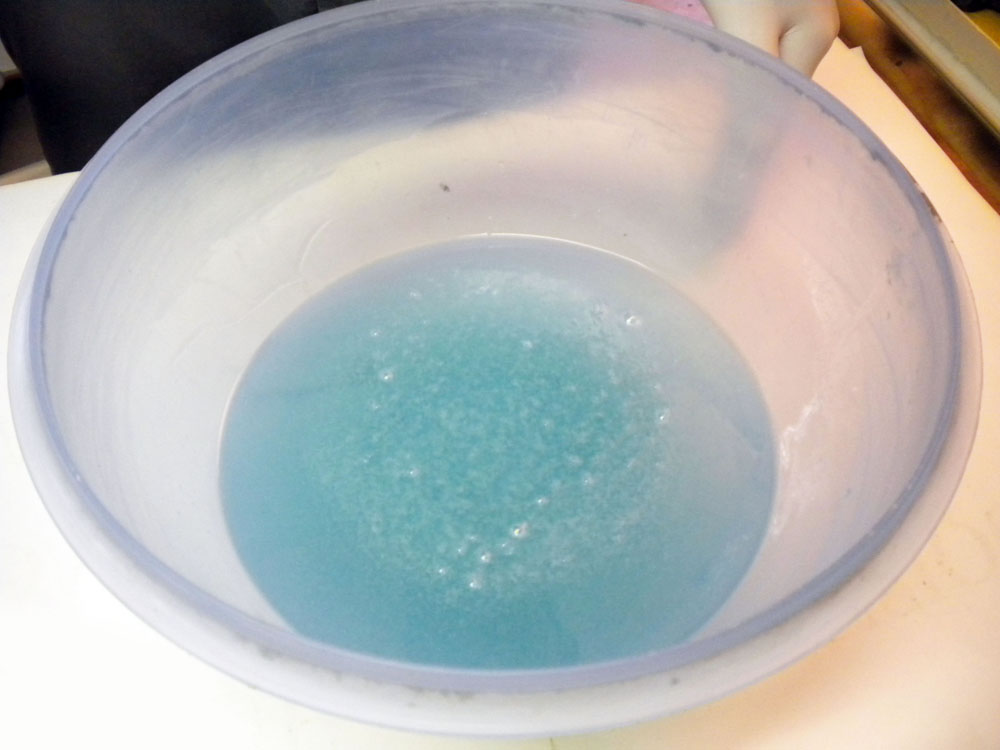
Here again, you need to make sure the bubbles rise to get rid of them...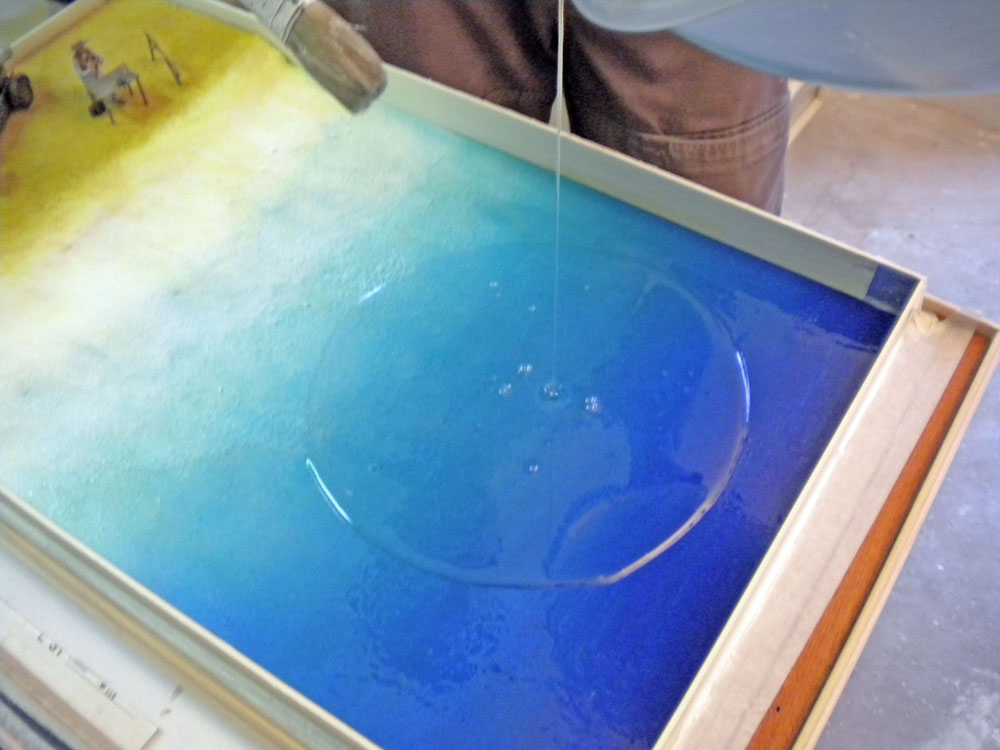
Pouring the first layer...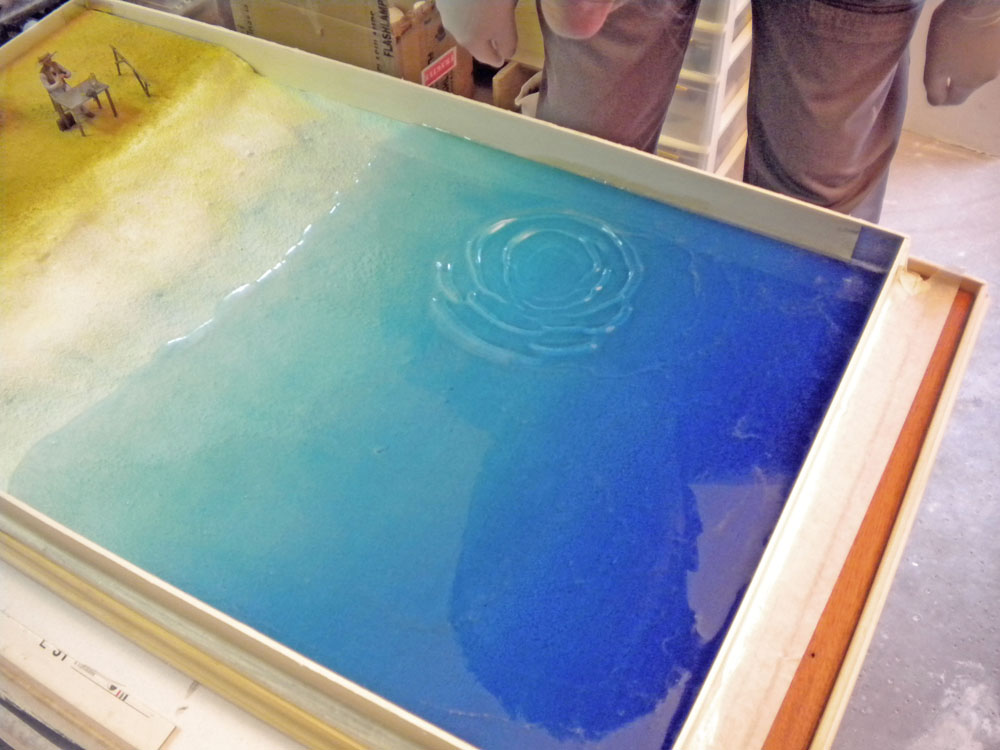
The first coat is applied. The average thickness here is 3 or 4 mm...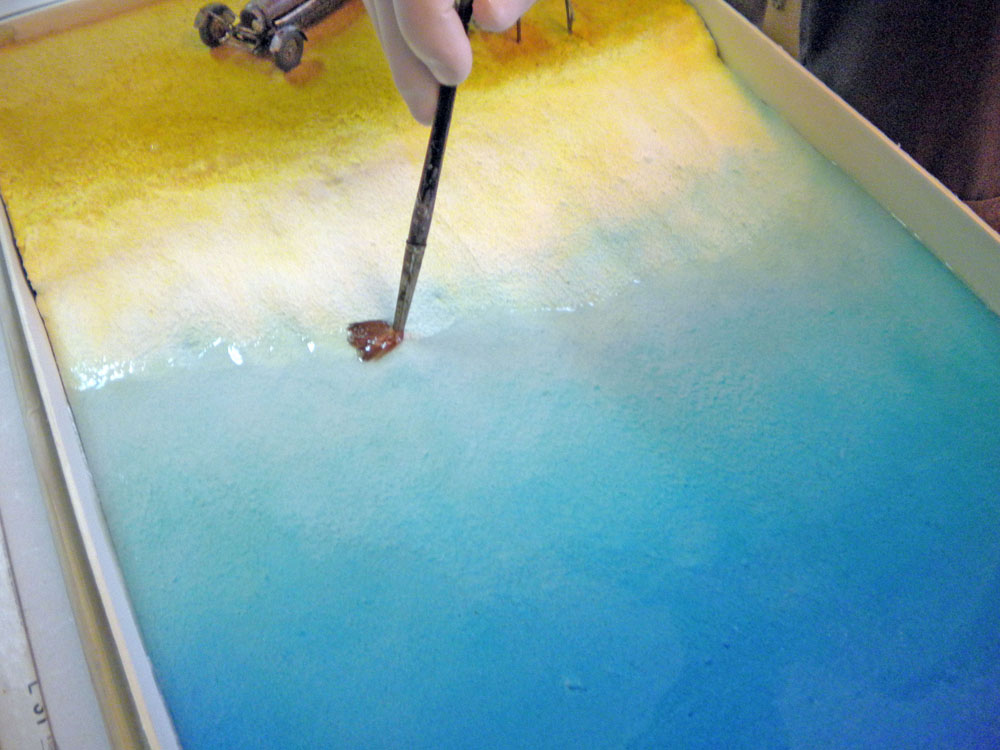
Preparing the second coat. Installing the pontoon...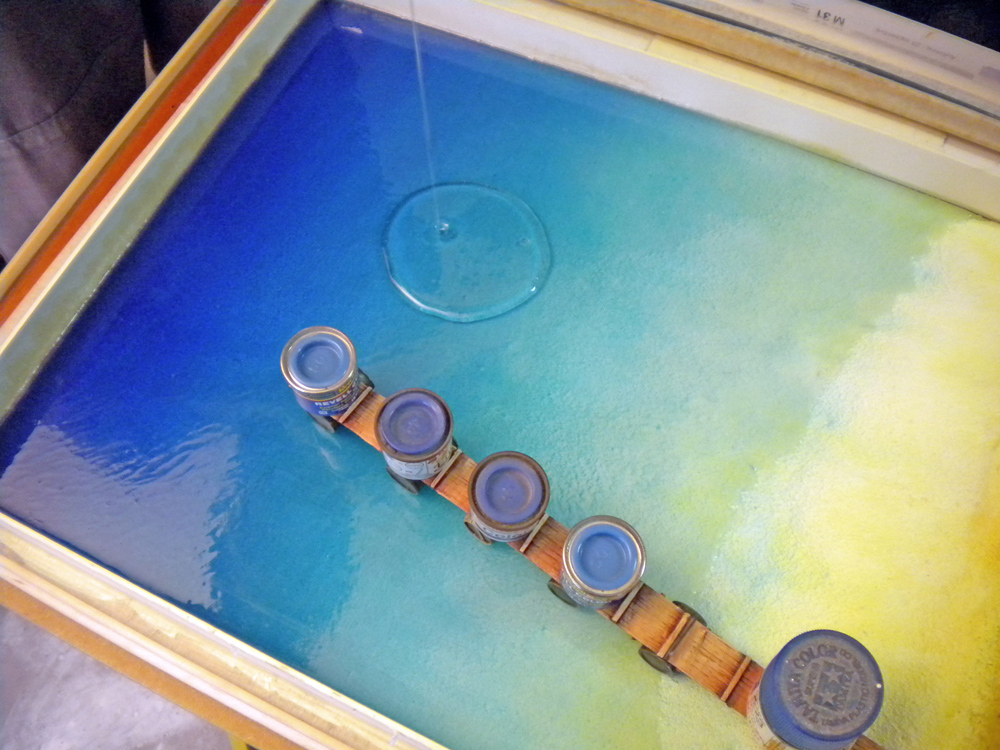
We are pouring the second layer...
Acrylic gel
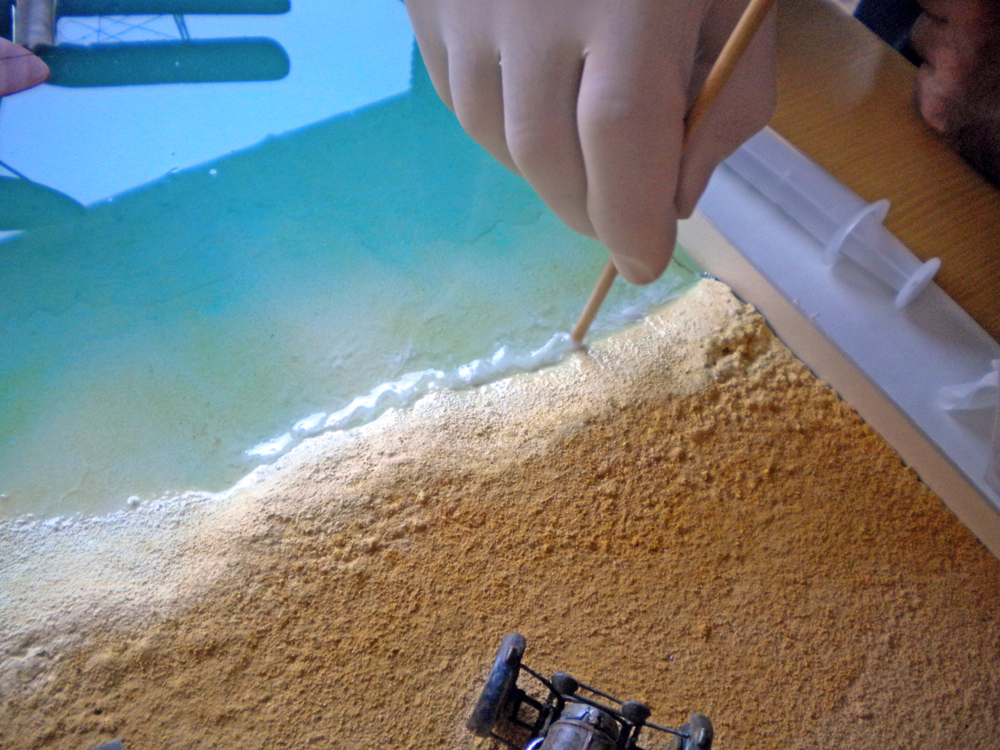
As soon as the second layer is poured, we begin shaping the wave crests. Liquitex acrylic gel is applied using a toothpick and shaped...
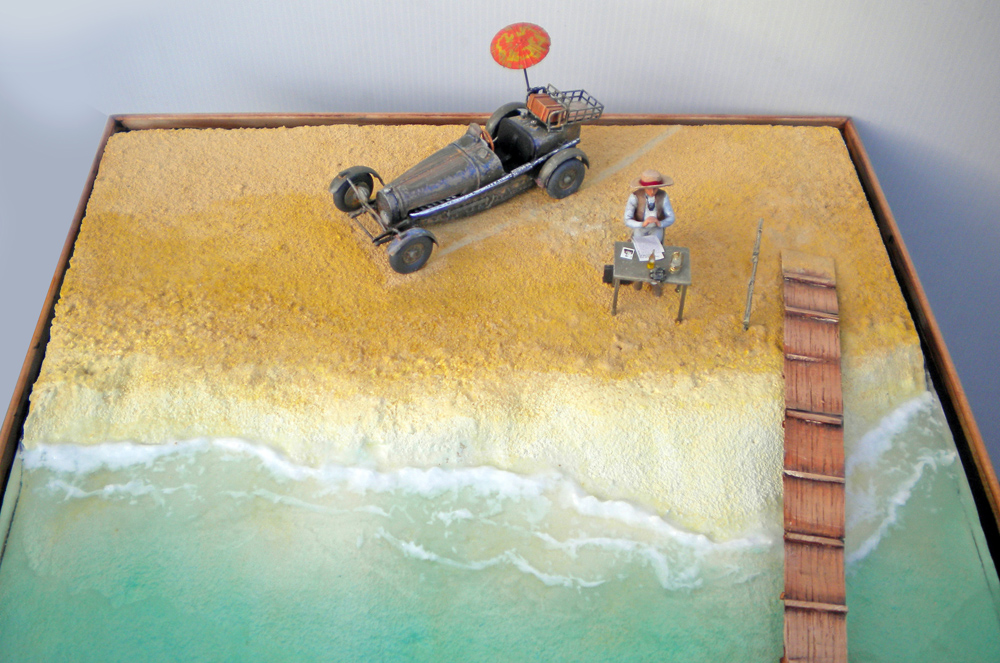
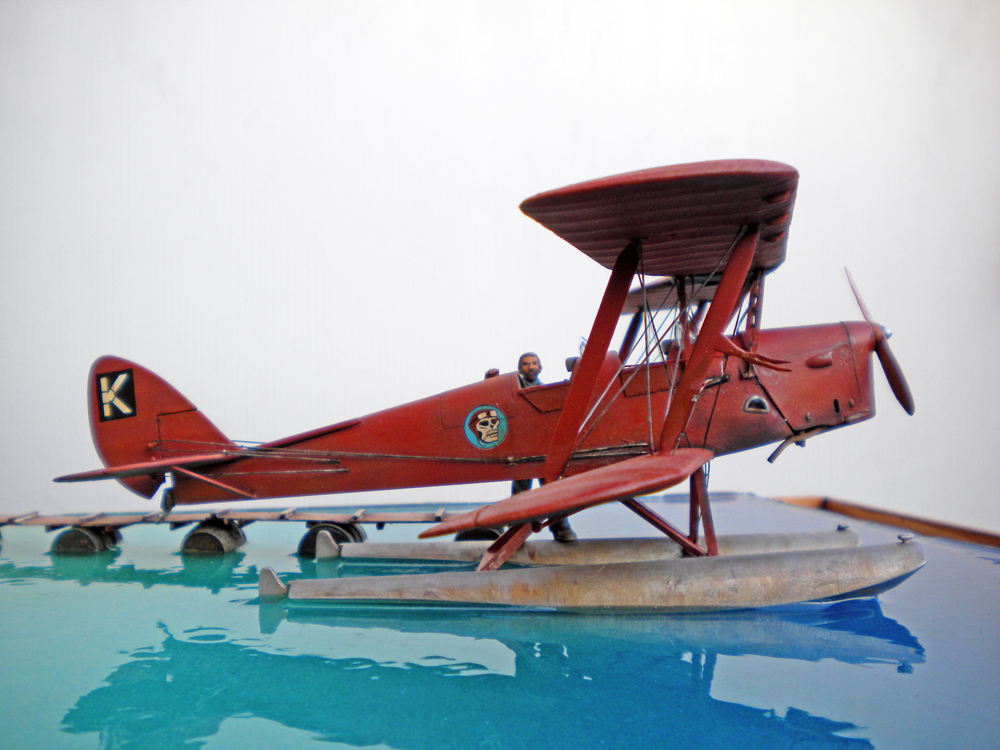
The seaplane is positioned before the third coat is applied. The mechanic's weight on the right float is taken into account to increase the aircraft's tilt, and then it sinks...
A photo showing the successive layers as they are applied. We use a hair dryer to heat the resin just as it begins to harden to create swell-like waves. The problem with this specific product was its reaction to heat... It was difficult to achieve even waves...
Envoi en cours…
