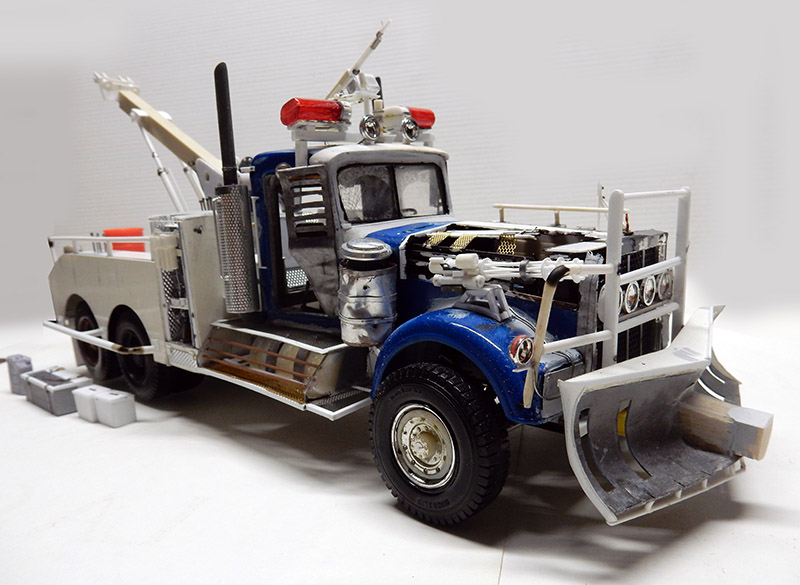
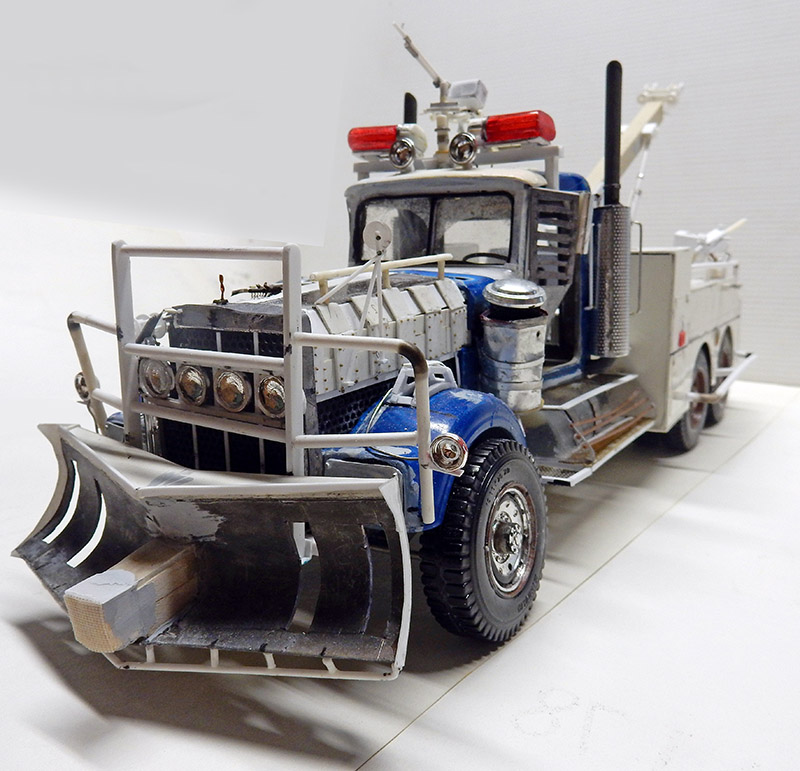
échelle 1/24ème Tow truck "Terminator Salvation" - échelle 1/24ème
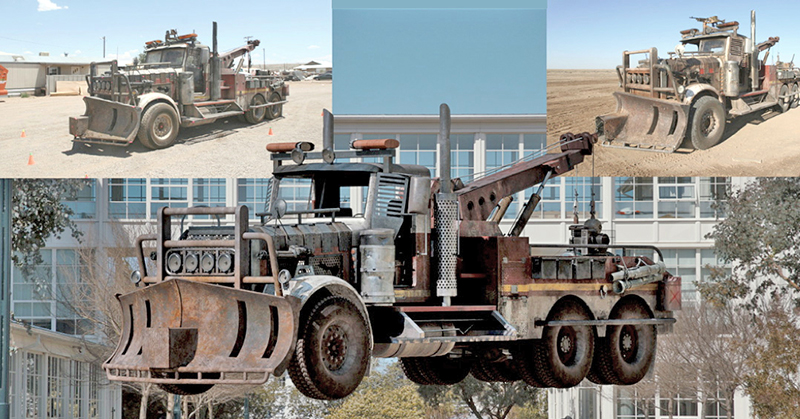
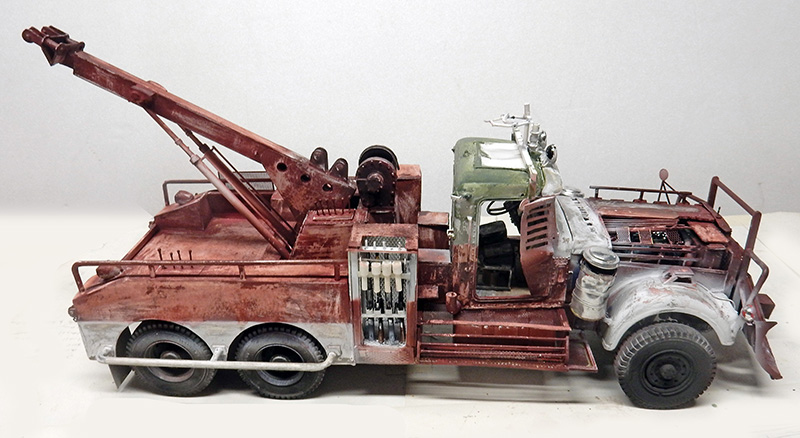
After a first truck based on the film's production designs, here's a new tutorial on the tow truck used in the movie itself...
Here, there are no store-bought models—everything comes from the surplus box...
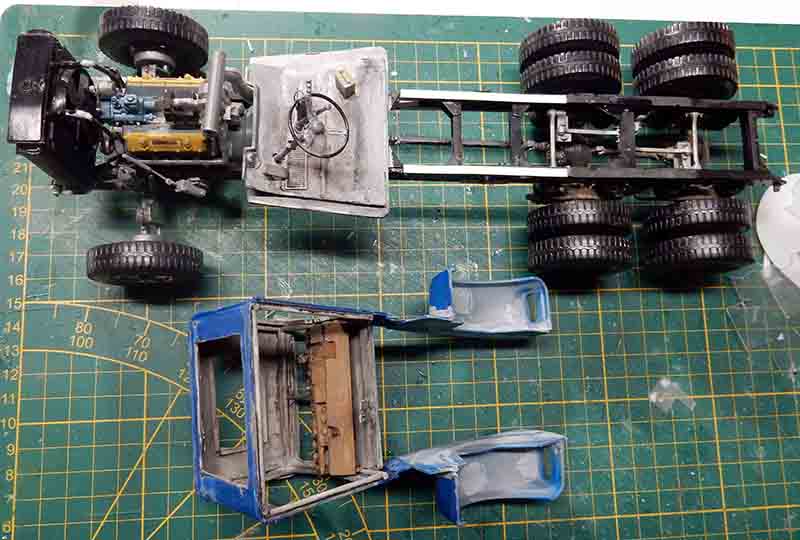
We'll start with the chassis, for which we need to determine the correct length based on the size of the tow truck...
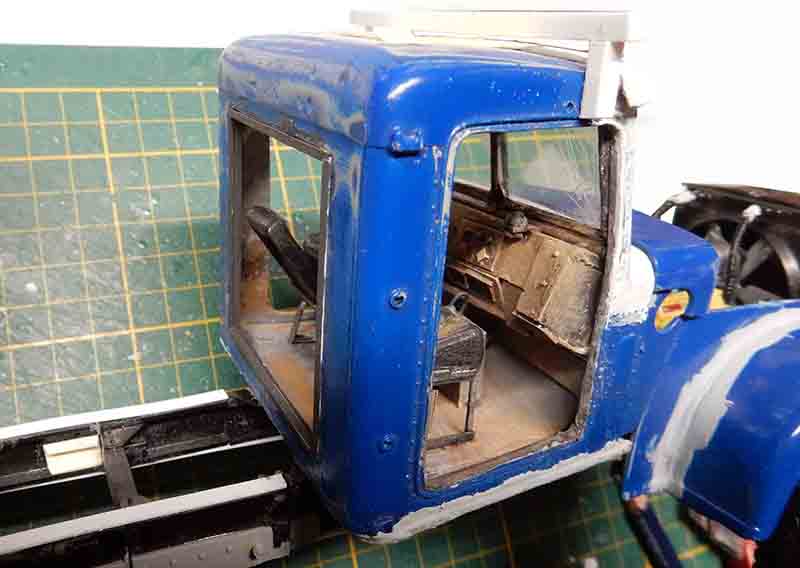
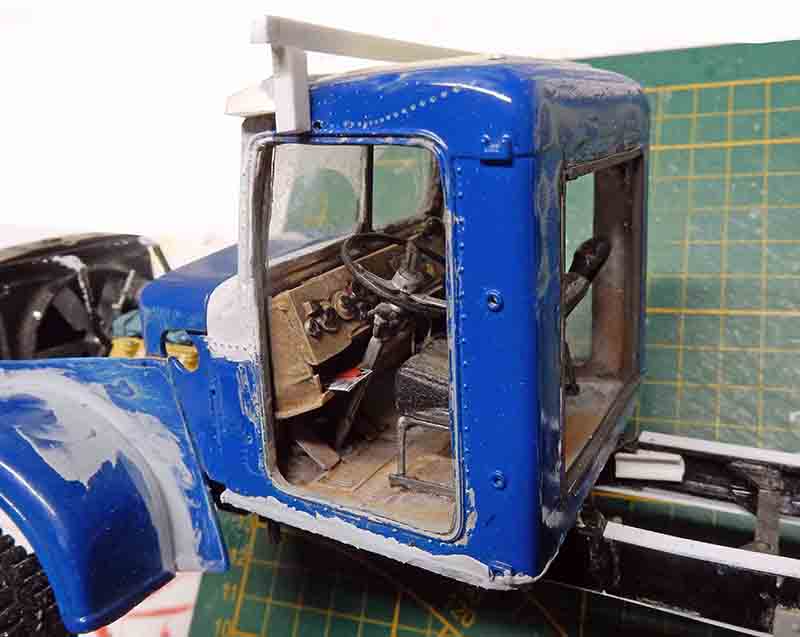
Part of the cockpit has been cut out, the floor has been redone, and a dashboard has been built from scratch (using plastic card)...
A side view of the cockpit, a large portion of which has been cut out. The doors have been removed, along with the back, the roof, part of the engine cowling, and the fenders have been adjusted...
Another view. You can see the new dashboard. The windshield has been redesigned. The seats have also been redesigned...
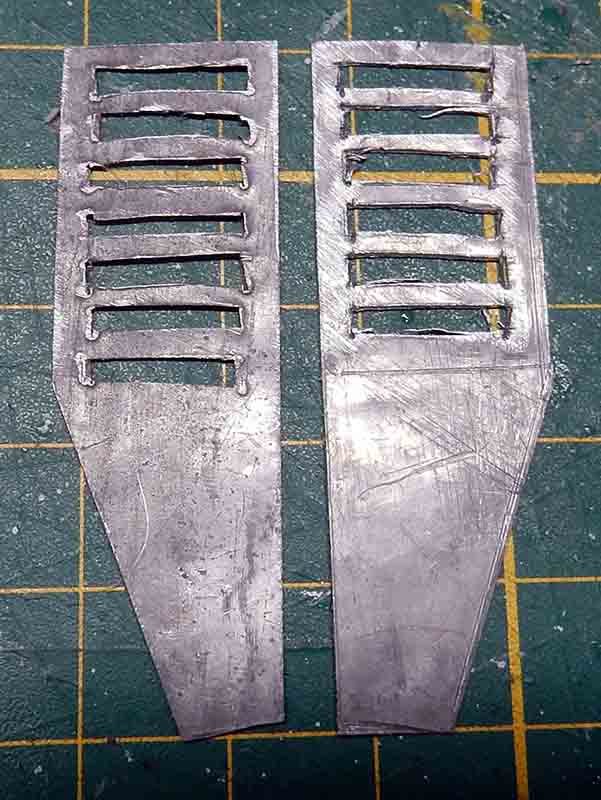
The armored side panels that protect the doors are made of lead sheet...
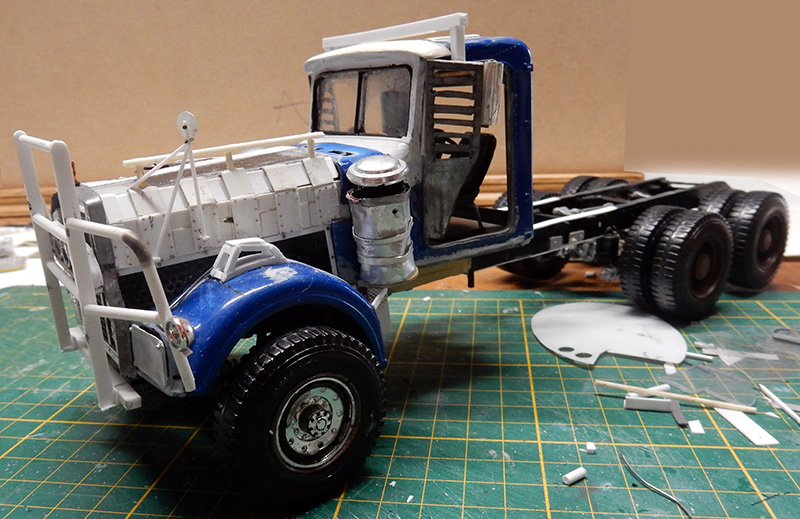
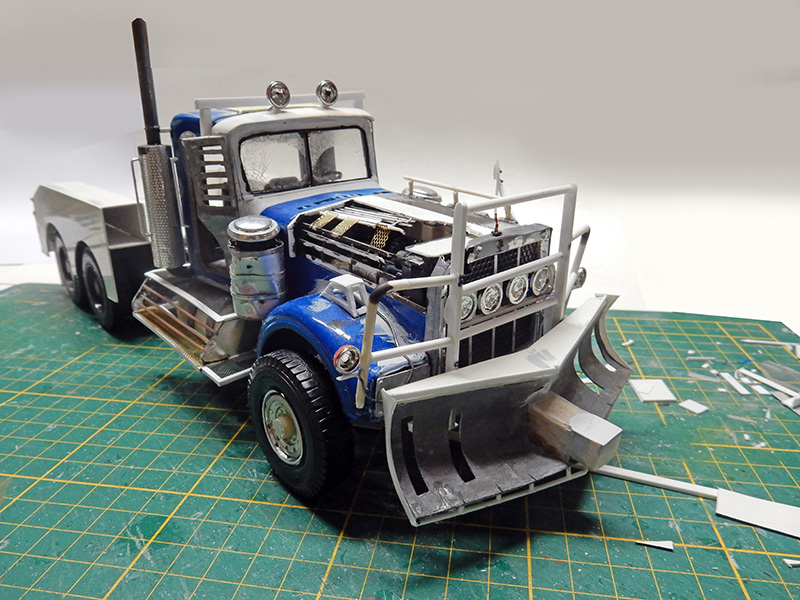
Progress. Right-side view: construction of the bumper using Evergreen rod, as well as the "remnants" from the top of the hood. A plate is glued in place where the headlights would be on the front of the fenders. The air filters are made the same way as for the other truck. Fine grilles have been added. On the fenders, we’re building the machine gun mounts...
View from the left: The engine hood is further reinforced on this side with metal plates. A rearview mirror and its mount have been added. The mounts and mirrors are stamped...
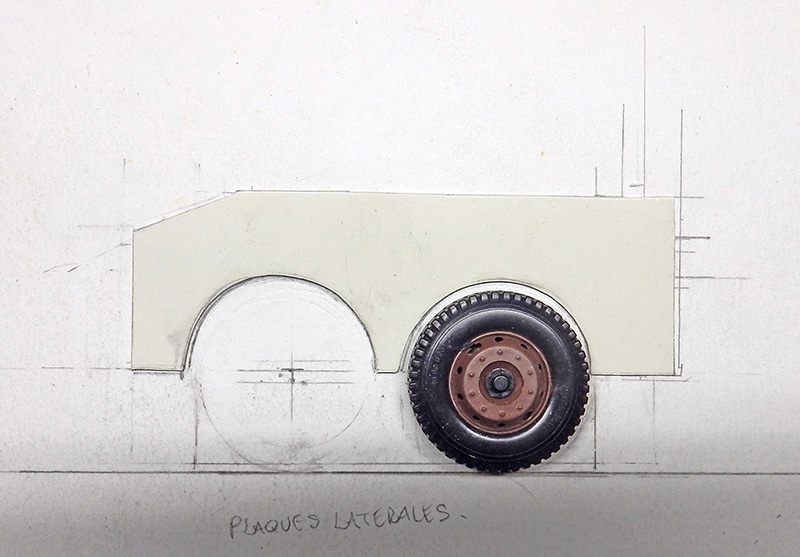
The rear section: scaled cross-sectional view...
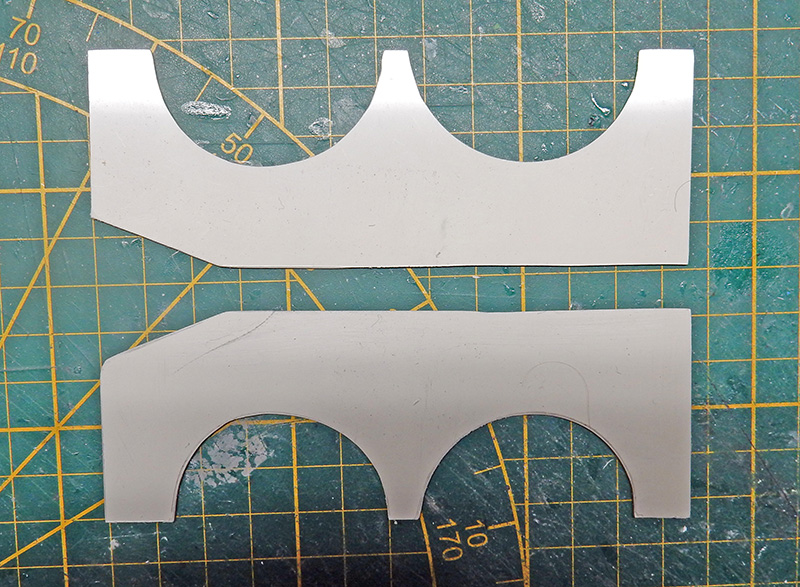
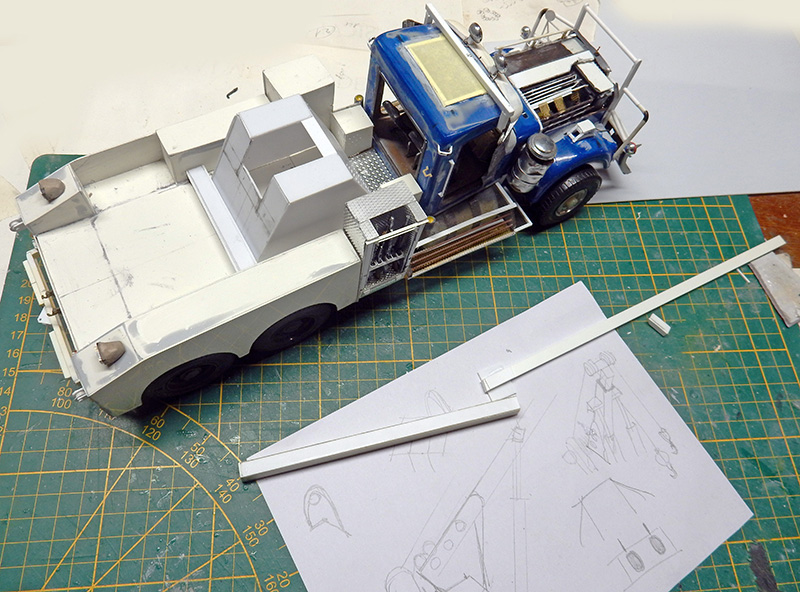
The side panels are cut from plastic card...
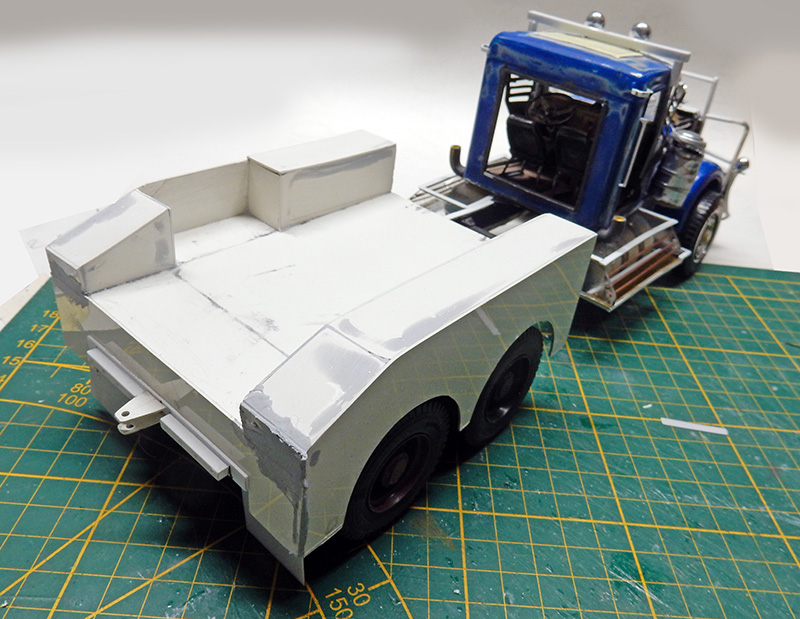
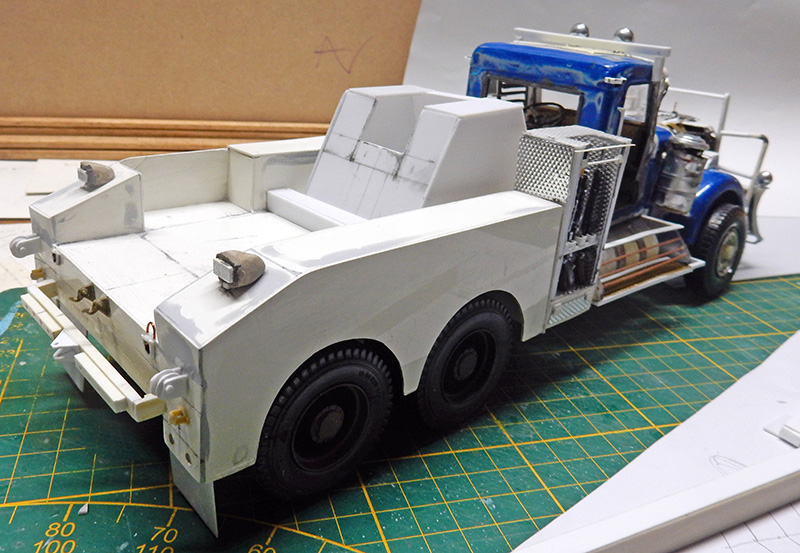
We're building the floor, the side panels, and the bumper...
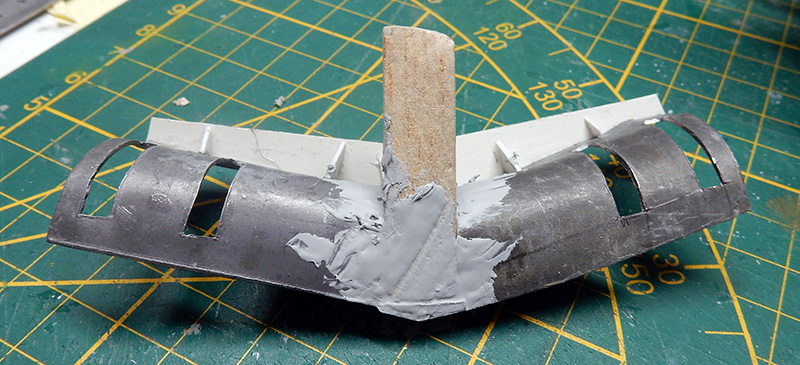
We go back to the front to build the bulldozer blade. Lead sheet, plastic card, and balsa wood...
The part is in place. Meanwhile, I'm making the steps out of plastic strips and photo-etched mesh...
The fuel tanks—just like on the other truck—were cut down and glued under the assembly...
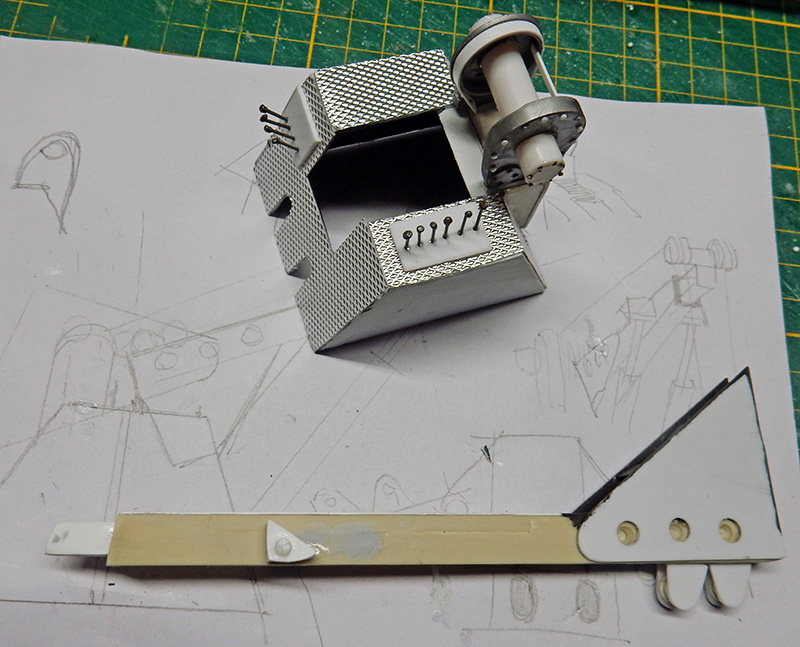
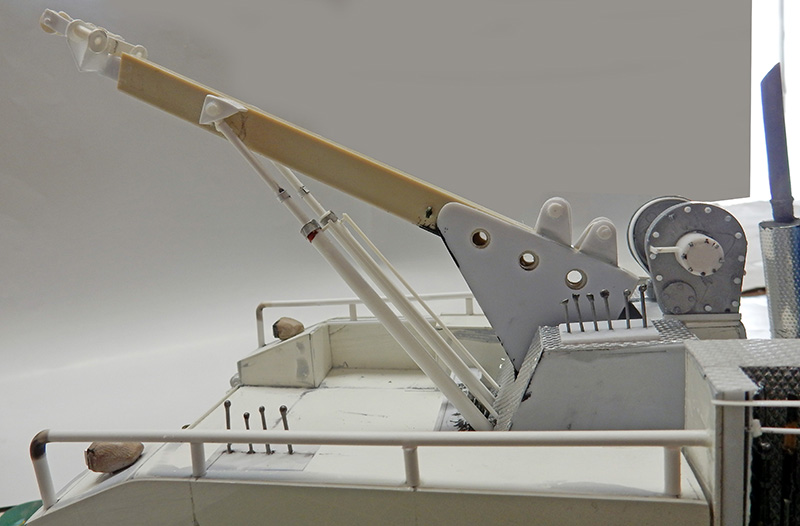
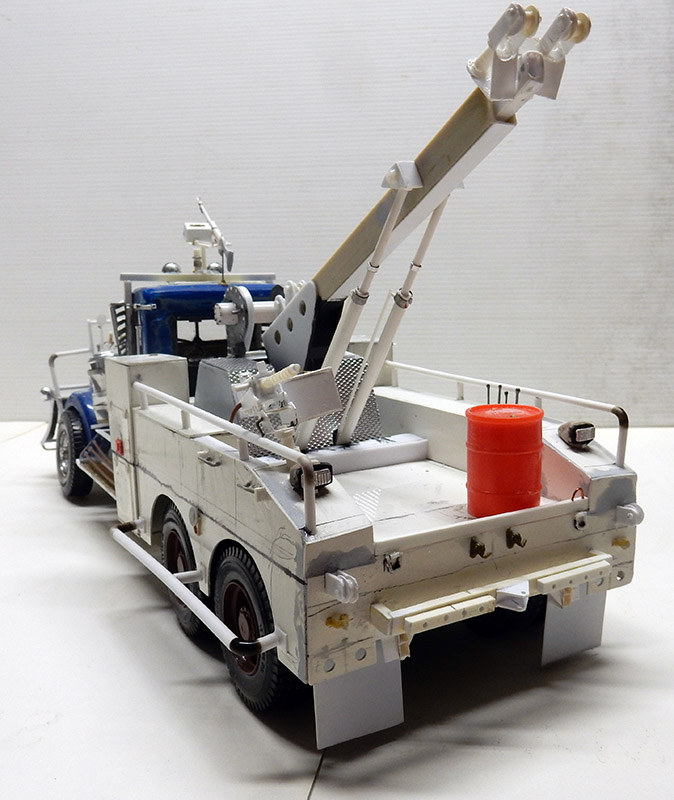
We go back to the rear section to install the hoist bracket and the mast...
Installing the base. The side weapon compartment is installed, along with the taillights...
Details of the block and mast...
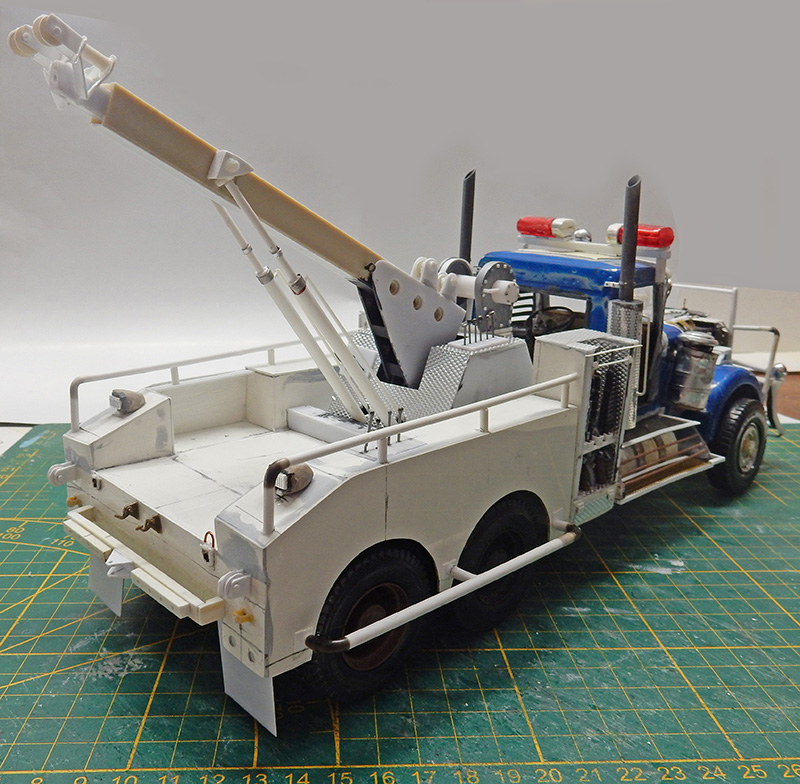
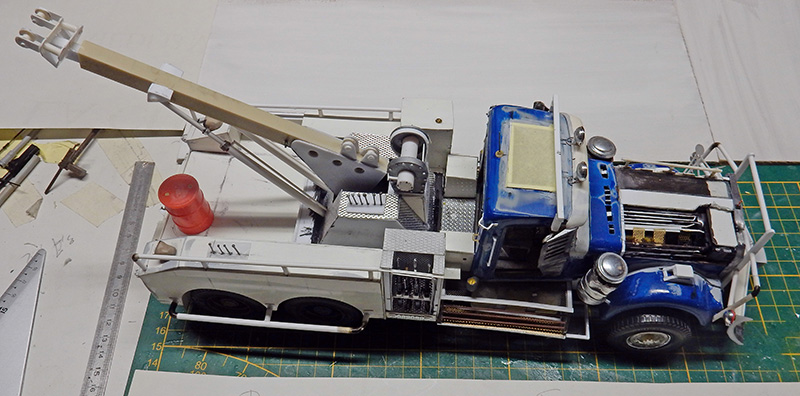
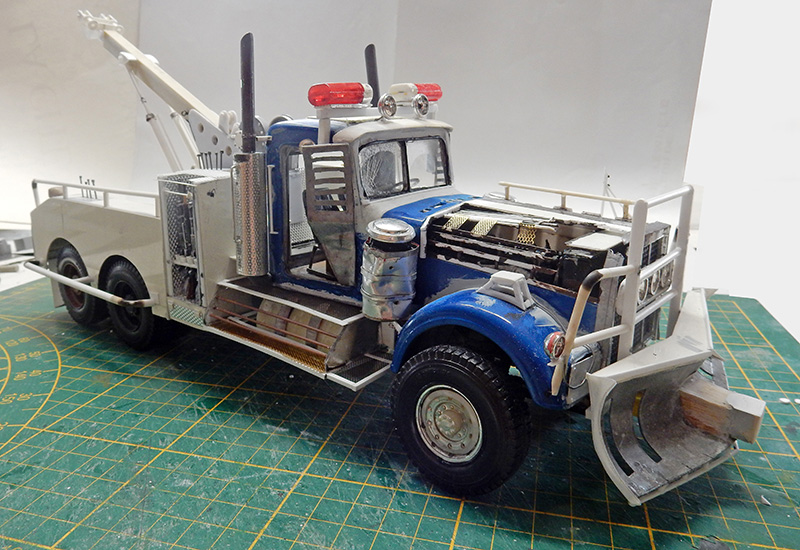
The entire piece is in place...
Protective bars round out the package...
Another view...
The lower part of the exhaust pipes has been modified...
View of the bumper with the mud flaps. Roof rack bar for the lights and machine gun mount...
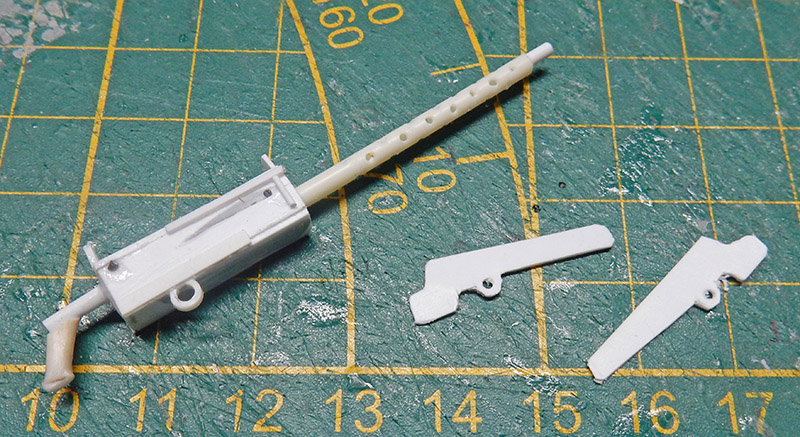
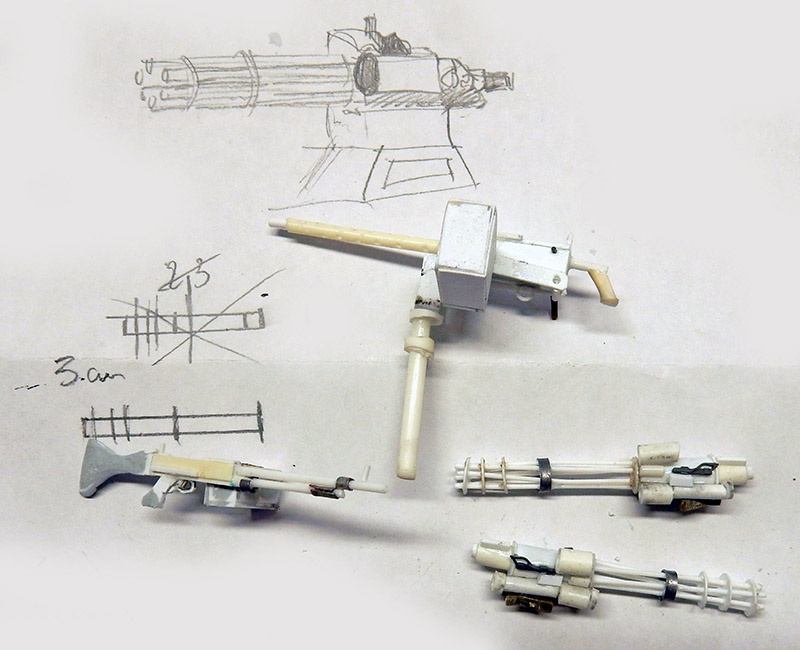
Creation of a 30mm-scale model...
Another view...
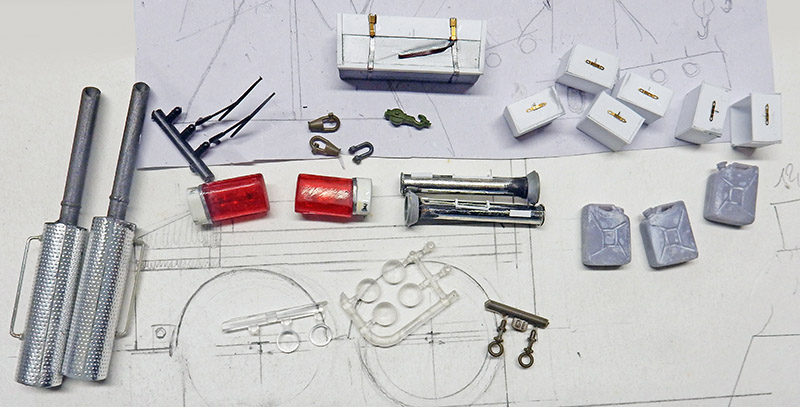
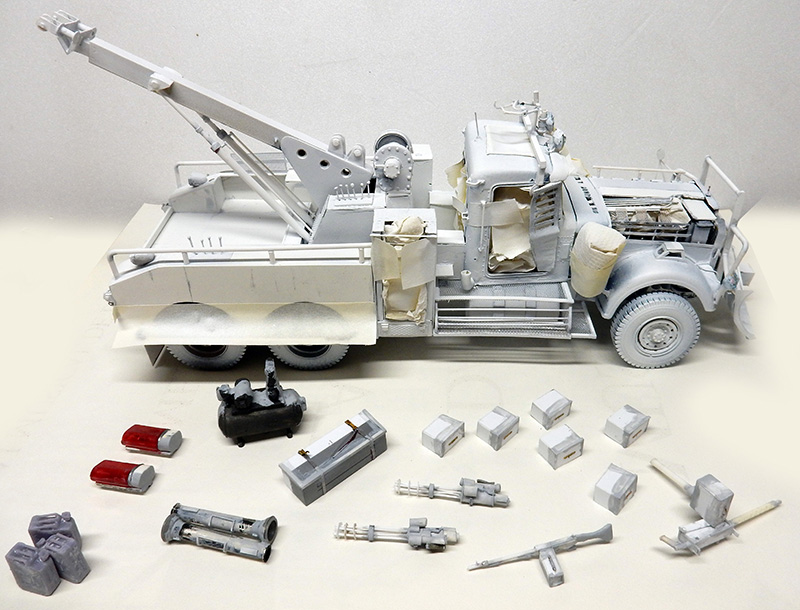
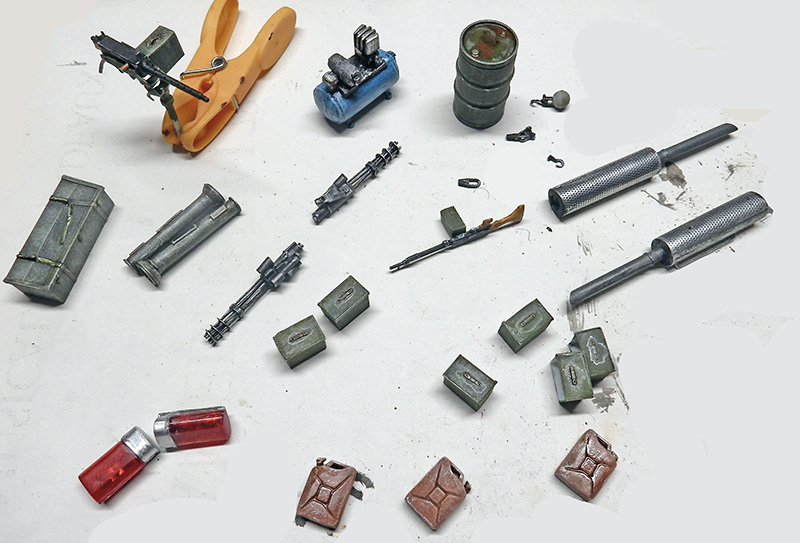
Miscellaneous accessories...
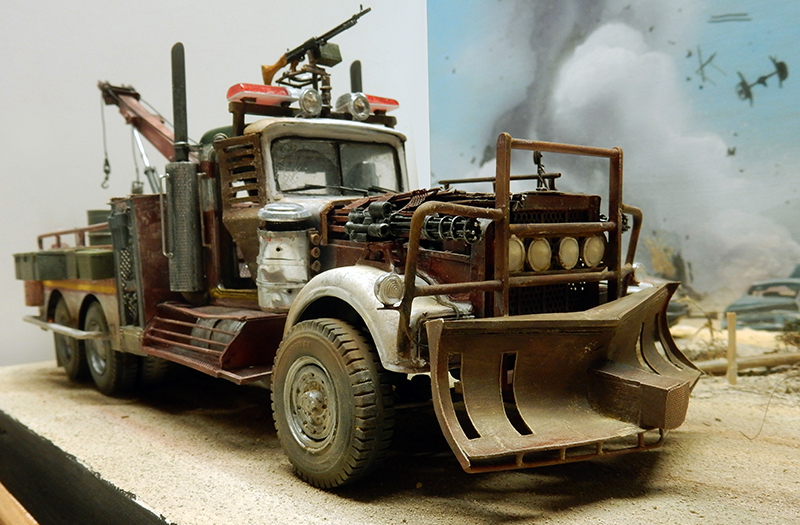
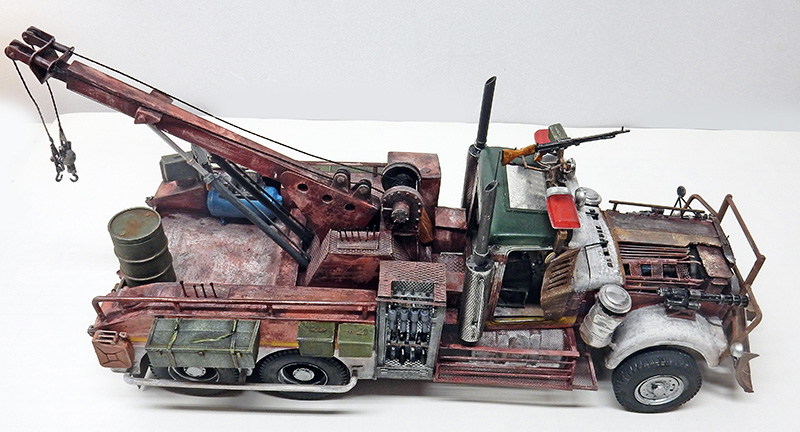
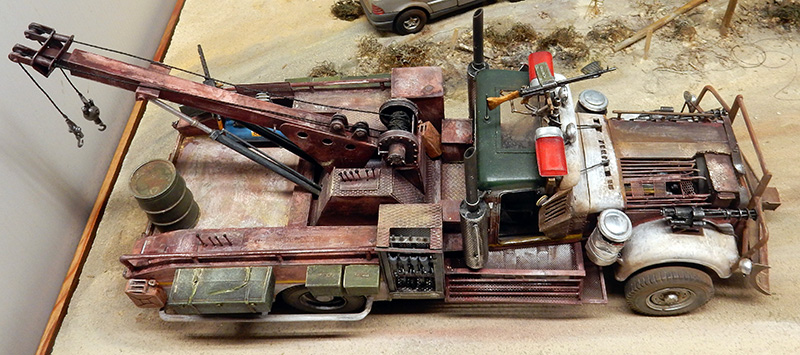
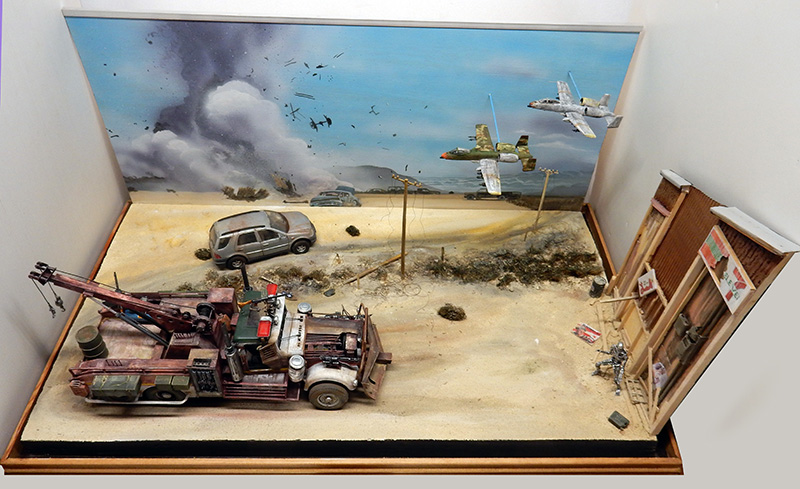
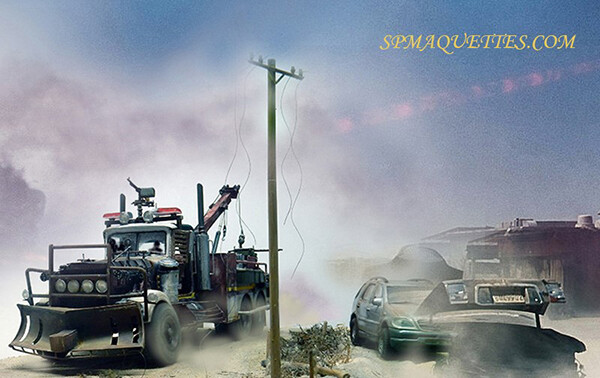
The assembly is complete...
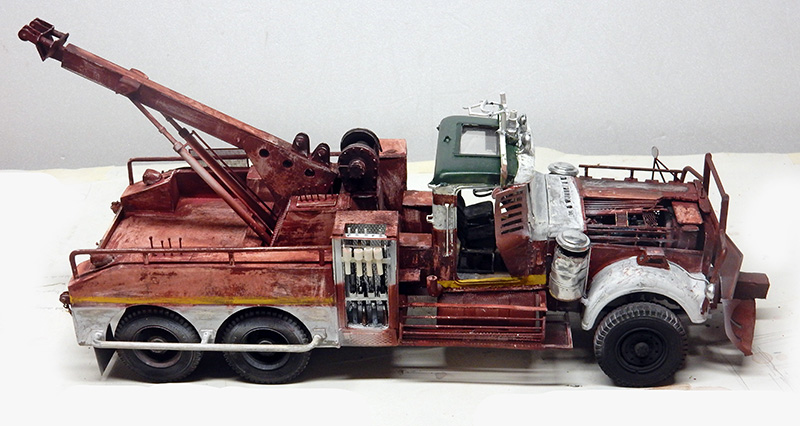
Another view...
Painting
Essential: the primer coat, which prepares the surface for painting—any color applied to a white surface stands out more—and helps reveal any imperfections. Certain areas are protected...
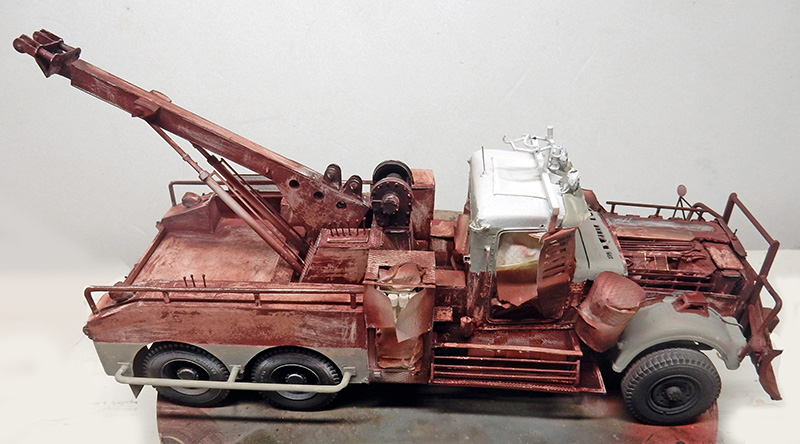
Base coat: Gunze acrylic - red-brown 47 - light gray on the wings, part of the hood, and lower body...
Then, using hairspray, I applied a shade of red 33 and some white. The roof gets a washed-out green...
Marking the yellow side lines...
You can clearly see the result after brushing off the paint applied with hairspray. Application of very diluted pigments—black, umber, sienna...
Adding accessories...
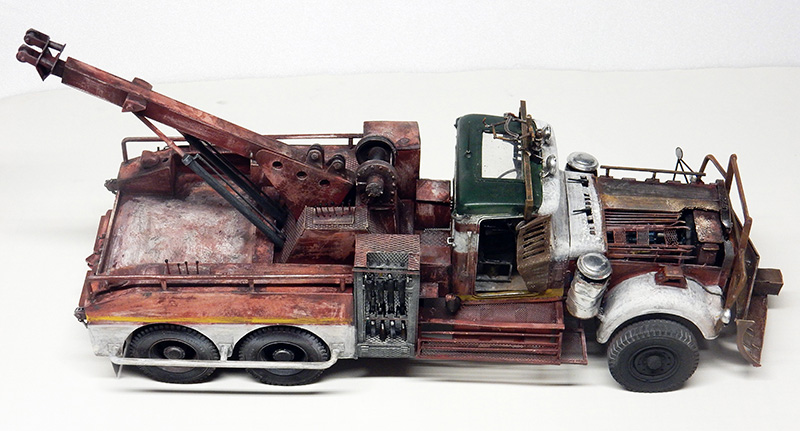
Finishing with various pastel powders...
The Setting
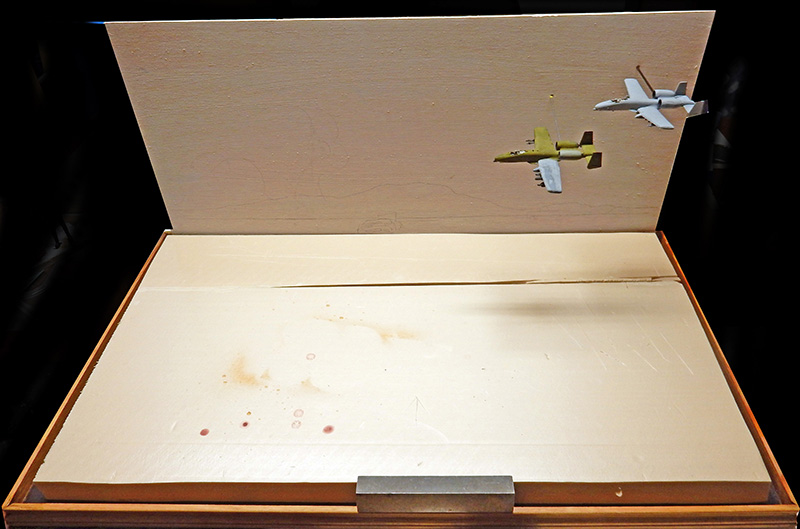
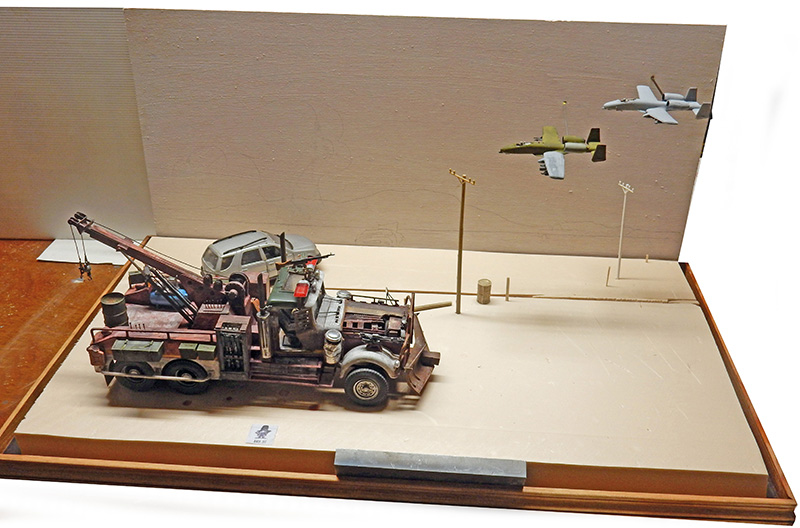
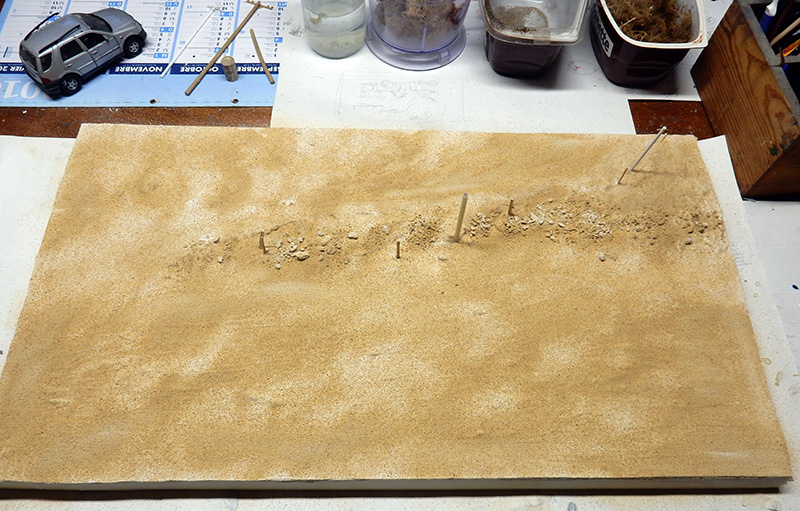
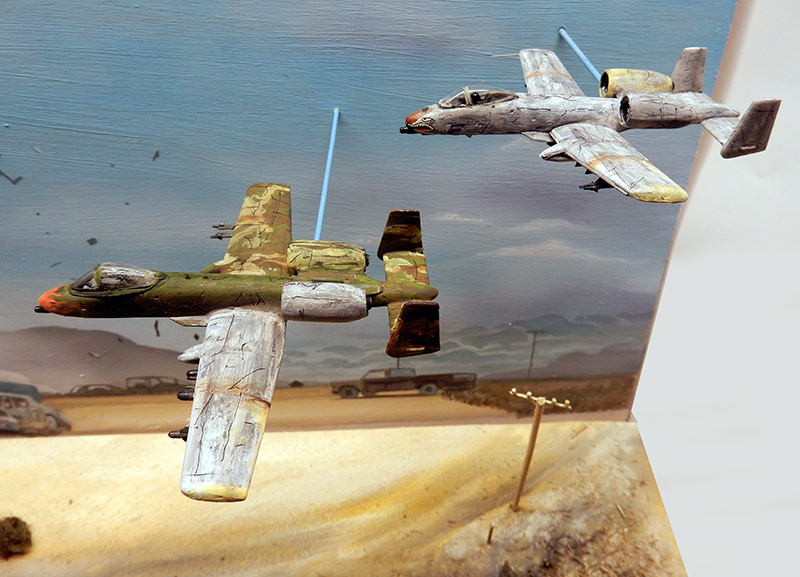
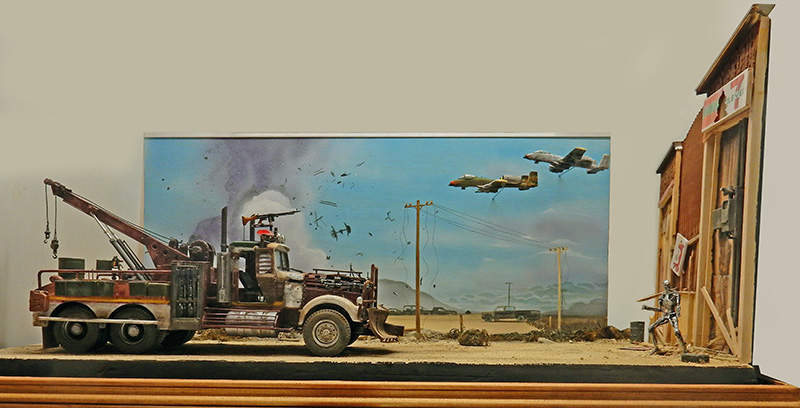
A 75x43 cm MDF panel. The ground is made of extruded polystyrene. Since the scene features a forced perspective, various smaller accessories have been added, including two A10s (the planes from the movie) at a scale of 1/144, attached to the background panel...
Test fitting. The second post is made smaller to match the depth of the scale model. A 1/32-scale vehicle will complete the scene...
Creating the floor using patching compound and various deposits of dust and pebbles of different sizes...
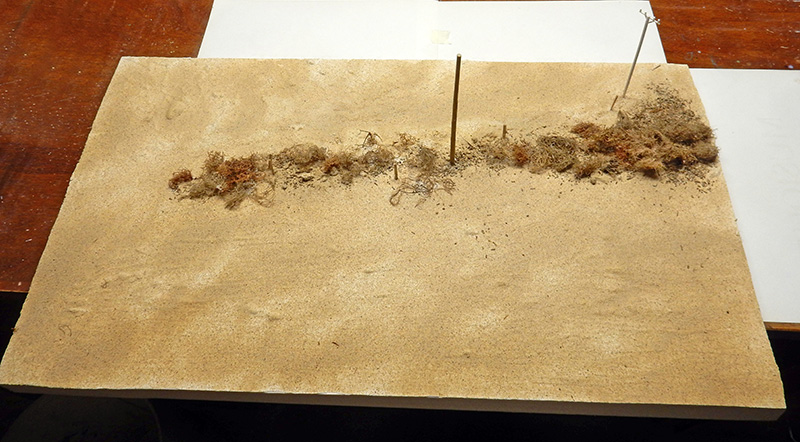
Bushes are added. Everything is glued to a base using wood glue. The ground will then be painted with acrylic paint...
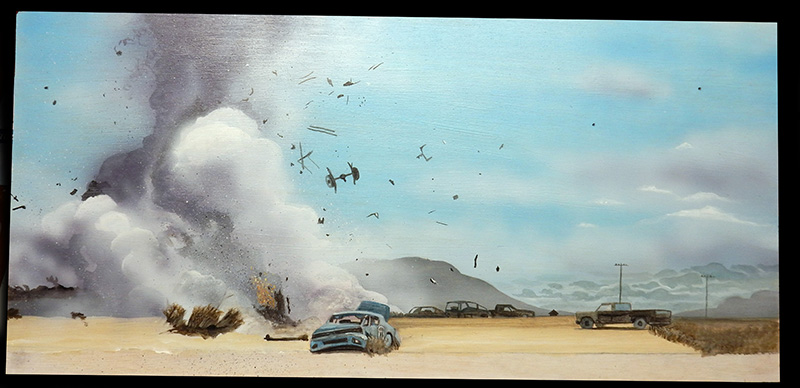
Acrylic painting of the background set on an MDF panel coated with gesso—70x33 cm—using a brush and airbrush—based on various photos from the film...
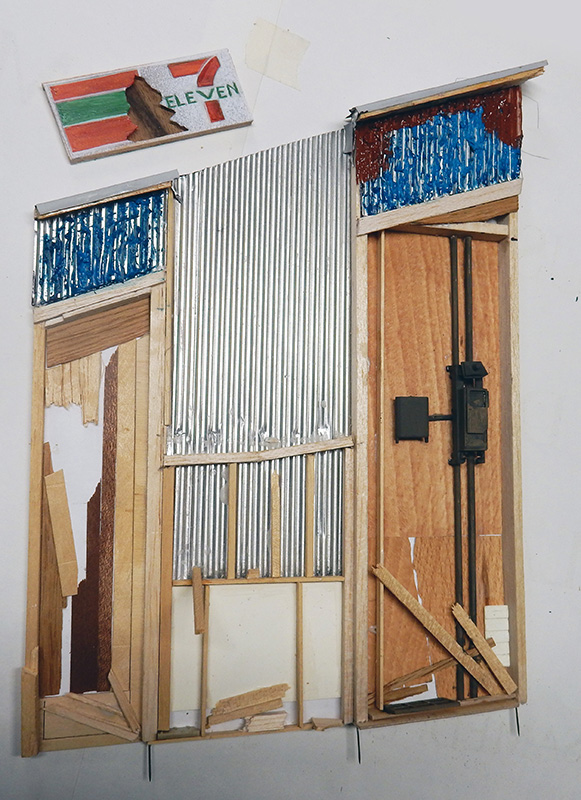
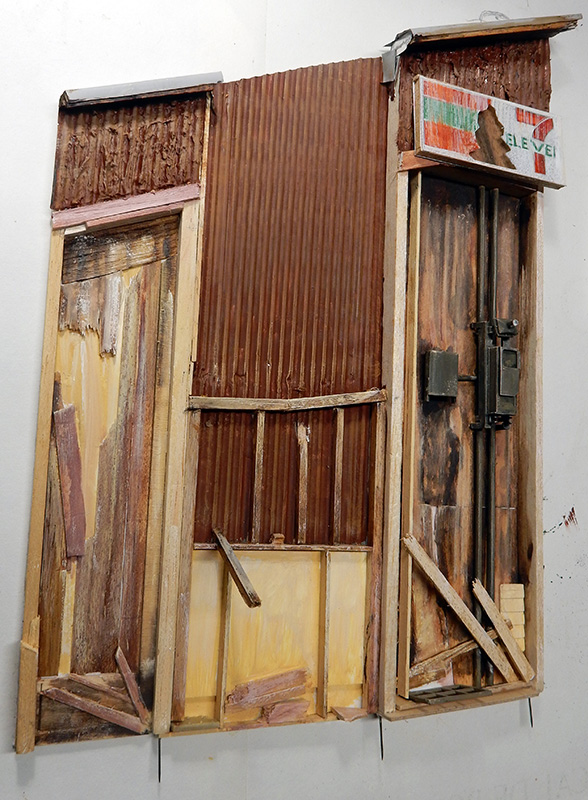
Construction of the facade of a side hangar on the right side of the diorama, still using forced perspective...
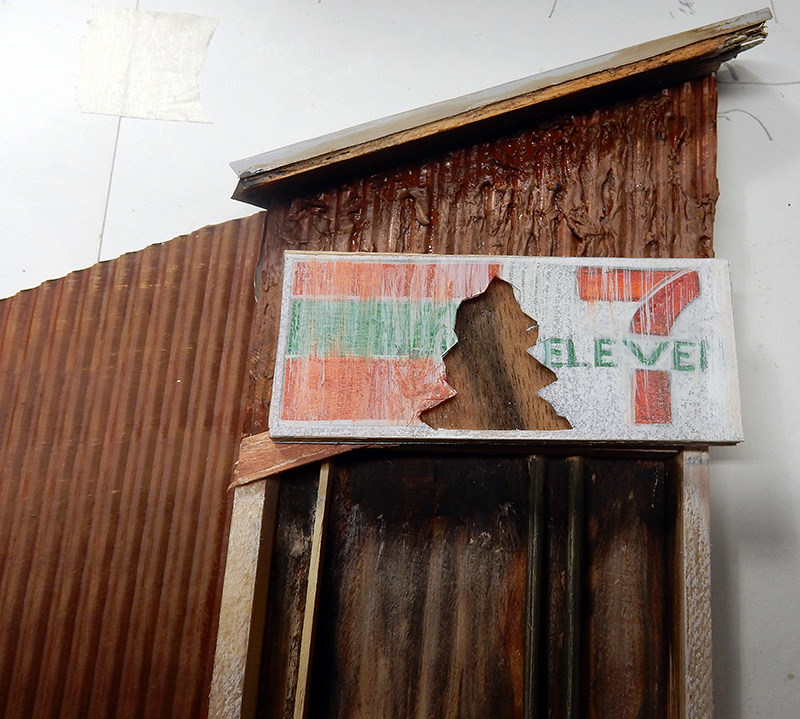
And painting (still using recycled materials)...
Details...
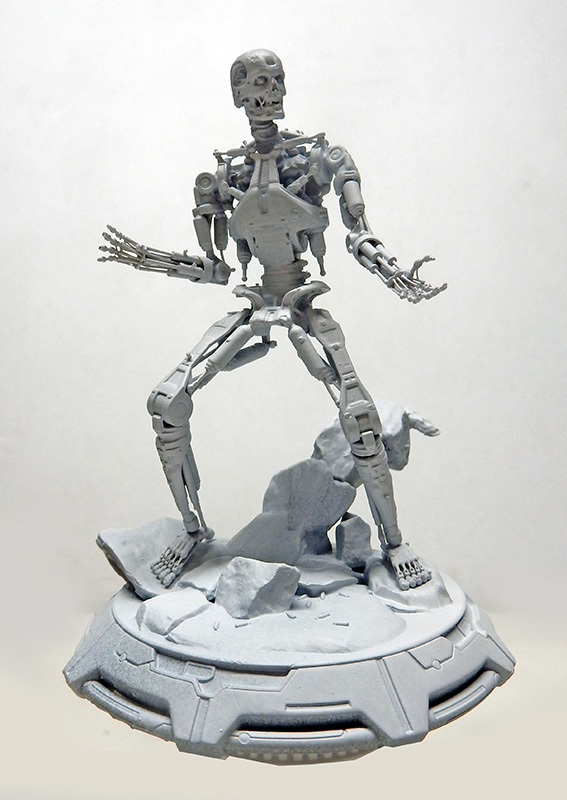
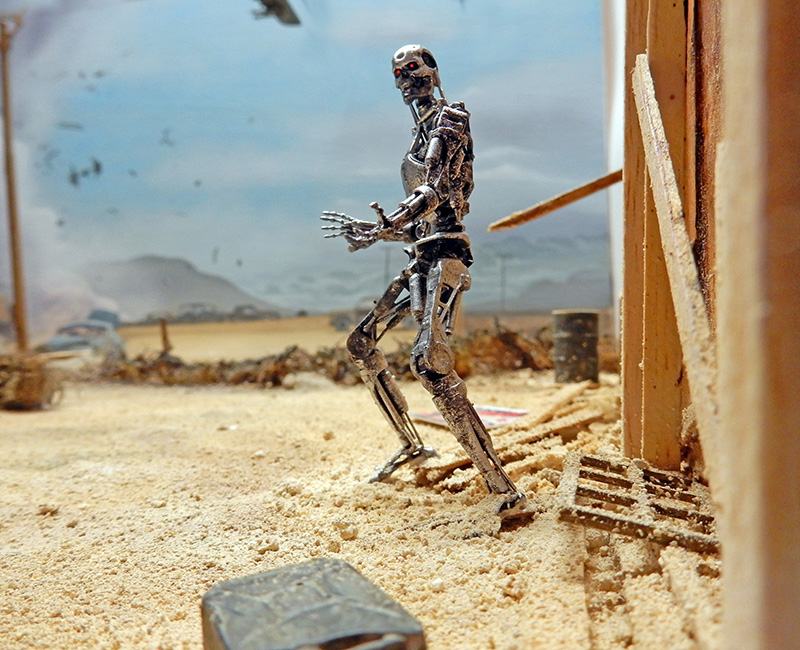
Since there aren't any figures, a 1/24-scale resin Terminator will help bring the scene to life. It will be painted black and then chrome-plated...
The A10 Thunderbolts in position after being painted...