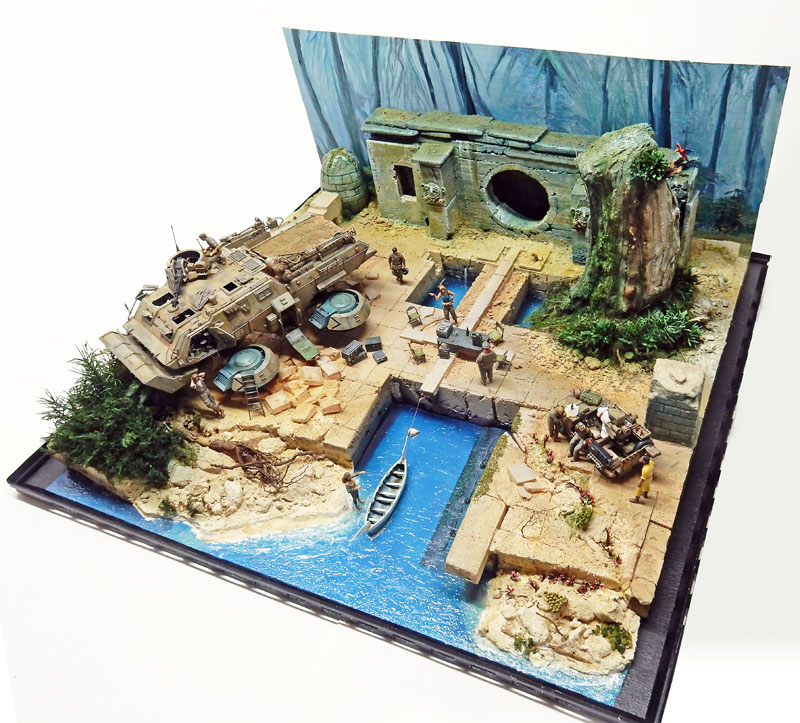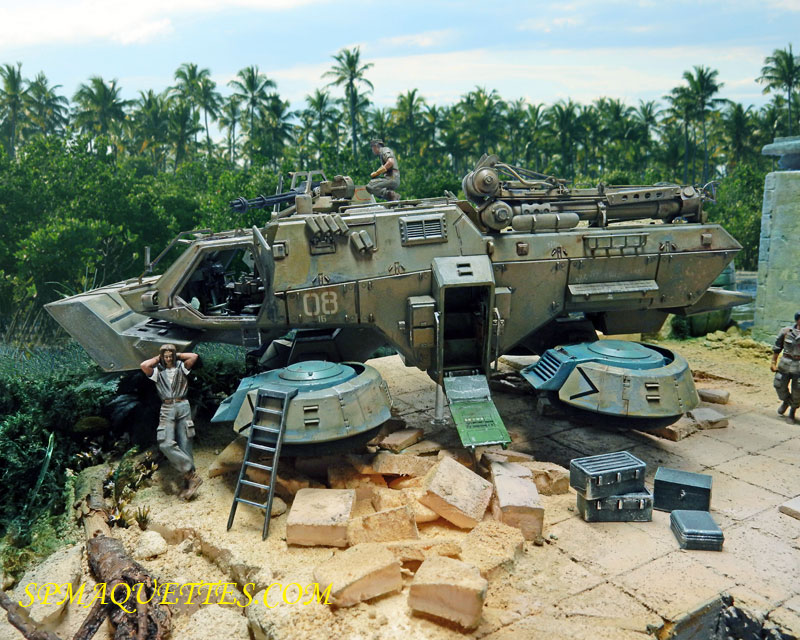
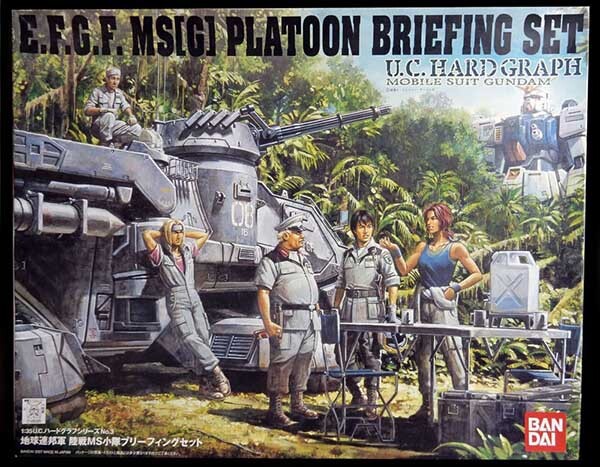
An interesting kit released about ten years ago by Bandai in 1/35 scale, based on a manga series...
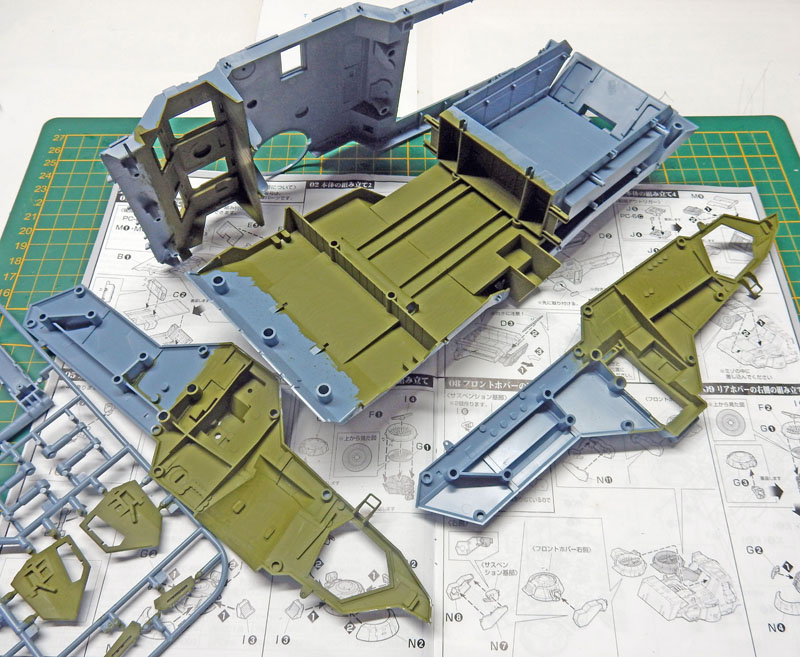
A well-molded kit that includes an antigrav tank, miniatures, accessories, and a superb color diagram. The visible parts of the cockpit interior have been painted green...
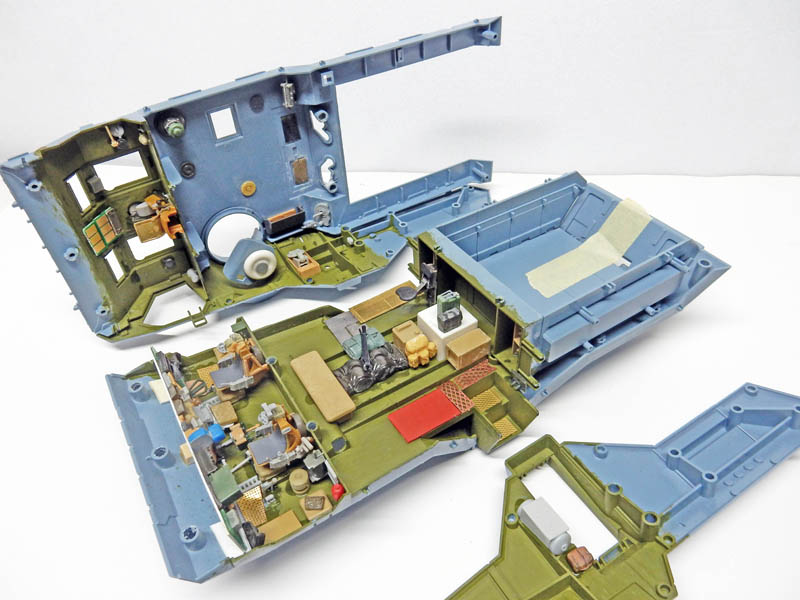
There's just one problem... This gorgeous kit is hopelessly... empty! Not a single detail inside—as you can see in the previous photo—even though the doors and hatches open. So, off to the spare parts box to fill out the interior...
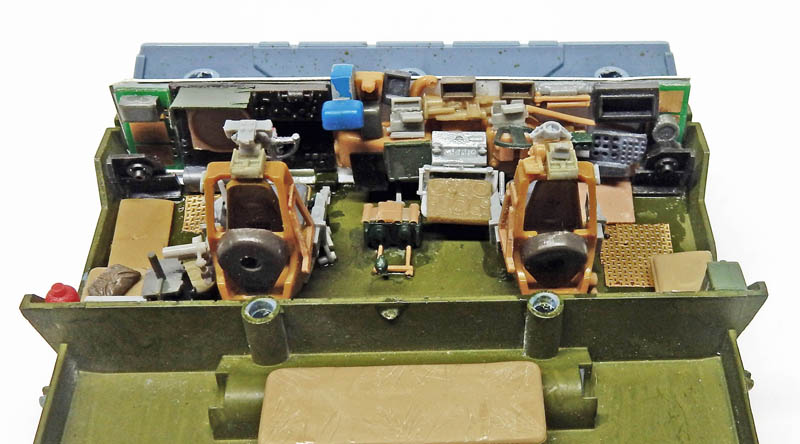
A view of the cockpit, which has three seats. The middle seat is mounted on the upper part...
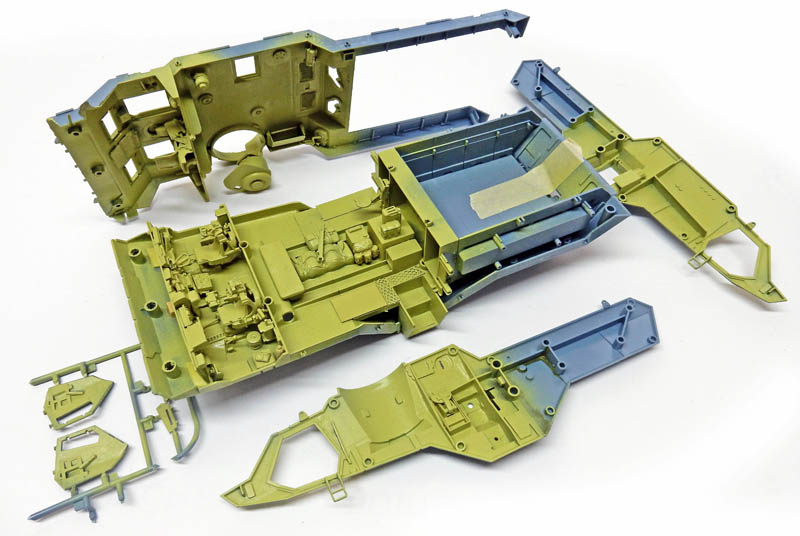
After detailing the interior, a light green acrylic paint was sprayed on...
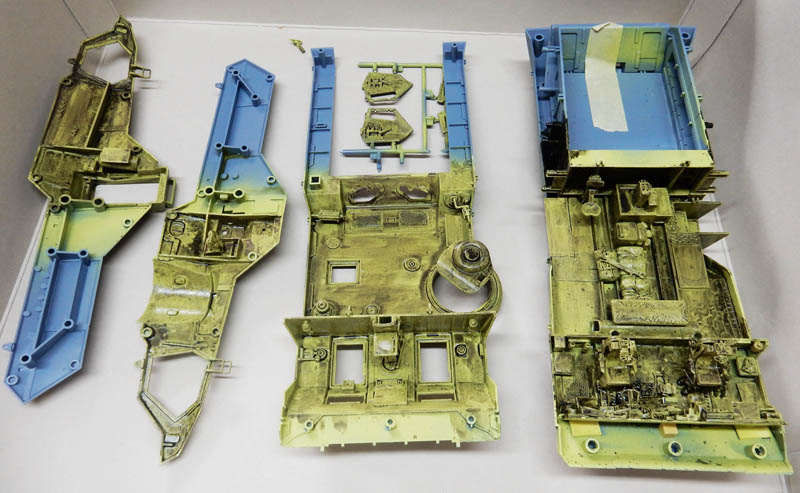
Then apply a mixture of 70% Humbrol matte black and 20% chocolate brown. Wipe it off after applying the mixture...
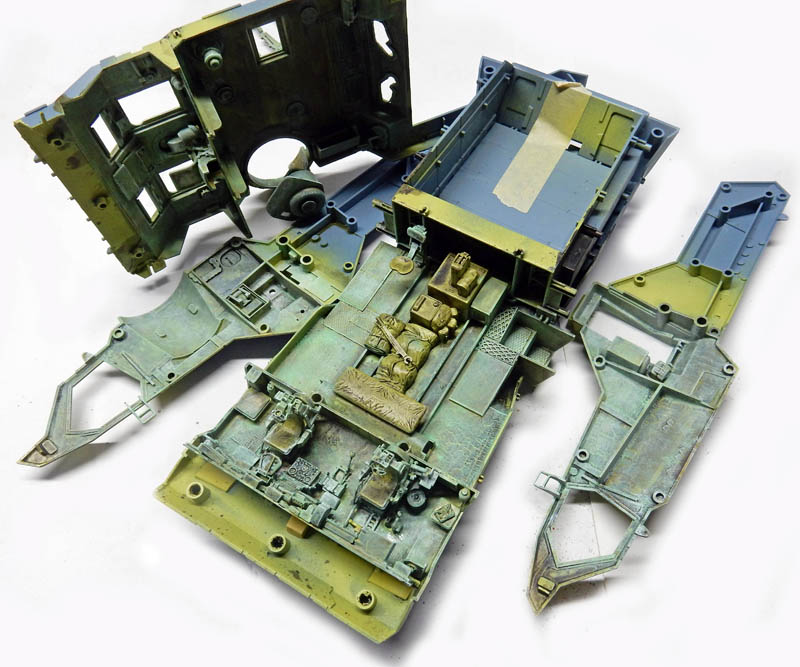
...Then "dry brush" with a Humbrol green softened with white, and then...
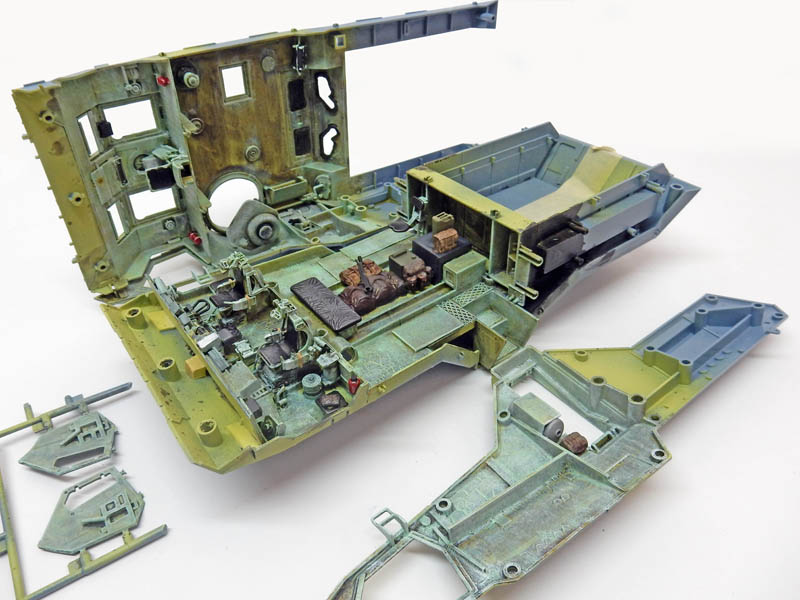
We paint the seats, the dashboard, and the accessories...
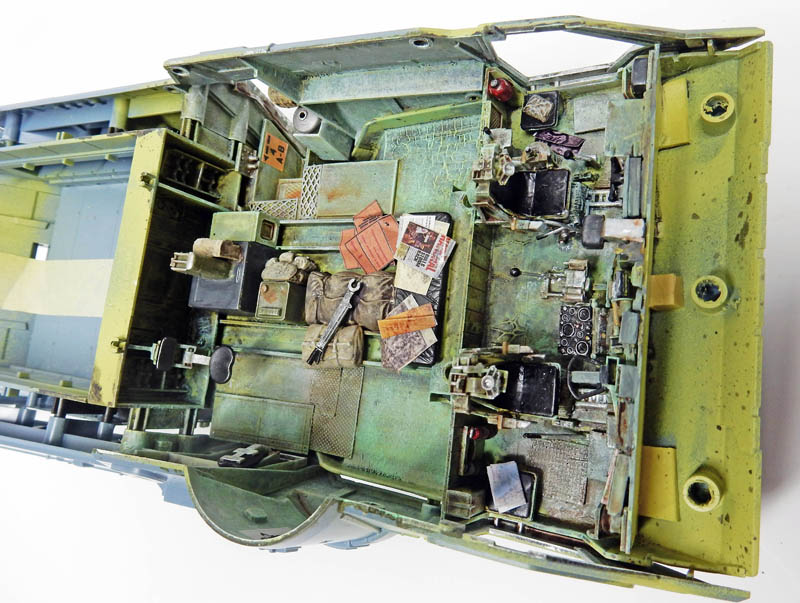
Another view: cardboard boxes, magazines, photos, and cards are added...
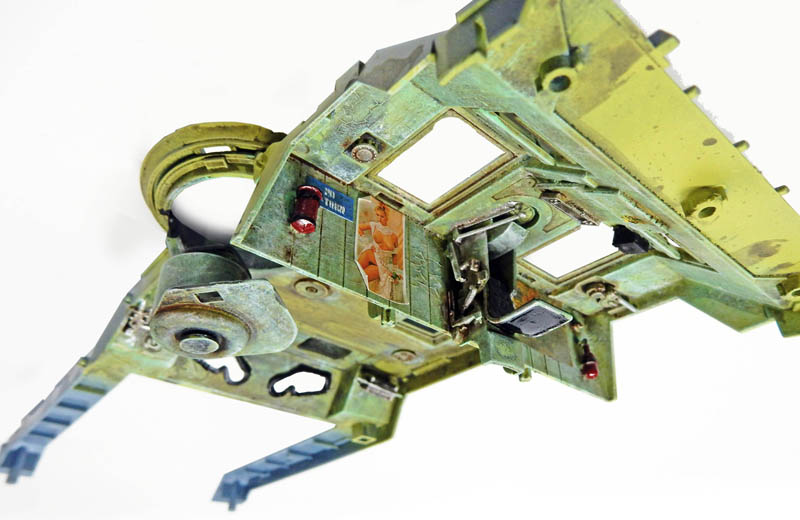
Top view with the center seat attached...
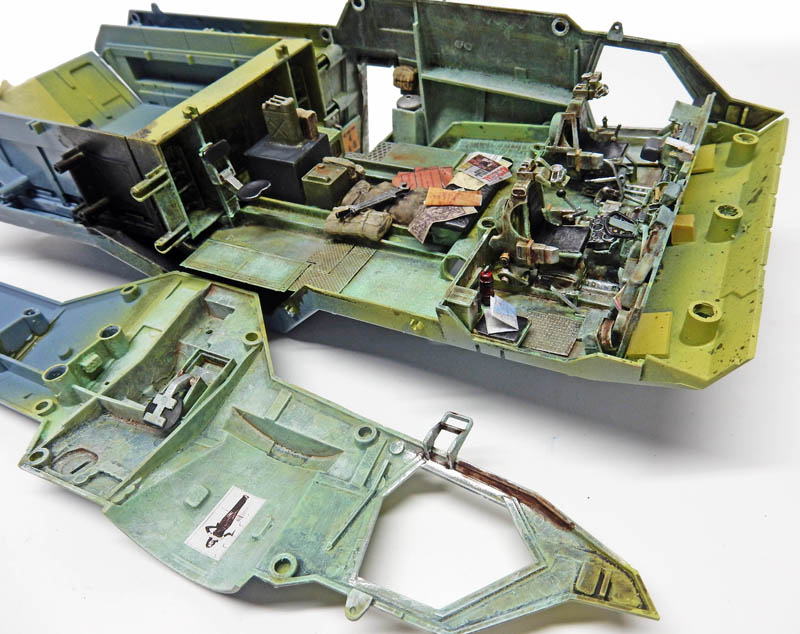
The interior painting is finished...
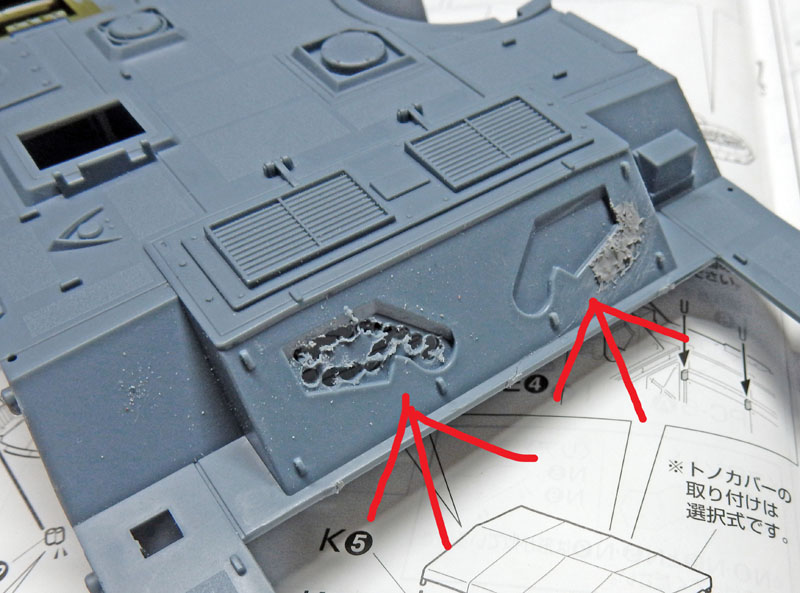
The two hatches at the back are openwork since the panels that go over them are included...
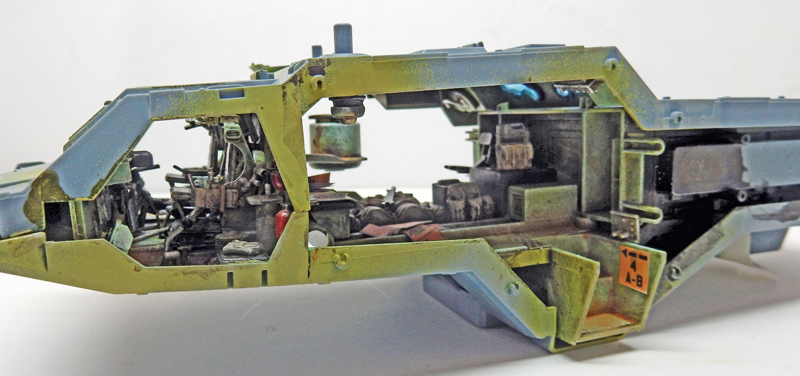
Glue the top and bottom pieces together. Check to make sure everything fits together properly...
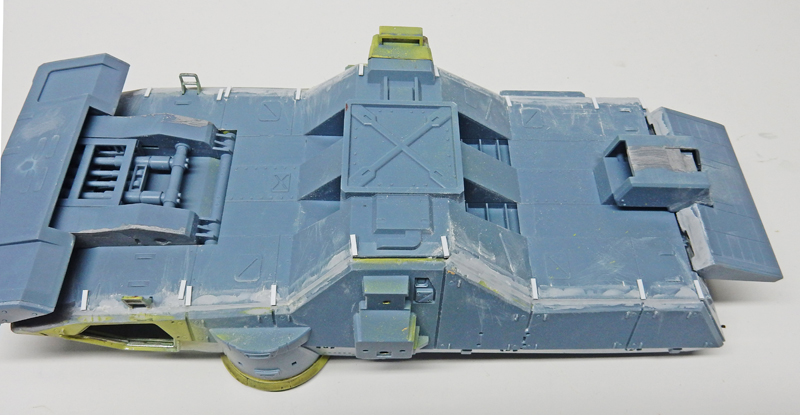
Gluing the side panels and filling the seams. The weld seams are redone using Evergreen plastic...
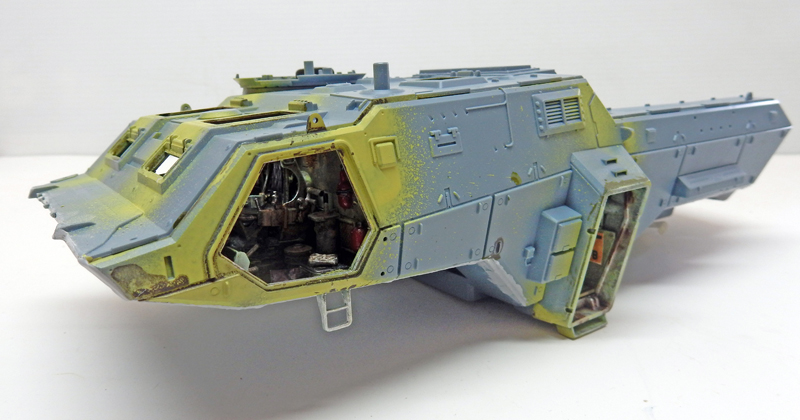
We improve the joint between the side panels using liquid sealant...
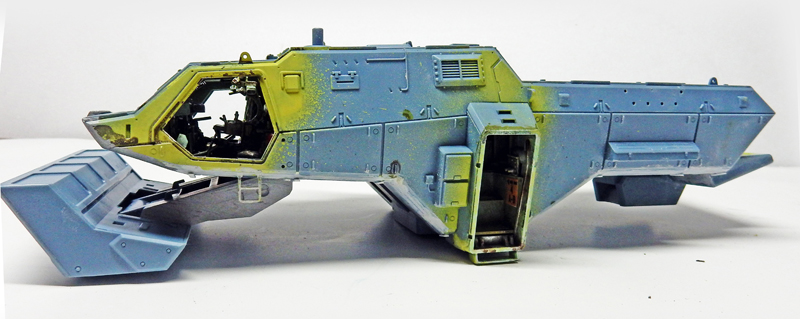
Attaching the front blade and rear plate, both of which are removable...
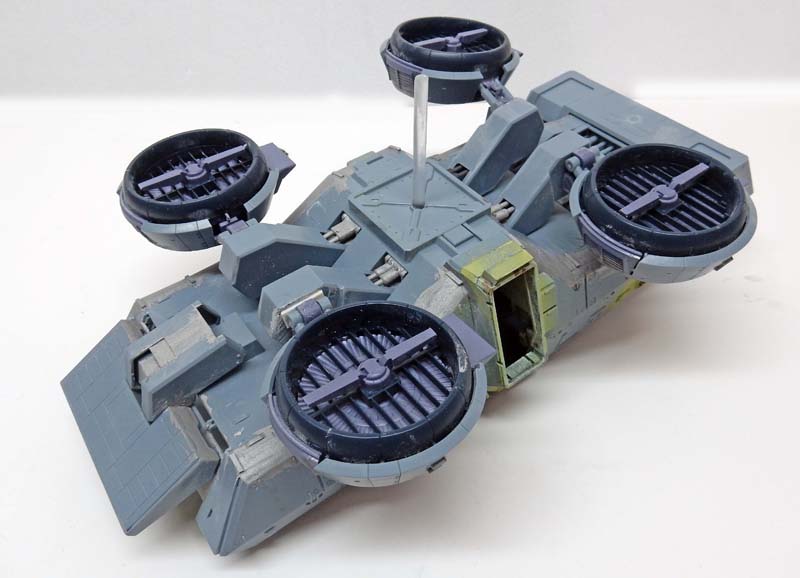
A view of the highly detailed antigrav skids...
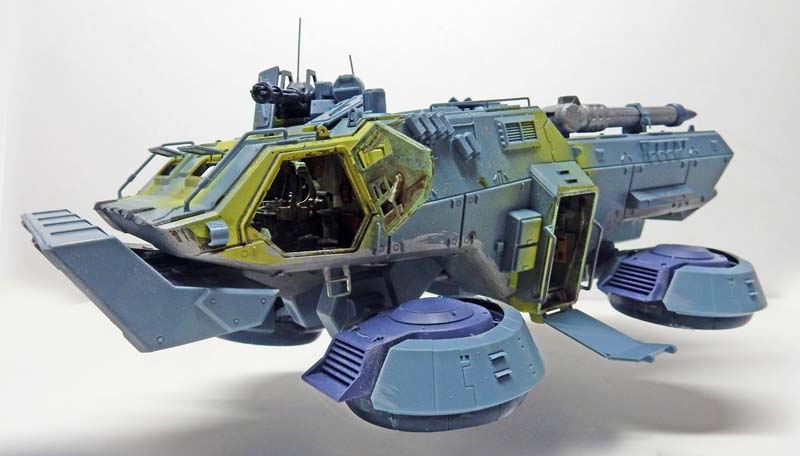
We glue all the external parts—there are quite a few of them...
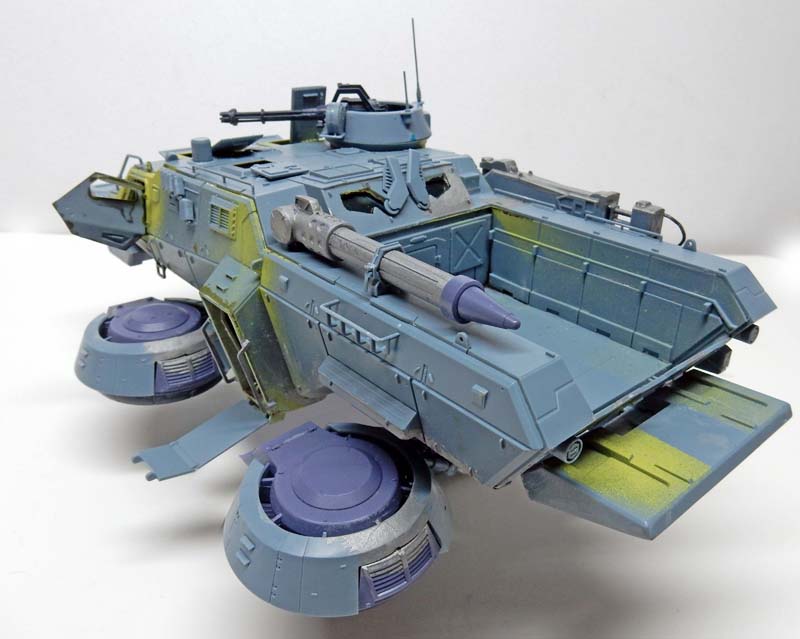
The pencil-like accessory is going to be improved...
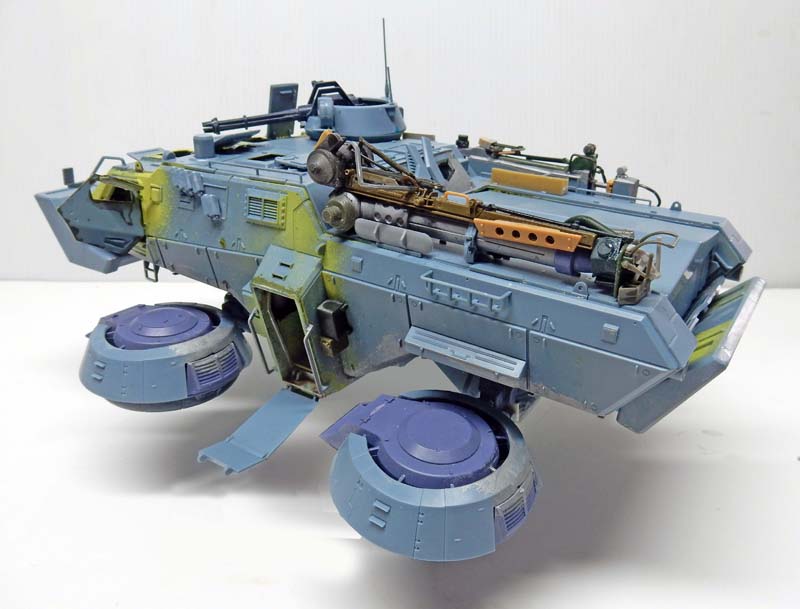
The same one after the detailing!...
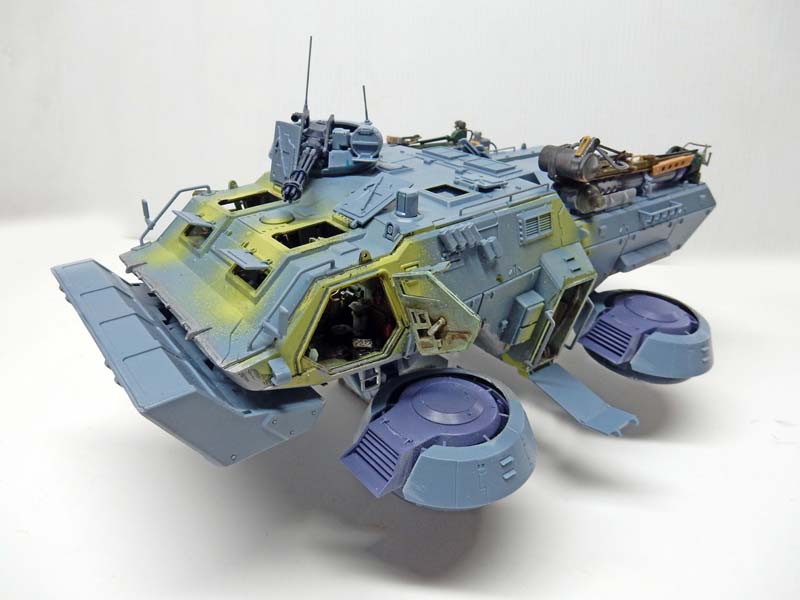
The hatches are taped open; the windows will not be used. Mirrors are added to the exterior rearview mirrors...
The Vulcan rotary cannon in the turret—the same one found on the Israeli M113s—is just there for the photo and will be painted separately...
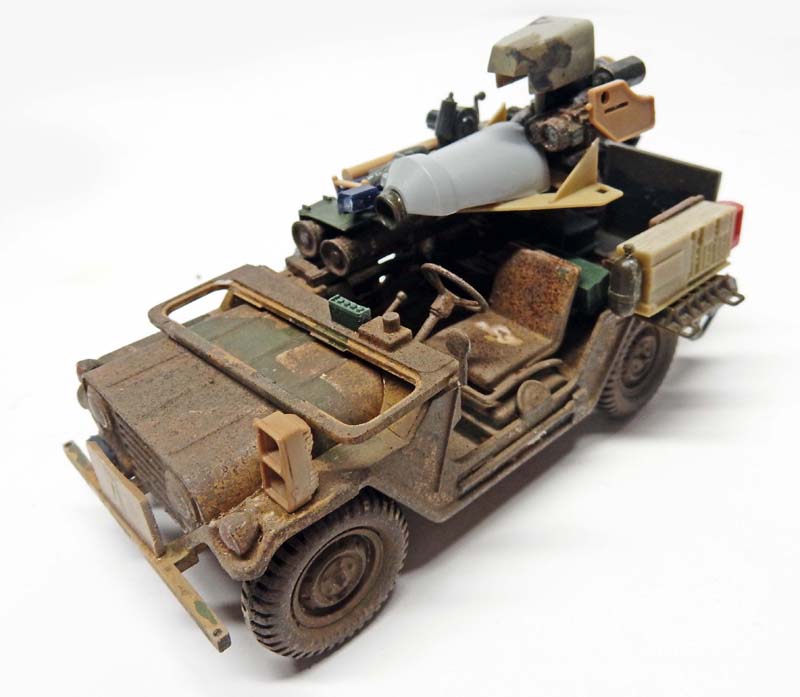
The Ford Mutt 151 jeep. It's from the surplus box. A drone has been added, along with a fire control system and a few accessories...
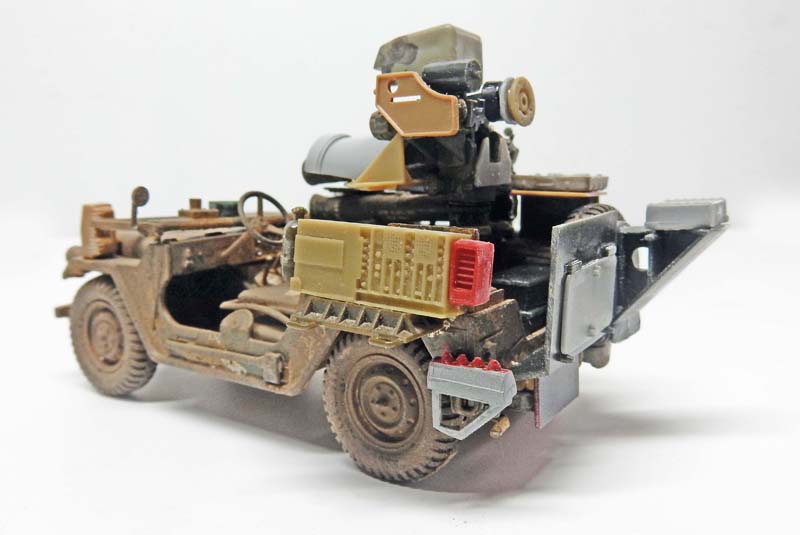
New gear for the Jeep!
Painting
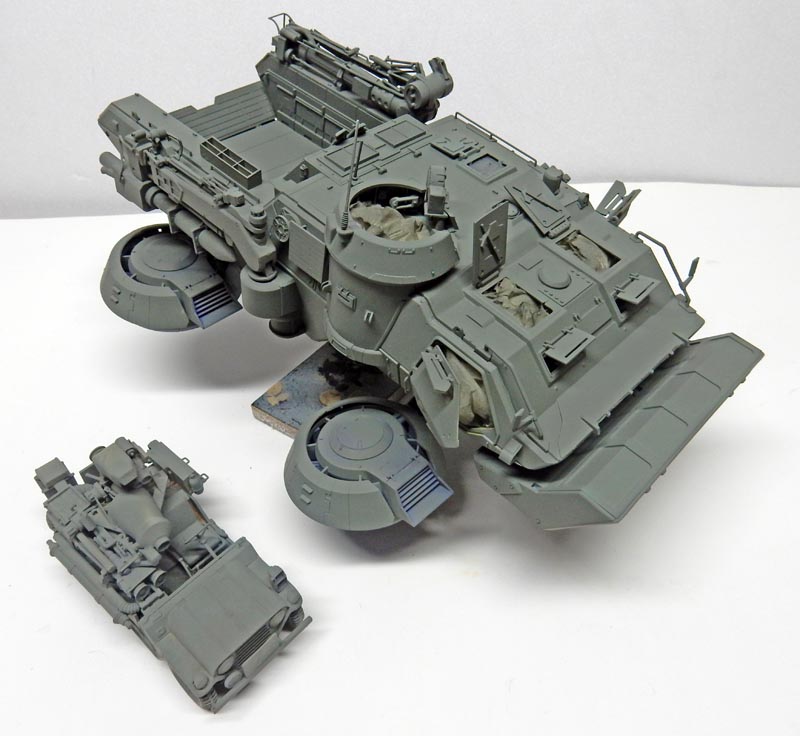
Tamiya RLM Gray XF-22 acrylic base coat applied with an airbrush...
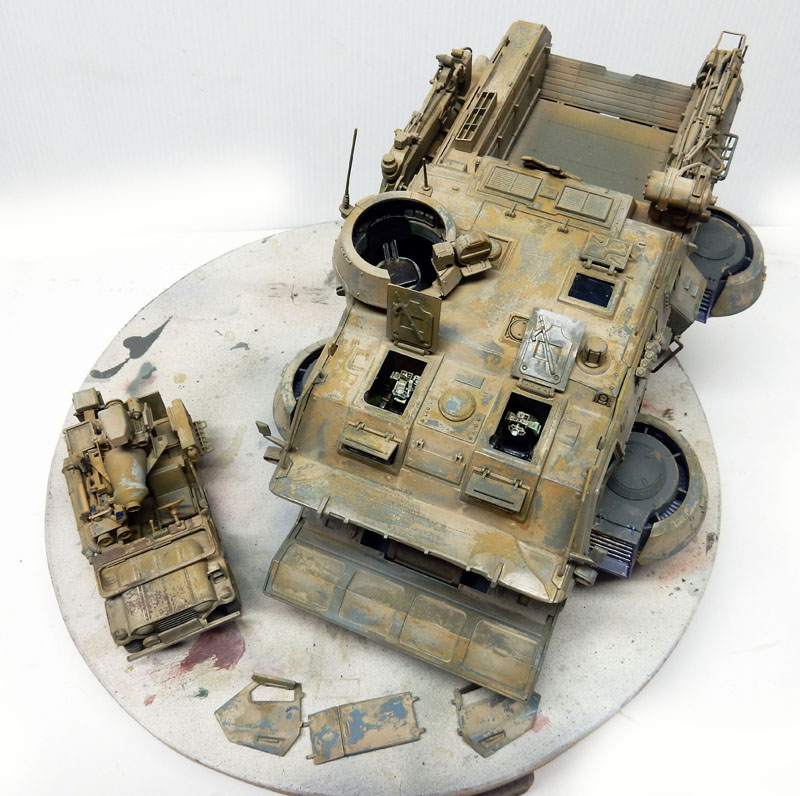
Next, we’ll use the hairspray technique—which I’ve mentioned several times already—with Hobby Color Middle Stone 71 and Sand 79...
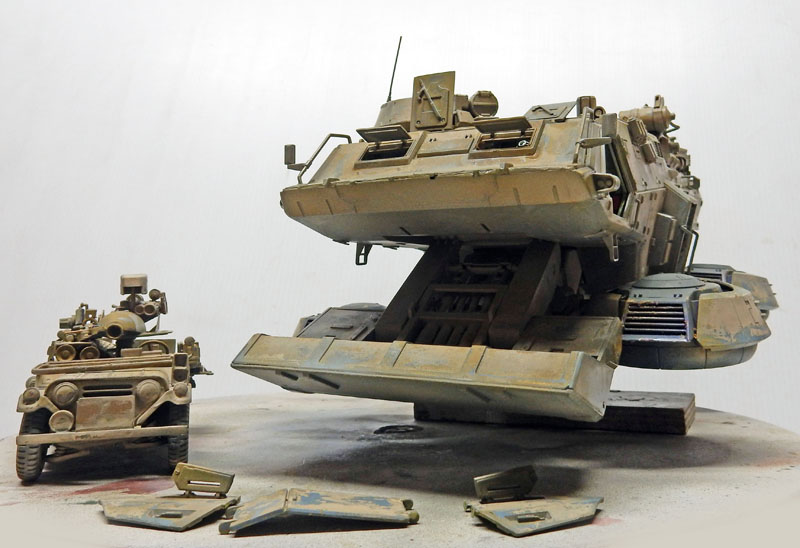
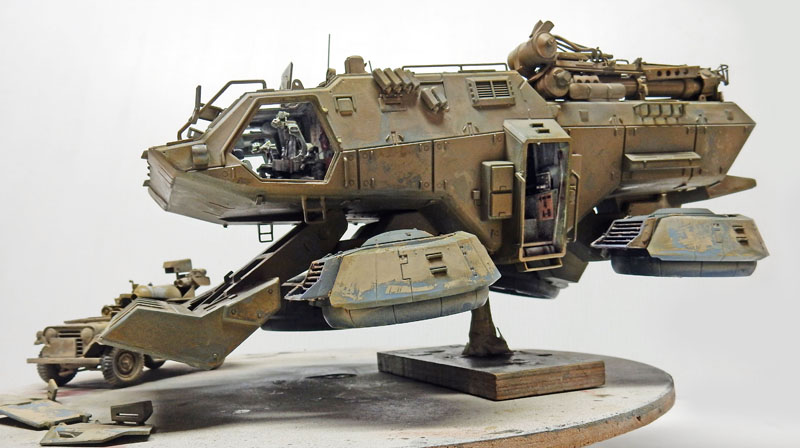
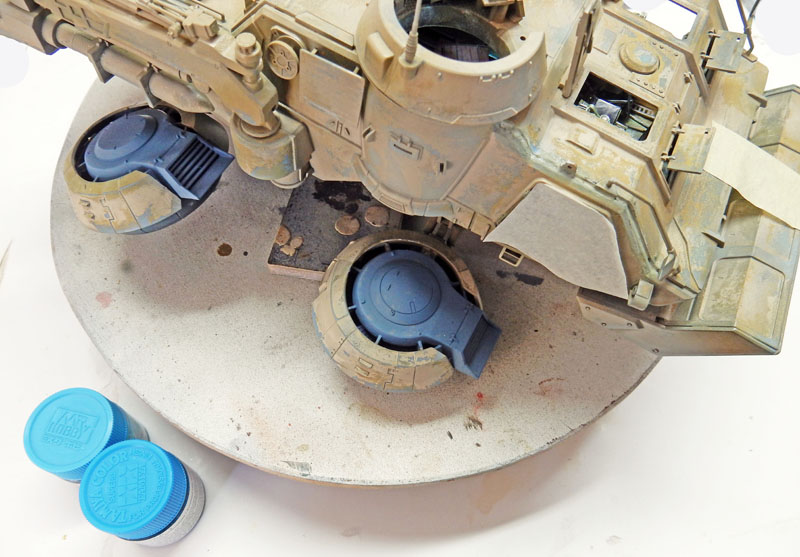
The antigravs are painted with two different shades of Tamiya blue, one darker than the other...
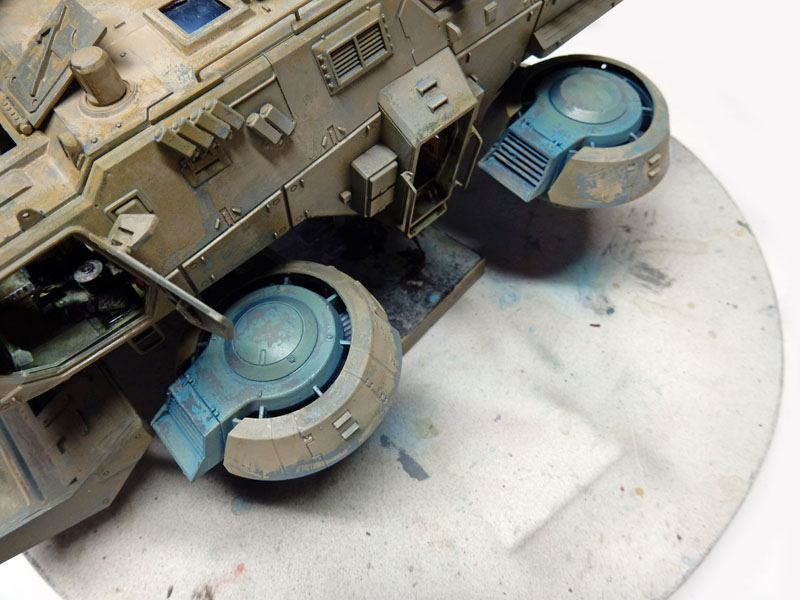
After the final coat of paint has dried, a thin layer of Sand 79 is added to simulate dust...
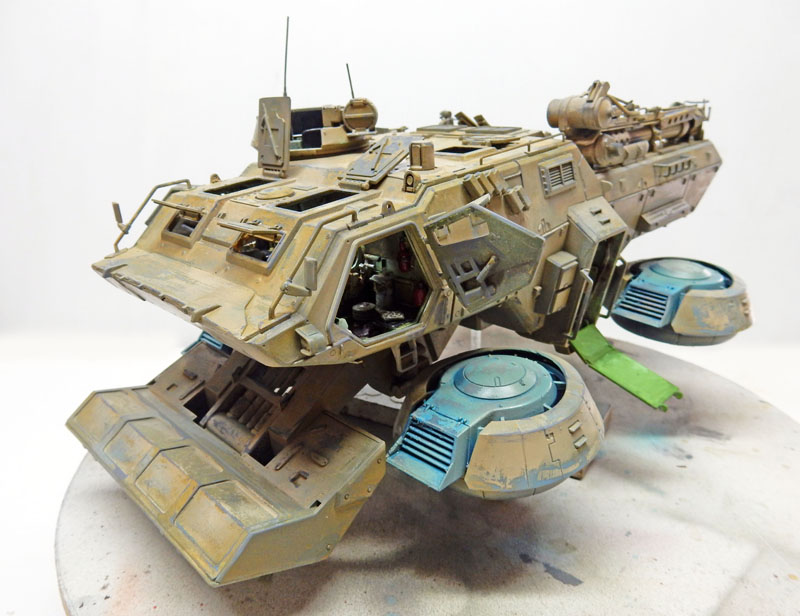
The vehicle is finished...
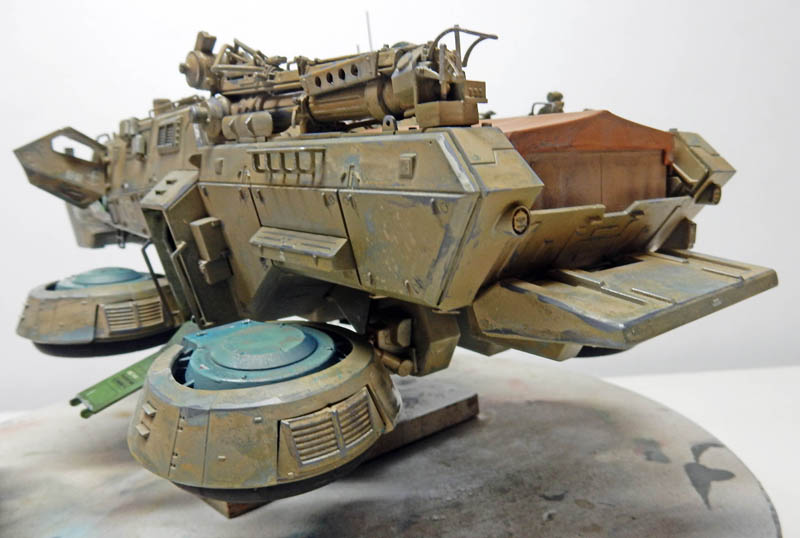
The tarp will be painted separately...
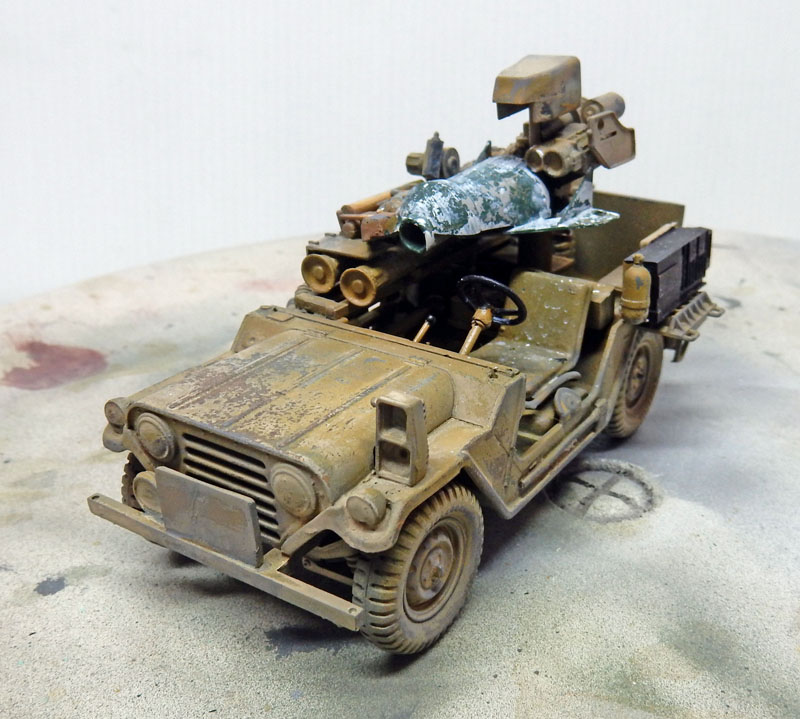
The Jeep underwent the same process as the main model...
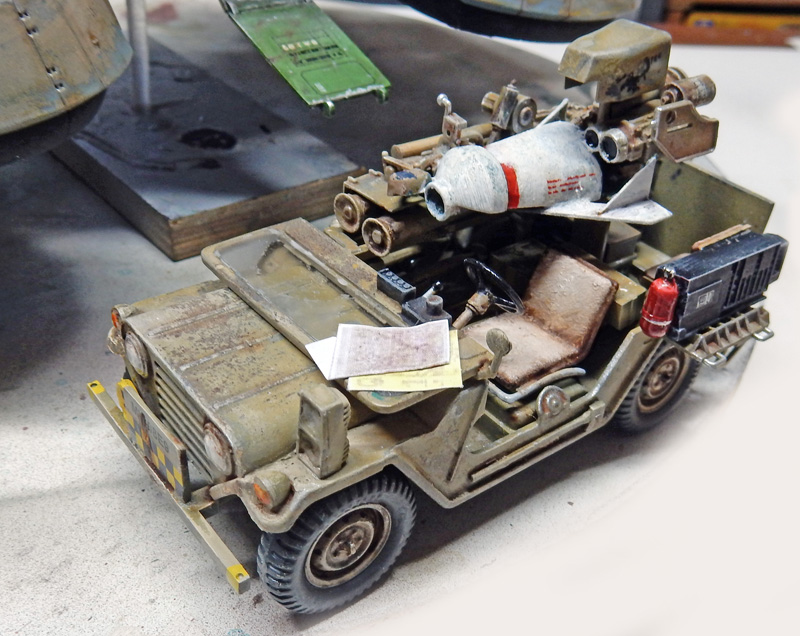
Detailing the drone and applying decals and various maps...
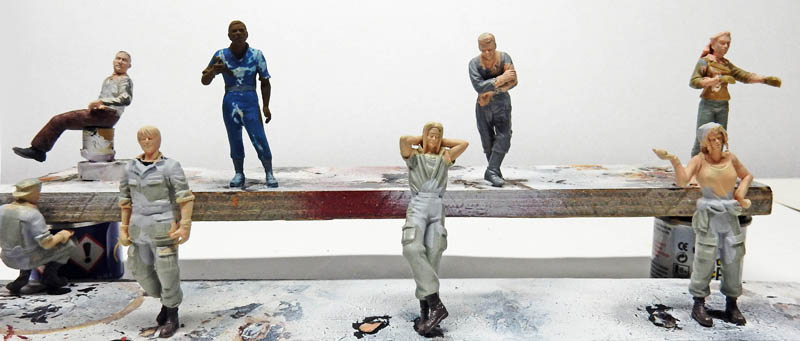
The figures that came with the set, to which we added other characters to make up the jeep's crew...
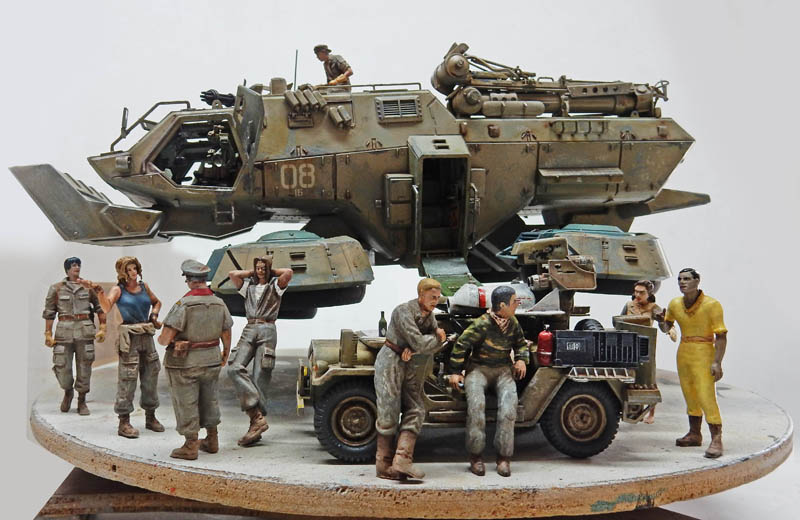
Ready for the set...
The Setting
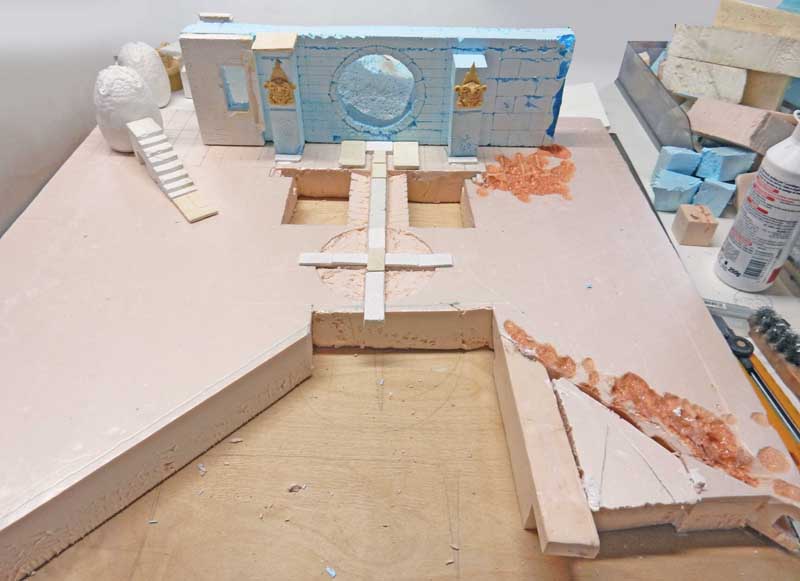
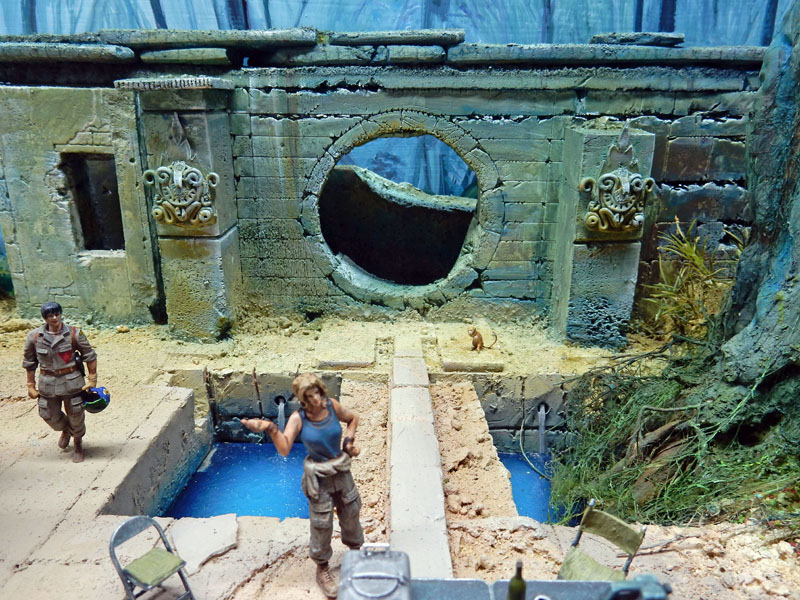
Created on a 60 cm x 50 cm plywood panel, it will feature structures made of extruded polystyrene and plaster, as well as bodies of water. And even... an Alien egg!
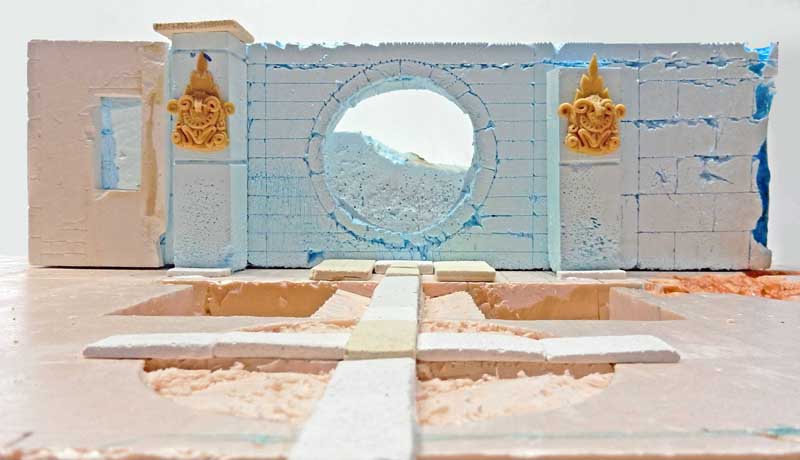
The polystyrene is engraved to resemble stone ruins...
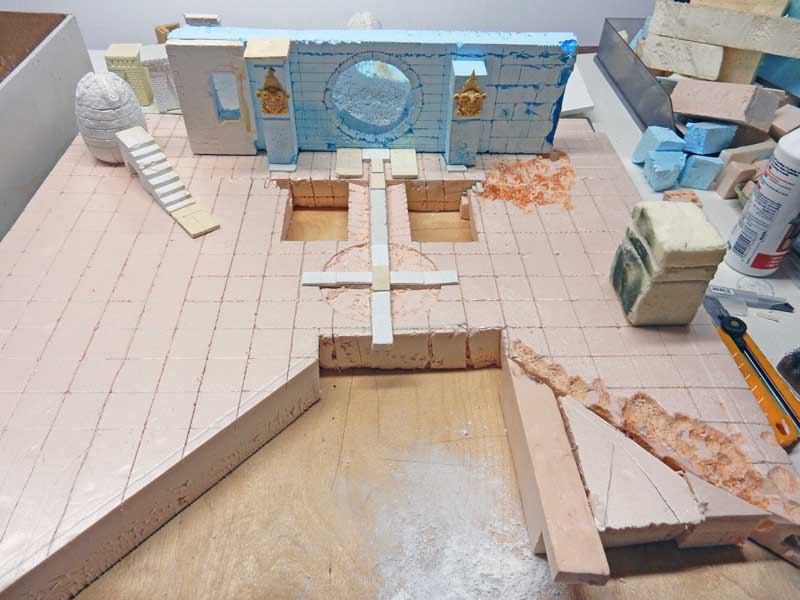
Engraving the floor tiles and arranging the various elements. Drops of acetone are used to deepen the texture and create interesting effects...
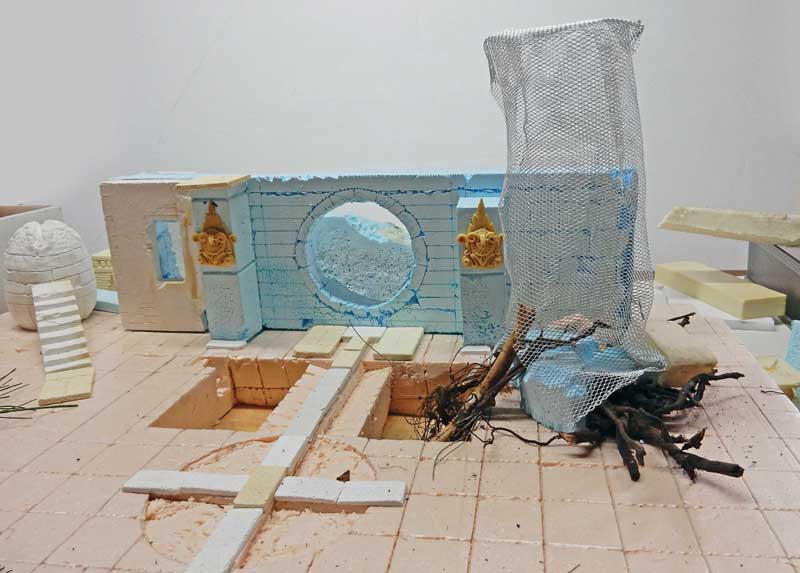
Creation of the old tree. Wire mesh for the structure and roots spilling into a pond...
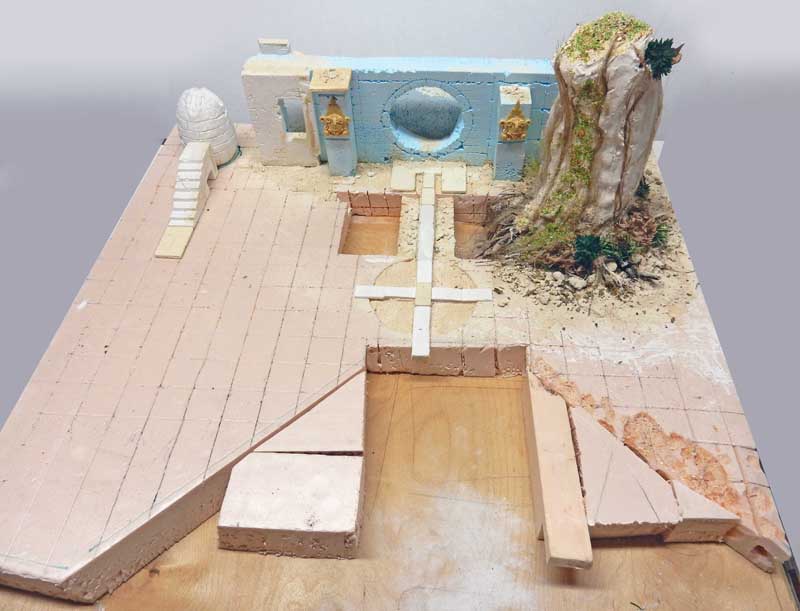
Applying plaster strips to the structure, dipped in liquid plaster...
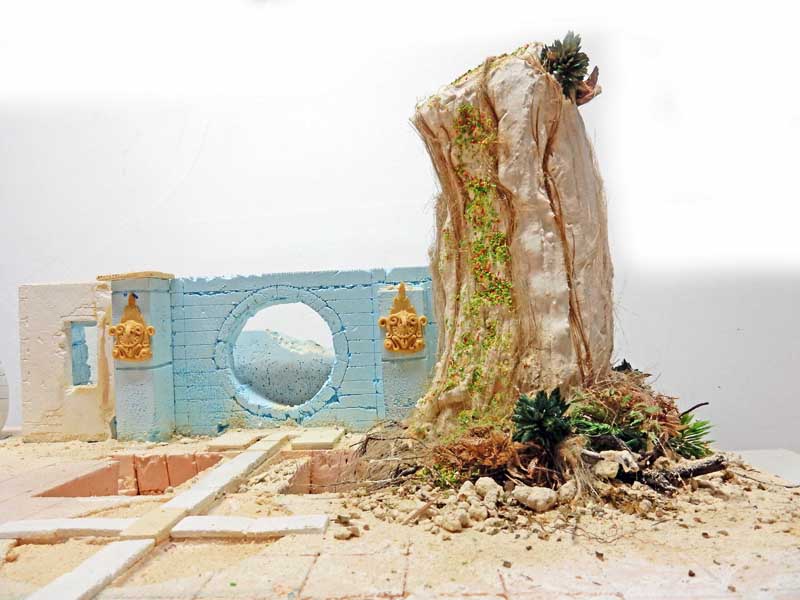
Plaster is added and allowed to harden slightly, then engraved before it dries. Plumber's twine and real roots are inserted at the same time to simulate vines...
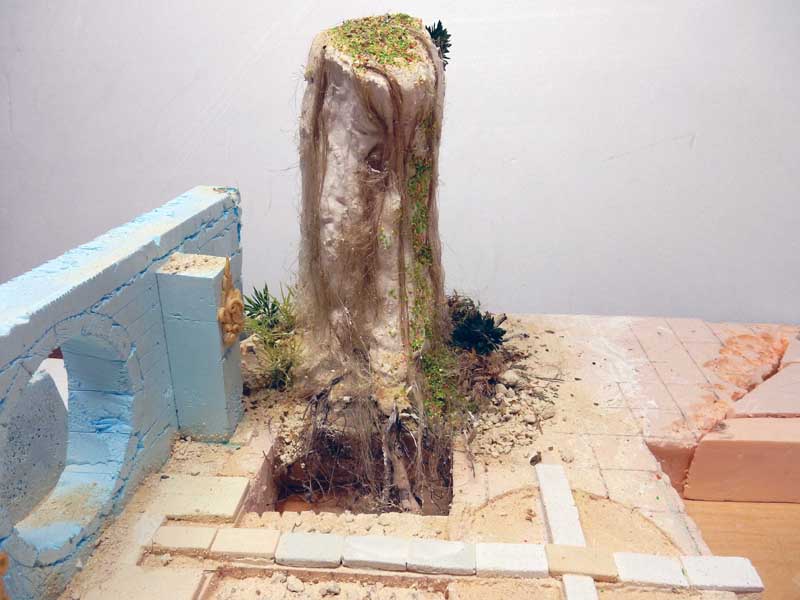
Another view showing the base of the tree in the pond. Dried plants, plastic plants, stones, and layers of dust of varying thicknesses were arranged around it...
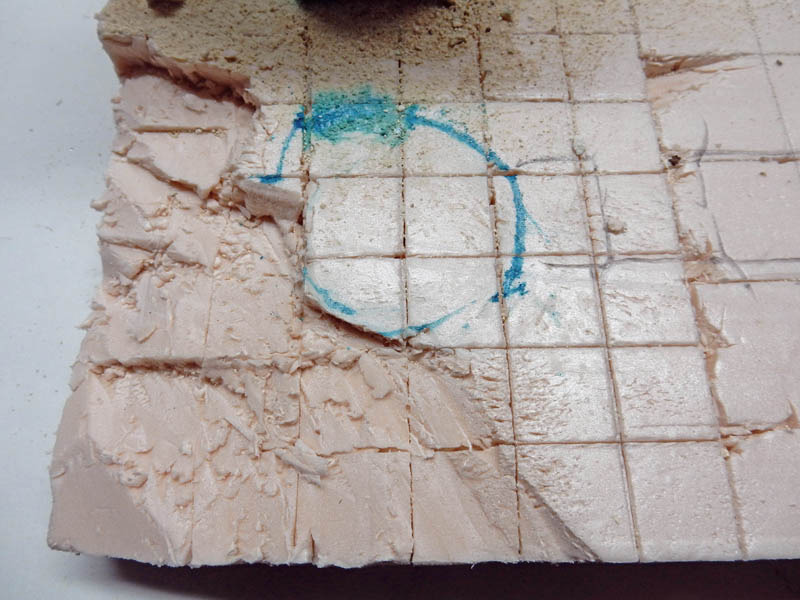
Future location of "the egg"...
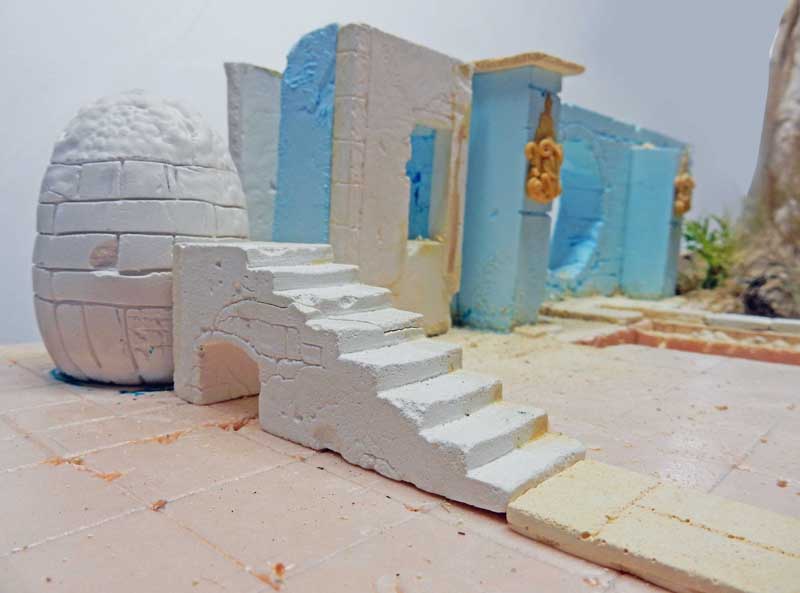
Installation of the plaster staircase and the Alien egg, re-engraved to look like "stone"...
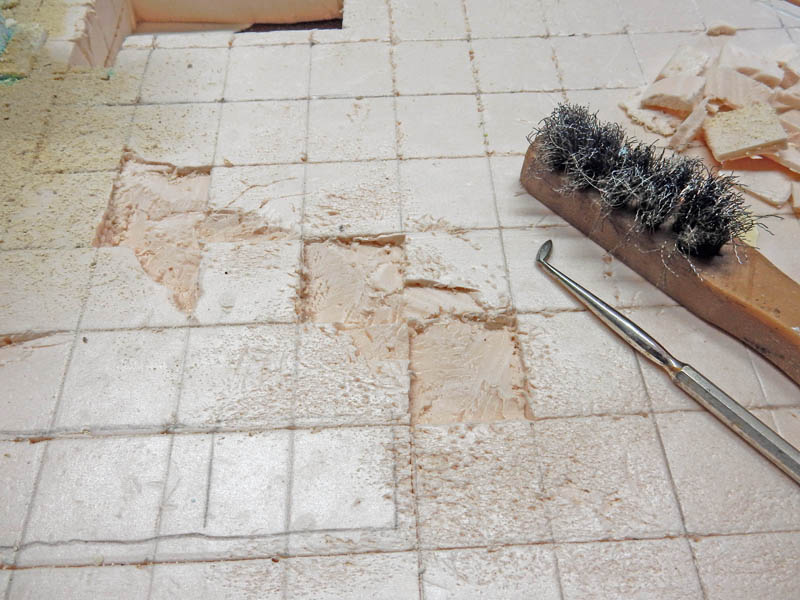
Details on cutting and engraving polystyrene...
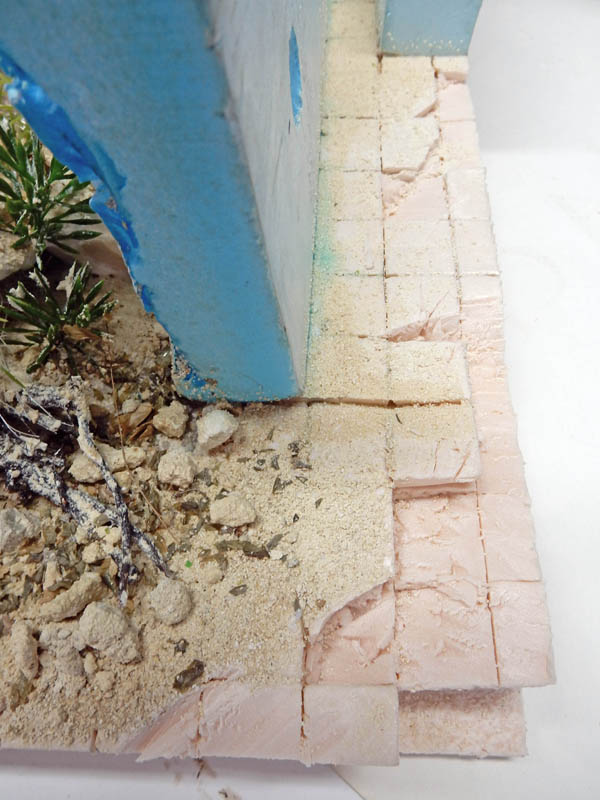
Details on the placement of rubble.
We always add the finest dust last to act as a binder...
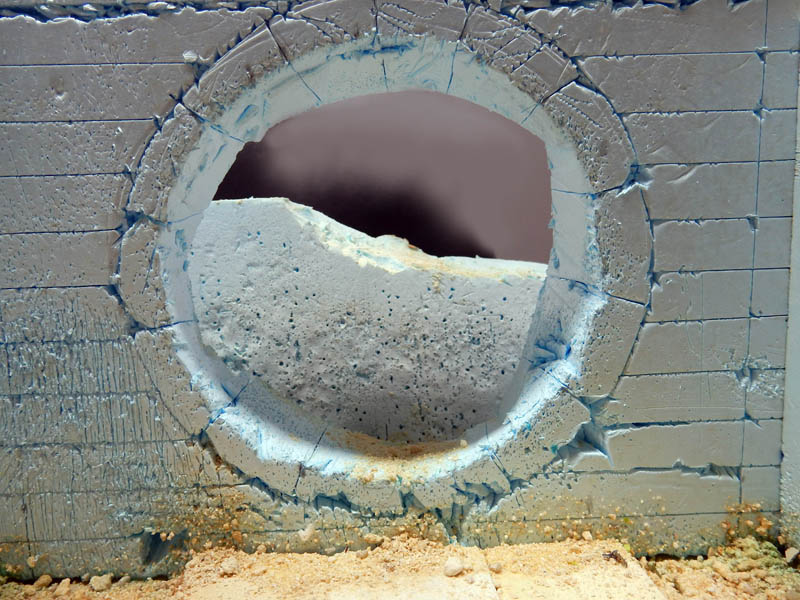
Detail of an engraving on the temple's main door...
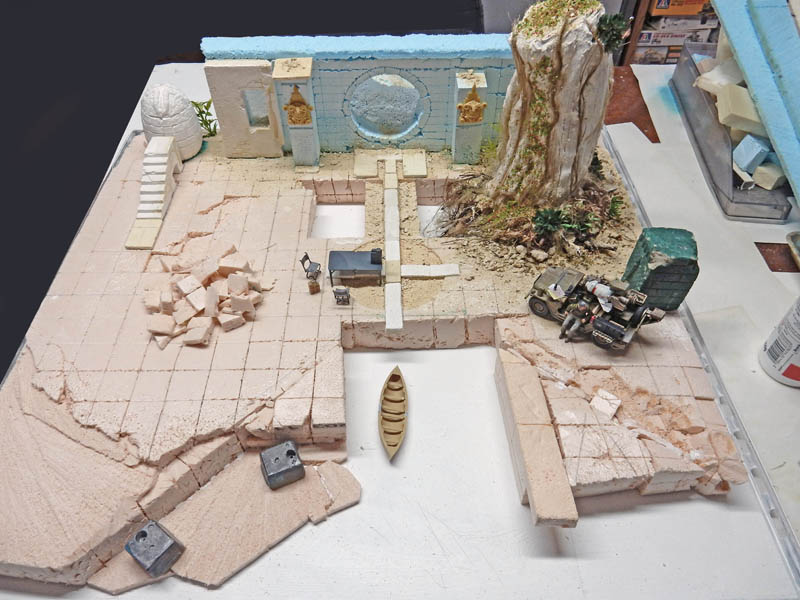
The set is almost finished. A coat of white acrylic primer has been applied to the back of the plywood panel...
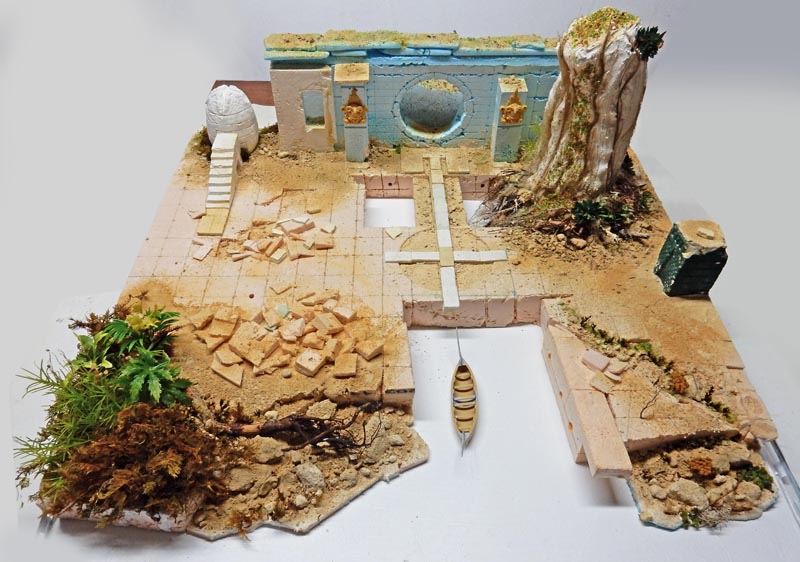
Floor painting with Liquitex acrylic paint after adding stones and rubble, dried plants, and plastic...
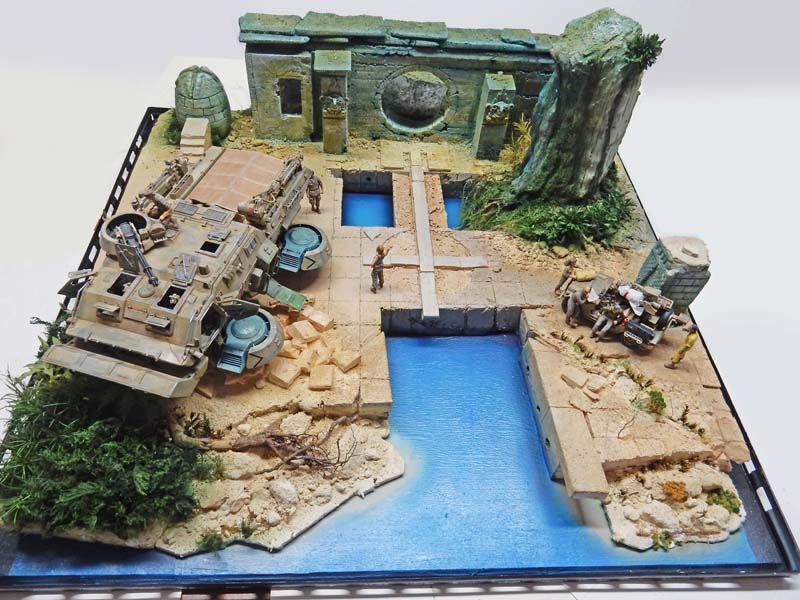
Airbrushed water painting with a shadow effect along the edges to simulate depth. Liquitex acrylic paint.
The vehicles are positioned so that the overall layout can be assessed...
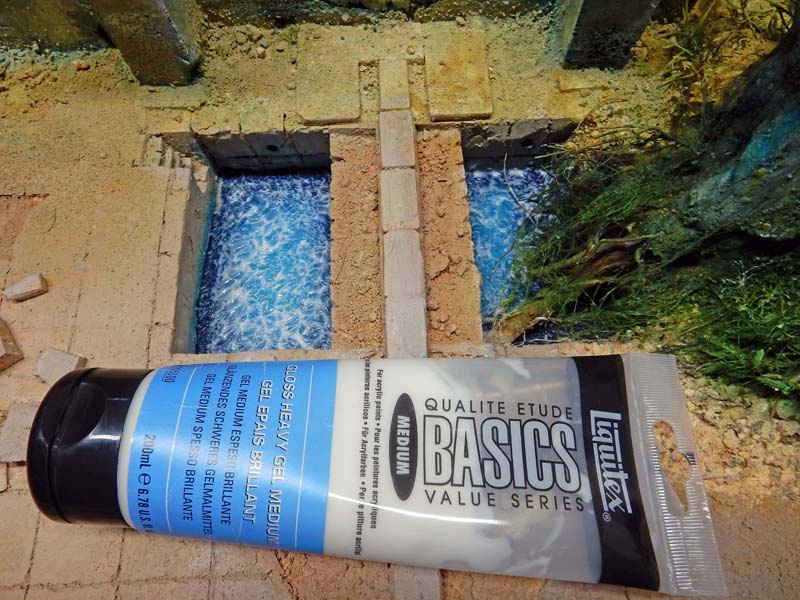
A thick layer of acrylic gel is applied to simulate waves in the pools. The white color disappears as it dries...
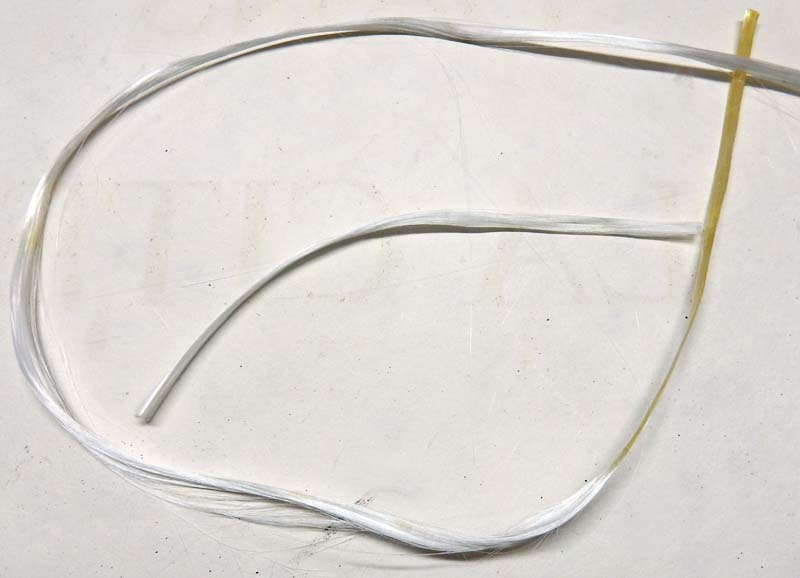
Glass fiber will be used to simulate water flowing from the drains in the stone...
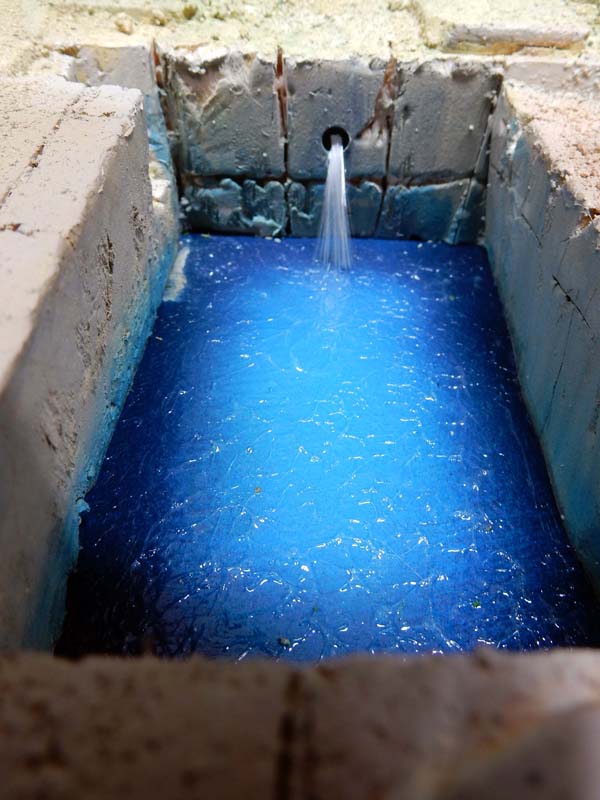 |
The result.
The wire is secured in the hole with wood glue.
It is then coated with acrylic gel...
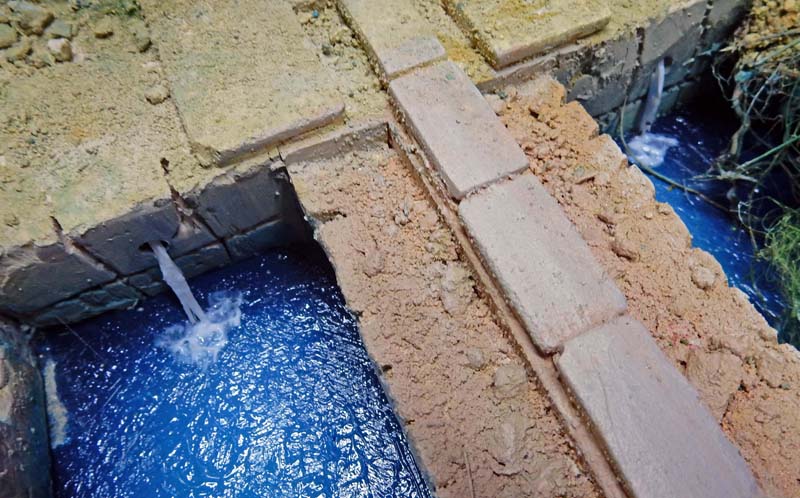
Add some acrylic gel to create the swirls, along with a little white acrylic paint...
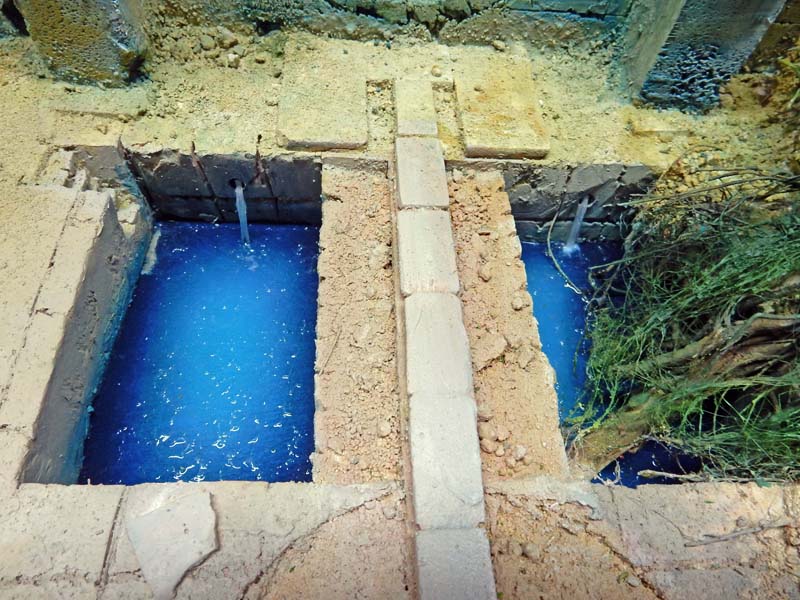
Apply a second coat of acrylic gel, and then, once it's dry, a coat of glossy topcoat...
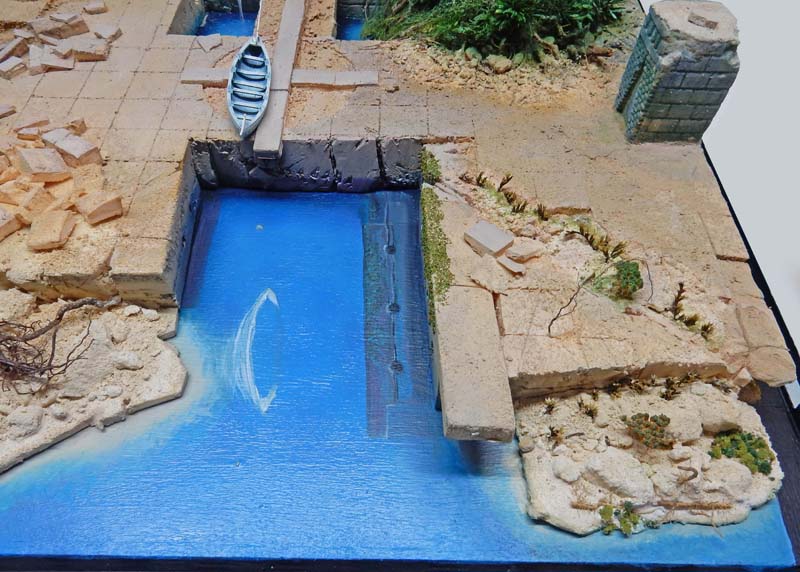
A trompe l'oeil painting depicting the boat's location, the reflection of the dock in the water, and the riverbank...
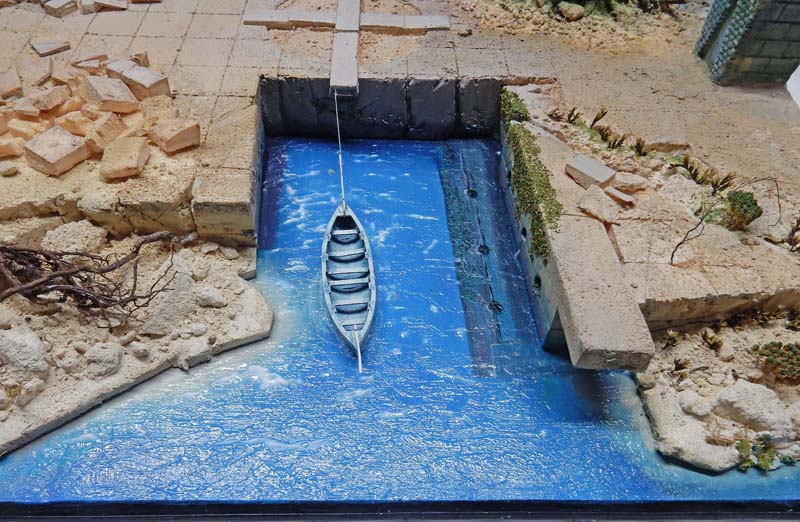
Apply a first layer of acrylic gel over the entire surface and secure the boat in the gel...
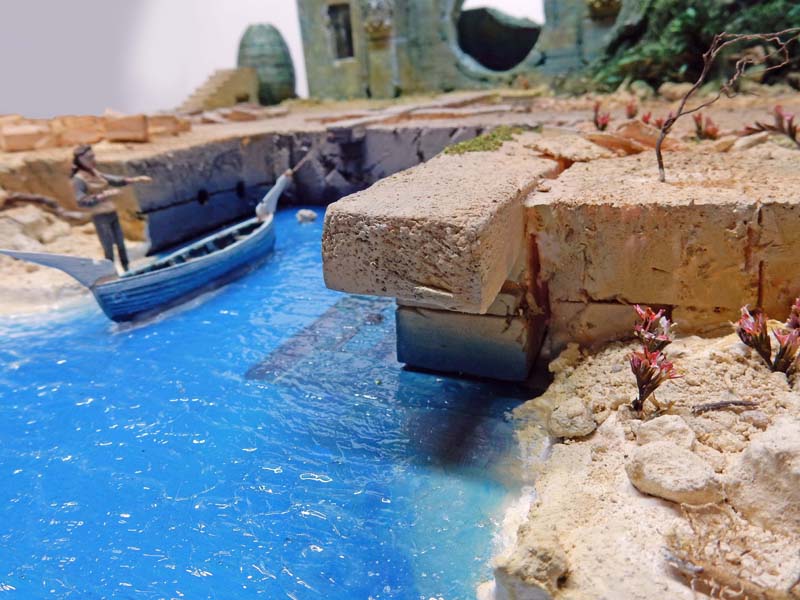
Same procedure for the beach once the riverbank edges are finished...
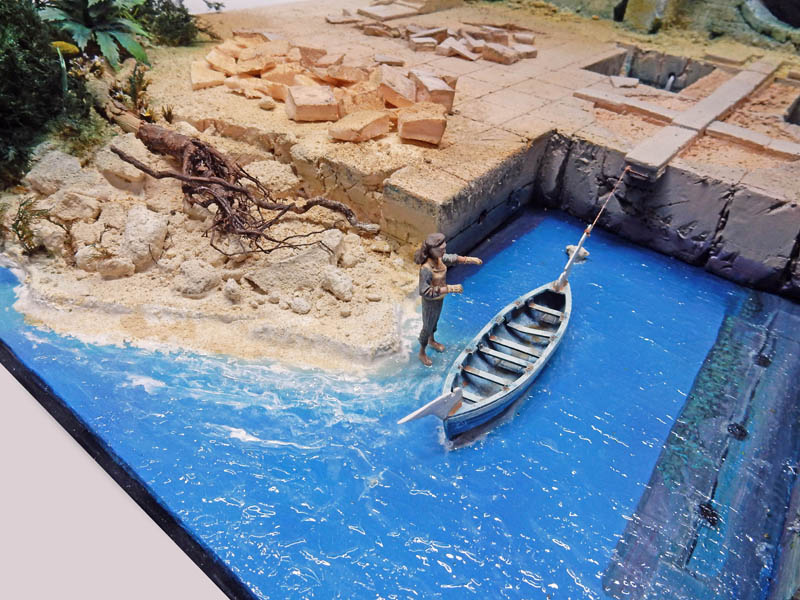
A touch of white has been added to the ripples along the riverbank...
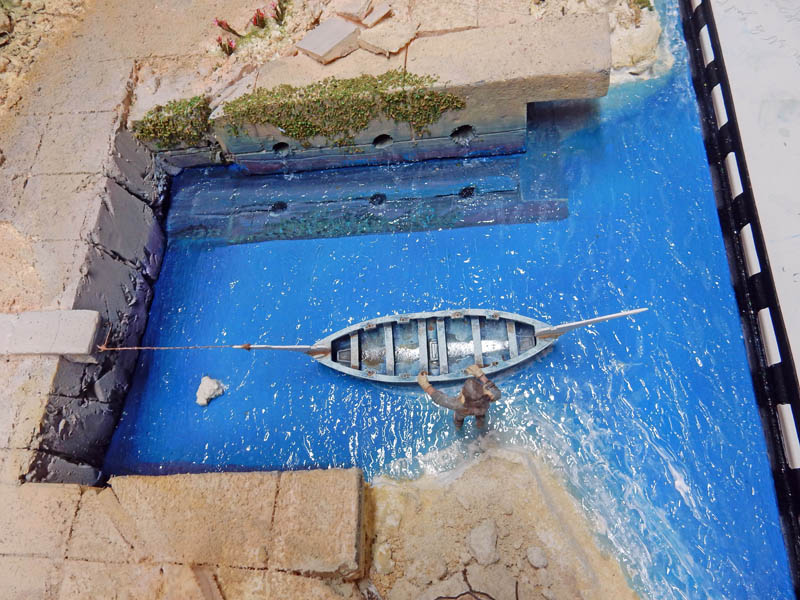
Another view...
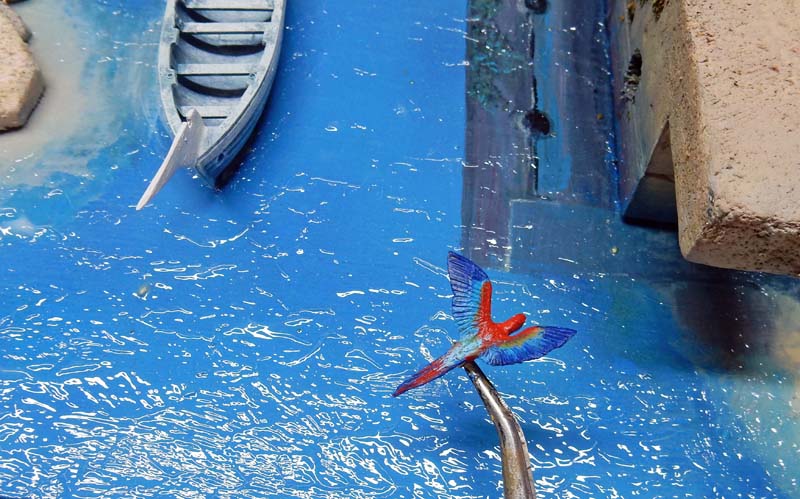
Painting of the macaw...
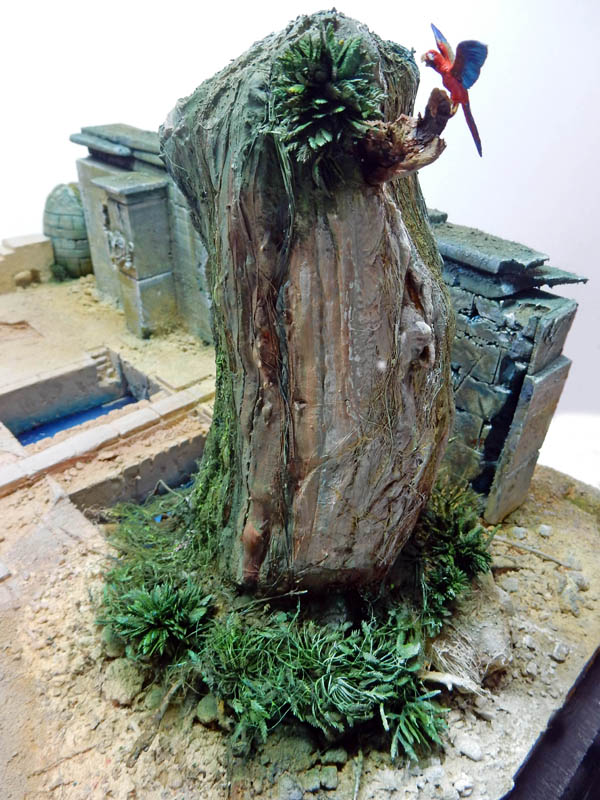 |
The macaw is perched on its branch.
Painting the vegetation on and around the tree...
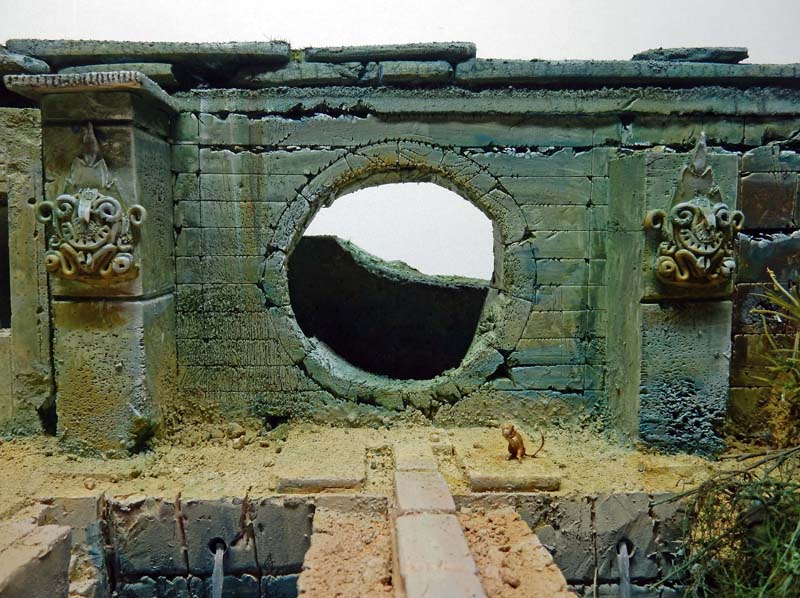
Painting the walls of the ruins. Collage of the monkey in a... position
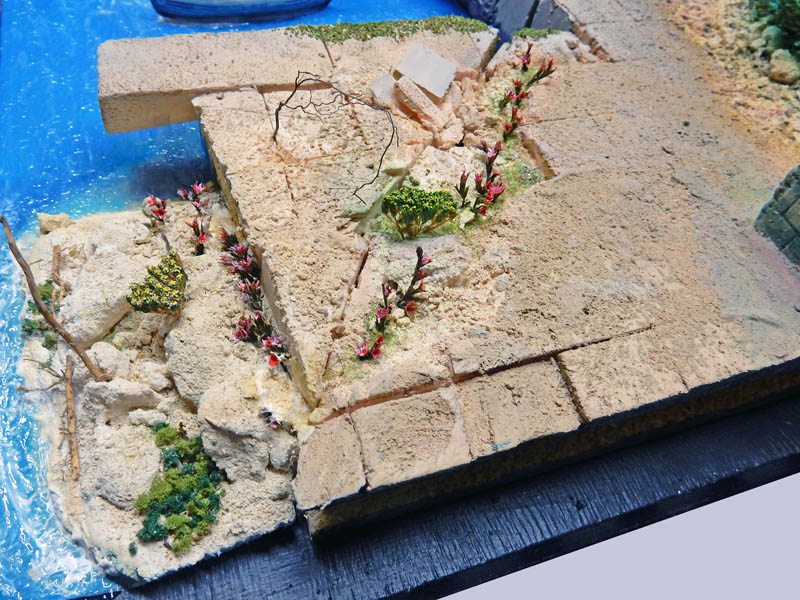
Collage of dried flowers and paint...
Gluing and painting the vegetation patch to the left of the diorama...
The set is ready to accommodate the various vehicles and figurines...
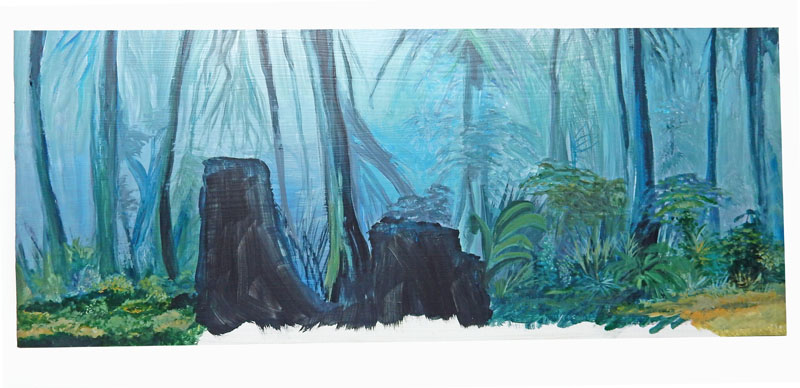
A painted background is added behind the set. Liquitex acrylic paint...