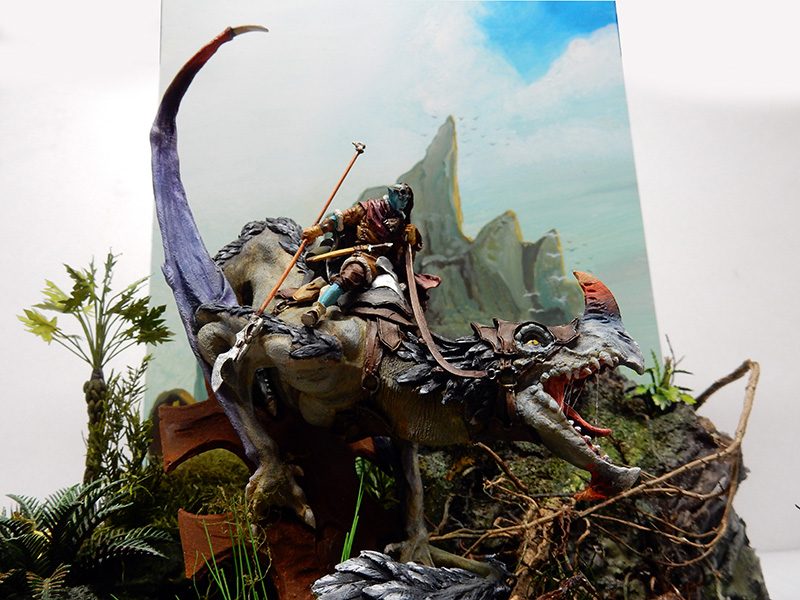
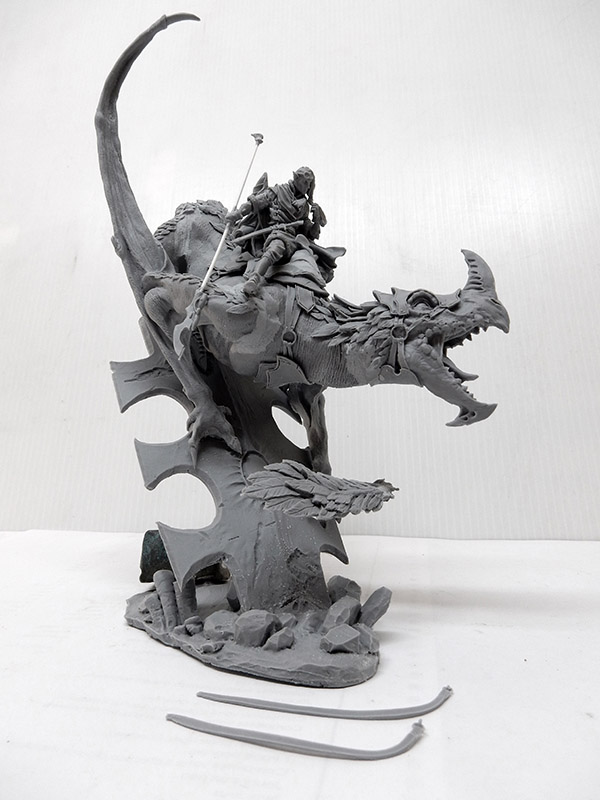
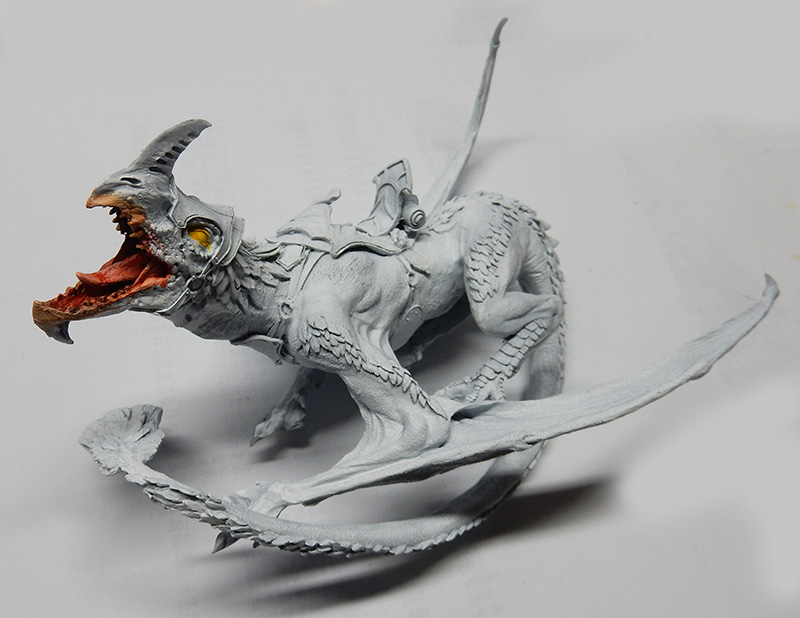
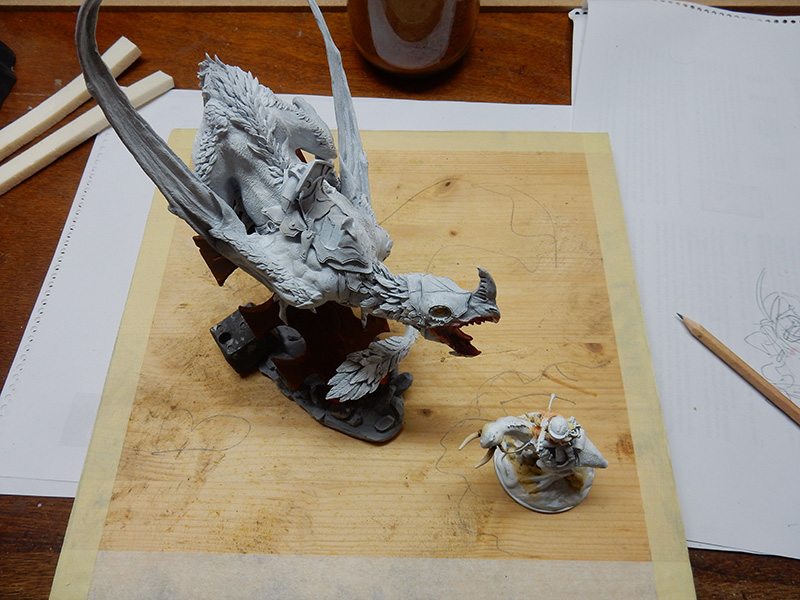
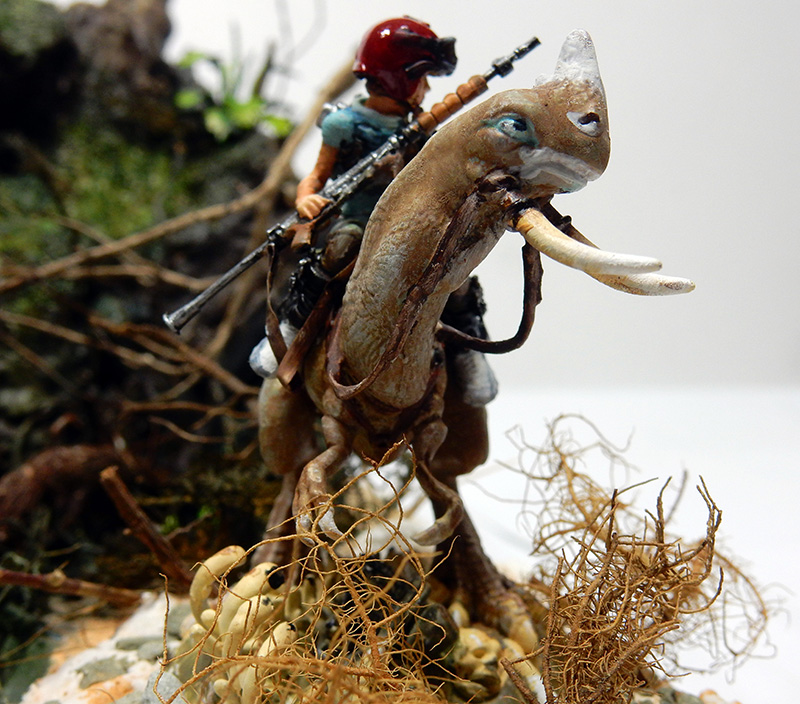
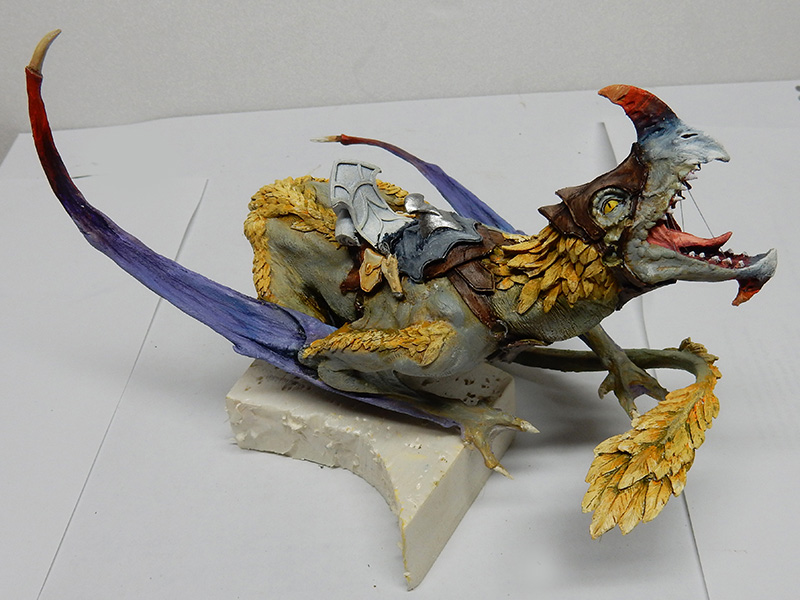
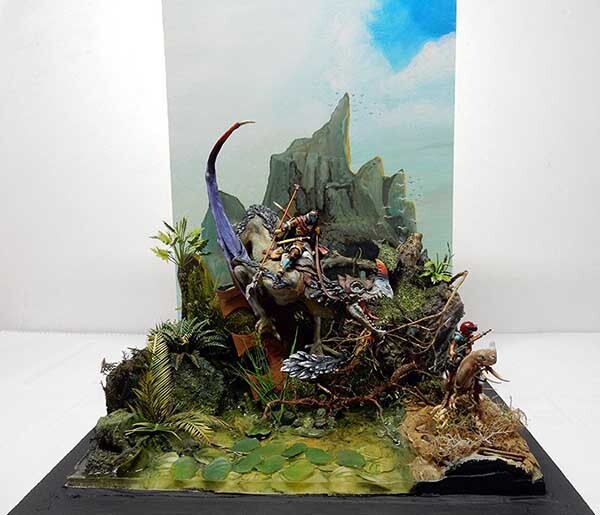
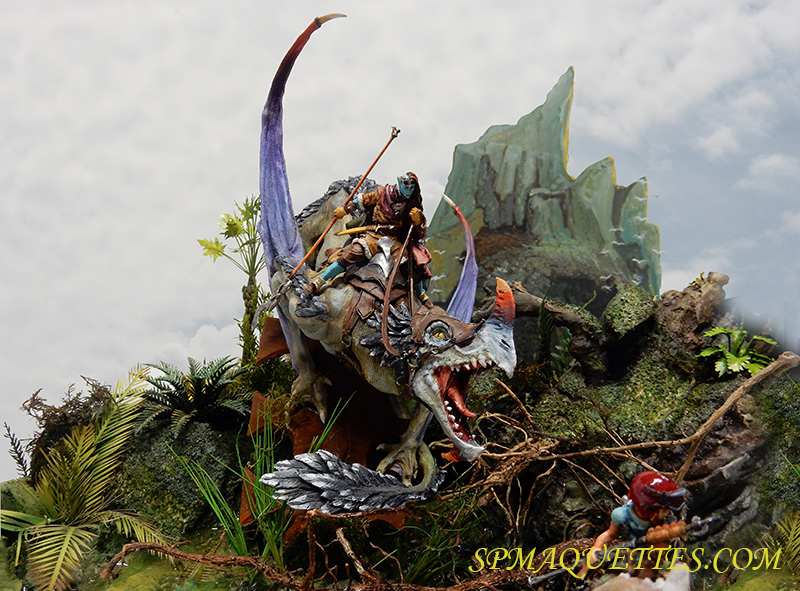
To start with, two 1/24-scale figurines. The first is a dragon mounted on a base, along with its rider...
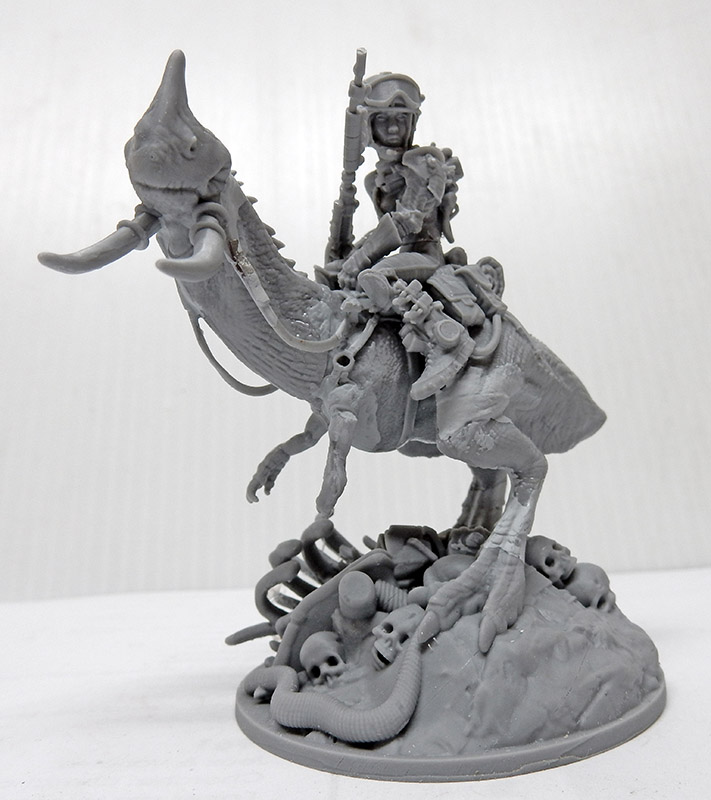
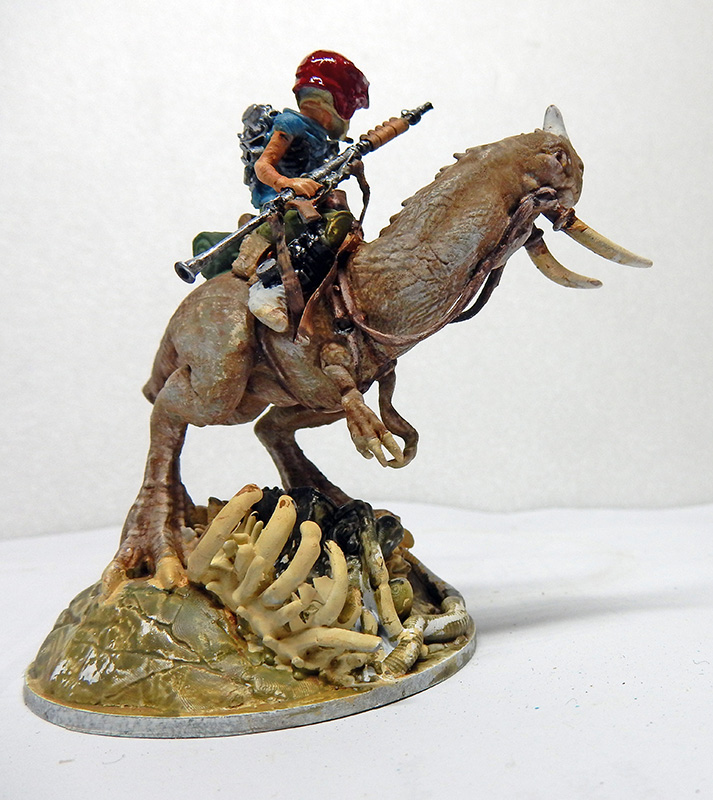
...The second one is another rider on a... on foot (?!). Aside from the head and feet, the figure is actually closer to 1/32 scale. But... Well...
The engraving on all the pieces is excellent...
First things first: assembling the dragon. All these parts come in various pieces, and you have to cut off the mold sprues and sand them down...
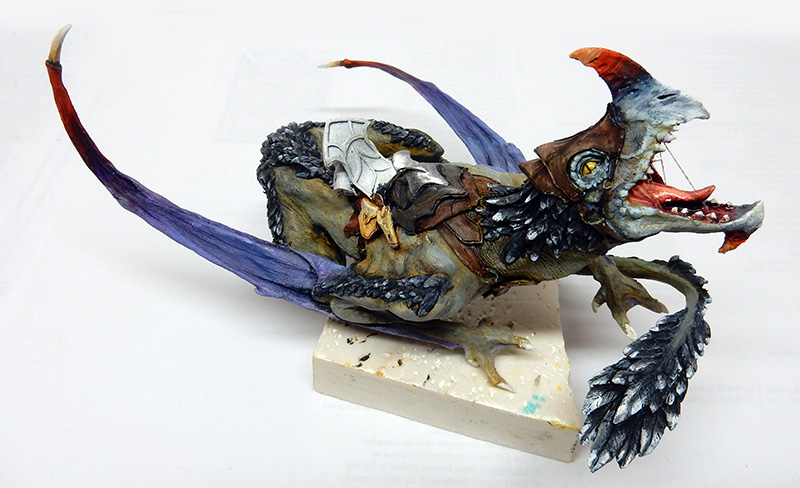
Everything is glued together with Super Glue. Here, the inside of the mouth and the eyes have already been painted with oil paint after applying a base coat of white acrylic paint to the entire animal...
The Setting
Beautiful figurines need a beautiful setting to show them off. Here, a thick wooden base with 30-cm sides will suffice...
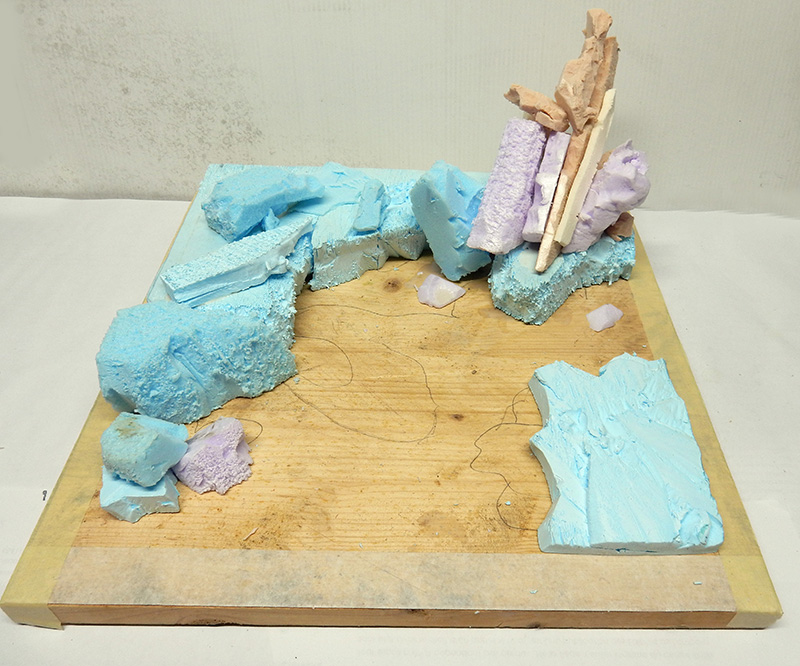
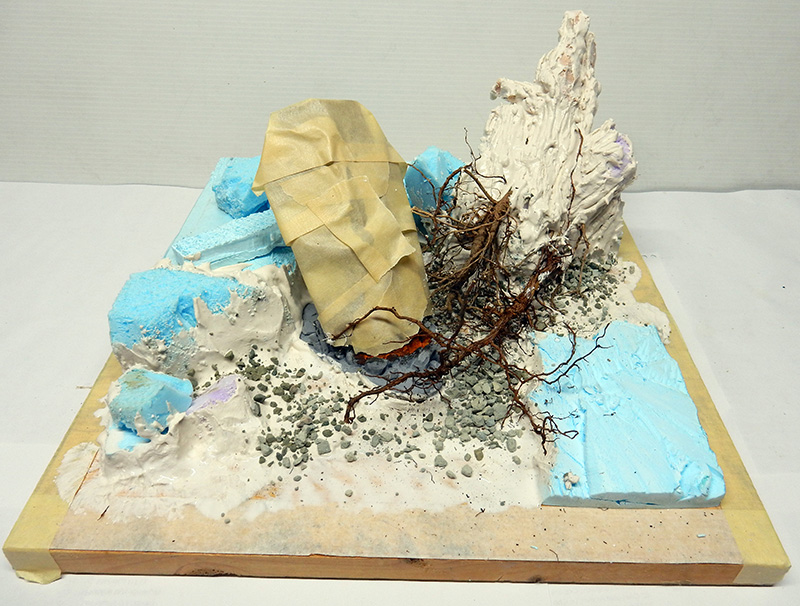
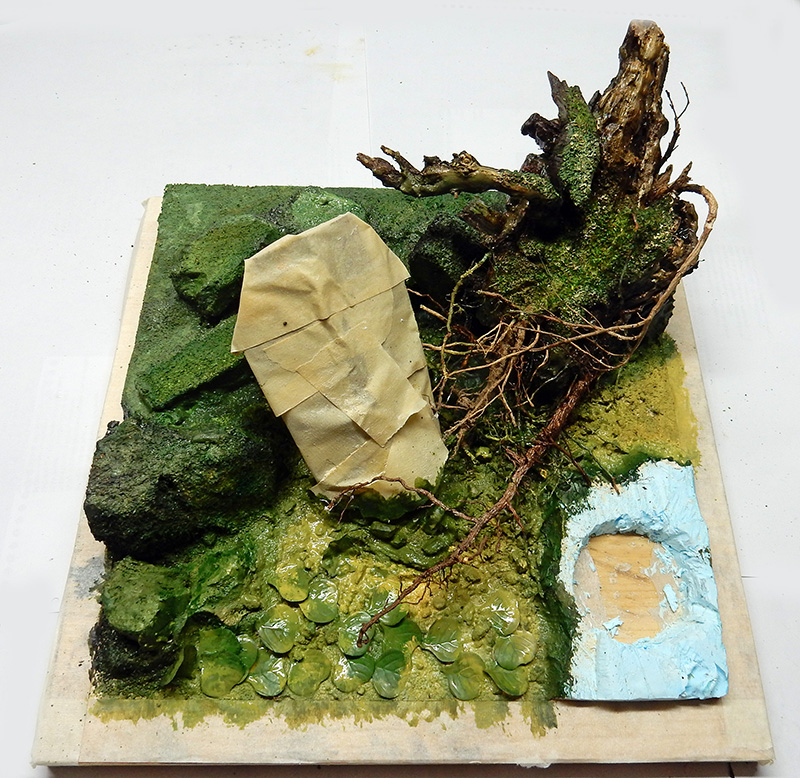
The scenery will include a body of water, rocks, and old stumps. The elements are made of extruded polystyrene...
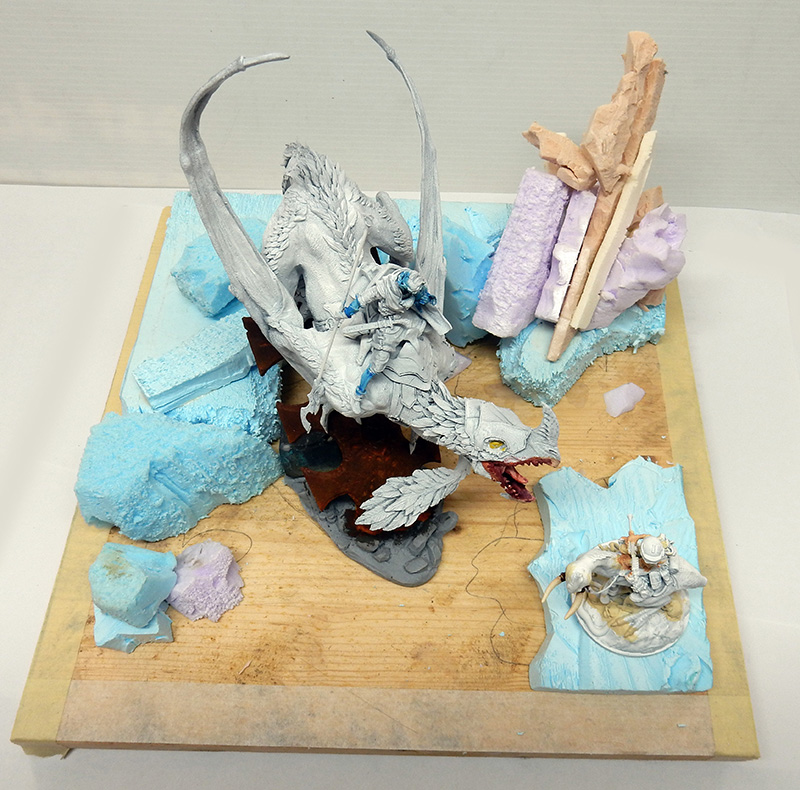
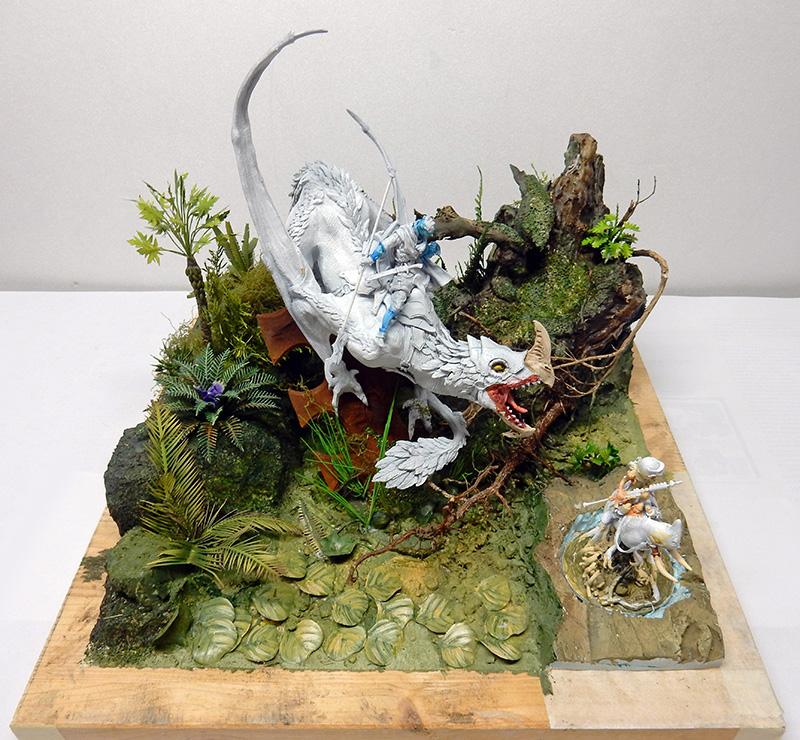
After deciding on the layout of the various elements, place the main subjects to get a sense of the space's layout...
The base of the “footed sea lion” is being kept because it has very interesting details, and it will be included in the rock scenery...
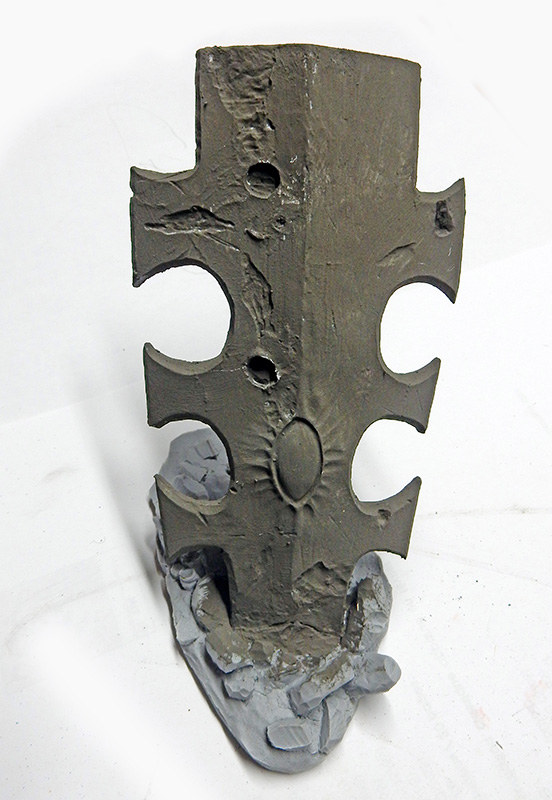
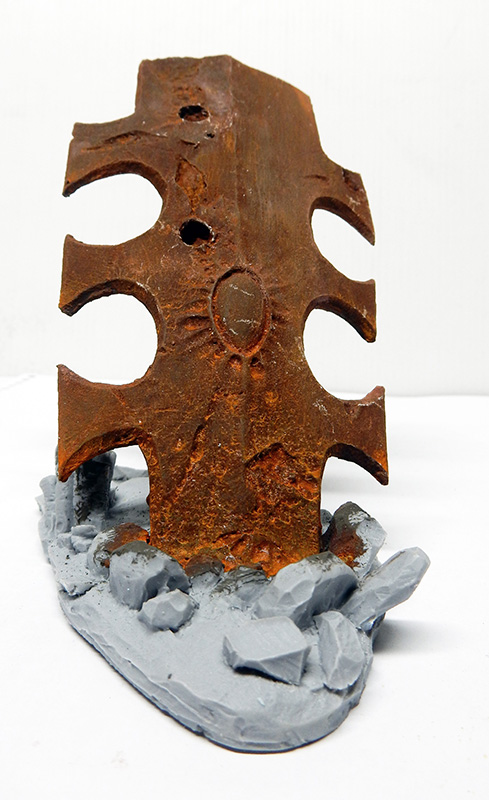
The dragon's base will be given a metallic finish first. We'll use the product "Instant Iron & Instant Rush," which has already been mentioned in various tutorials and which realistically replicates the effects of rust on metal...
The result... After treatment...
The protected base is secured in the scenery, along with roots that will represent the branches of the stump. The whole thing is set in liquid plaster. Cat litter and dust are added...
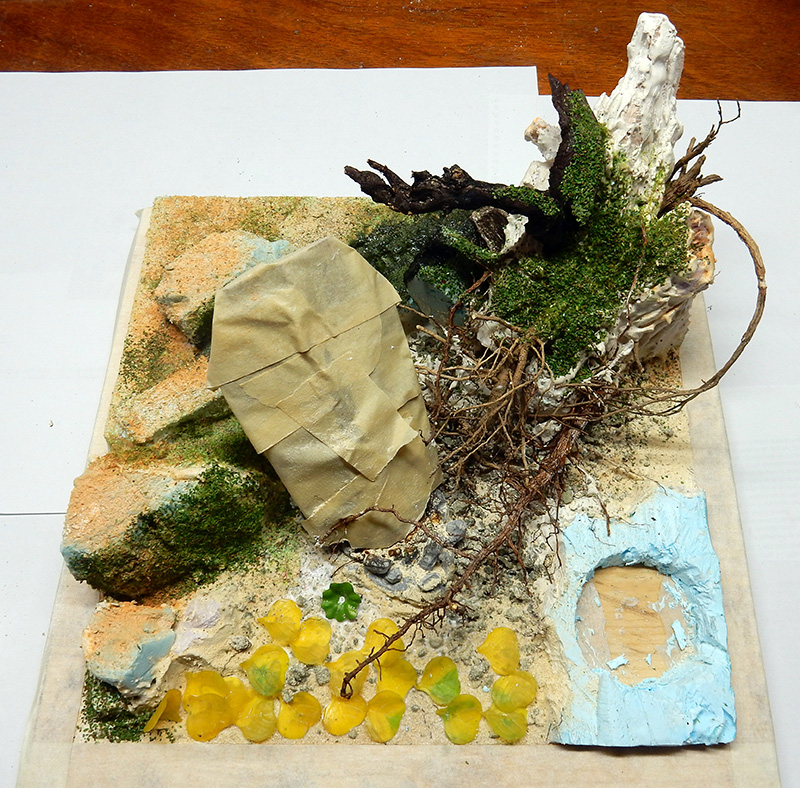
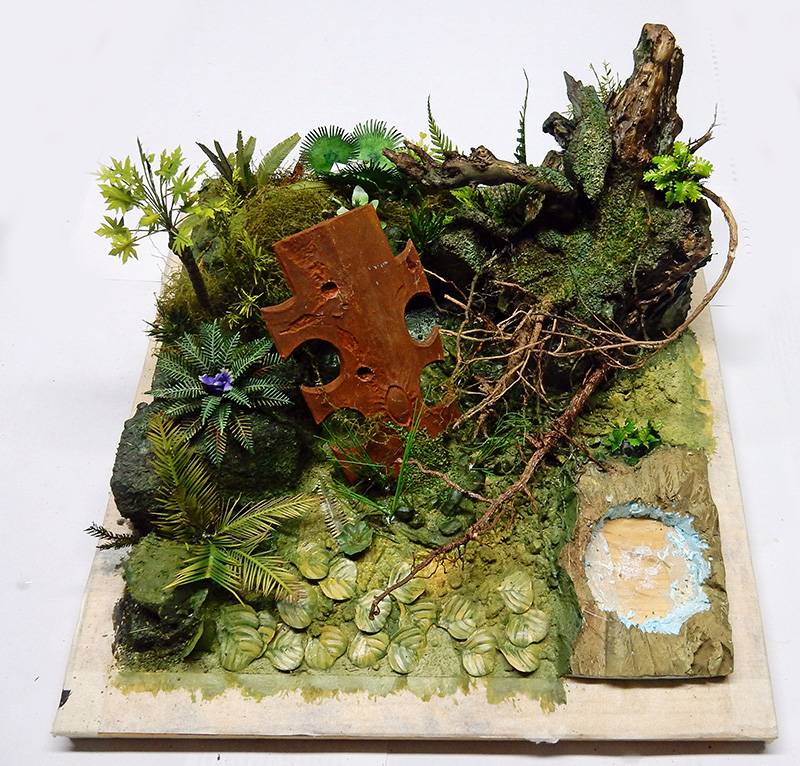
We add flocking foam, dust, and plastic water lilies. You can clearly see where the rider's base will go...
Then, painting the various elements of the set with acrylic paint...
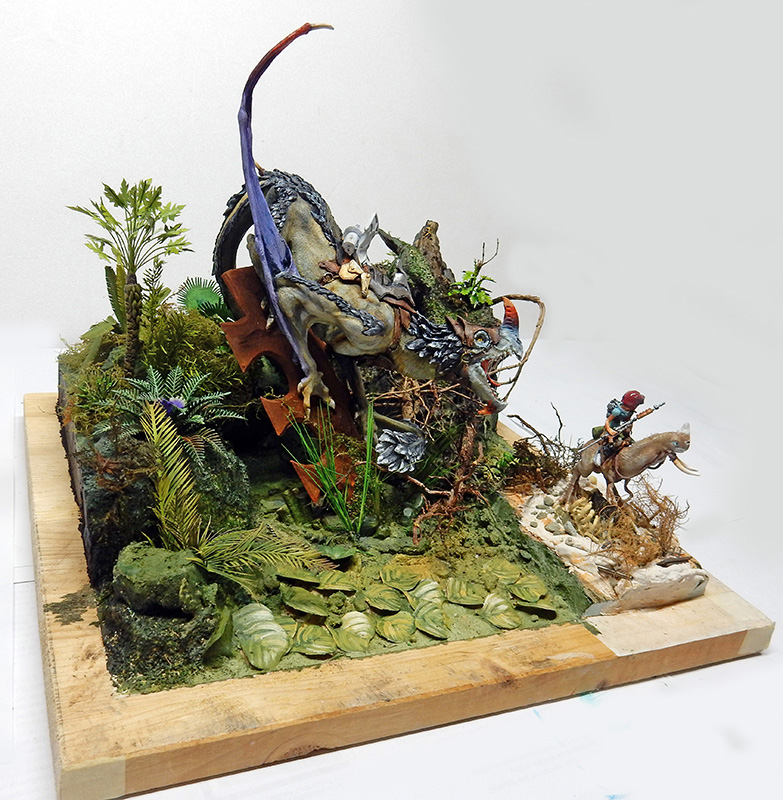
We add plastic, dried, photo-etched, and paper plants... Positioning the rider and the dragon within the scene to see if the whole composition looks harmonious...
The figurines
The "beast" is painted with acrylics and using the hairspray technique, while the character is painted with traditional oil paints...
The result on the set...
First attempt at experimenting with colors for the dragon. It is painted with Winsor & Newton artist-grade oil paints...
Final colors selected...
Test of positioning the dragon based on colors...
The Background of the Set
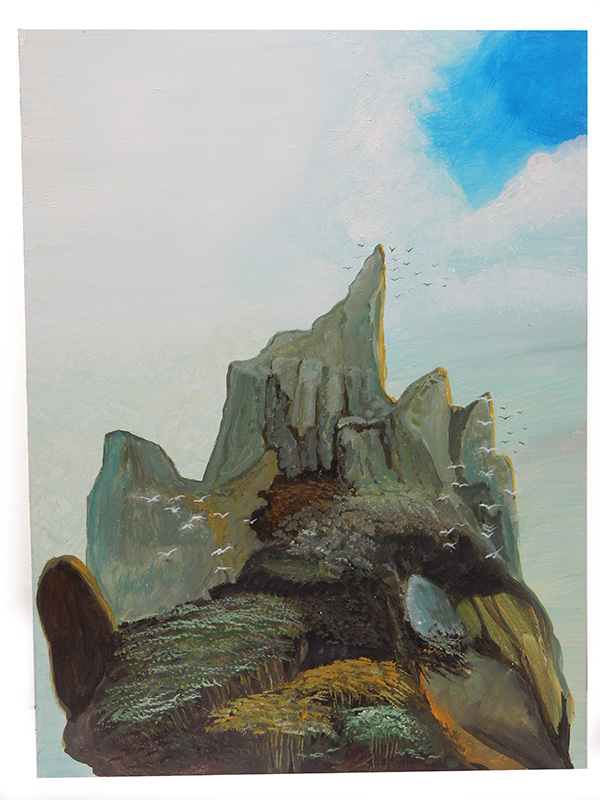
A painting done in acrylic on a hardboard panel and placed behind the set will highlight the main scene by bringing it to life...
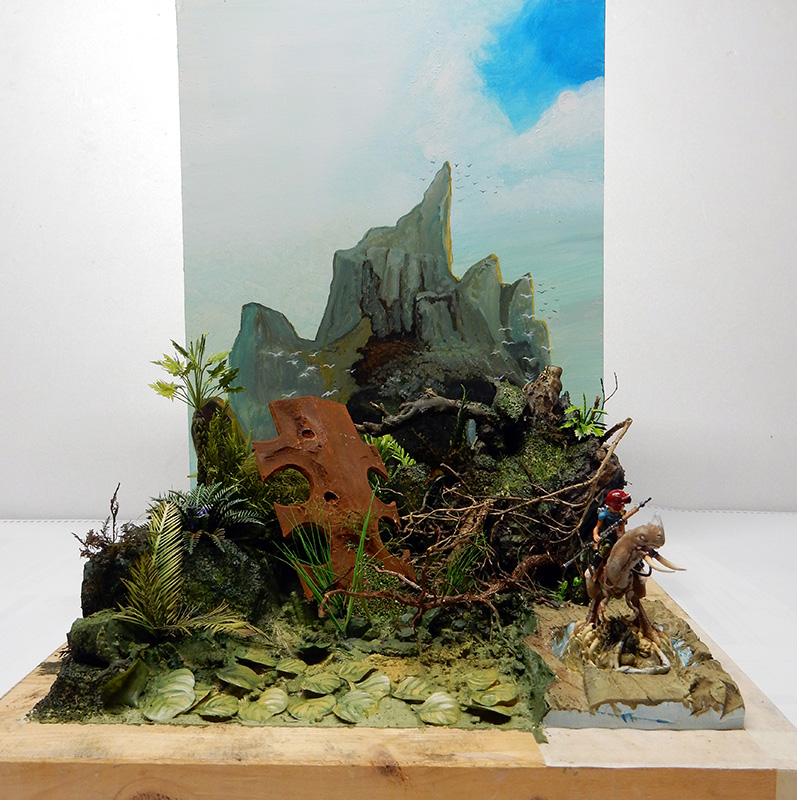
The presentation with the background...
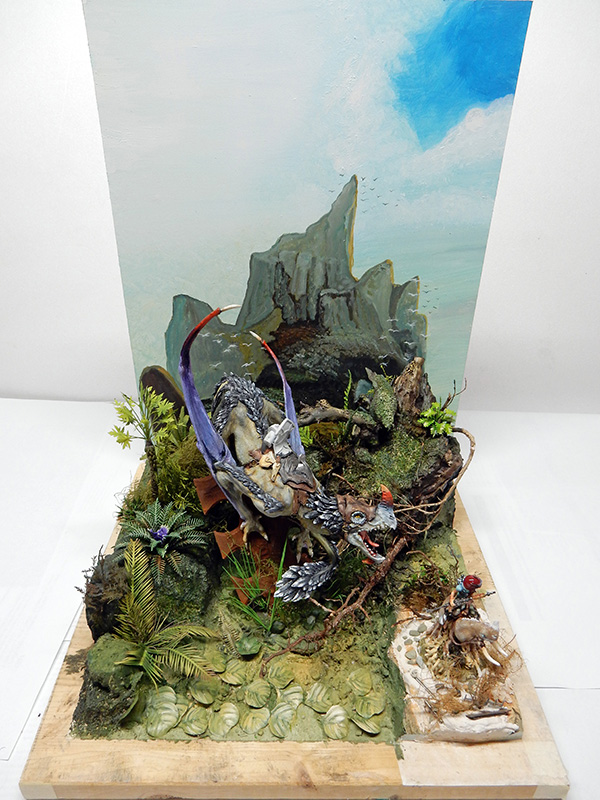
... Then with the figurines...
Resin Water
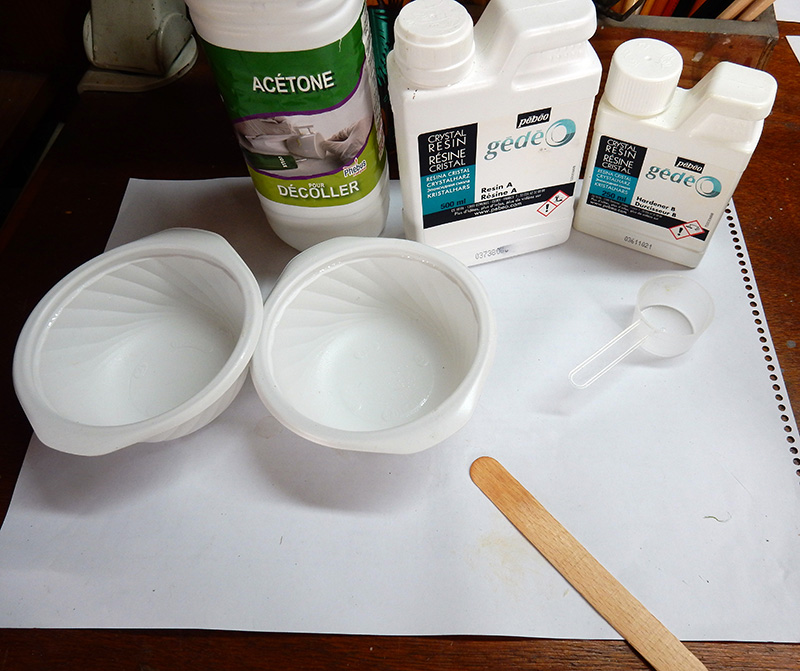
The product used here is Cristal resin, which is very practical and easy to use... It costs about 40 euros for 750 ml...
Use one part hardener and two parts resin, without exceeding 150 ml per 24 hours—important!
Use the clear measuring cup. Pour the mixture into a container. Stir thoroughly for 10 minutes without rushing (which would cause bubbles to form), then pour the contents into the other container and stir again...
Don't forget to wear a mask and gloves when handling materials...
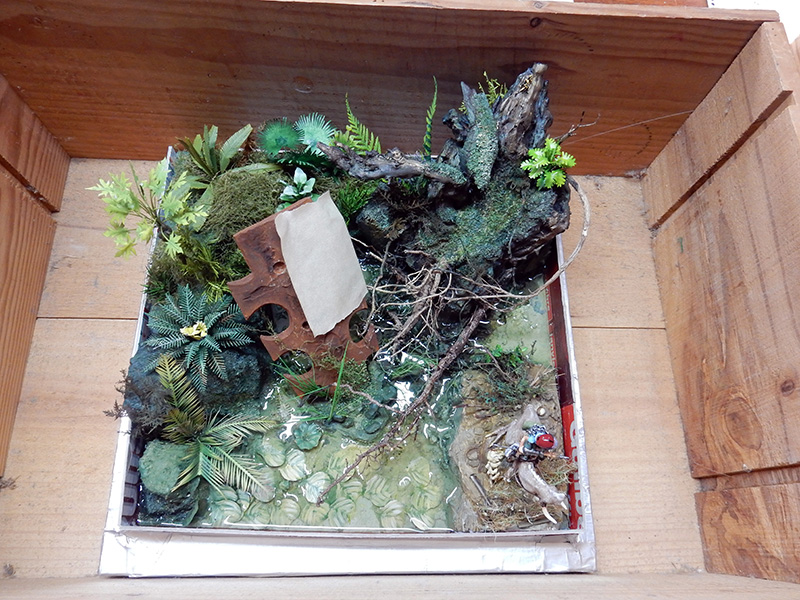
Using strips of laminated calendar paper coated on the inside with petroleum jelly, we create a frame around the entire design to hold the resin in place.
The exterior is secured with aluminum tape...
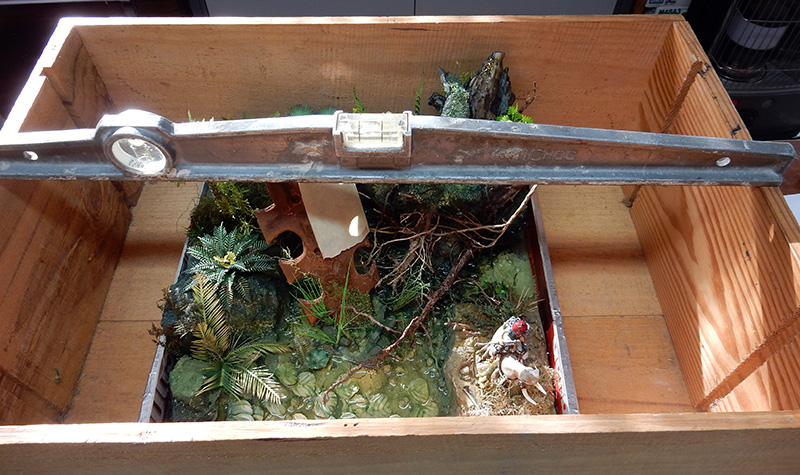
Important: Before pouring, make sure the scene is level; check that the set is level. The water must be level once it dries!...
Here, a first layer has been applied, which will begin to set 9 hours later. Let it sit for 24 hours...
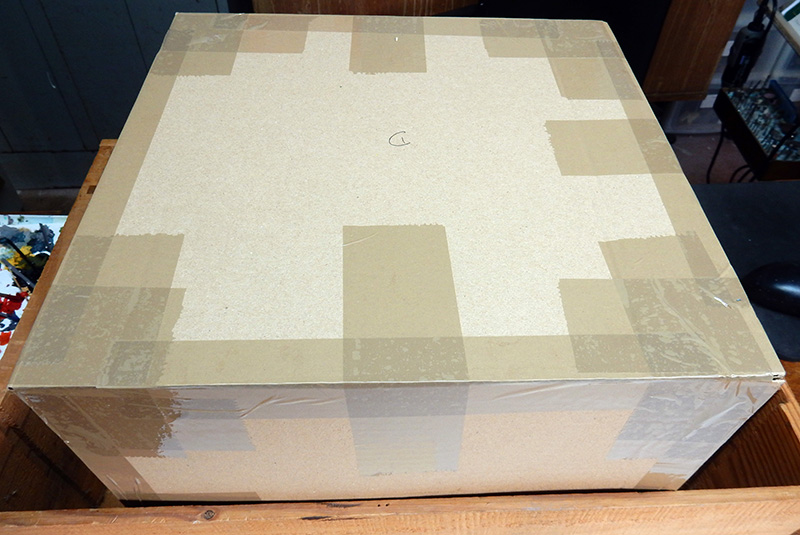
Important: Make a cardboard lid beforehand. The resin must not come into contact with dust during the curing process... or afterward, for that matter...
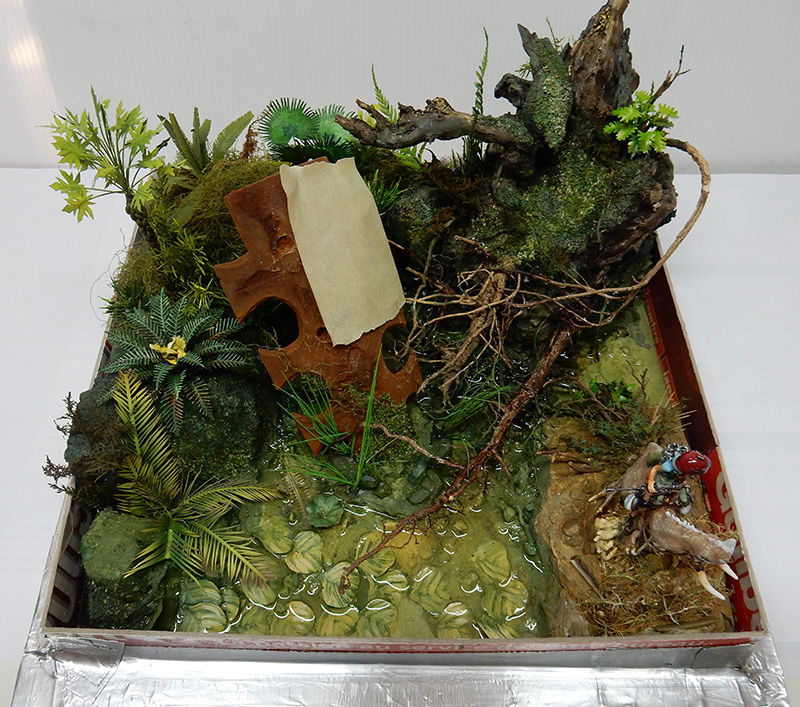
After 24 hours, a second coat of resin was applied, and water lilies were added to the surface as the resin began to gel...
The dragon is attached to its stand. The whole thing is finished...