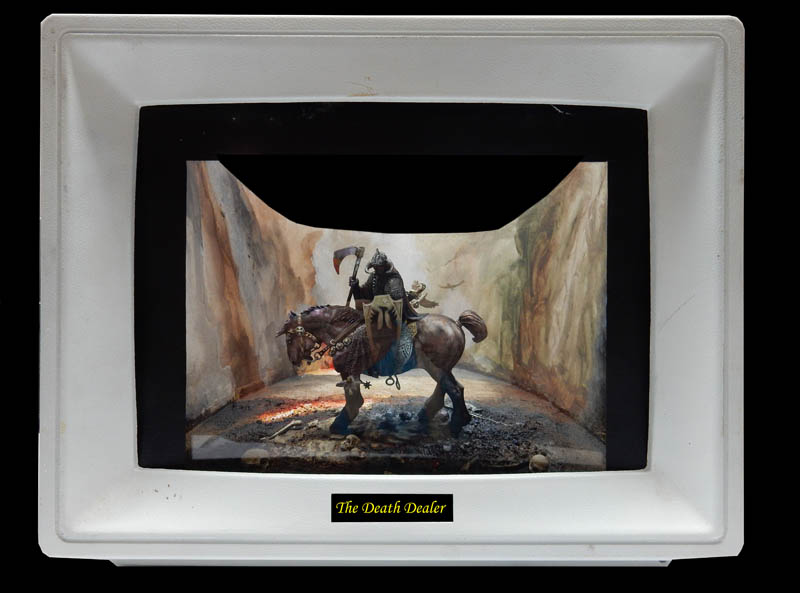
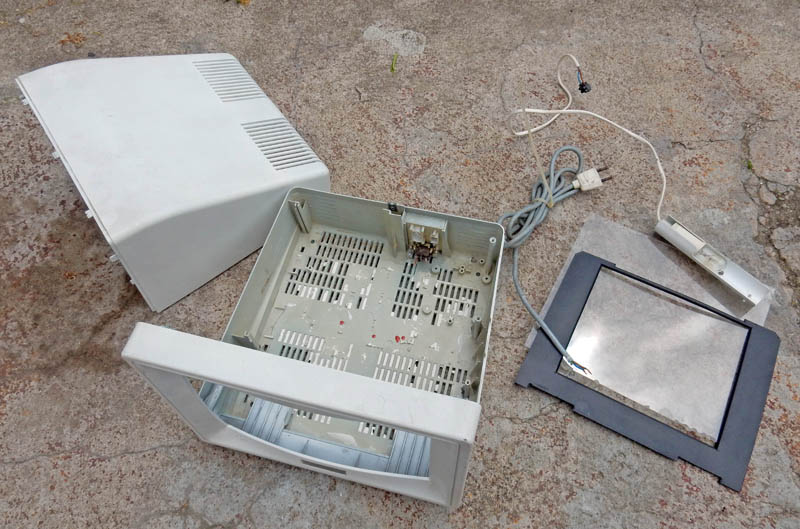
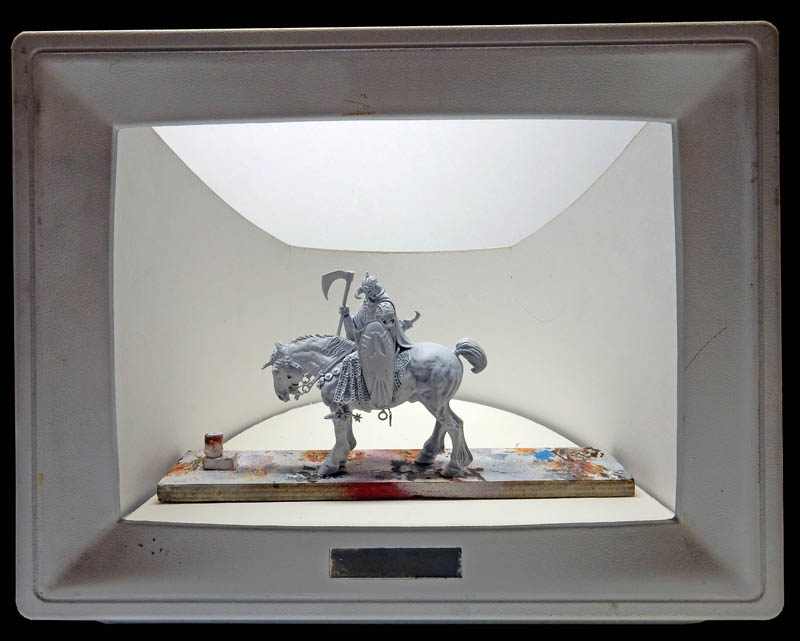
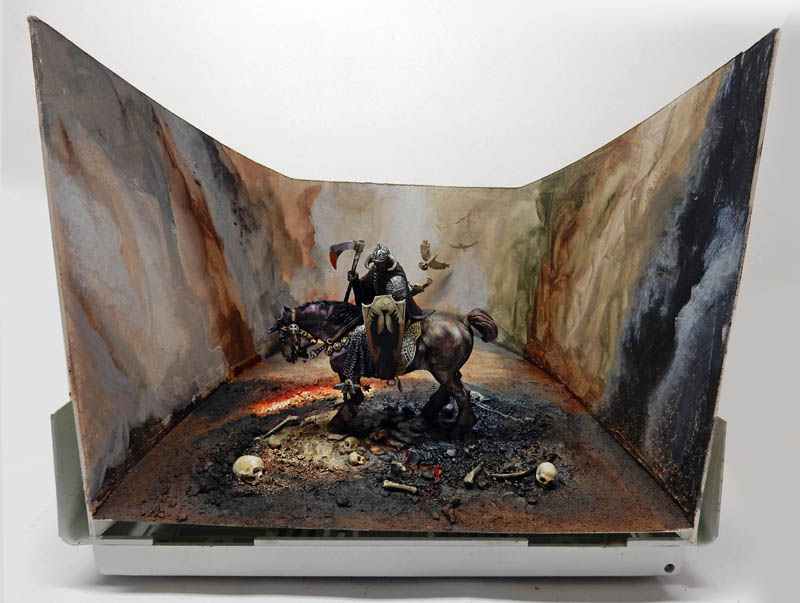
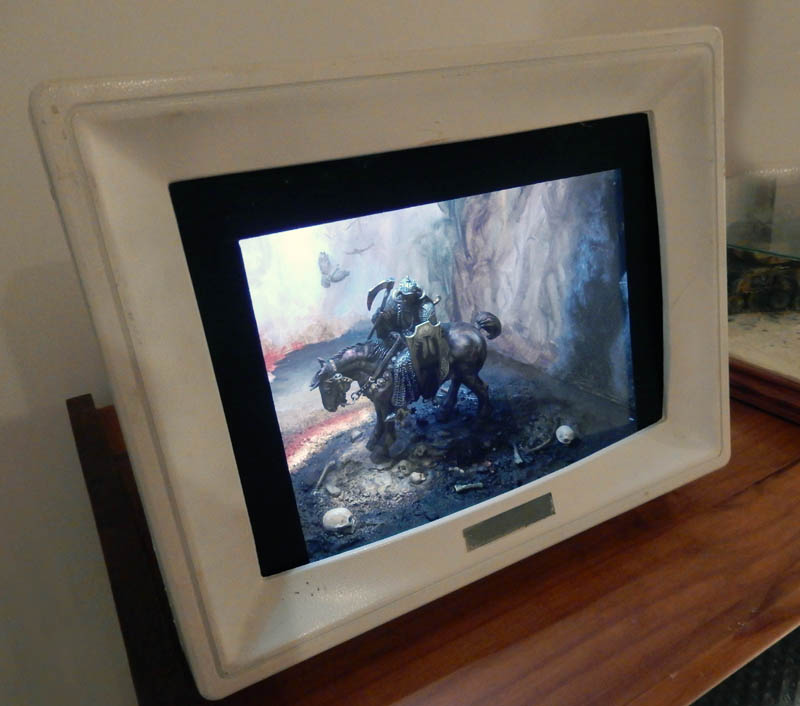
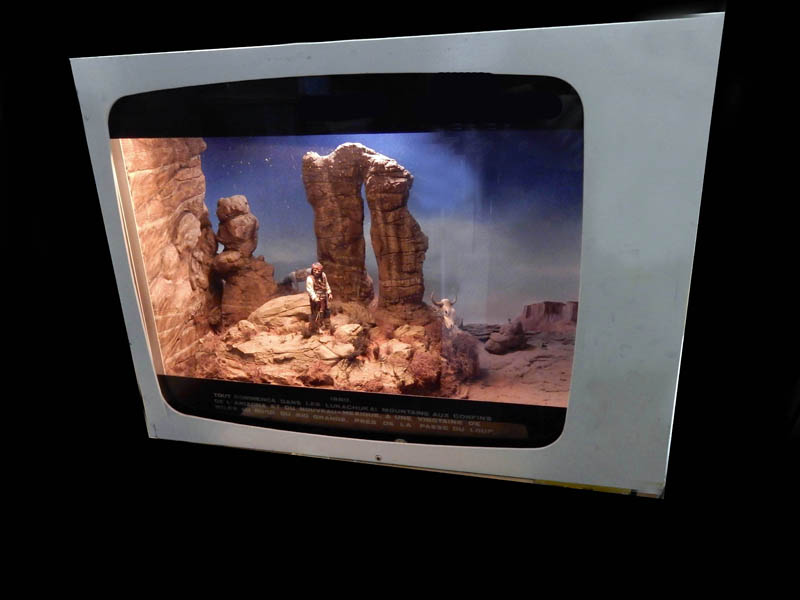
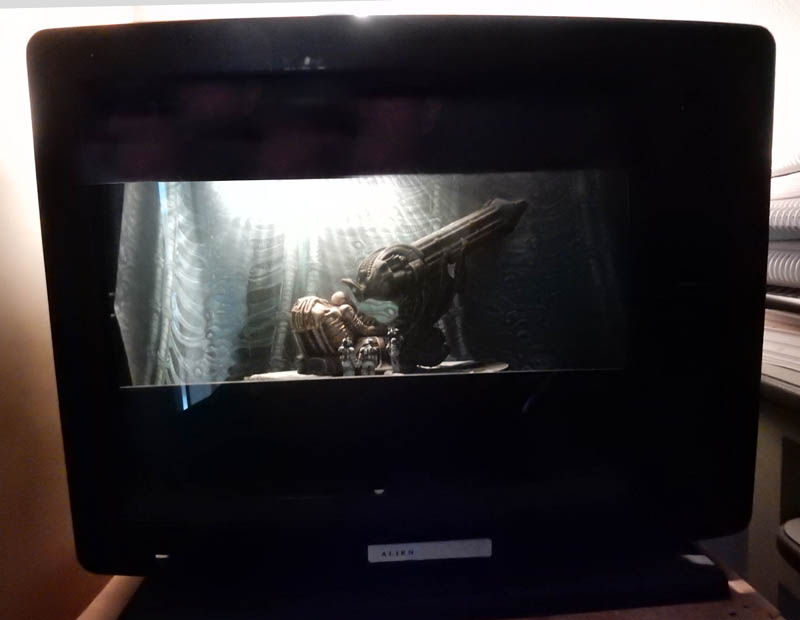
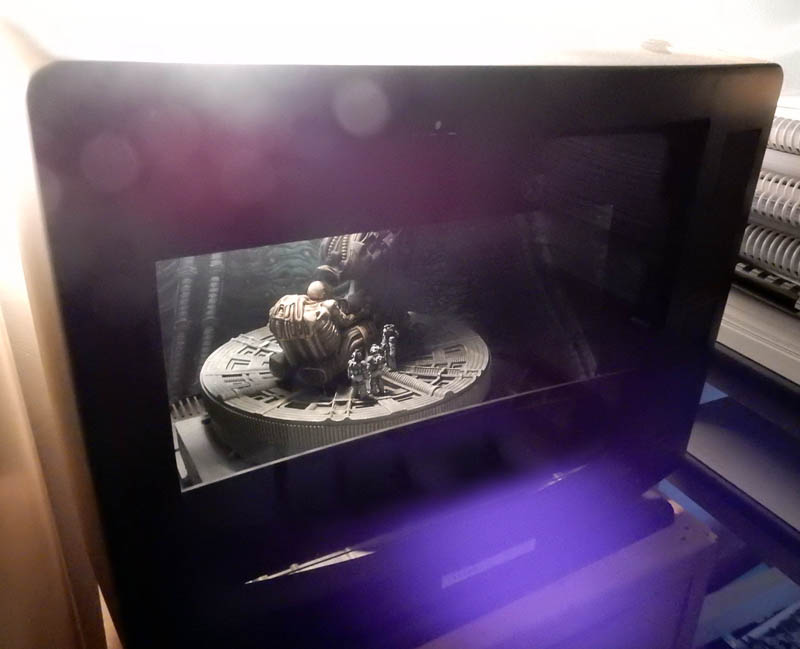
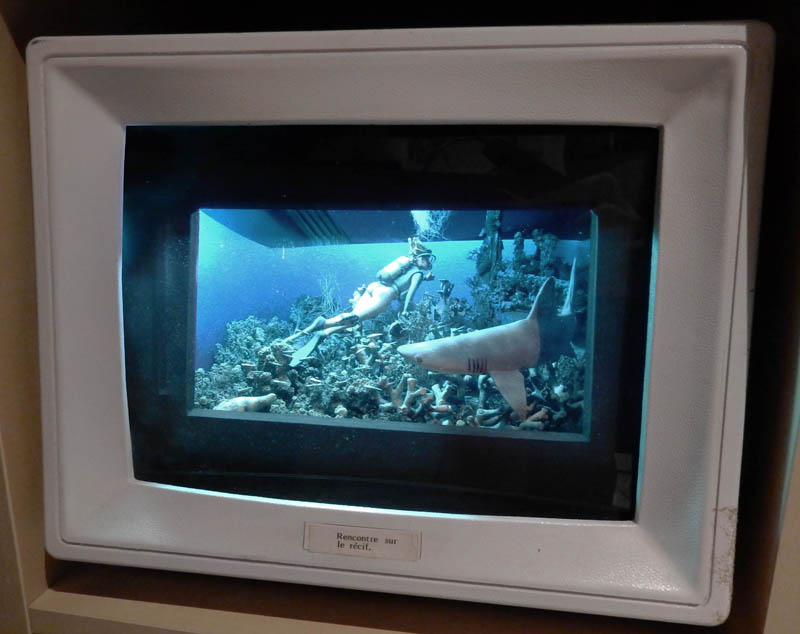
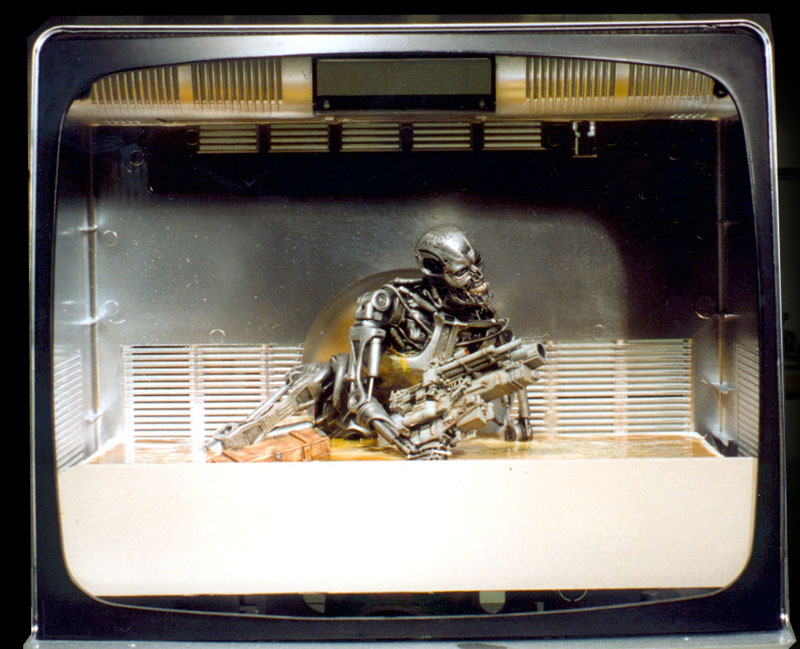
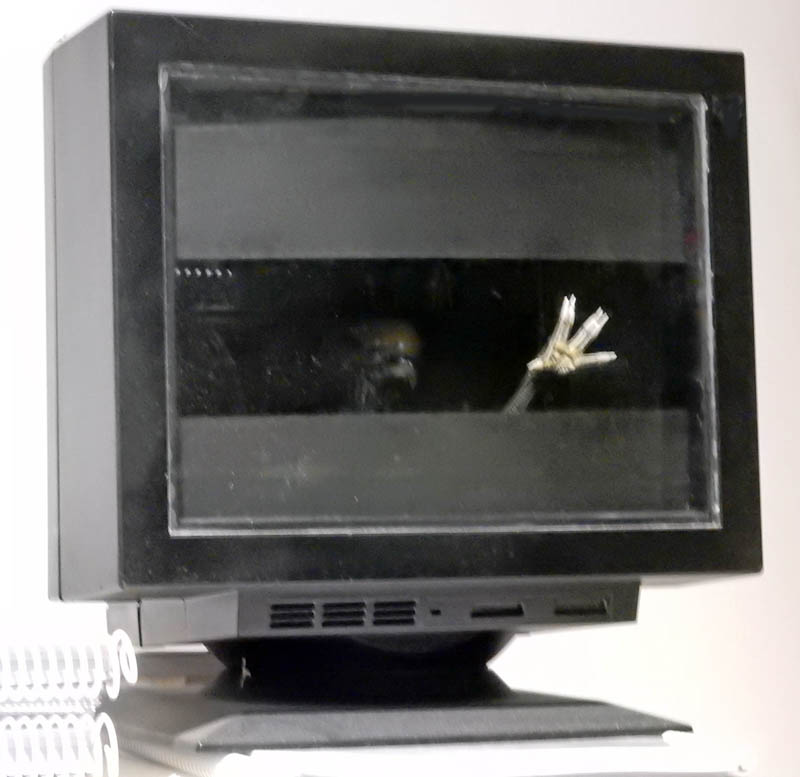
I'm not going to beat around the bush!You can create old-fashioned “diorama boxes” out of plywood and cardboard… with a nice picture frame as the front. This allows you to precisely determine the size and depth you want. But since then, various TV consoles and screens have made it possible to create boxes that are both aesthetically pleasing and sturdy, after a few modifications... Unfortunately, with the advent of flat-screen TVs, those easy days are over. Old TV cabinets are becoming rare... For this example, we’ll be using an old Minitel console from a bank, once it’s been emptied of its contents and a lamp and a Plexiglas screen have been added...
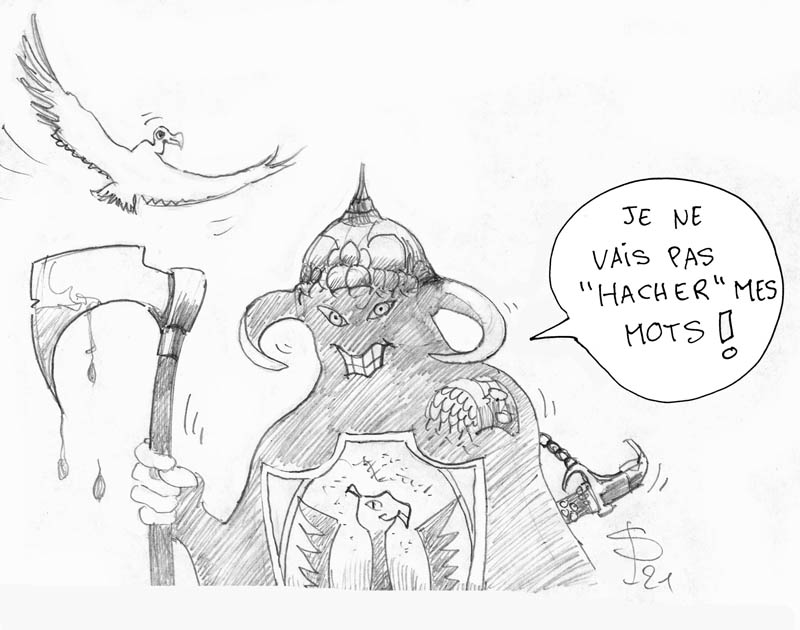
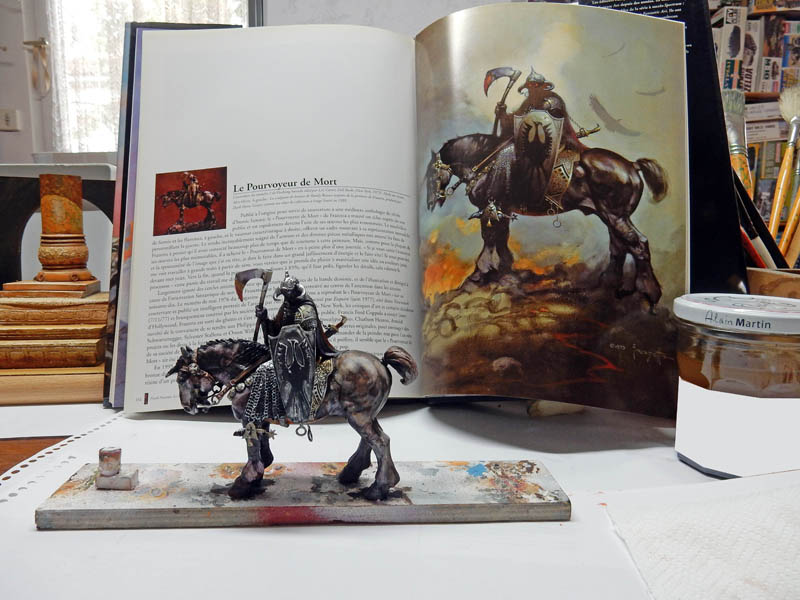
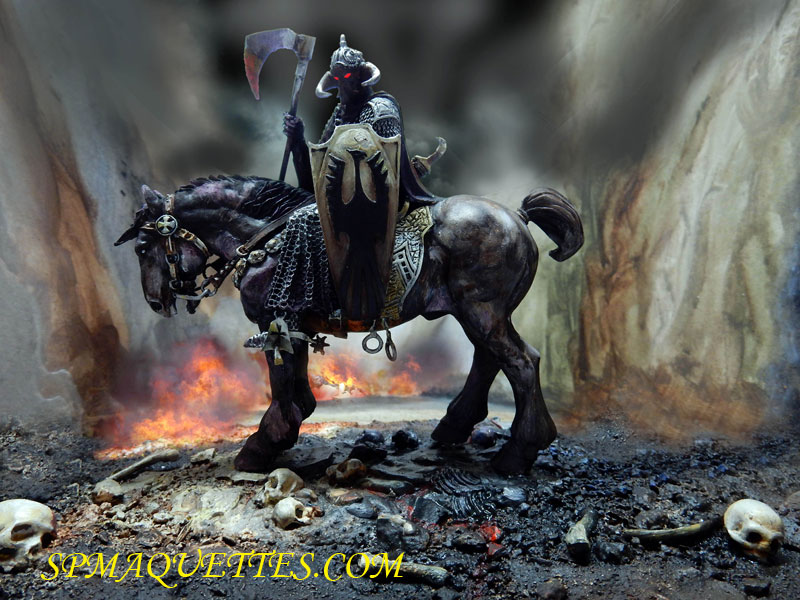
Frank Frazetta’s “Death Dealer.” The “Death Dealer,” a cover illustration for Howard’s novel *Conan*—which brought the artist widespread fame...
The idea to include it in a box came from the beautifully engraved 1/24-scale figurine. And the fact that you can also create the background of the scene. It’s nothing too complicated—it just requires some attention to detail and a little precision...
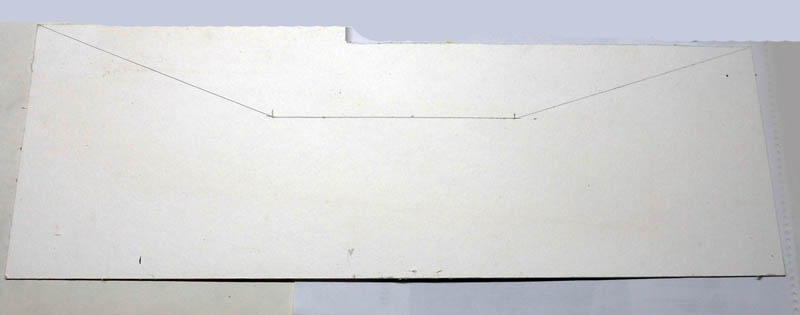
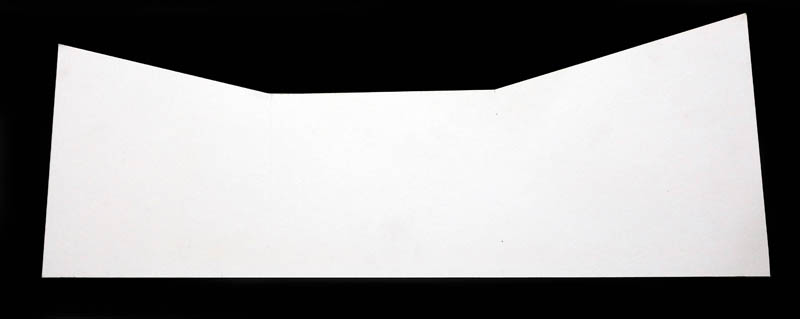
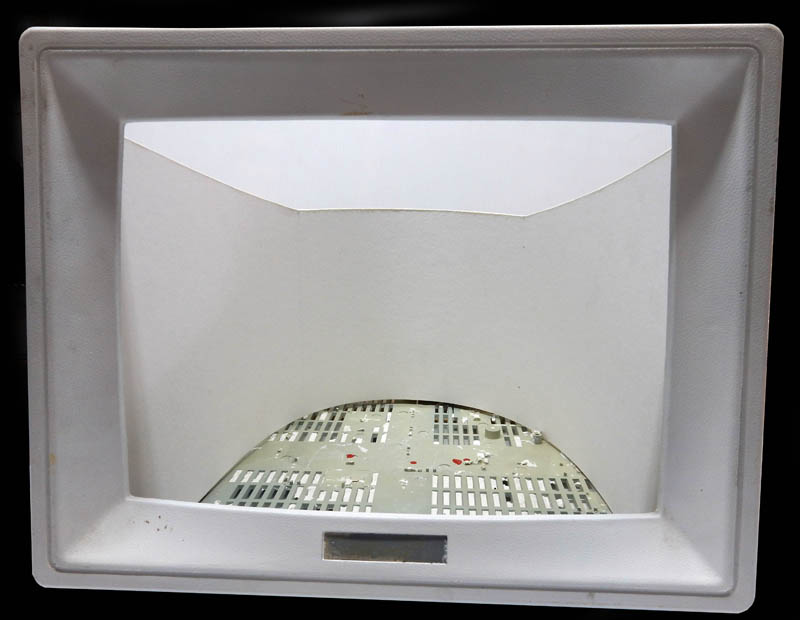
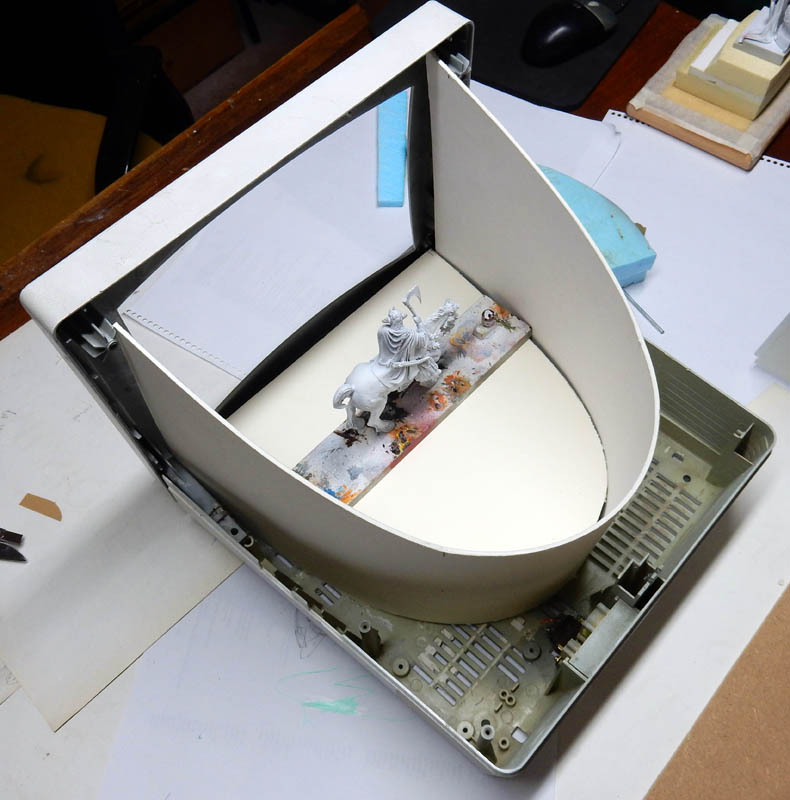
After measuring the area, we cut out the bottom of the screen to create a cyclorama made of heavy-duty drawing cardboard...
Cut out the background with a utility knife...
We submit all of this to ensure compliance...
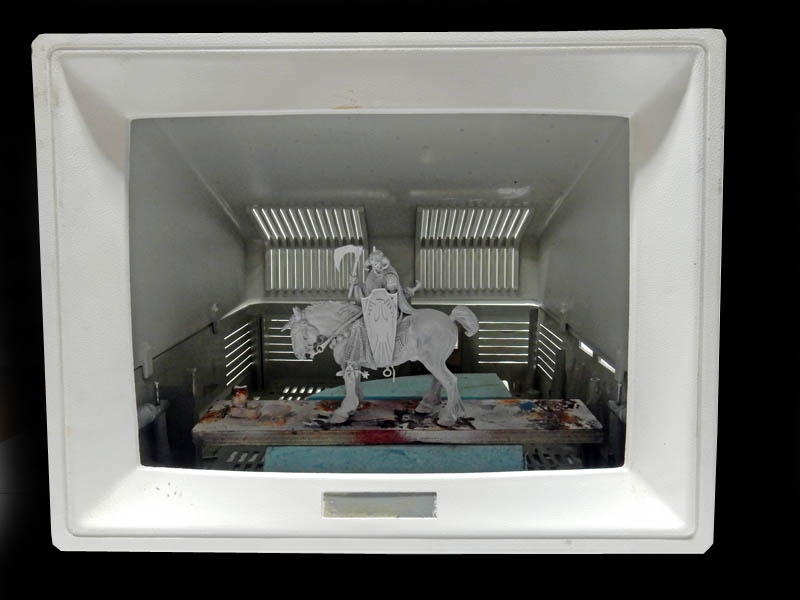
An overview. Note that the base has been raised so that the figurine is level with the screen...
The raised section at the back...
The figurine
The figurine
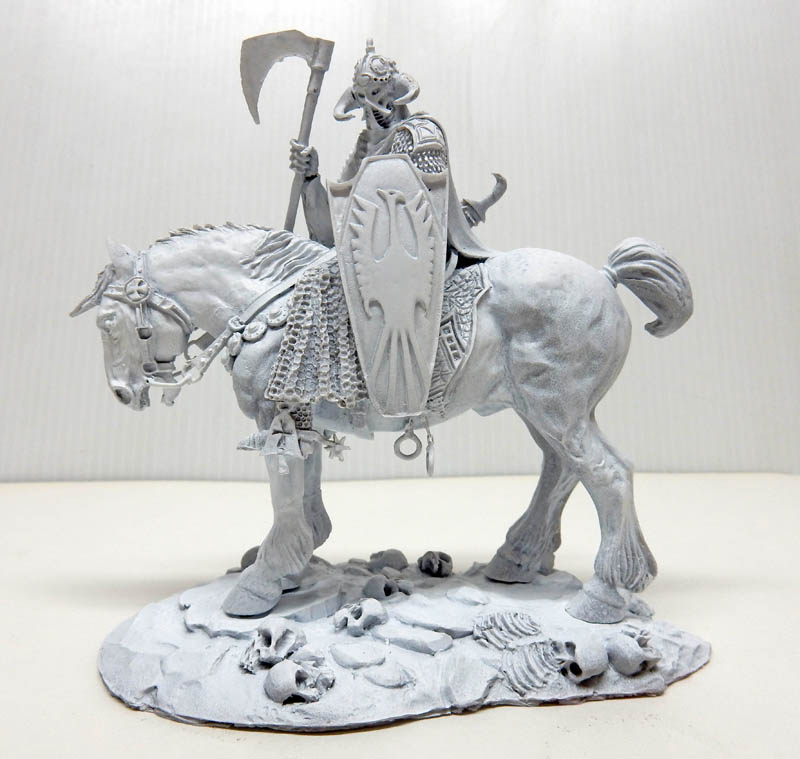
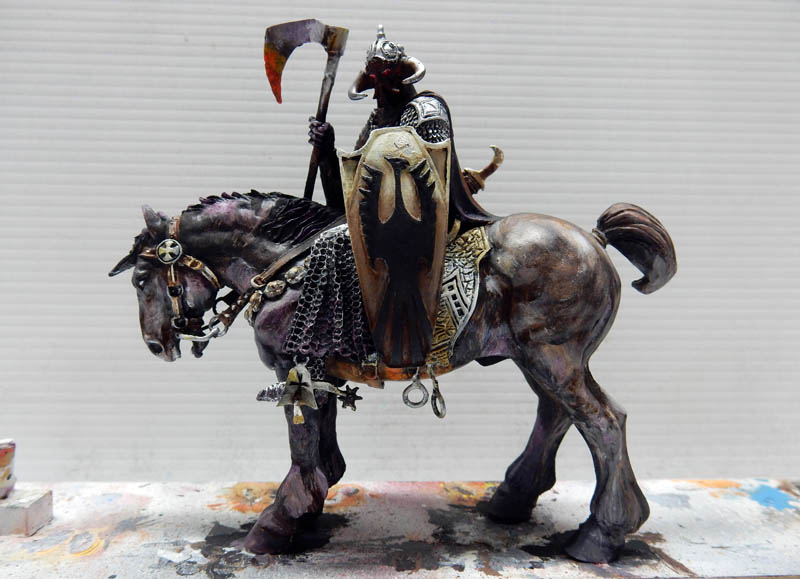
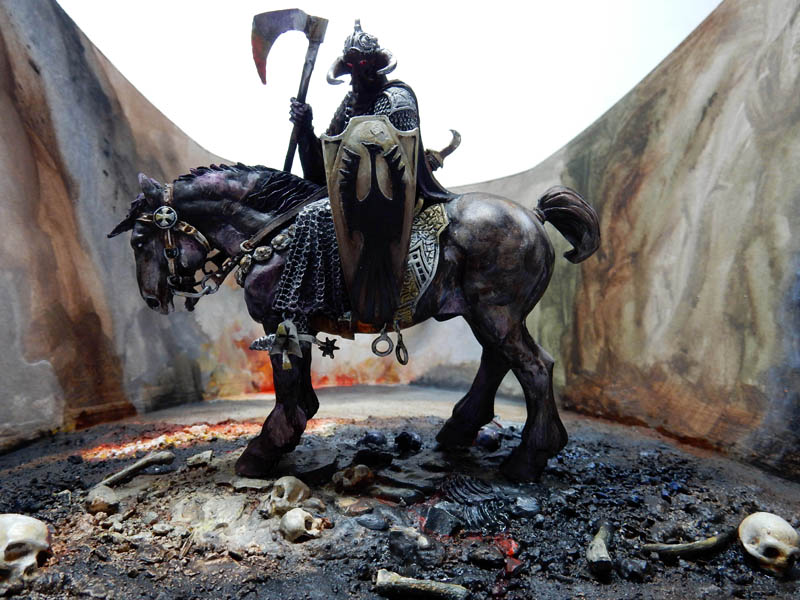
The 1/24-scale resin kit. It closely resembles the illustration. The chains on the rings under the saddle, as well as the one holding the saber, have been replaced with actual scale-accurate metal chains. The ring is made of metal, and the saddle strap has been partially re-made from lead sheet. The piece was finally coated with spray primer...
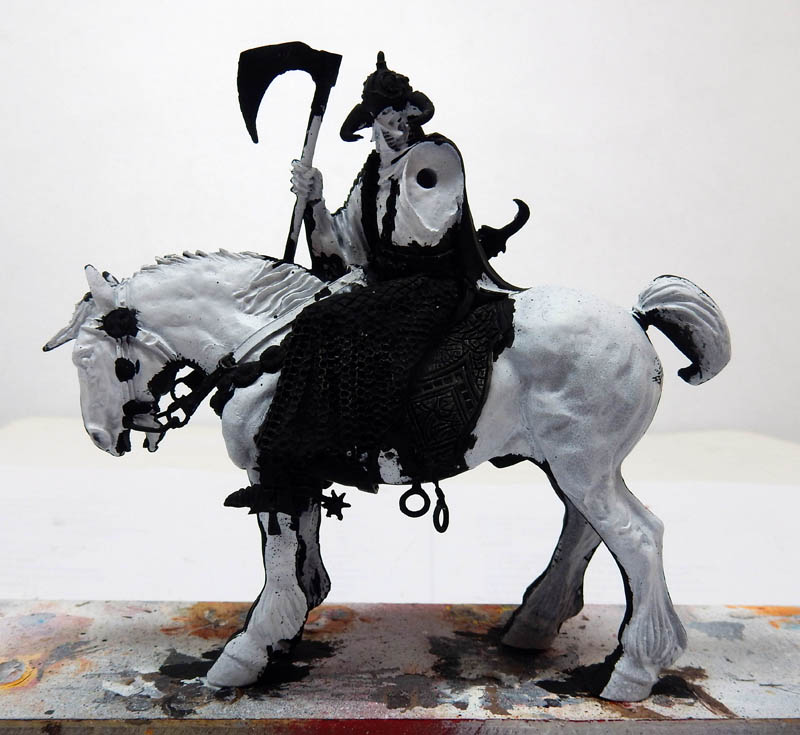
We start by applying a coat of Humbrol matte black to the parts that will be metalized...
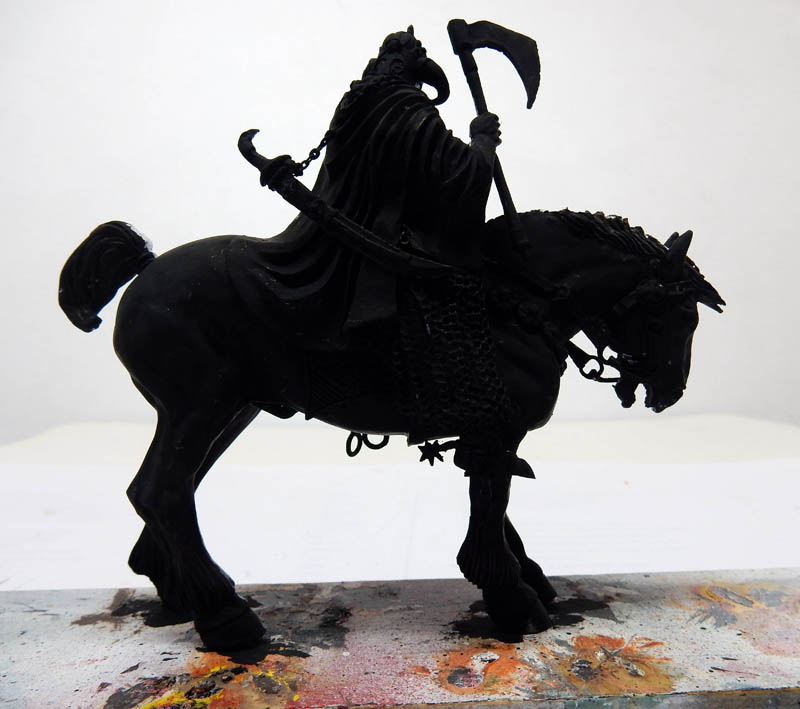
The "hidden" side is also painted matte black...
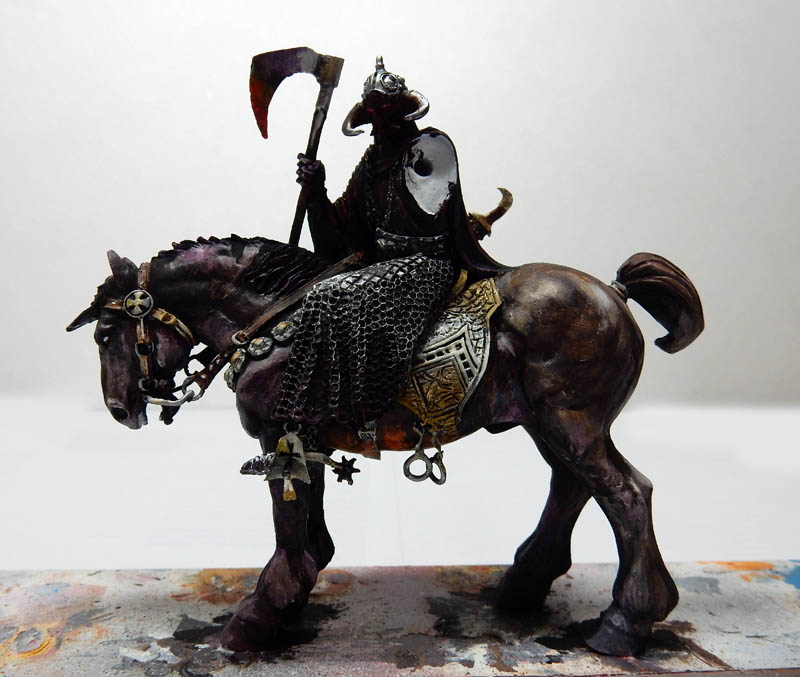
Starting to paint. The goal here is to get as close as possible to the effect the painter is aiming for in terms of color tones—not to create a competition-quality miniature...
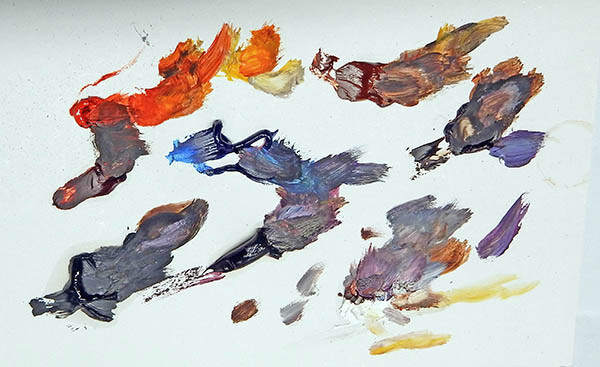
Paints used:
Winsor & Newton and Rembrandt oil paints.
Mars Black. Payne's Gray. Dioxazine Purple. Vermilion Red.
After the Humbrol 53 and 11 metallic shades, we'll focus on the horse's colors...
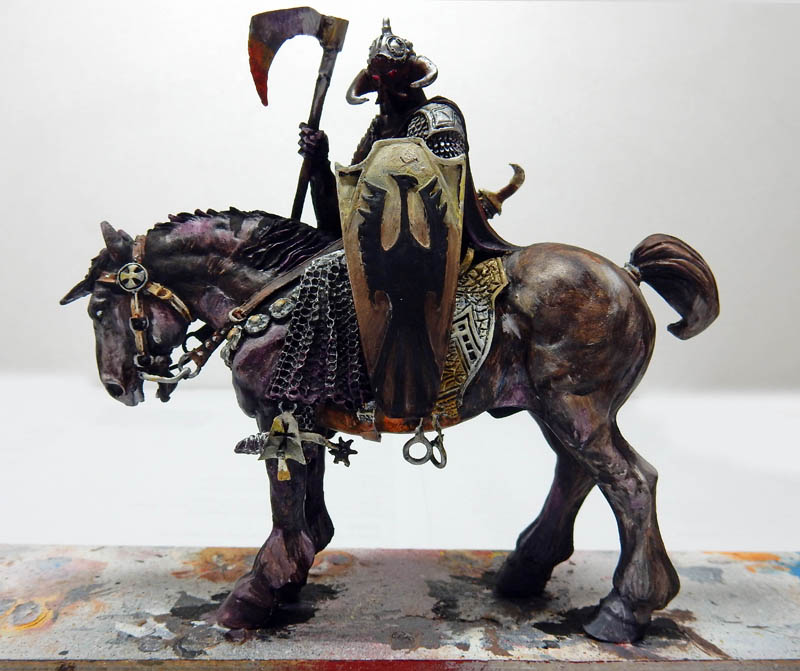
We move from various shades of brown to more or less pronounced shades of mauve, highlighted with white above—zenithal painting (I hate that word!). The belly takes on a glowing effect from the flames below. The shield and the saddlecloth are being refined, as are the harness and the axe...
The figurine is still being refined in terms of lighting...
The Setting
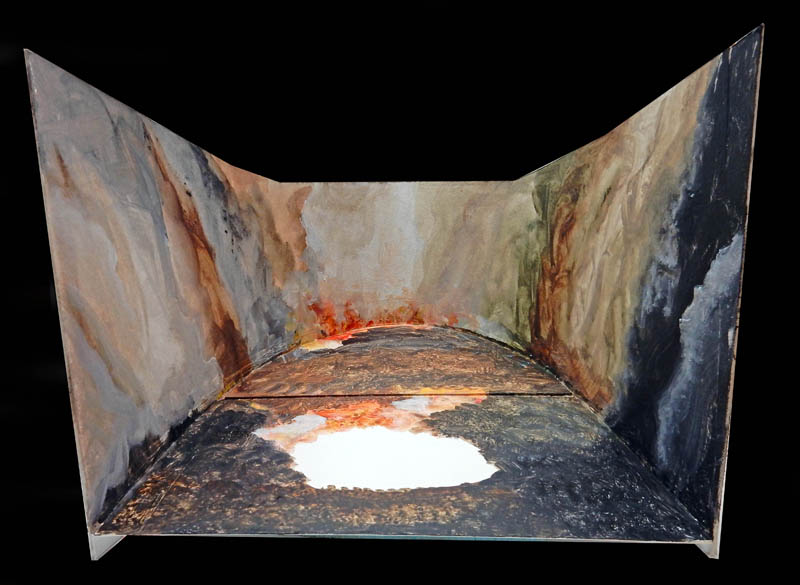
The background is painted with acrylics, still inspired by Frank Frazetta's painting. We're planning where to place the figure's base...
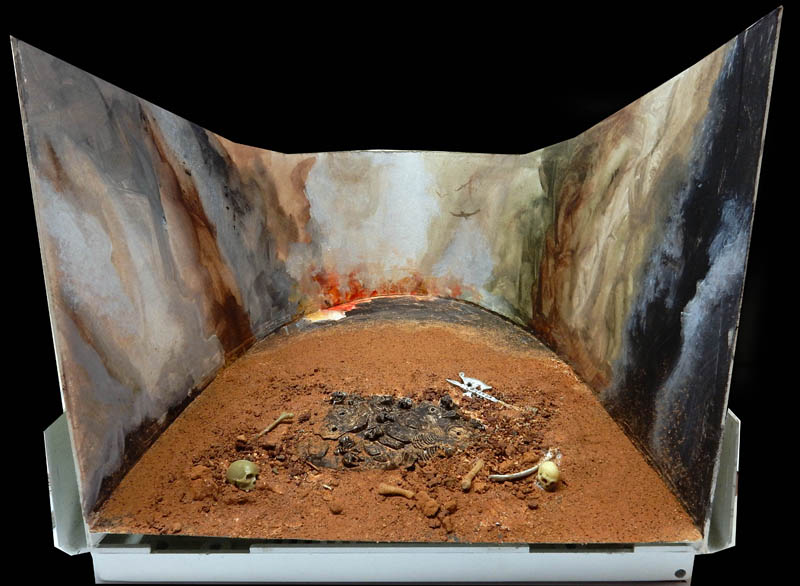
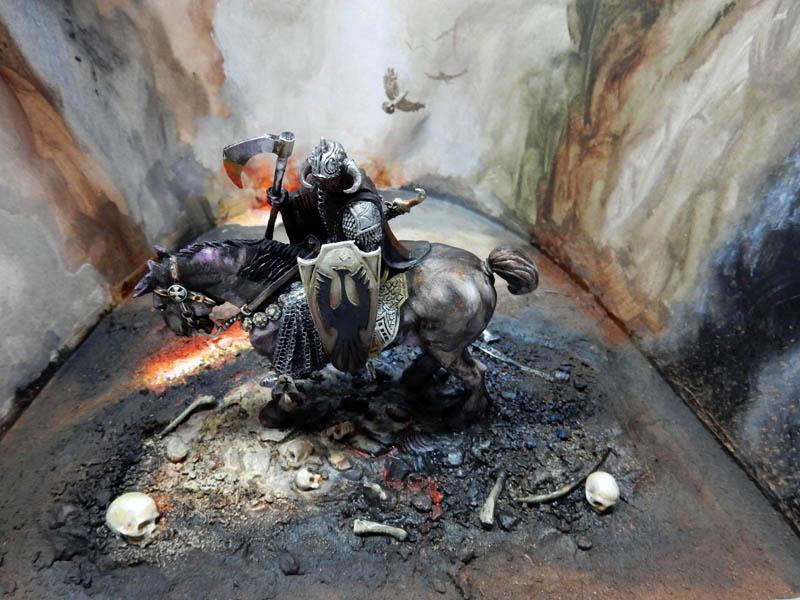
The base was created using tile adhesive and various types of sand. The figurine's base is embedded in the composition. Various bones and other elements were added...
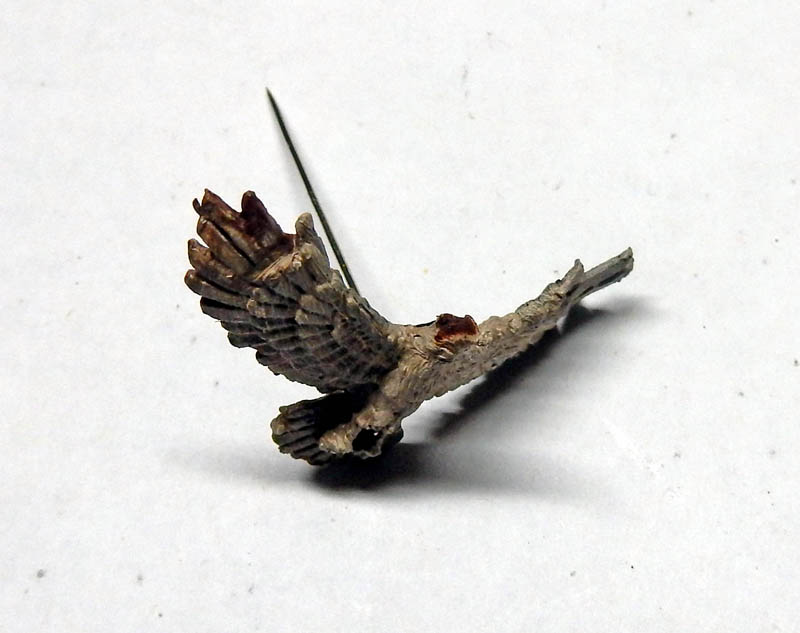
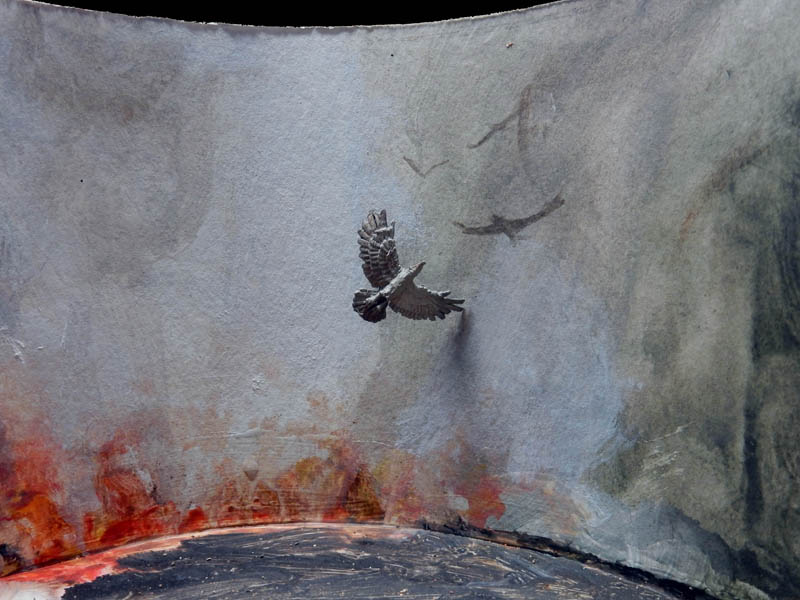
The "vulture" is a lead eagle that was pinned to the background with a needle after it was painted...
The result... On screen...
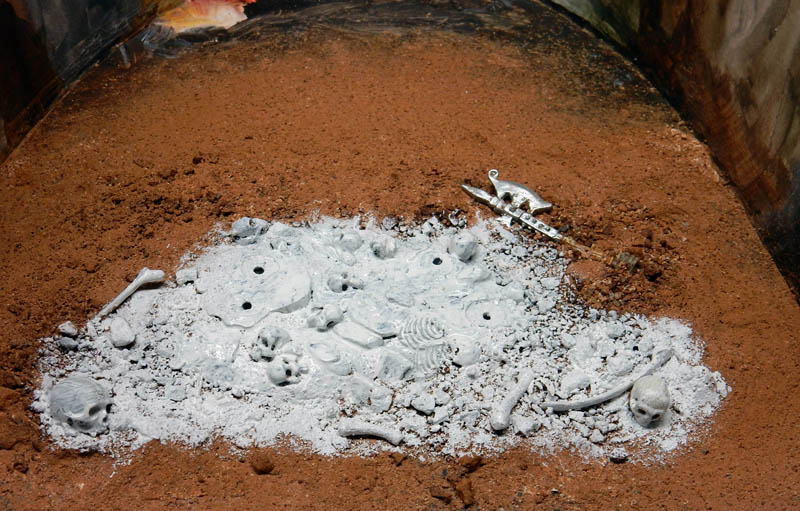
We paint the base white to make the colors we'll apply next stand out...
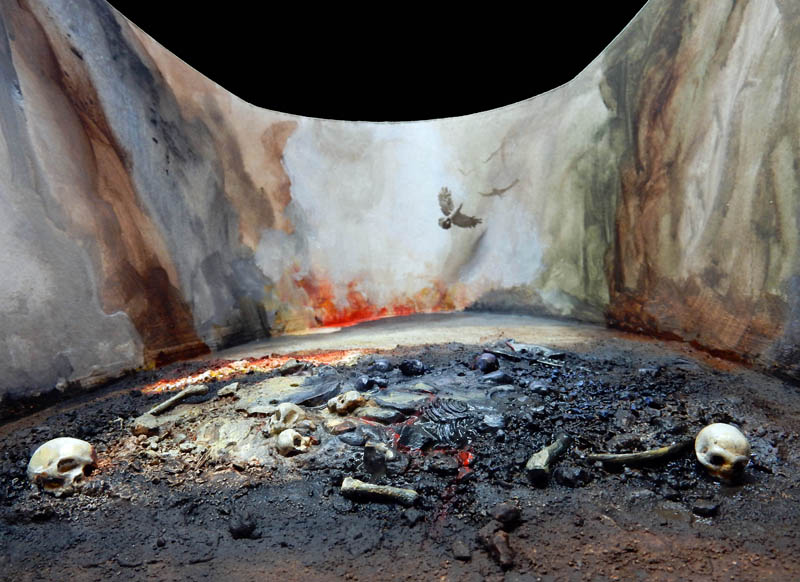
The floor and walls are finished with acrylic paints. The skull on the left is 1/16 scale, and the one on the right is 1/20 scale. They will accentuate the foreground and add a sense of depth to the scene...
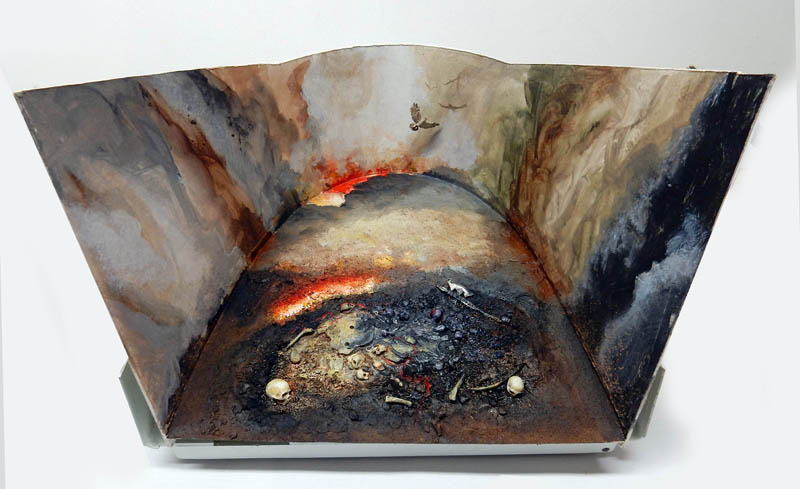
An overview of the finished set...
Gluing the rider to its base...
The interior electric lighting is covered with a blue projector gel to give the whole thing a cool color...