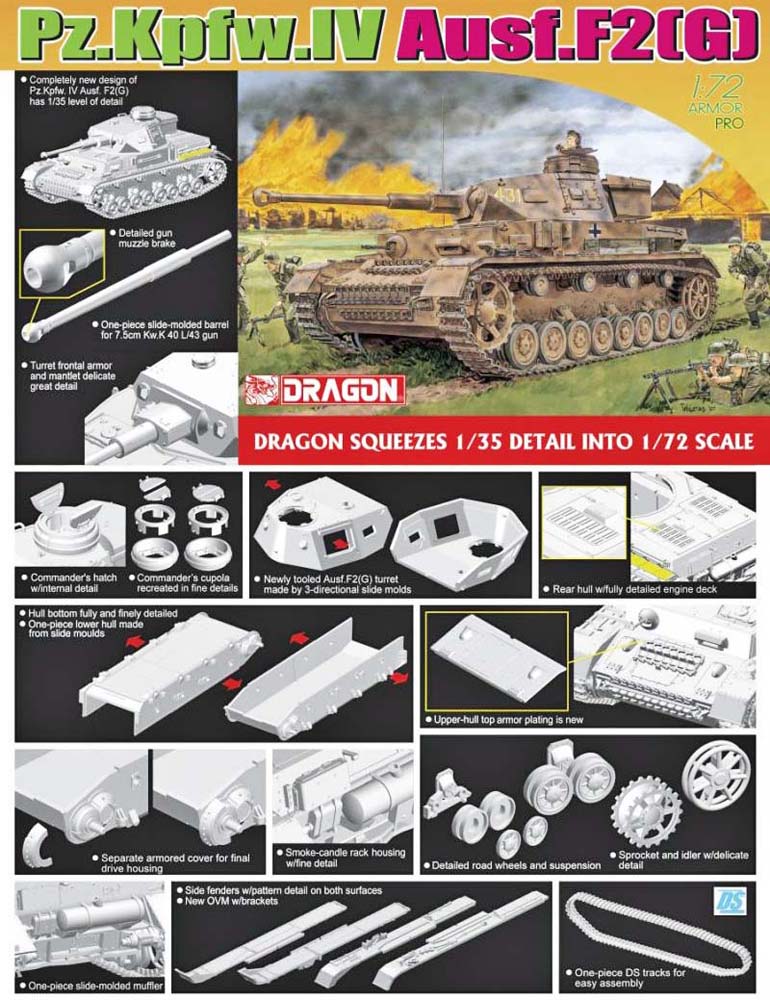
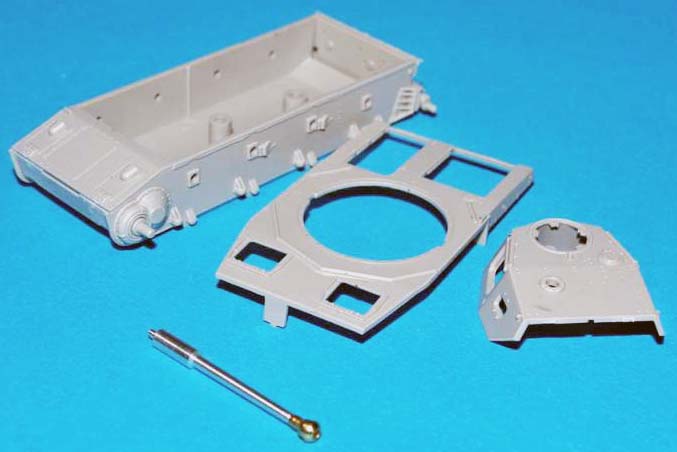
Assembly of the 1/72-scale Panzer IV from Dragon. The main parts, plus a turned aluminum gun barrel...
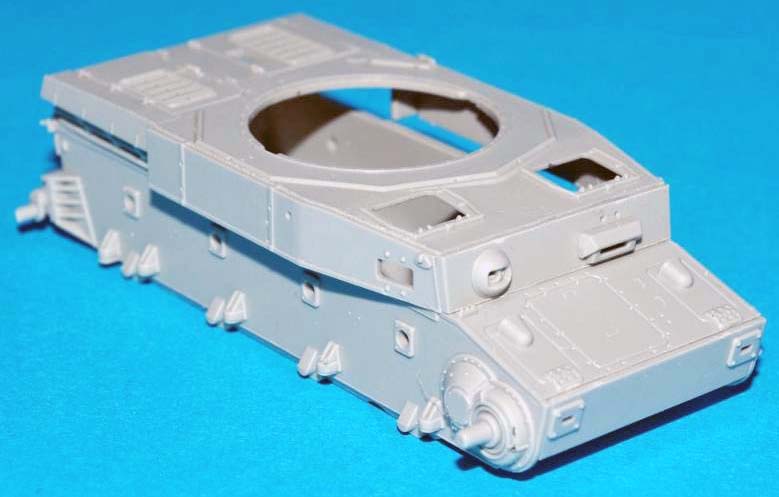
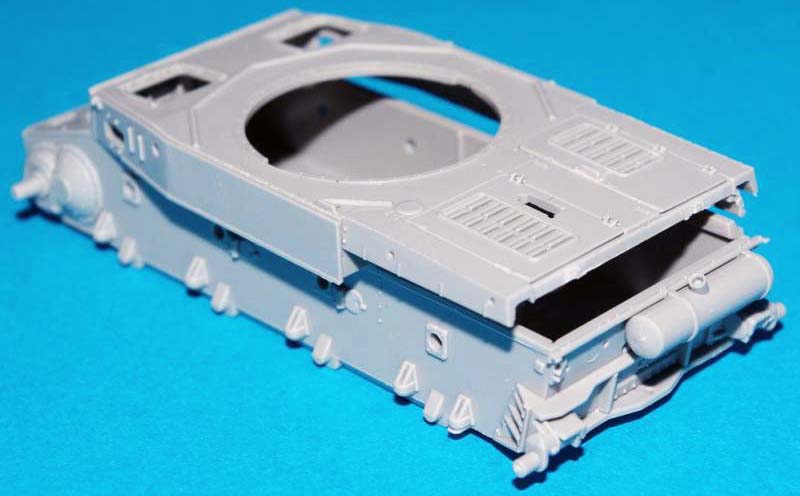
This new 1/72-scale line features the brand's signature high-quality engraving...
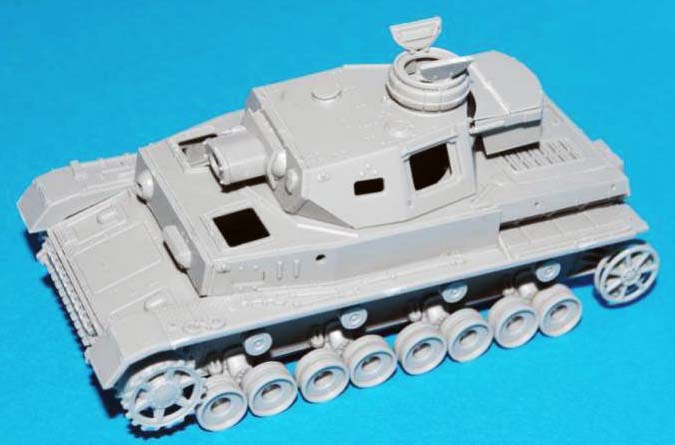
When mounting the wheels, make sure they are properly aligned...
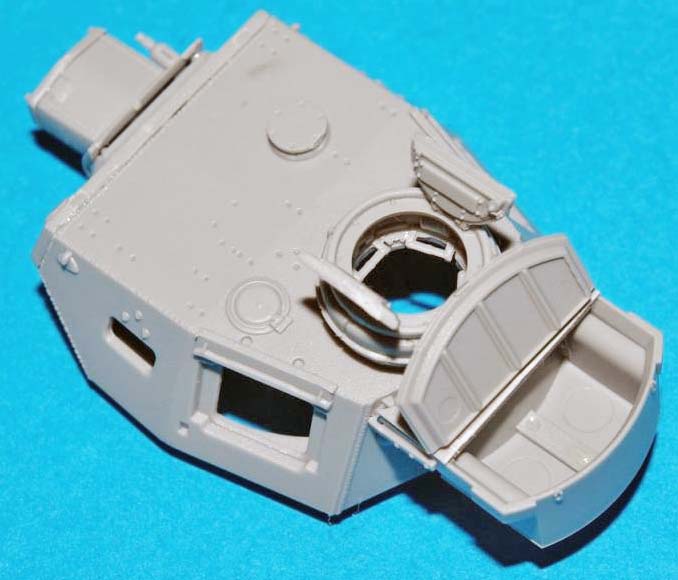
You can see the periscopes in the tank commander's turret and the detailed hatches. A first at this scale!
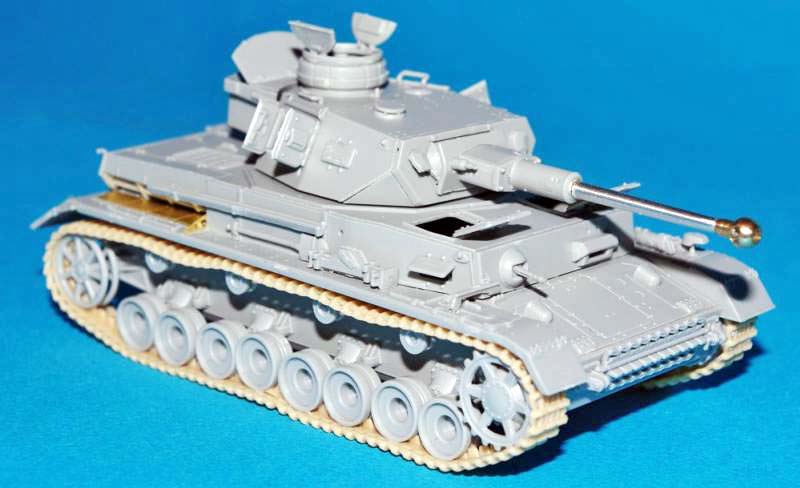
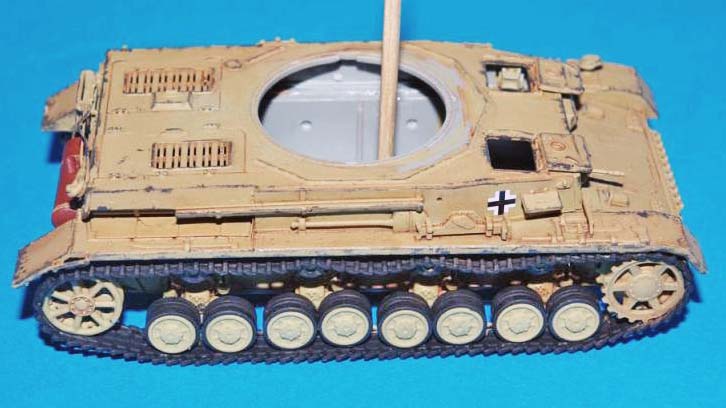
The assembly is complete, but... Big mistake! The tracks are on the wrong way around! (Something to double-check when assembling an armored vehicle...) So, I’ll have to correct that before painting, and I’ll need to apply a little putty and sand it down at the seam between the two parts of the turret. Thanks to JPV for the aluminum gun barrel...
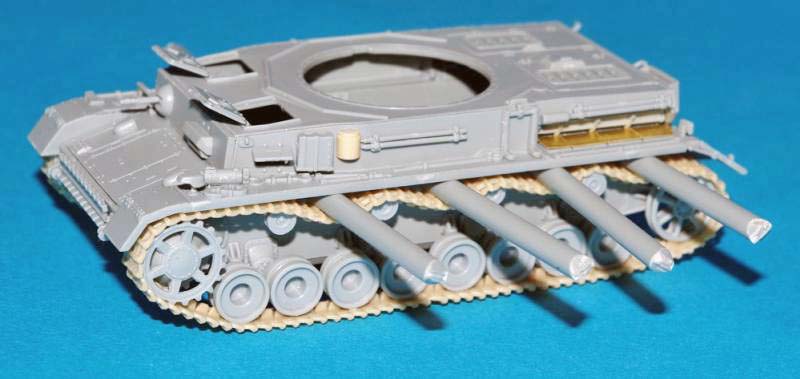
Now that the tracks are oriented correctly, we proceed to glue them in place. Pieces of sprue are used to create the "sagging" (curvature) that gives the tracks a natural, weighty appearance...
Painting
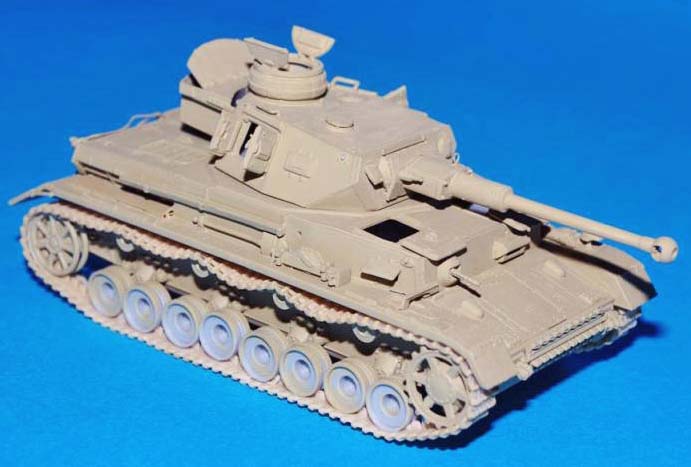
The medium used is Humbrol oil paint. The painting process begins with two thin layers of dark yellow 83 applied with a brush...
Apply the decals using Micro Set and Micro Sol products... Apply a wash to the entire tank using Sienna-colored oil from a tube...
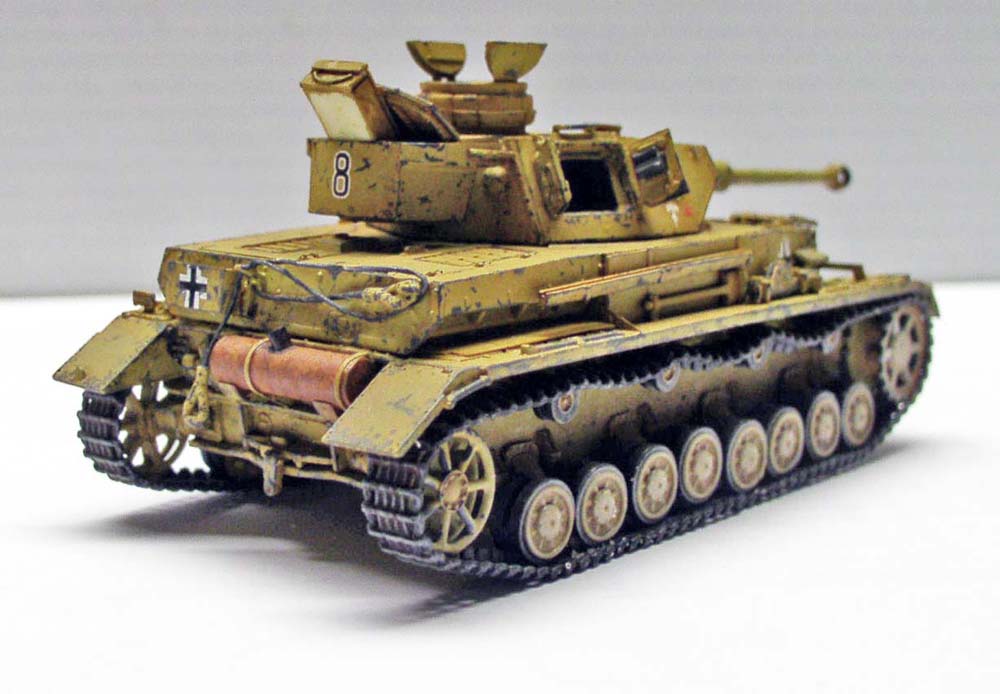
The tracks and rubber wheel bands are painted black, the exhaust pipe is rust brown, and there are some early signs of wear in Panzer Gray 67... which is the original color of this Panzer!
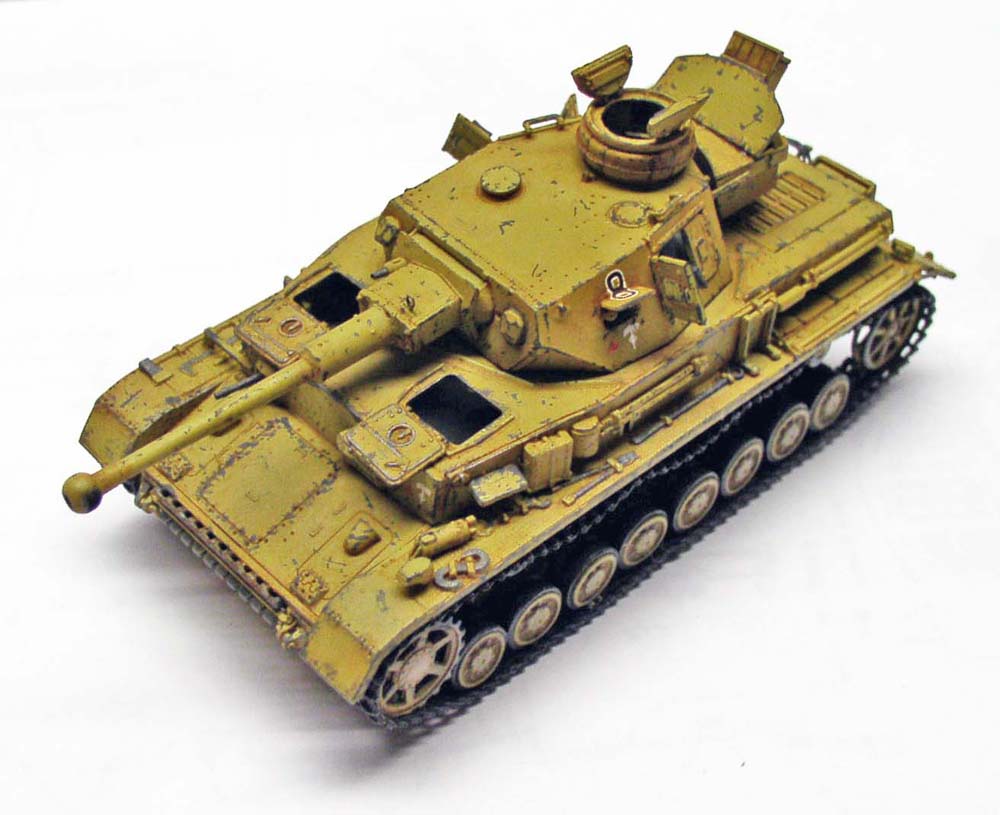
The turret is treated the same way as the hull. Oil filter: Sienna and Panzer Gray 67... The details (periscopes) are treated the same way...
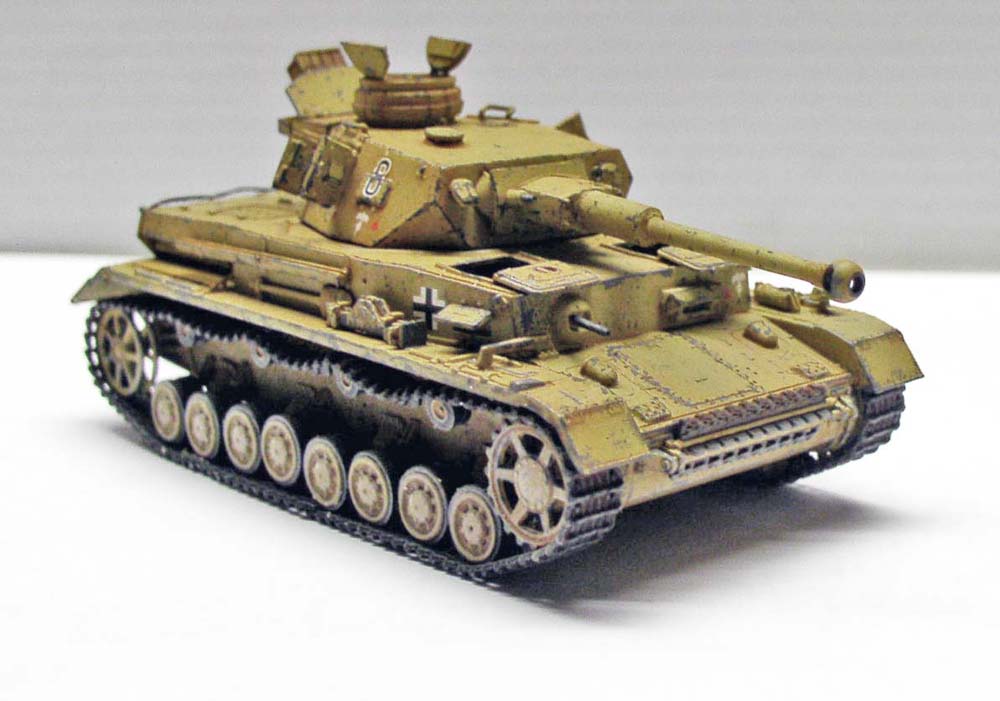
The tools in the onboard kit are weathered with Gray 67 and Metallic Gray 53. The tracks are given a thick wash of Color 29, and after they are completely dry, a dry-brush application of Dust 72... On the teeth of the sprockets and the contact surfaces of the tension pulleys, I apply a little Metal 53 to simulate wear caused by friction...
The Setting
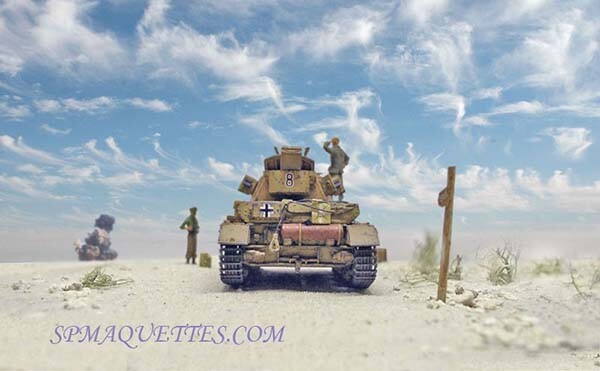
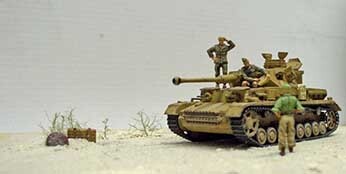
The diorama, which is very simple (it’s just meant to showcase the tank) while bringing the scene to life and establishing its setting, is made from a thin, square piece of plywood measuring about 20 centimeters, onto which a generous layer of white glue is spread. Then, fine sand and exterior stucco aggregate are sprinkled over it...
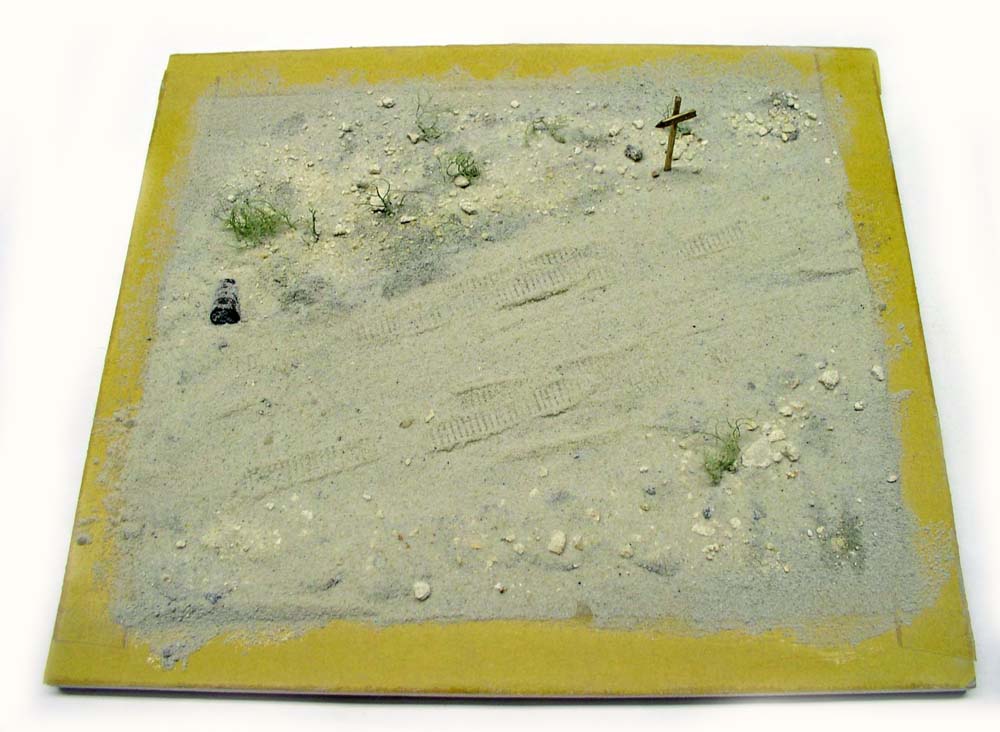
We make tracks from various caterpillars in the fresh soil along the road... A few lichens are planted here and there to represent the sparse vegetation of the region...
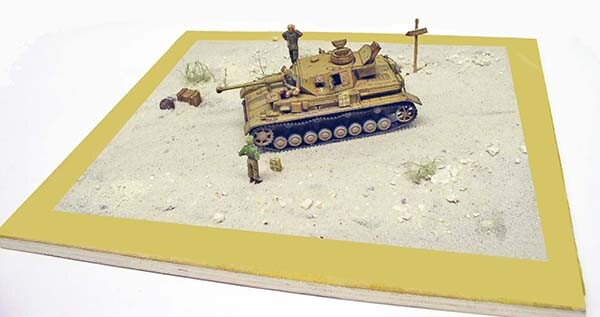
The finished diorama...