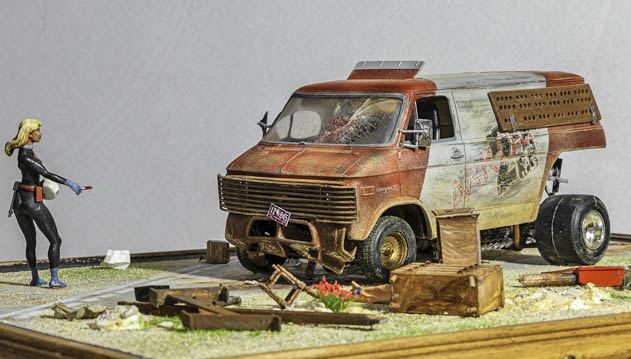
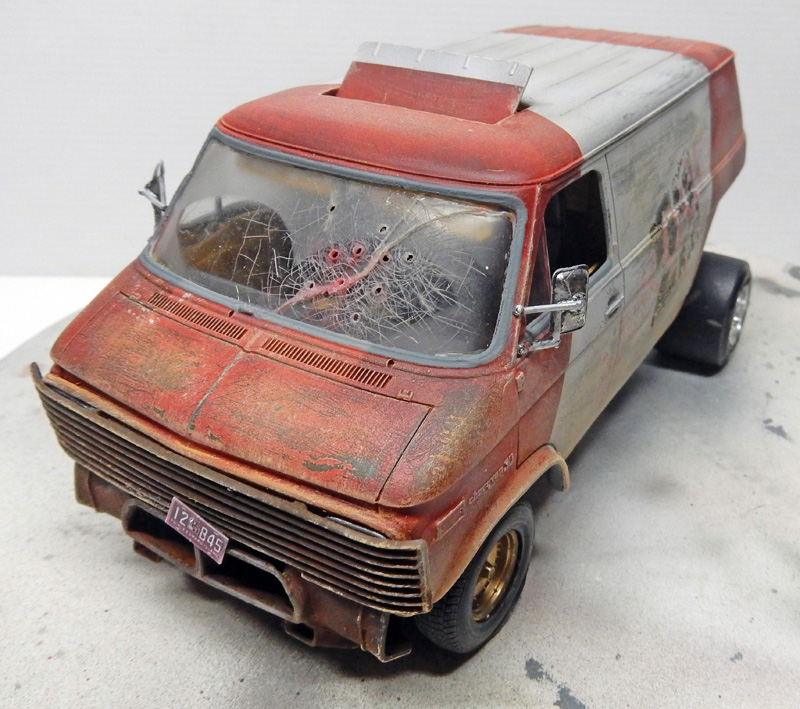
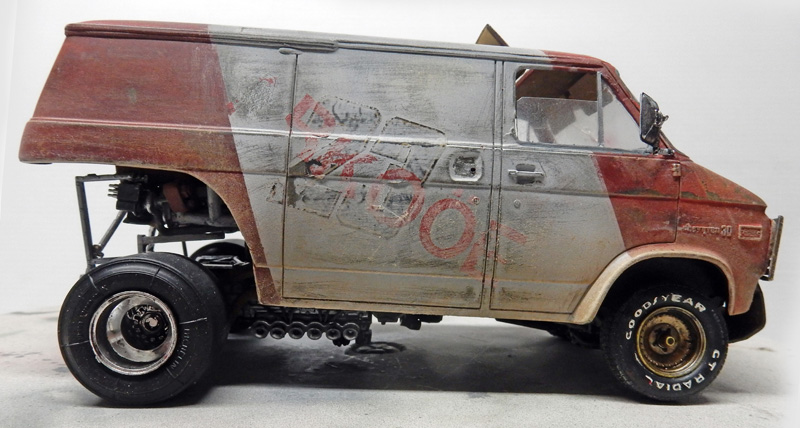
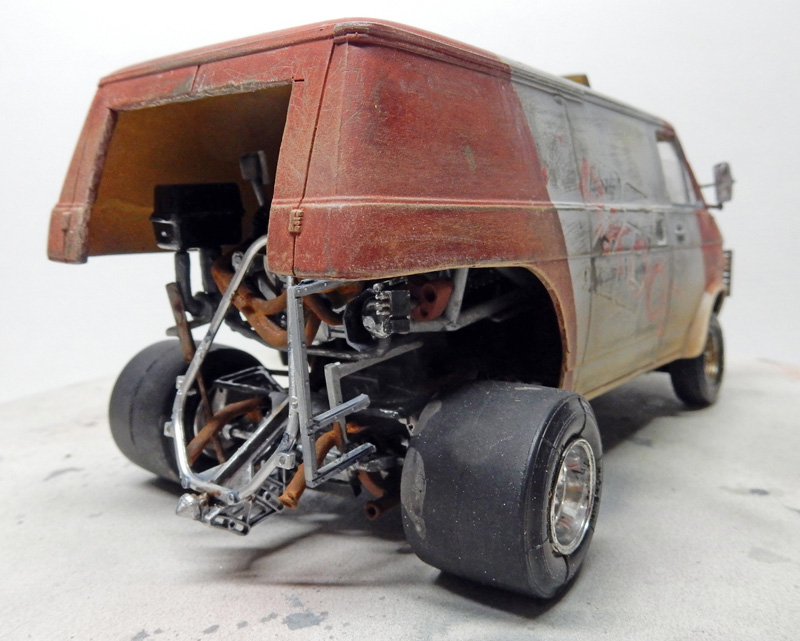
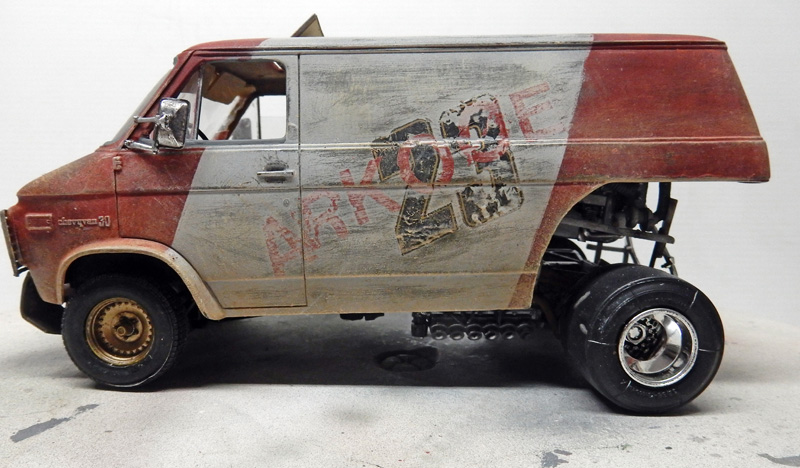
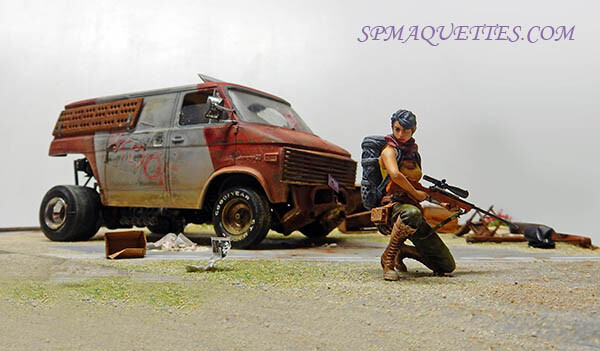
An inexpensive diorama that's right on trend: the "post-apocalyptic" look!
Un diorama qui ne revient pas cher et qui est à la mode du jour : le "postapocalyptique" !
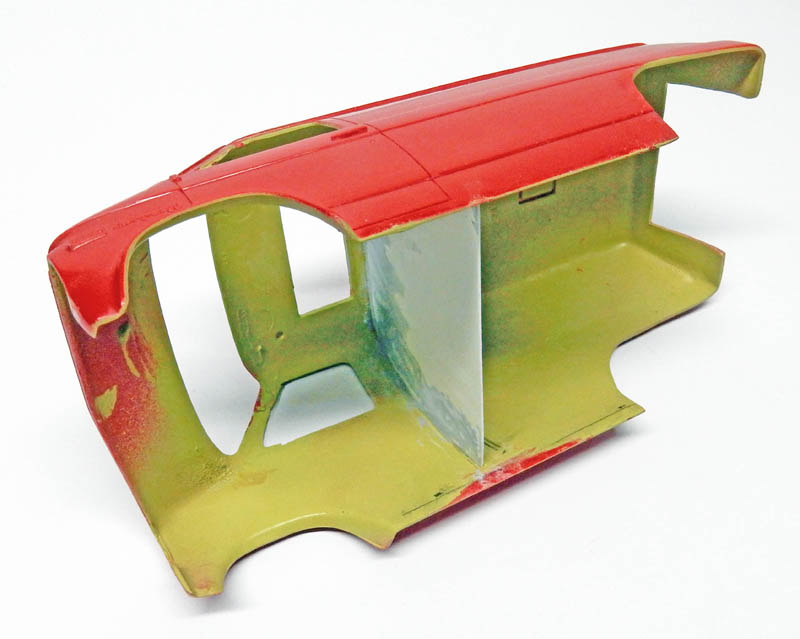
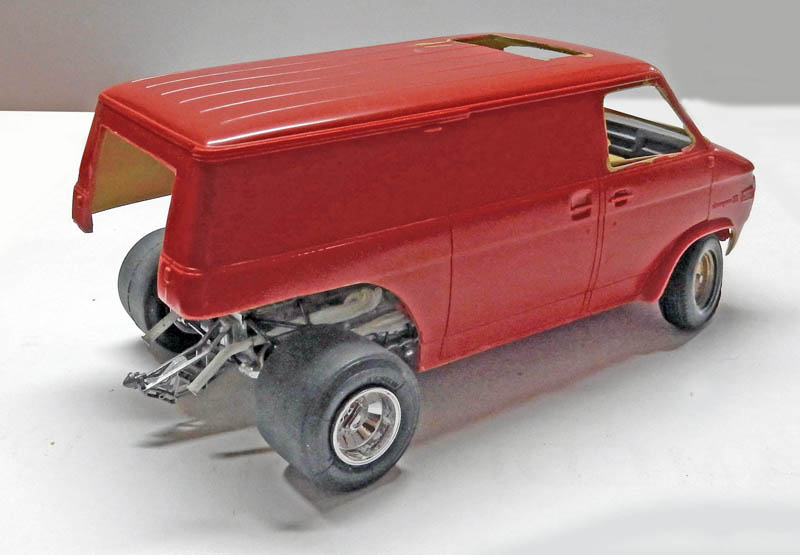
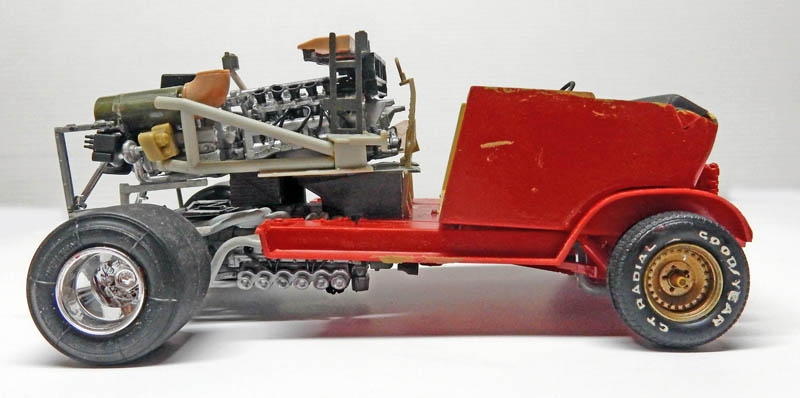
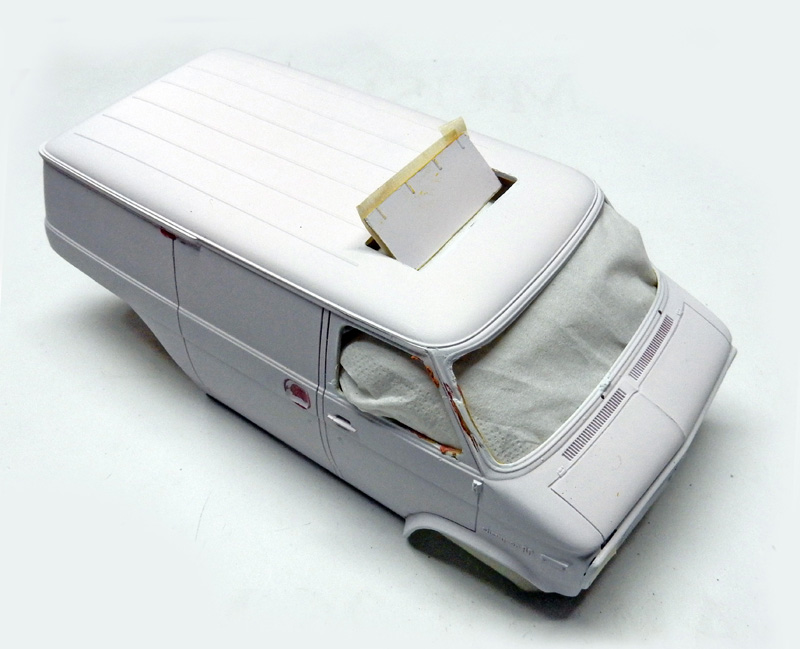
An old, battered 1/24-scale Ford with some missing parts. We separated the passenger compartment from the engine. The rear fenders have been cut off...
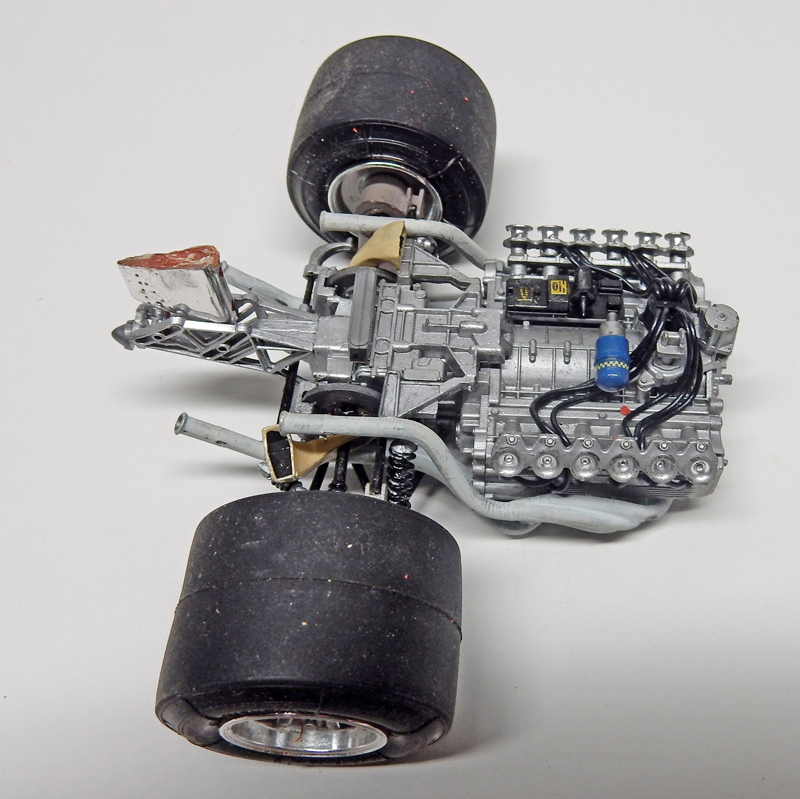
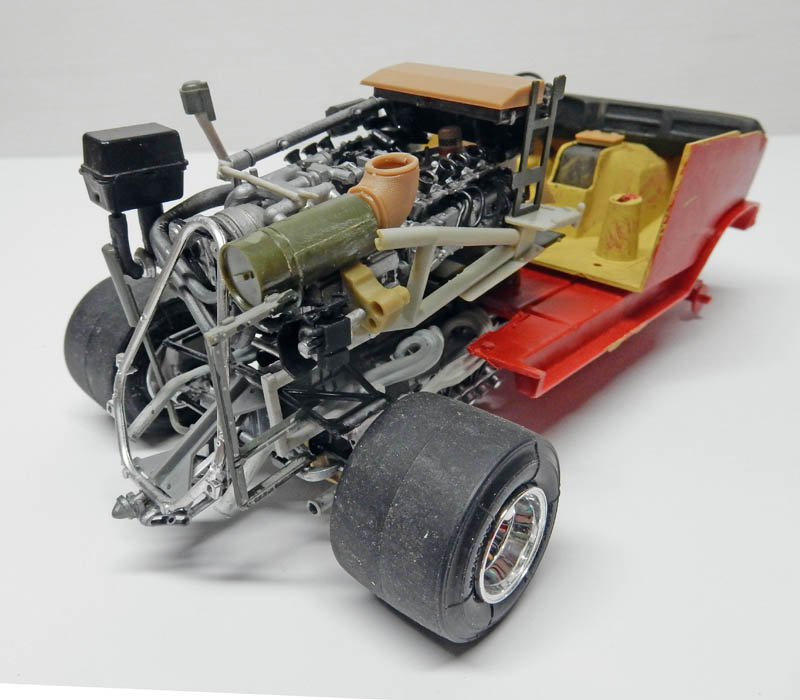
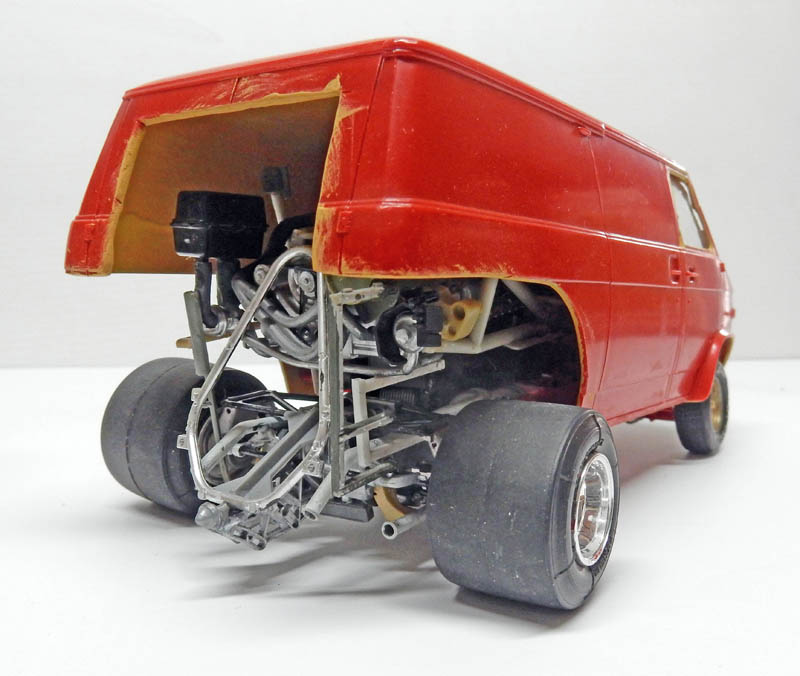
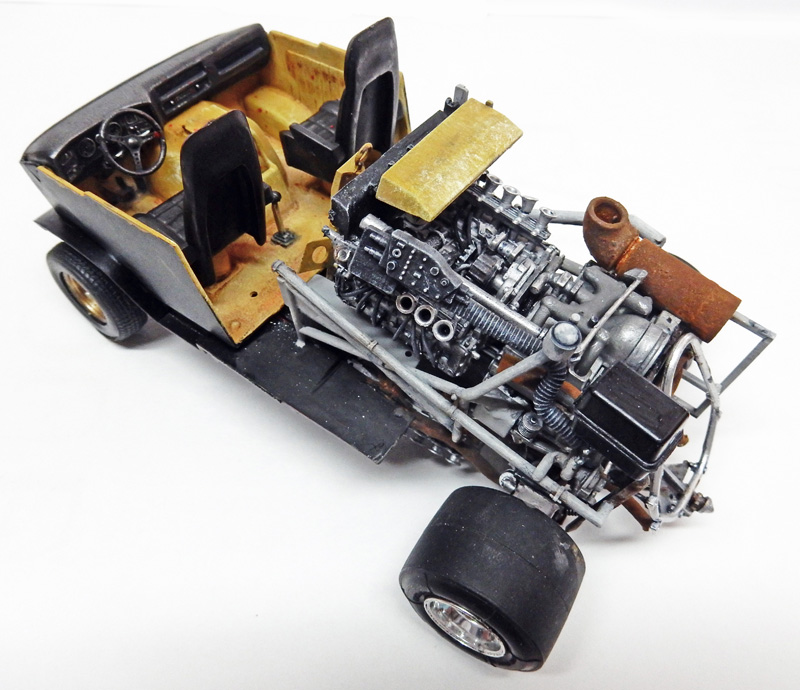
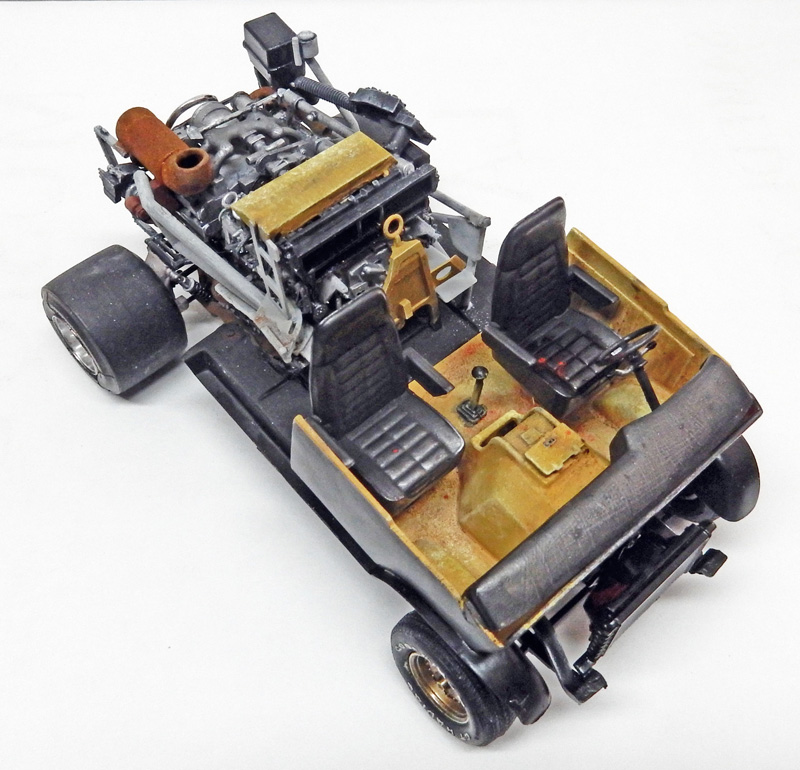
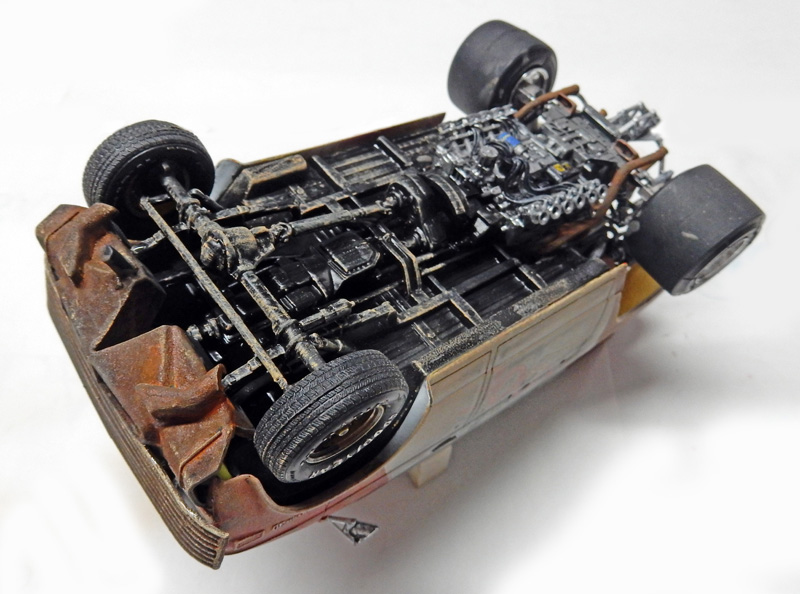
The rear axle will feature a Formula 1 engine! Here, we're not going for realism, but for artistic effect...
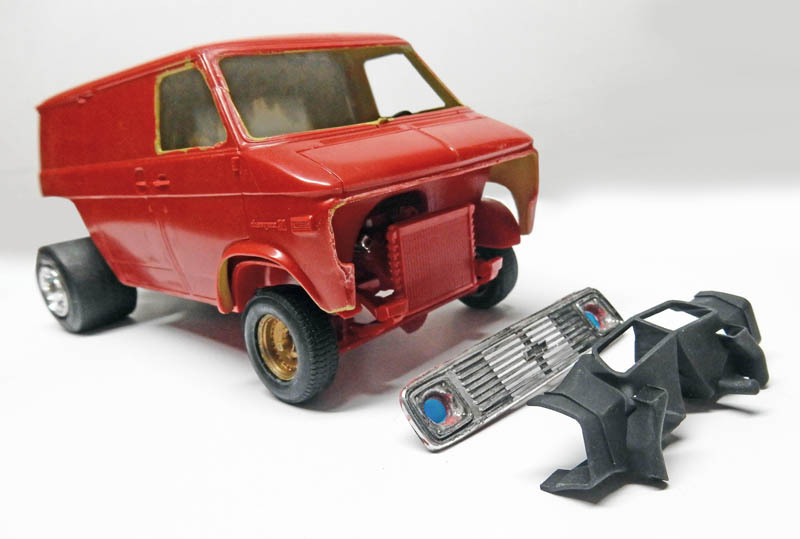
A first "dry run" to see what it looks like...
Un premier montage "à blanc" pour voir de quoi ça a l'air...
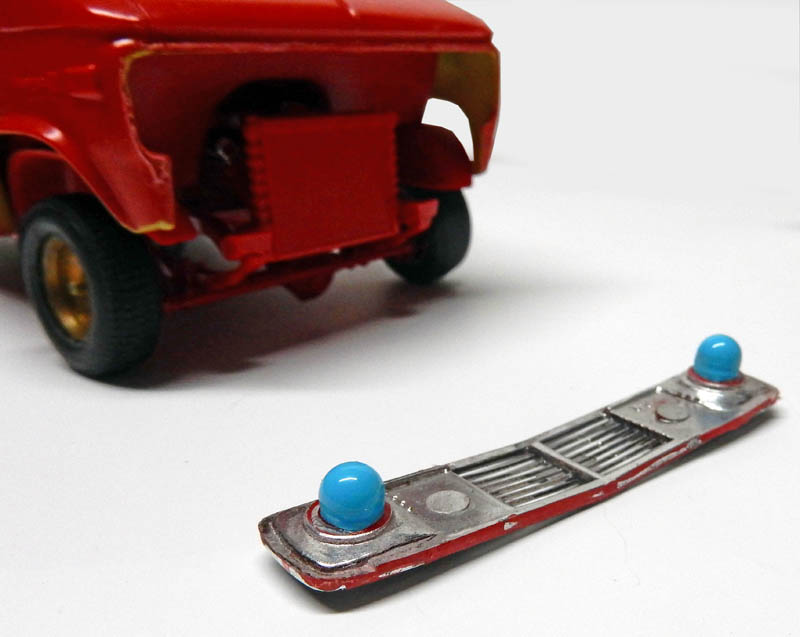
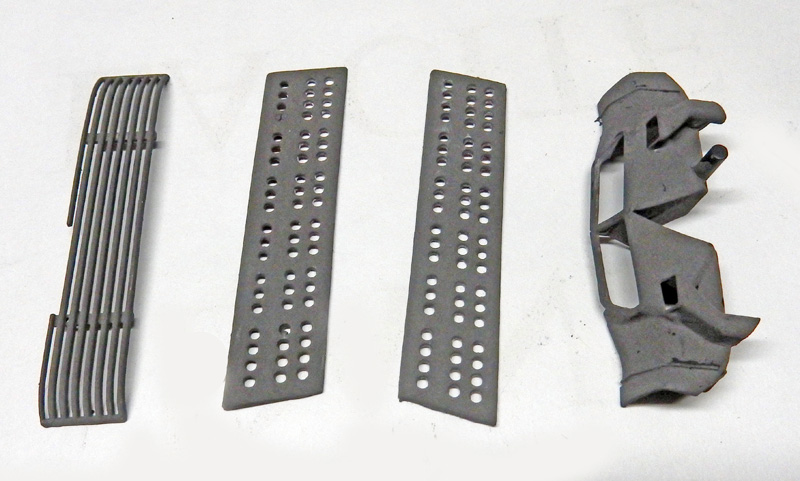
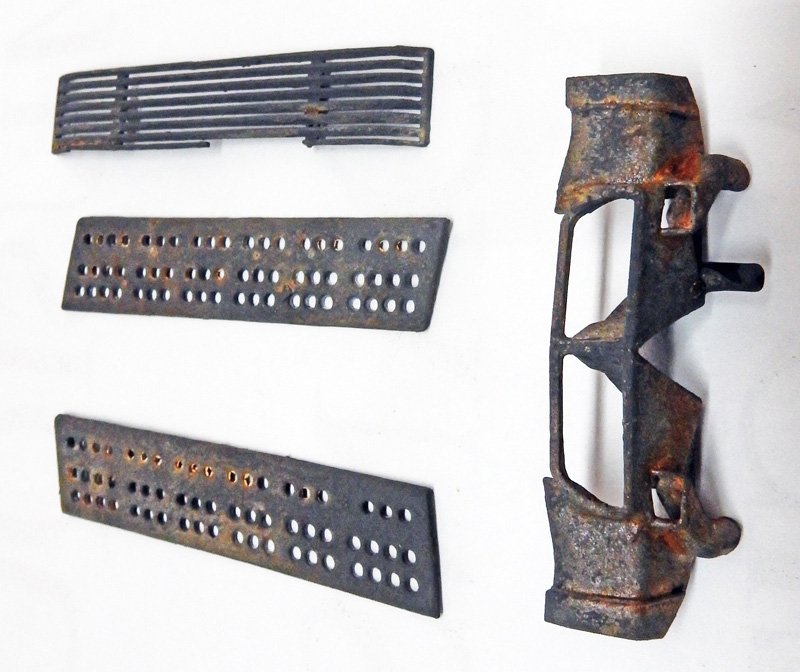
We glue the sockets into the grille, which will hold the two bulbs. The base is made from empty medicine capsules that have been cut to the right size...
A bumper from another vehicle will be adapted to fit the vehicle...
Un parechoc venant d'un autre véhicule sera adapté à l'ensemble...
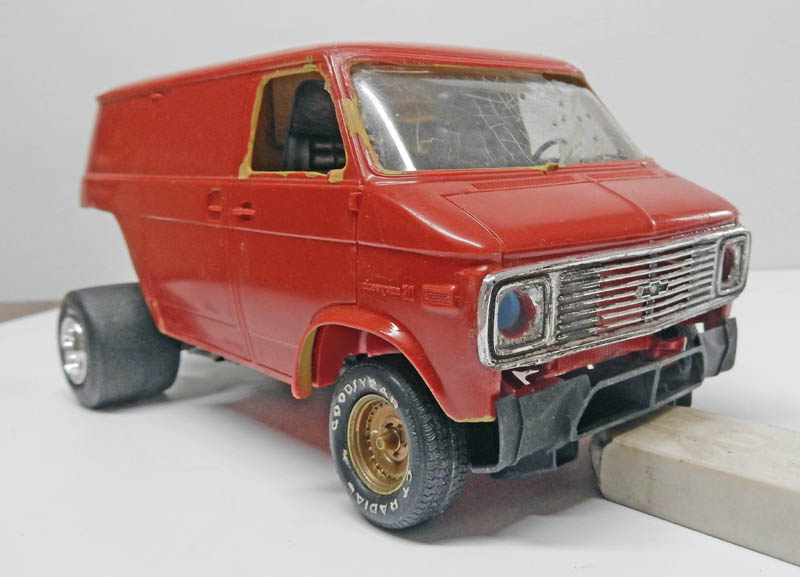
Test run...
Essai à blanc...
Engine assembly and installation...
Détaillage et pose du moteur...
More views...
Painting
Apply a coat of white spray primer to the entire model...
Couche d'apprêt blanc à la bombe sur l'ensemble de la maquette...
Then a base coat of Humbrol 155...
Puis base de Humbrol 155...
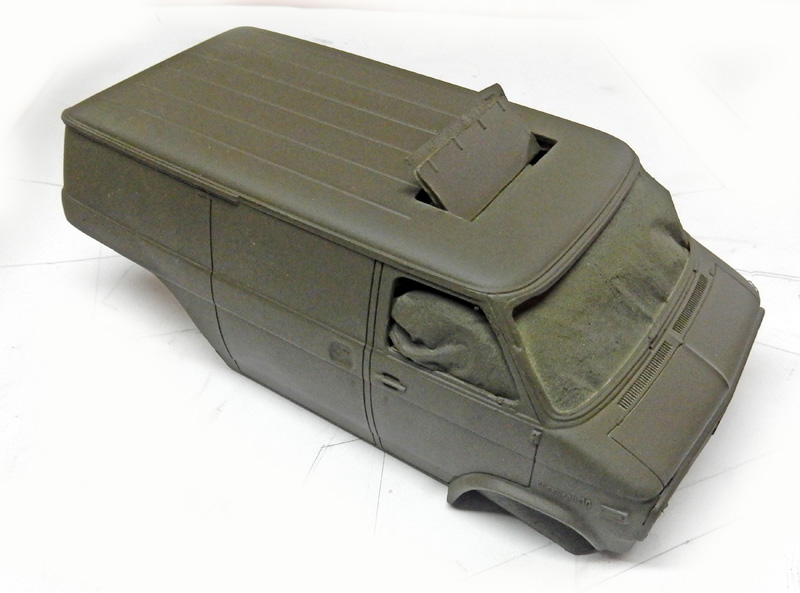
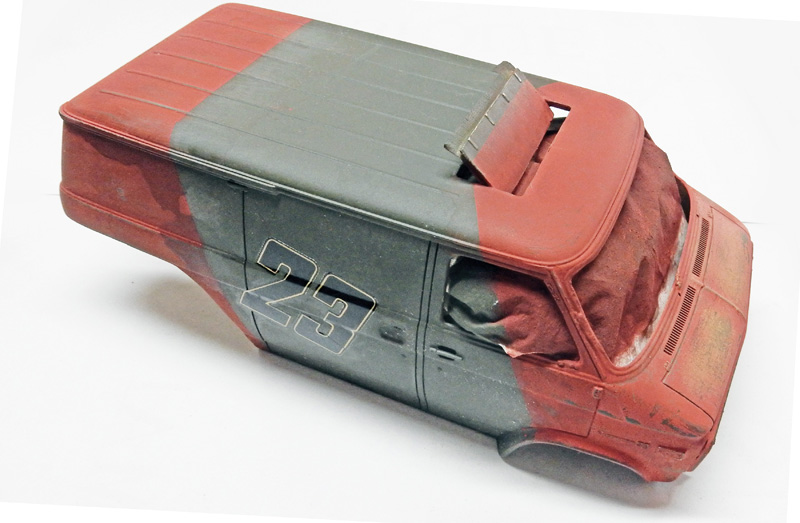
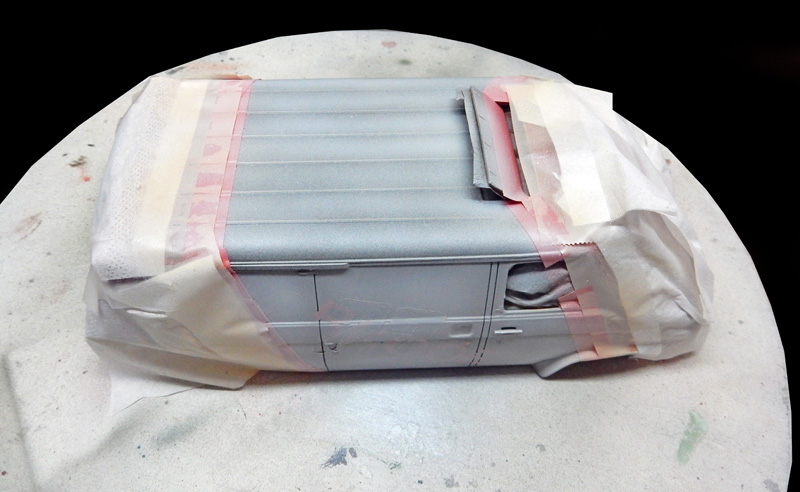
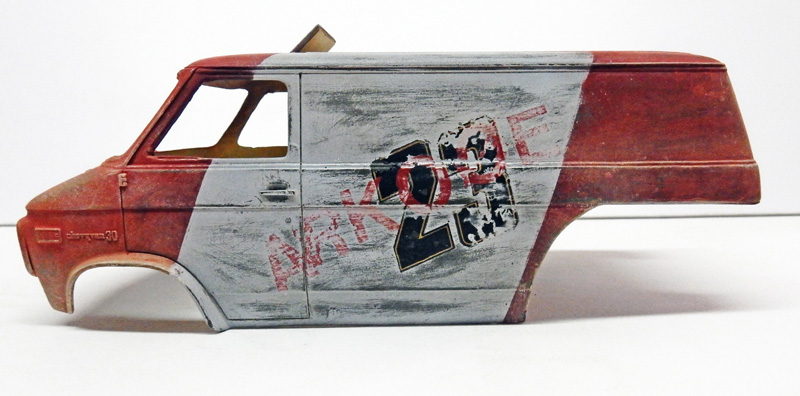
Mask off the central section, then apply a base coat of red acrylic paint with an airbrush after treating the surface with hairspray. Scrape the surface to reveal the underlying layers, then dry brush with a mixture of Humbrol 63, Revell 17, Humbrol 121, and white...
Various decals are affixed to the center section on each side...
Différents decals sont apposés sur la partie centrale de chaque côté...
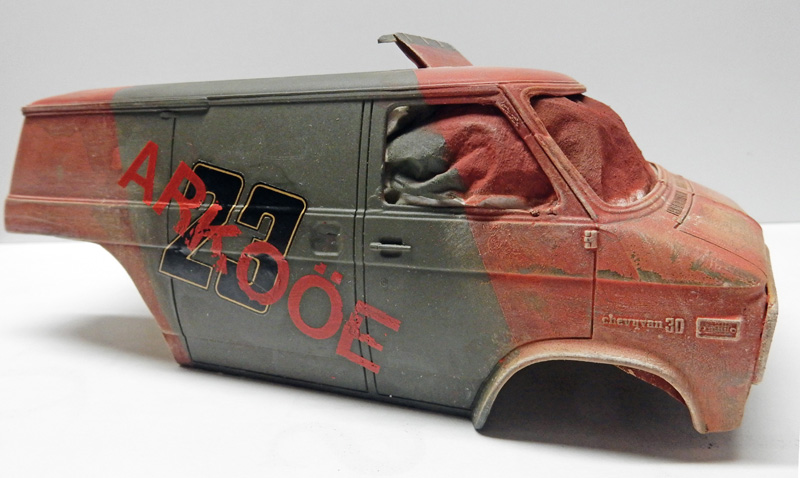
Then, after masking it again, apply hairspray, followed by a coat of white acrylic paint, taking care to follow the shadows...
After allowing the surfaces to dry slightly, scrape them...
Another view...
Autre vue...
Paint job on the interior and engine details...
Peinture de l'habitacle et détails du moteur...
Some parts are treated with the two-component product already mentioned in various tutorials on the site...
The result... You can enhance the result by letting each coat dry before applying the next and by adding more product...
Chassis treatment...
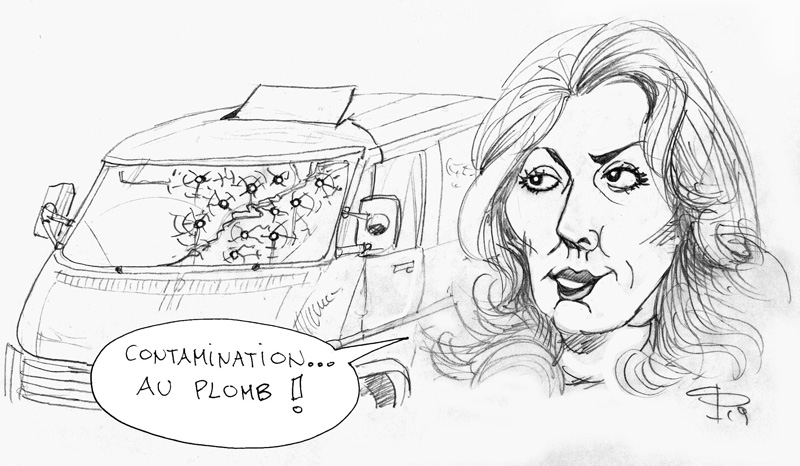
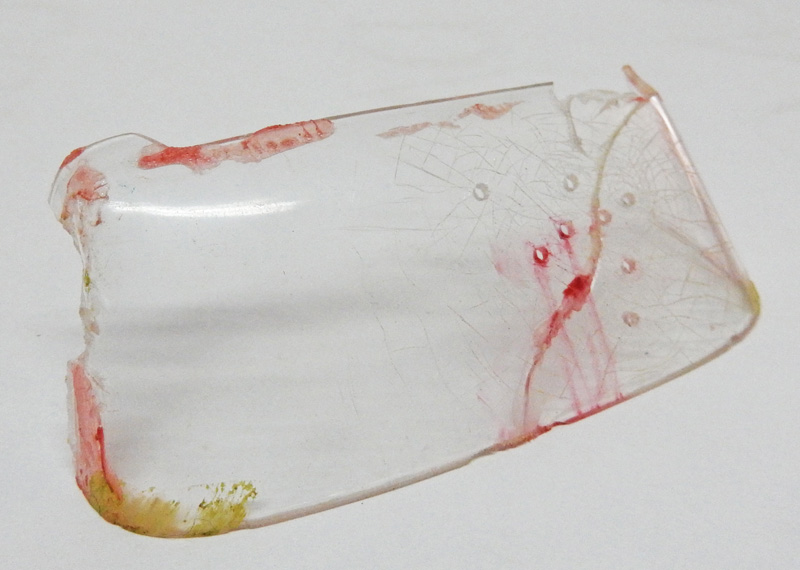
The windshield. It was badly damaged in the box, so it was glued back together with wood glue; bullet holes were made with a mini drill, while the "spiderweb" cracks were carved out with a utility knife. Dried bloodstains were added with a brush...
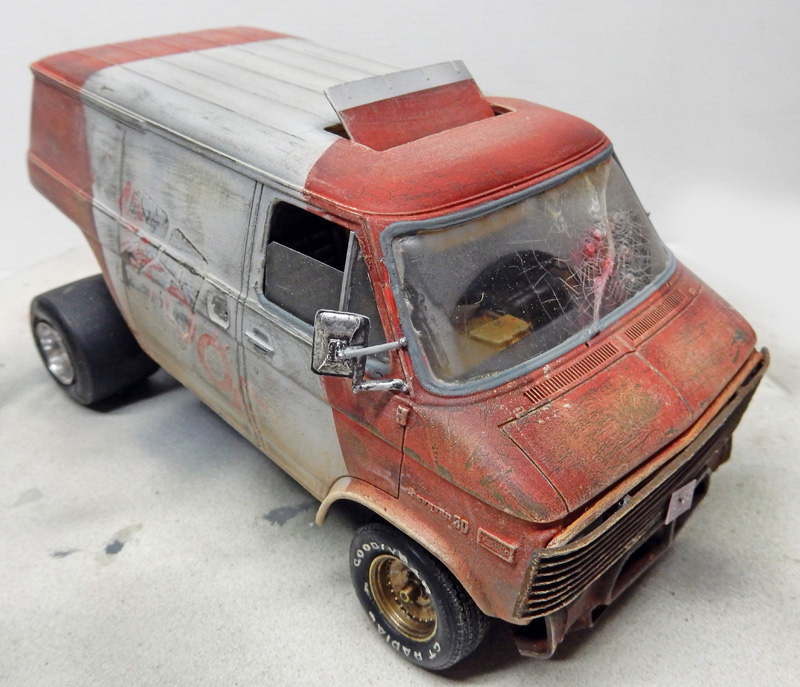
The result after gluing with wood glue. The rubber seal was painted beforehand. Side mirrors have been added. The side windows and the door pillar have been remade from plastic card. We removed the side door handle, which was supposed to be welded to the body...
A layer of matte clear coat simulates the movement of the windshield wiper's final sweep before it disappears. Sun visors have also been added to the interior, as well as a plaque on the grille...
The vehicle is almost finished. A layer of weathering was airbrushed onto the underbody and the wheels...
More views...
Autres vues...
The Setting
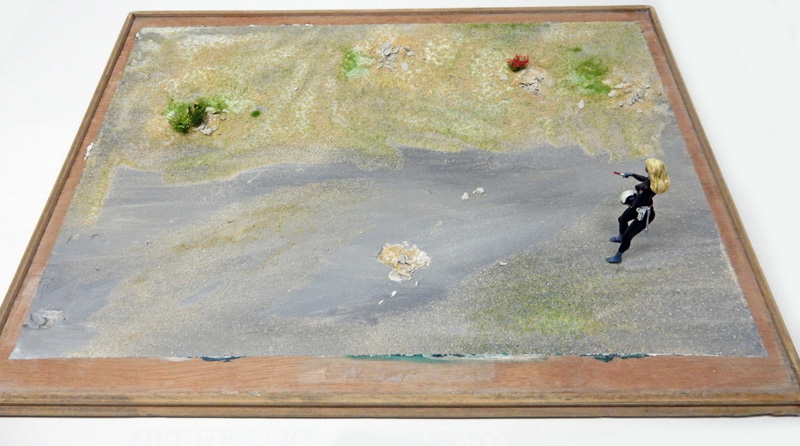
A 40 cm x 30 cm sheet of plywood. After applying a coat of primer, we create the appearance of the remains of a road and add soil, gravel, and a little grass...
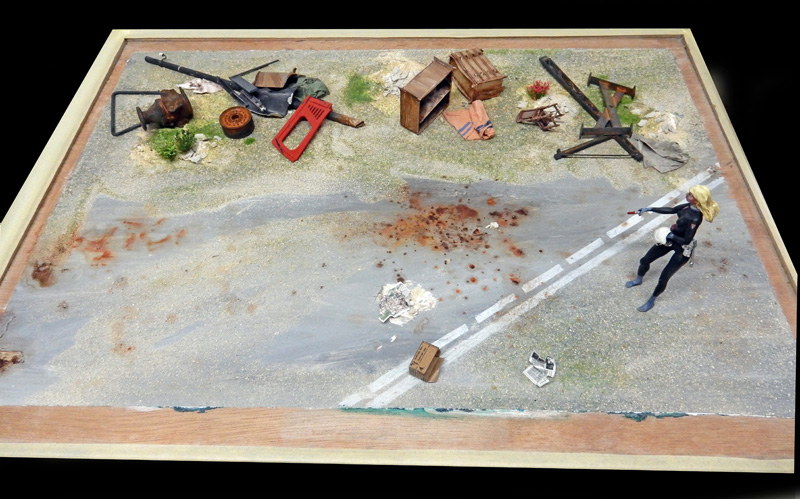
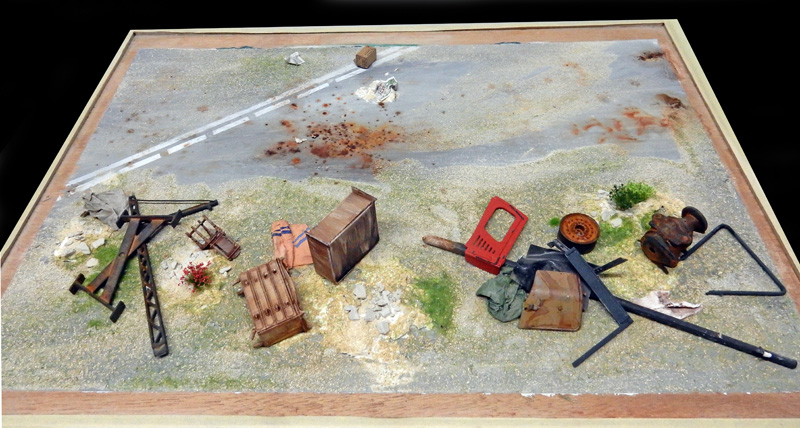
Various leftovers are added...
Here, too, we're playing with forced perspective, and some of these elements—such as the furniture—which will be in the background of the scene, are on a 1/35 scale...
Simulation of rust and oil under the van's engine...
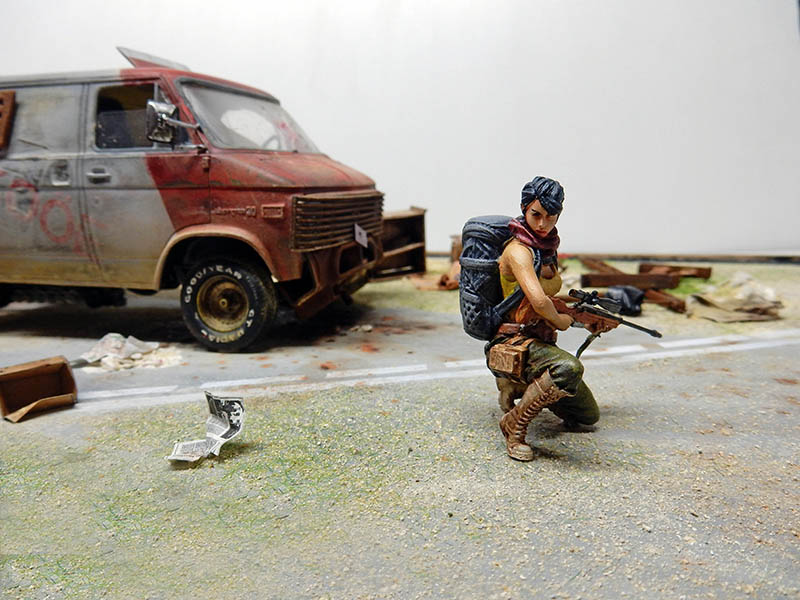
Above: the final figurine chosen for the diorama...
Ci-dessus : la figurine finale choisie pour le diorama...