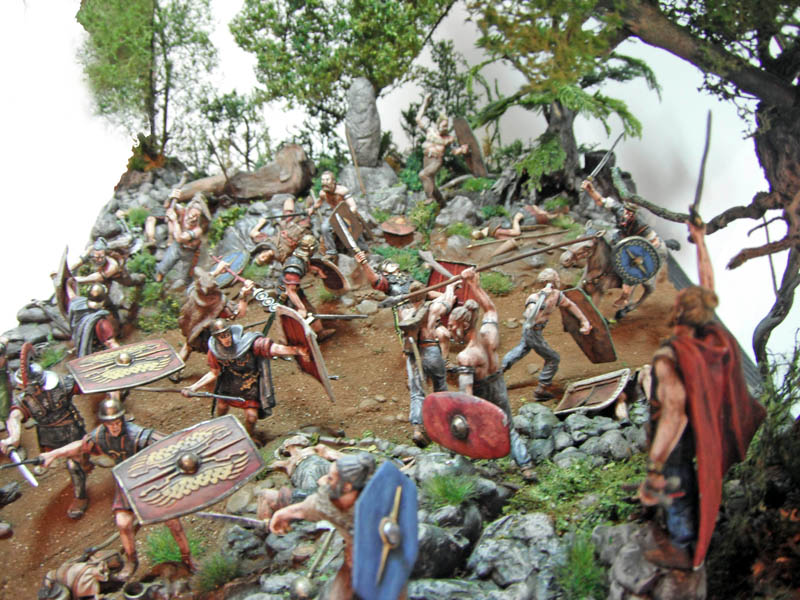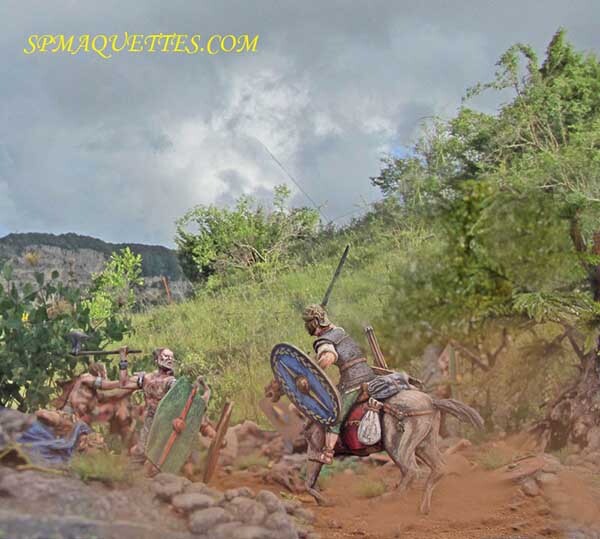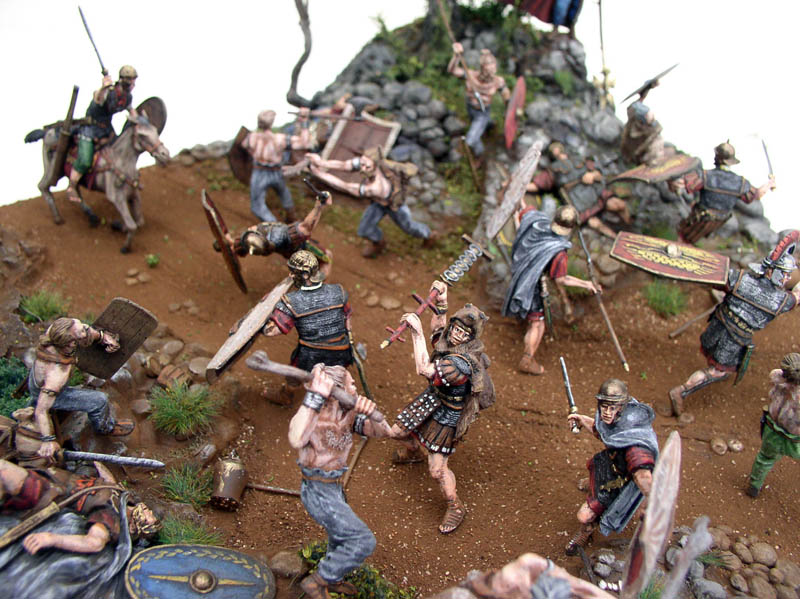

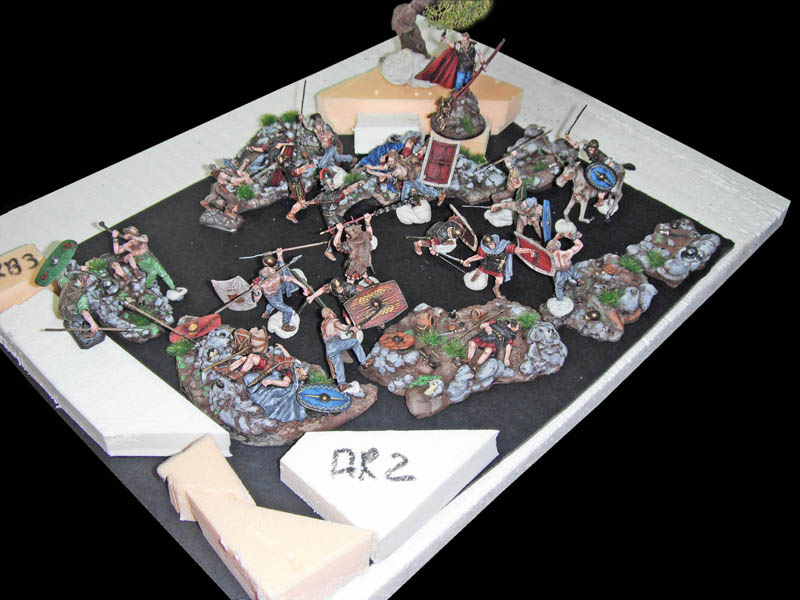
How can you create a sandy terrain that incorporates miniatures fairly easily without spending a fortune on various store-bought products? Here, the miniatures were painted first, with some designed to blend in with their surroundings. Pieces of extruded polystyrene are used to create variations in the terrain...
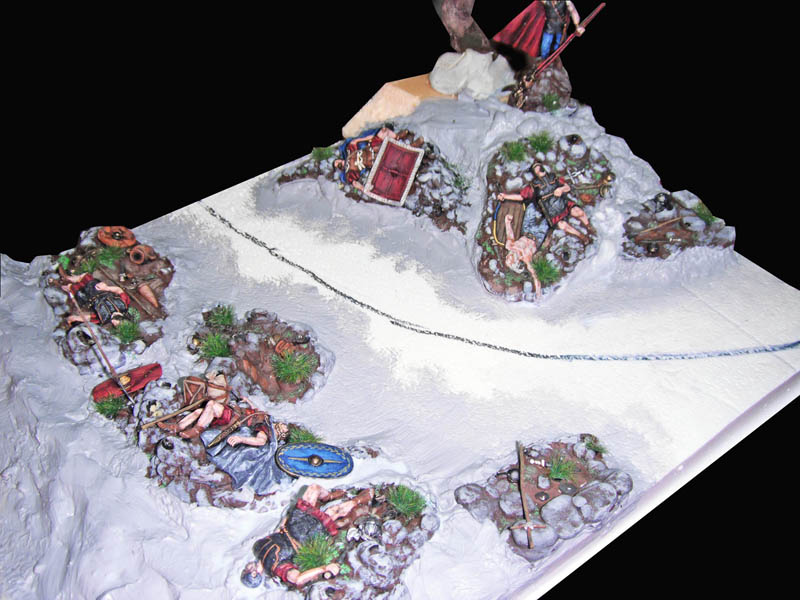
The floor is made of masonry crack filler from a cartridge, but you can also use plaster of Paris or Pollyfilla. The central path is marked with a pencil. The figurine bases are embedded in the floor...
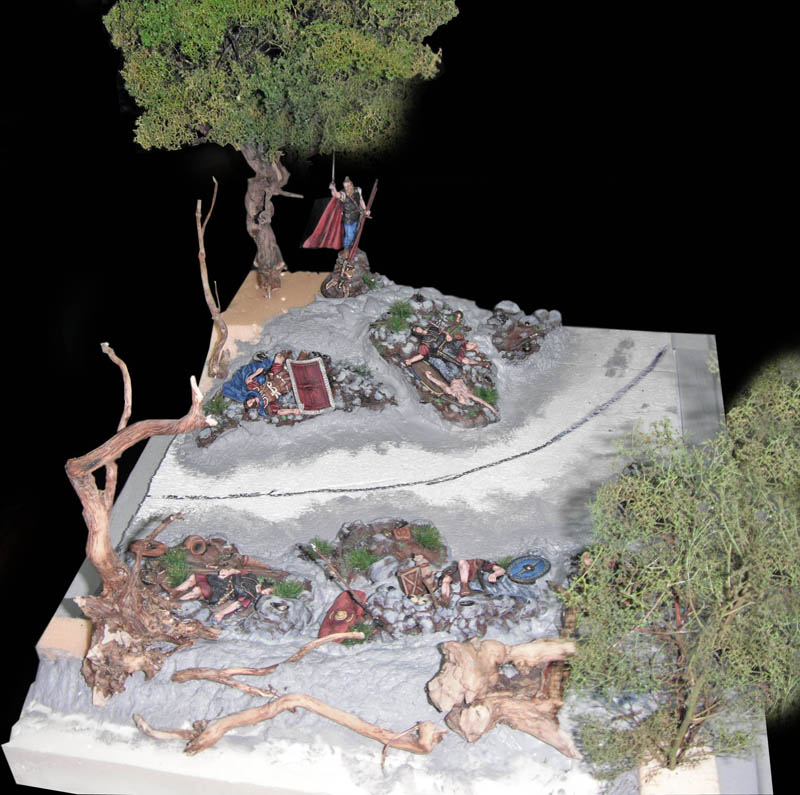
Arrangement of the trees. For the trees, we use zeechium (also called sea foam) in a bag; this will serve as the foliage. We glue it onto heather roots collected from the wild...
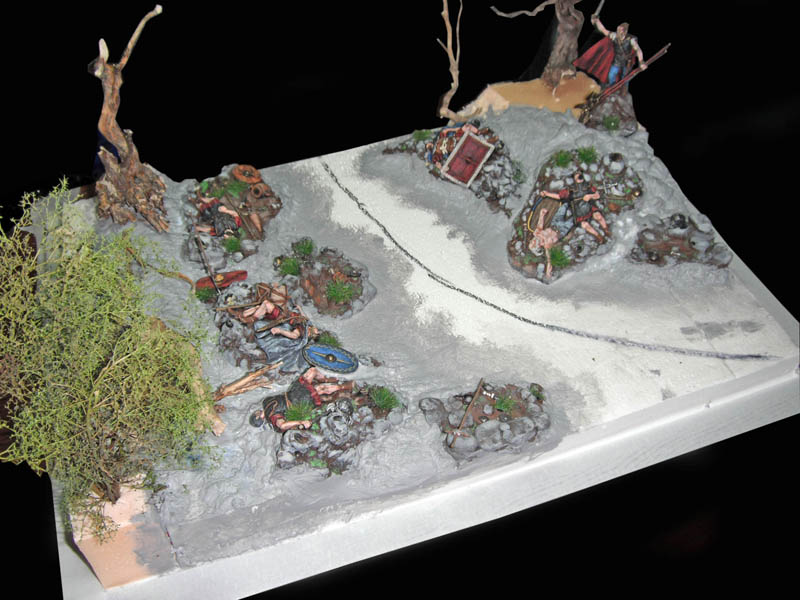
Here, flock was applied to the Zeechium using spray adhesive. It is absolutely essential to paint them with a spray can or an airbrush; otherwise, they will turn yellow as they dry...
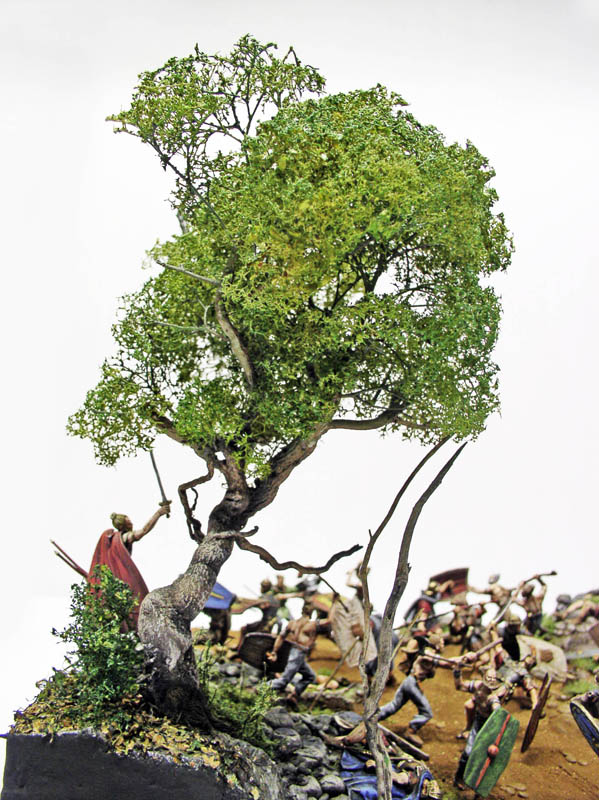
Zeechyumm is sold in bags, but you can also grow it at home by buying the seeds at a garden center...
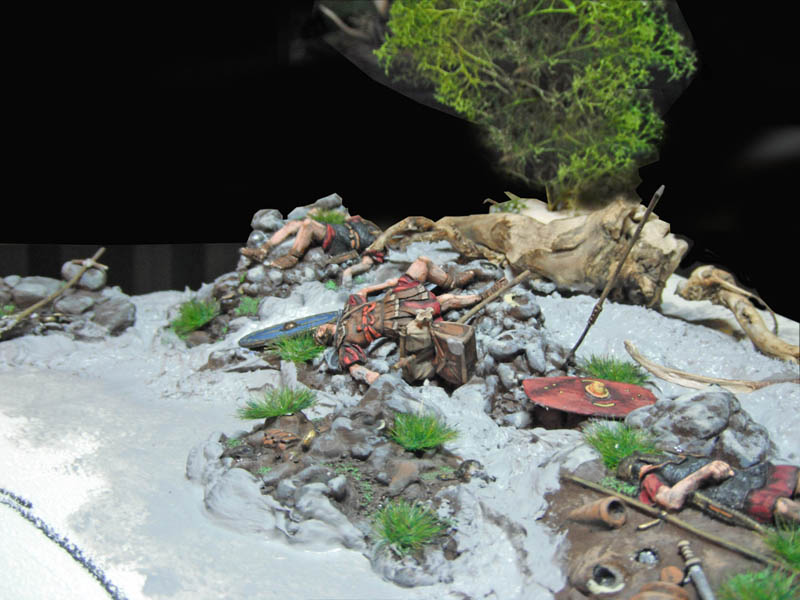
Clumps of grass for the railroad tracks scattered here and there...
The ground
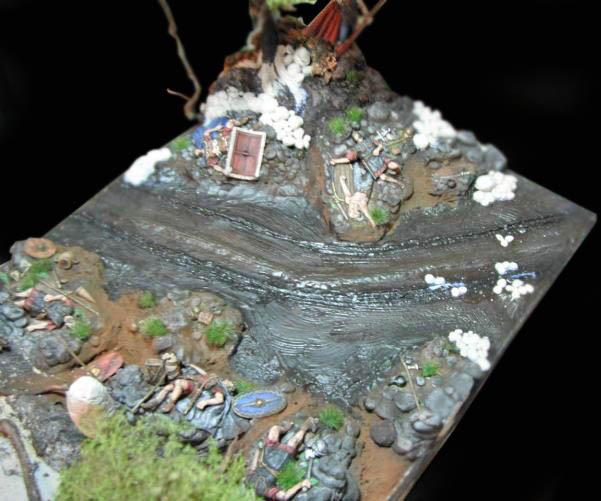
Large stones, various pebbles, and dolmens are made from Plastibo, then glued together with wood glue and painted with acrylic paint. Once completely dry, a first coat of diluted wood glue is applied to the road. Let the entire assembly dry (which allows the base to harden thoroughly)...
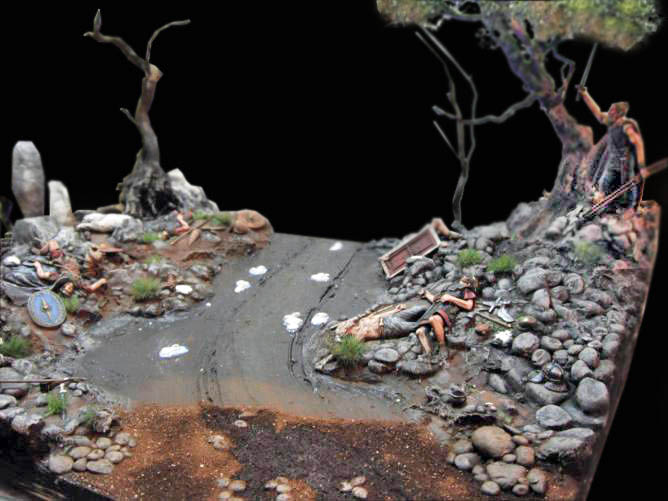
A second coat of diluted wood glue is applied to the floor. Decorative flocking soil is applied. The white rocks are painted with acrylic paint. The decorative soil is mixed with very fine sand to thicken it. In the foreground, you can see the ground drying after the flocking...
View of the finished floor...