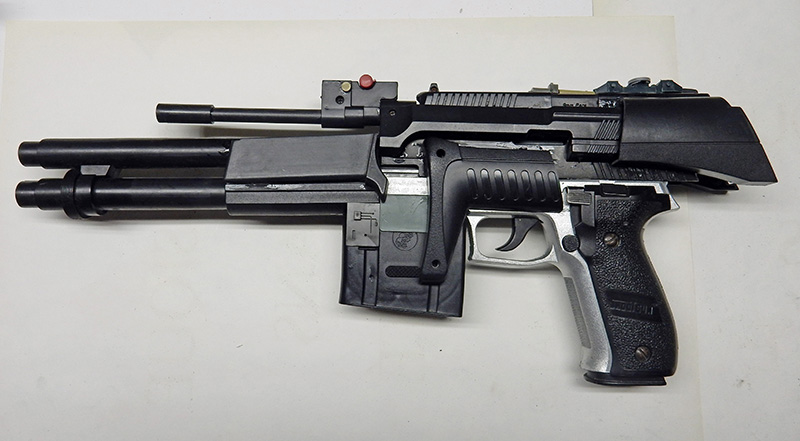
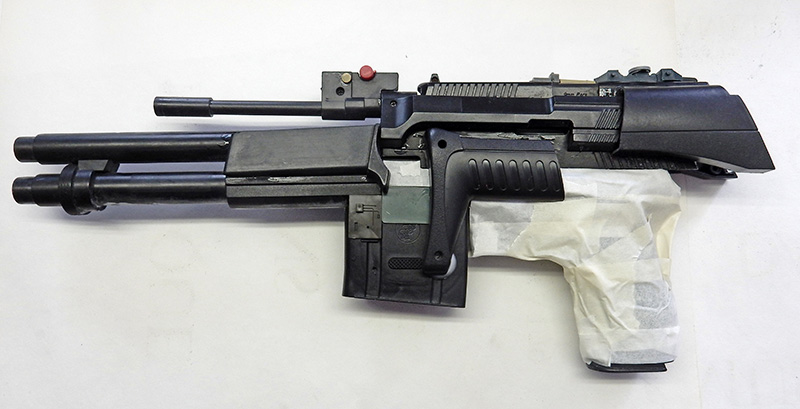
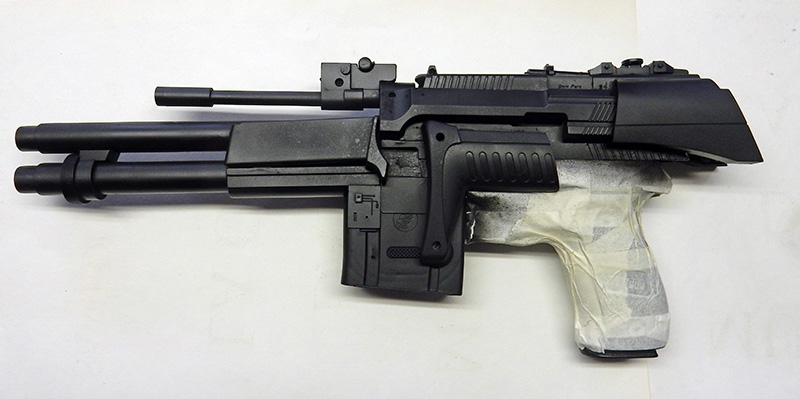
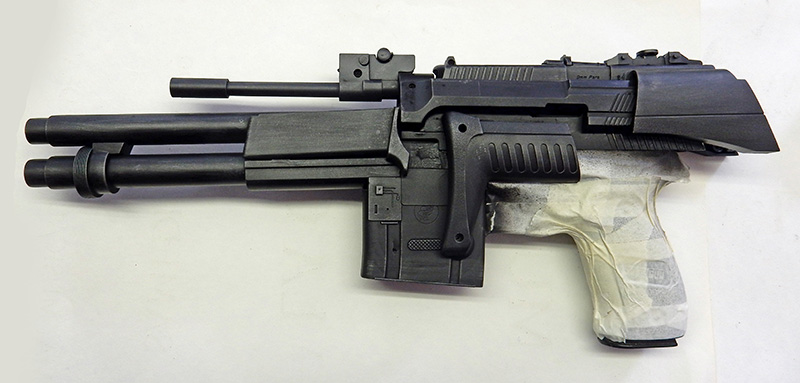
COSPLAY: an English term combining the words “costume” and “play” to describe a style that involves creating and wearing a costume to resemble—both in appearance and demeanor—fictional characters from video games, comic books, and movies...
This trend, which began in 1978 in the U.S. with the release of *Star Wars* and *Star Trek*, gained popularity through superhero stories—and particularly in Japan through manga...
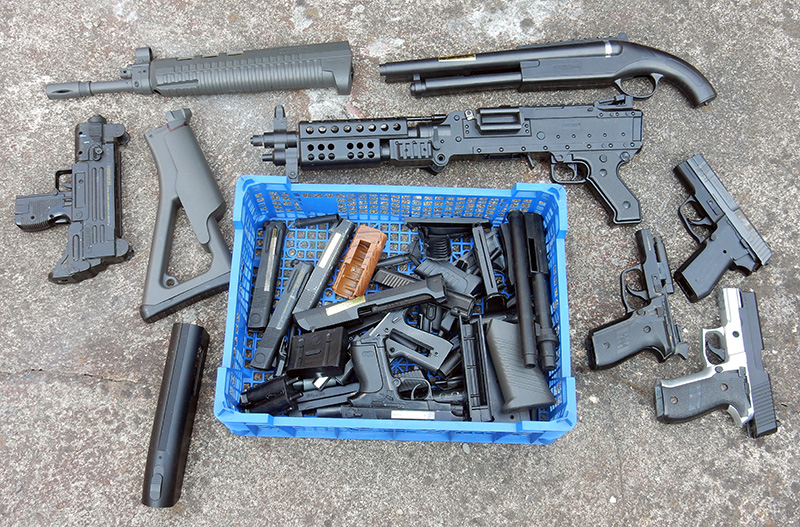
To start with, you'll need a few supplies. A set of inexpensive parts bought online from airsoft guns and other sources. You can also start with toys...
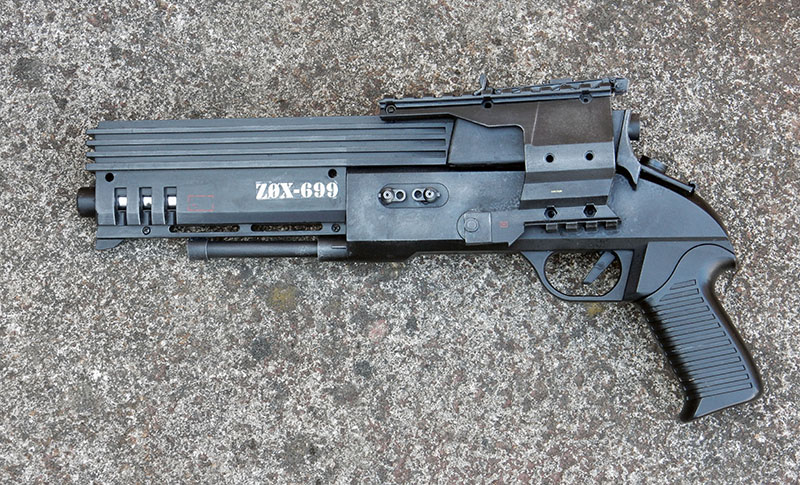
First things first: decide what you want to make. In this case, a sci-fi gun. So we can get away with a few extras. The key is to come up with parts that will work without being too unrealistic...
The model shown in this tutorial is fairly easy to make...
As with model kits, some two-part pieces need to be glued and filled to improve the finish...
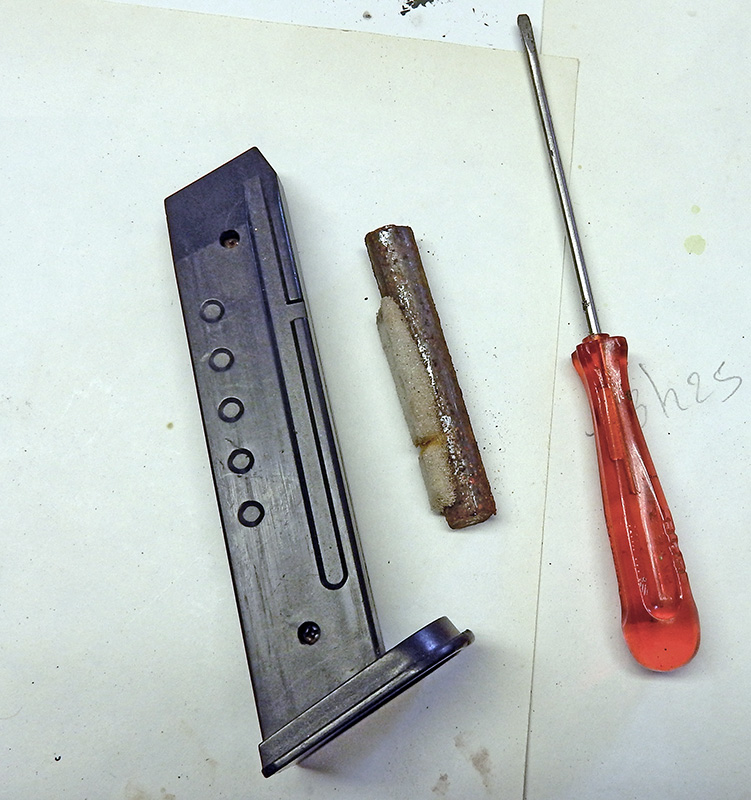
We also remove the metal counterweights from the magazines and various stocks that are used to make the firearms heavier...
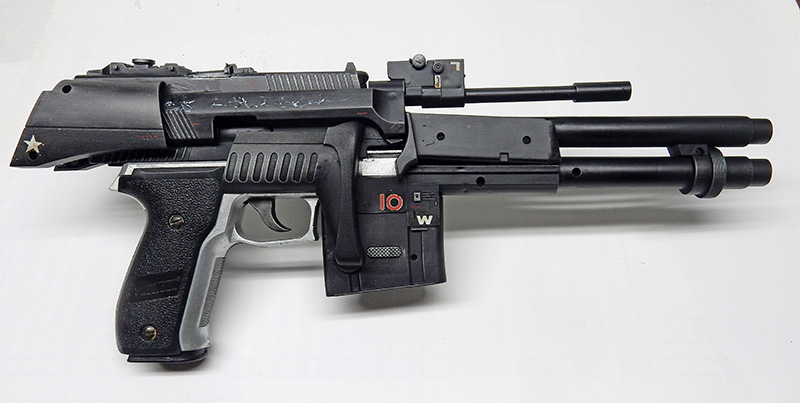
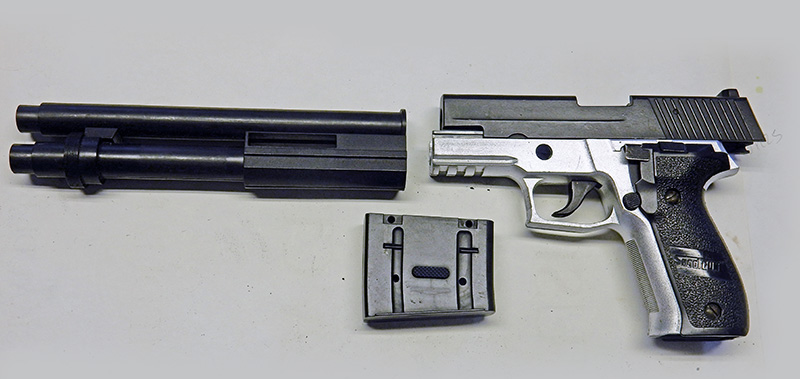
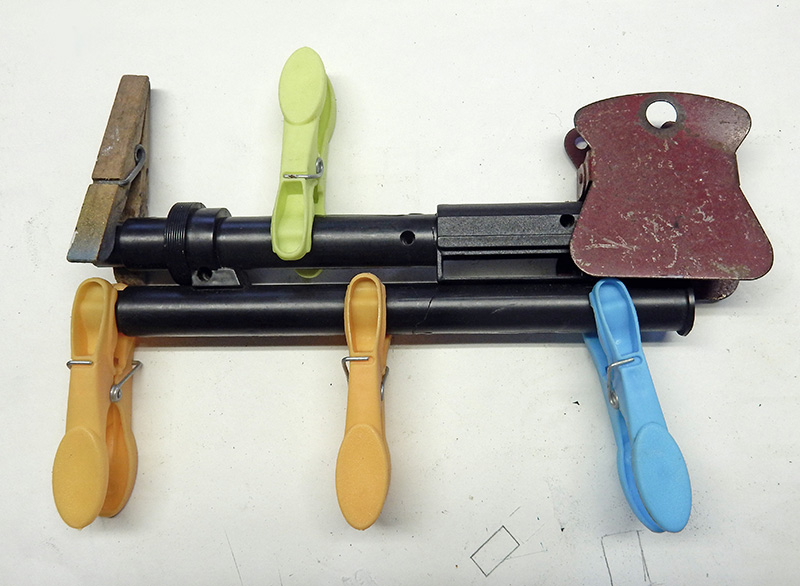
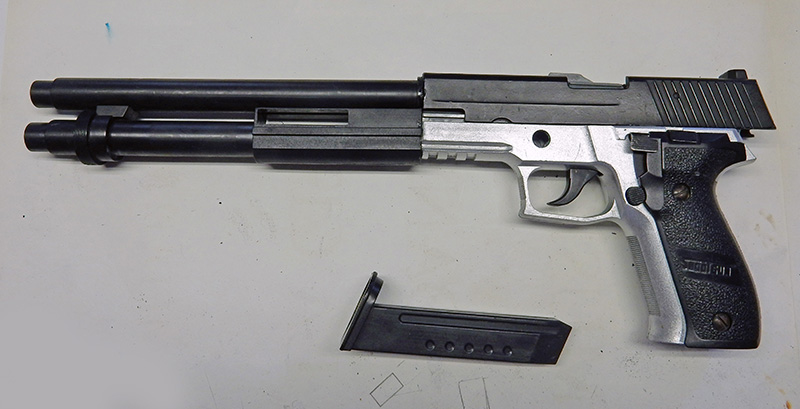
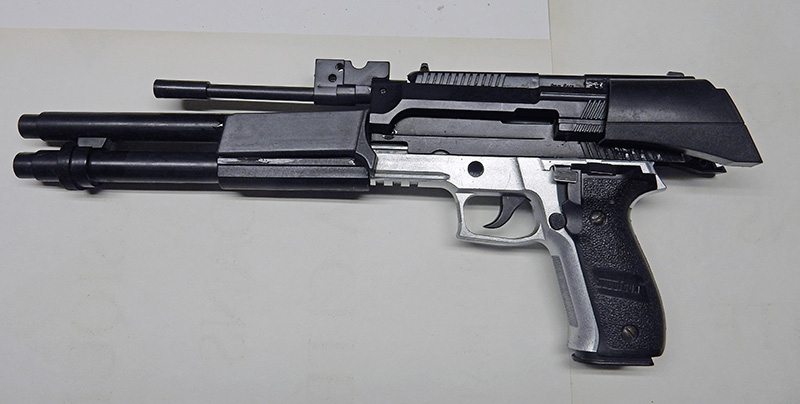
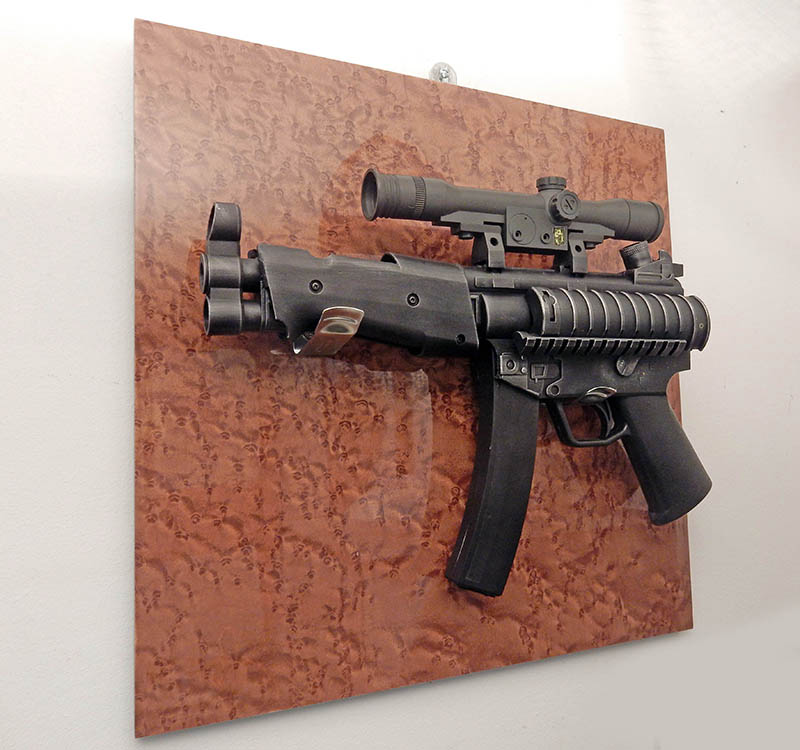
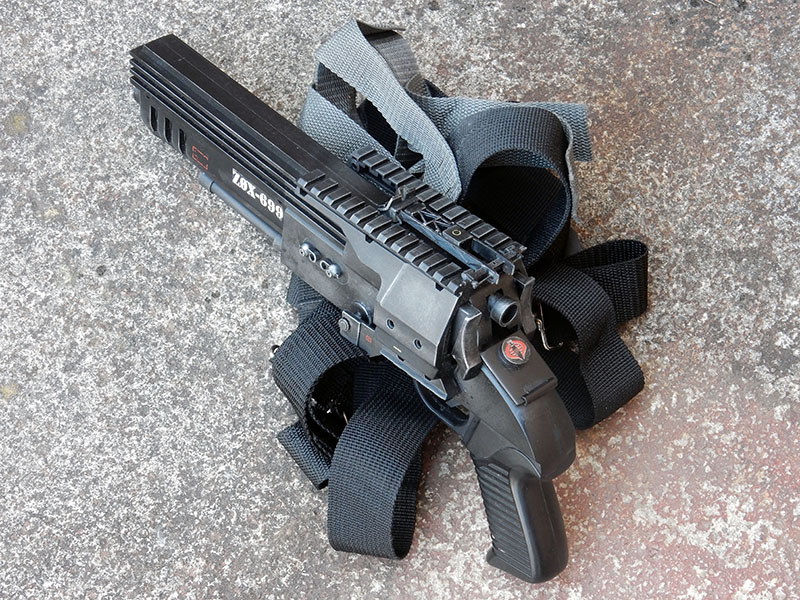
We attached a long barrel to a Colt. The whole thing is glued together with Super Glue, with reinforcement inside both parts...
After that, it's a matter of "taste." We experiment with different parts to see what works best, taking into account usability and design, as well as the materials we have on hand. We can let our imagination run wild, but the end result must remain functional and practical...
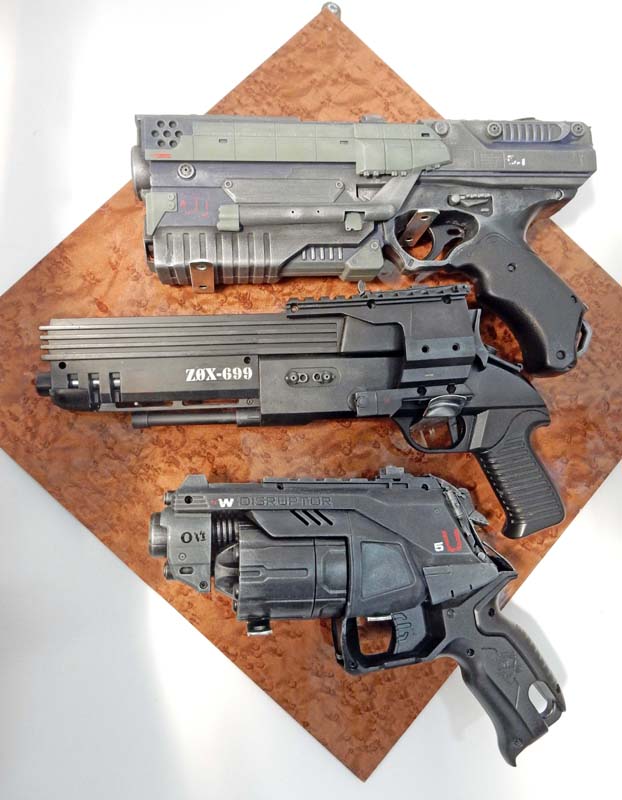
Our Colt is finished... We used model parts from the surplus box to add the small details...
Painting
It will be simple. Black and steel dominate this model, but there's nothing stopping you from choosing other colors...
Use body shop tape to cover the metal parts you want to keep as is...
Next, apply two coats of matte black spray paint, allowing time between coats, and let it dry thoroughly...
Then a first light dry-brush with Humbrol 53...
... followed by another dry-brush application of Humbrol 56...
... followed by another 56 Humbrol dry-brush...
... finish with Humbrol 90 to create shiny highlights. Once everything is dry, remove the masking tape...
...finish with Humbrol 90 to create shiny chips. Once dry, remove the masking...We add the finishing touches with a few decals from the surplus box, and the item is "ready for use"...
PLEASE NOTE: A coat of varnish is recommended as a finishing touch, especially if you plan to handle the model often...
All that's left is to make a case for it...
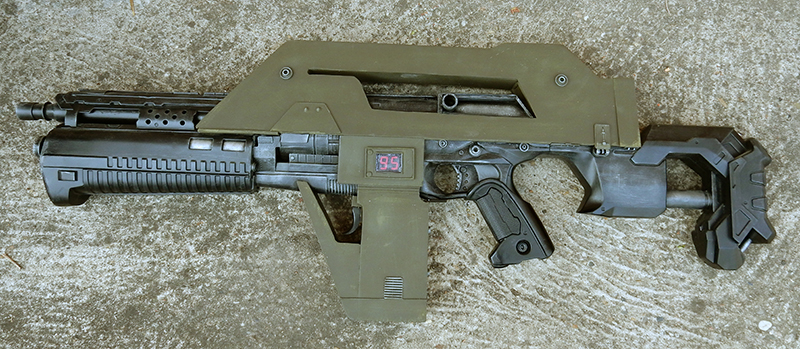
M41
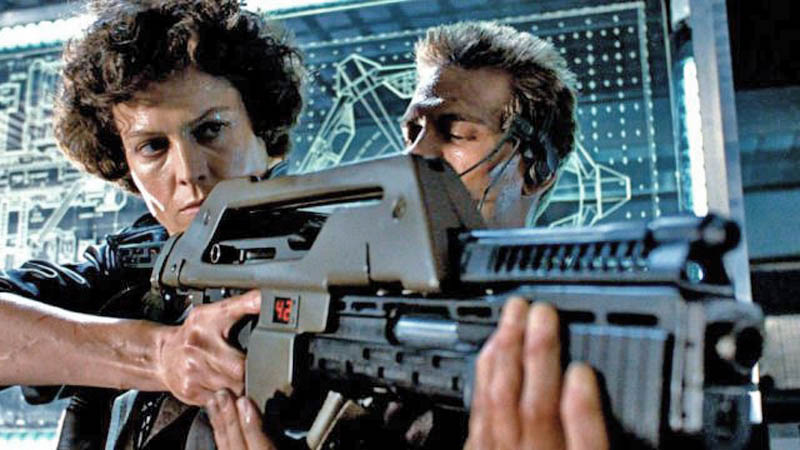
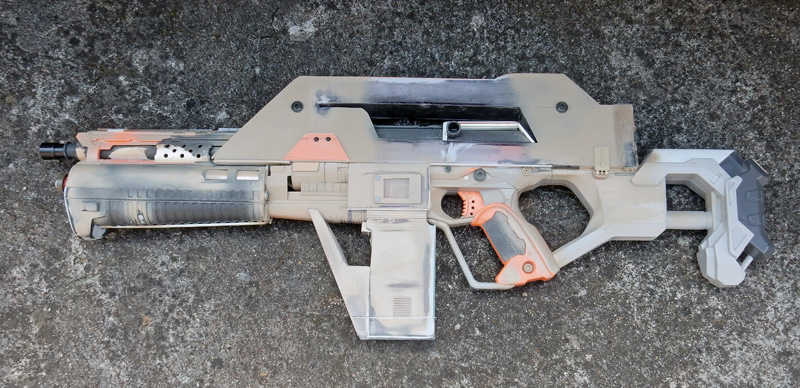
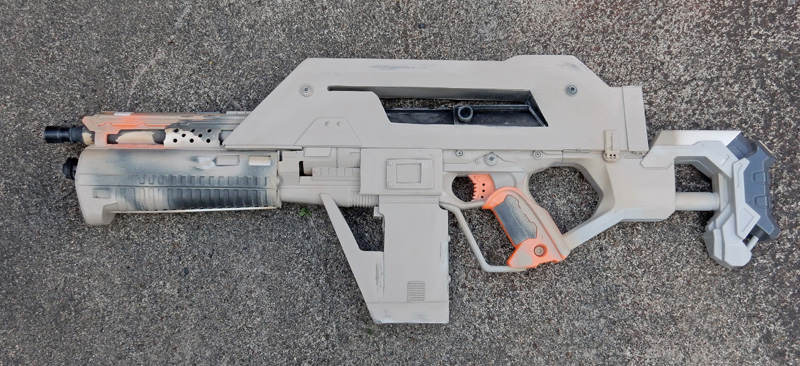
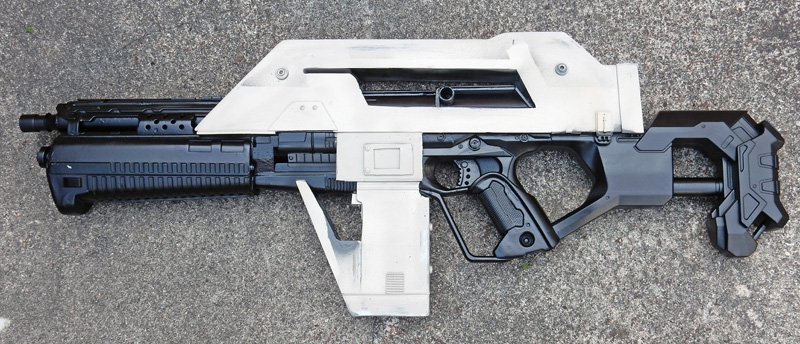
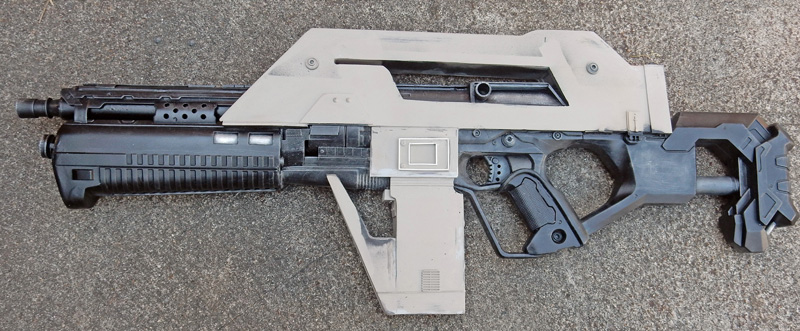
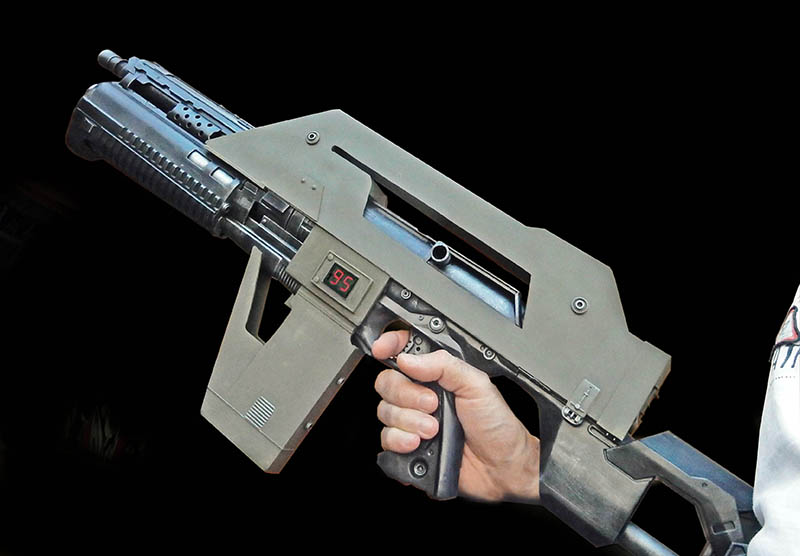
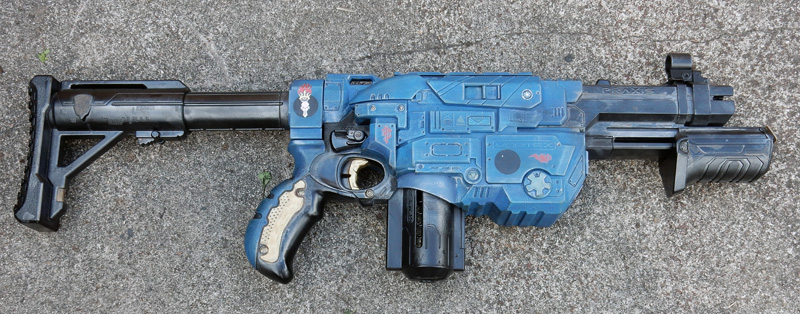
M41 from the movie "Aliens." Features an 8-mm pulse sensor and a 30-mm grenade launcher...
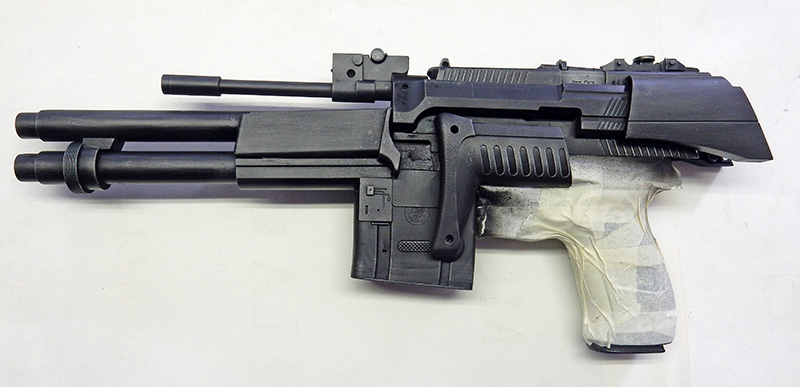
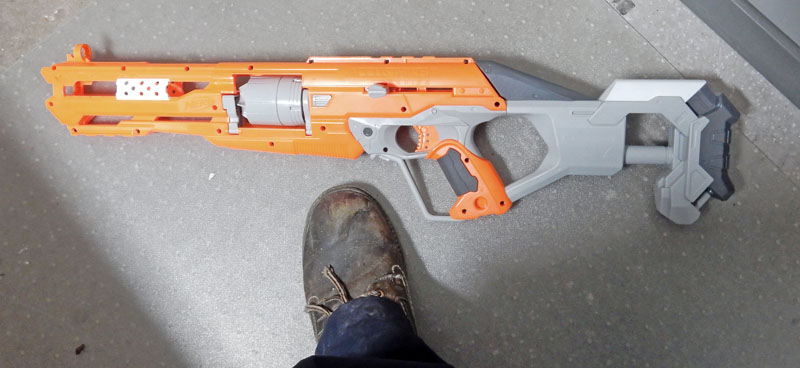
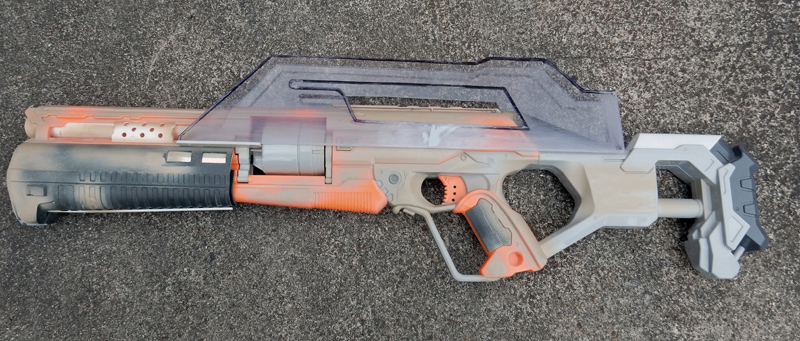
Making it. The base is a "Nerf" I bought for 10 euros at a garage sale (value: 40 euros)...
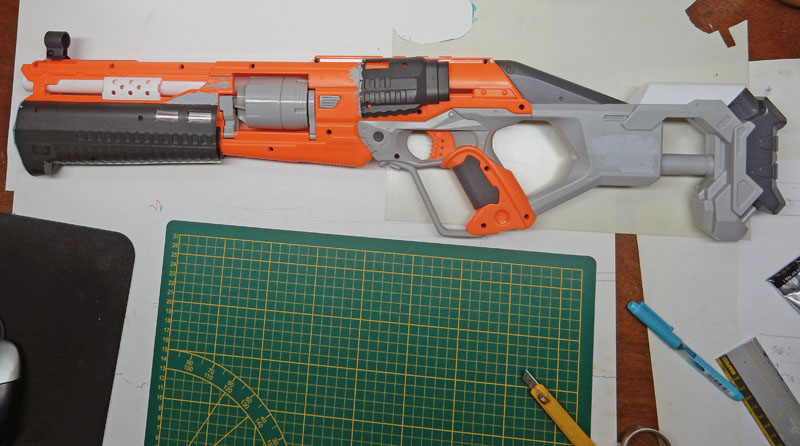
The goal is to get as close as possible to the weapon's actual shape. Not to go down to the last bolt... The "purists" will complain, but that doesn't matter...
The goal is to get as close as possible to the shape of the weapon. Not down to the last bolt... The "purists" will grumble, but that's not important...So, we start adding details. And we fill and sand down all the marks and screw holes...
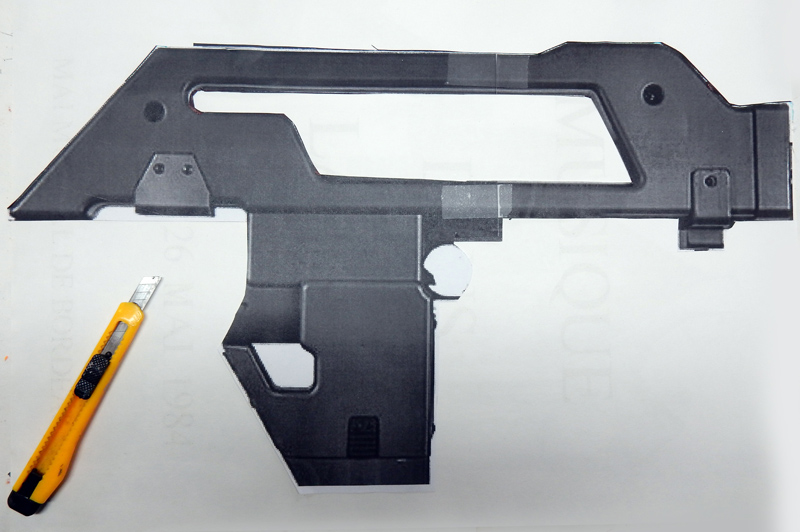
A photo of the fairing is enlarged on the photocopier at a 1:1 scale to serve as a blueprint...
Thick plastic sheeting—3 mm—will be used to make the fairing...
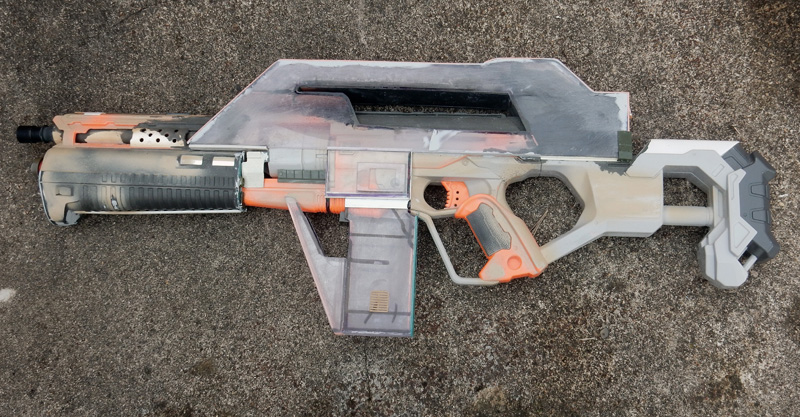
We do the same thing for the charger. Everything is glued together with Super Glue...
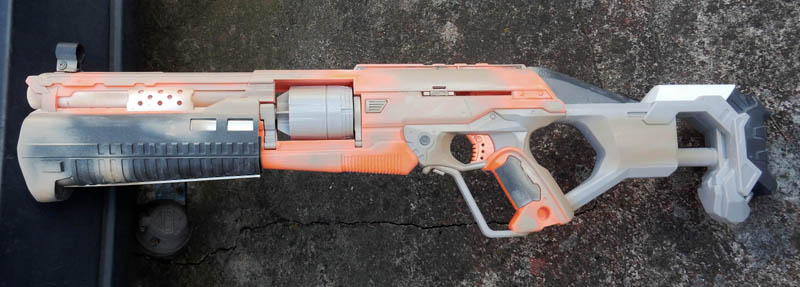
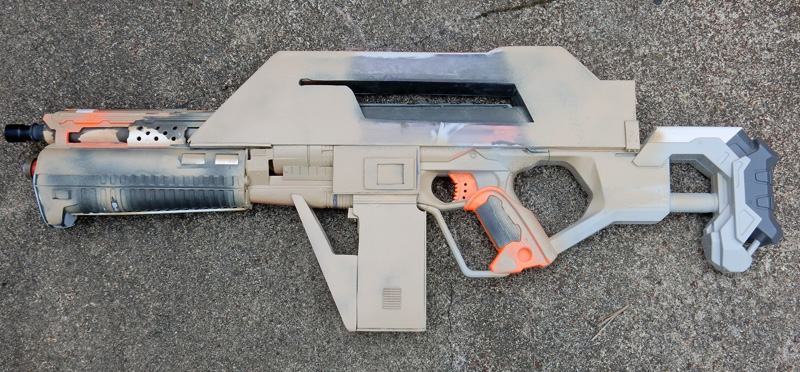
A primer applied with a spray can to reveal defects and get a clearer picture...
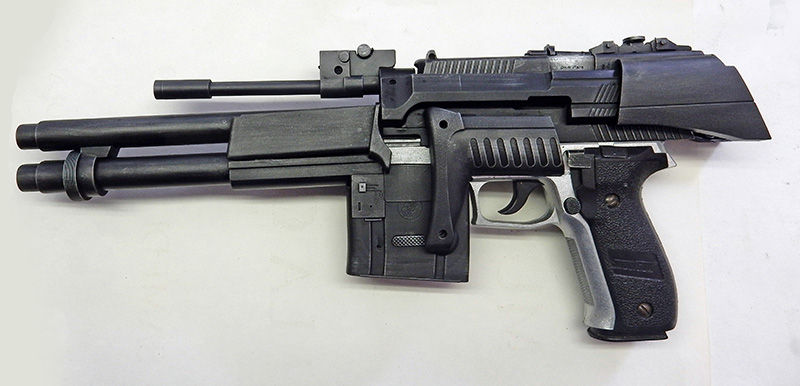
We're continuing to add details based on photos from the movie...
New primer...
New undercoat...
After masking off the fairing, spray paint it with satin black...
Then dry-brush with Humbrol 53, 56, and 11 for the finish...
Spray-paint the fairing army green after masking off the rest of the weapon...
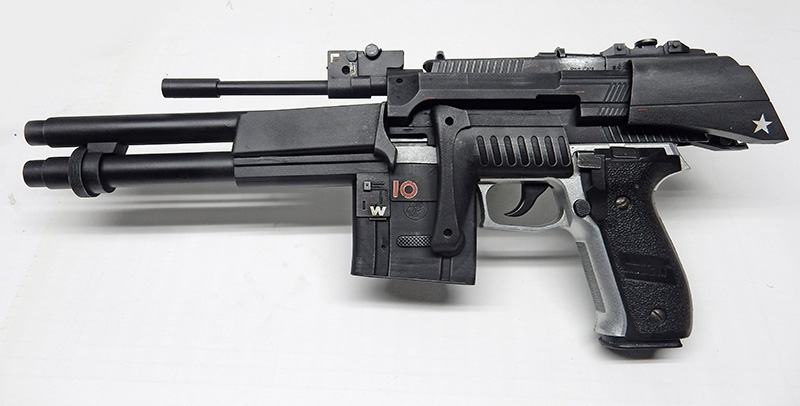
Dry-brushed the fairing with Humbrol 155. No metal—it's supposed to be carbon fiber. The number was photocopied to the correct size, and a plastic window was added to the frame...
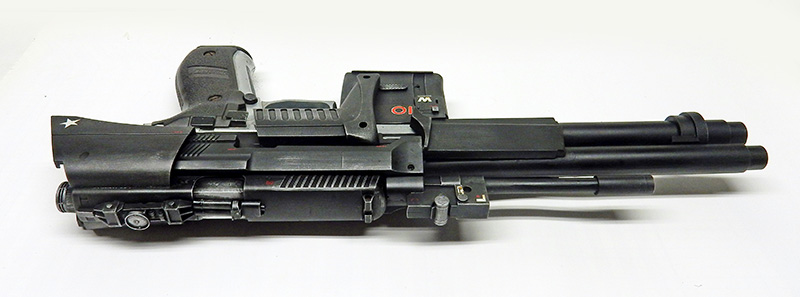
Your weapon is ready for action. All you need now is the costume...