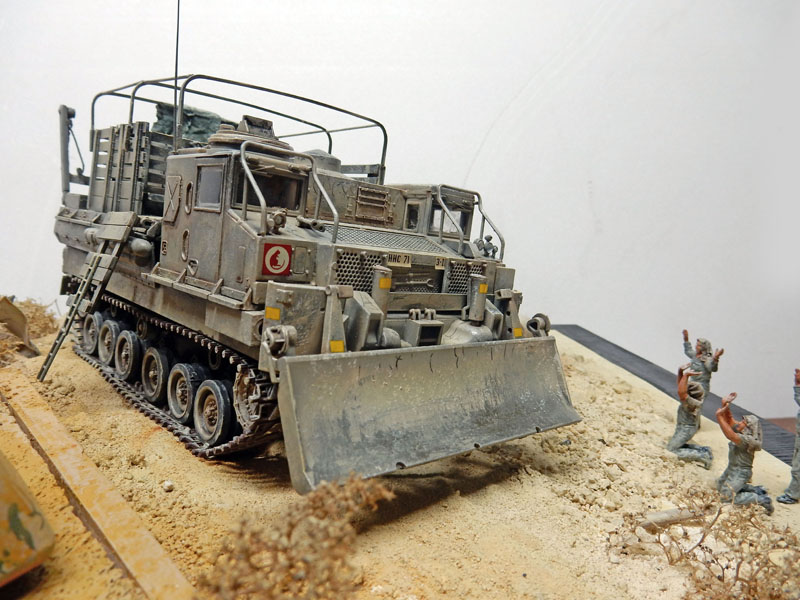
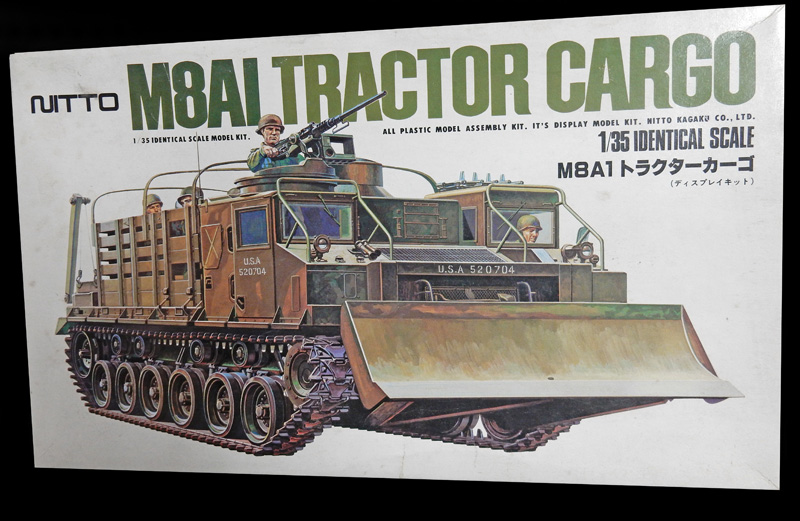
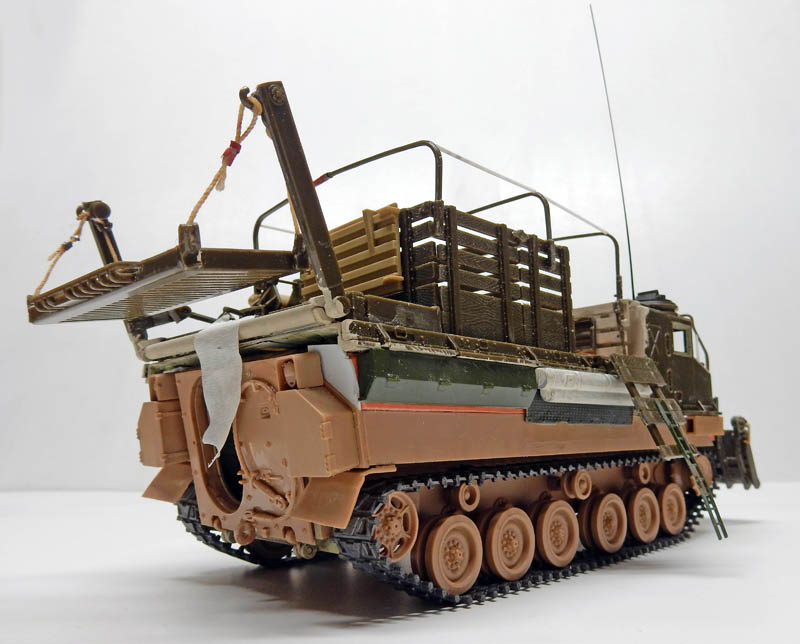
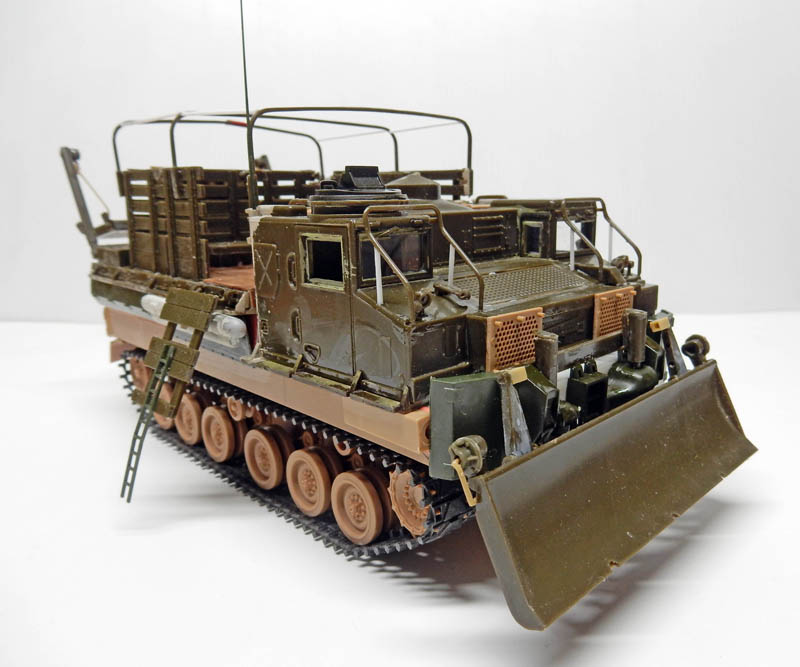
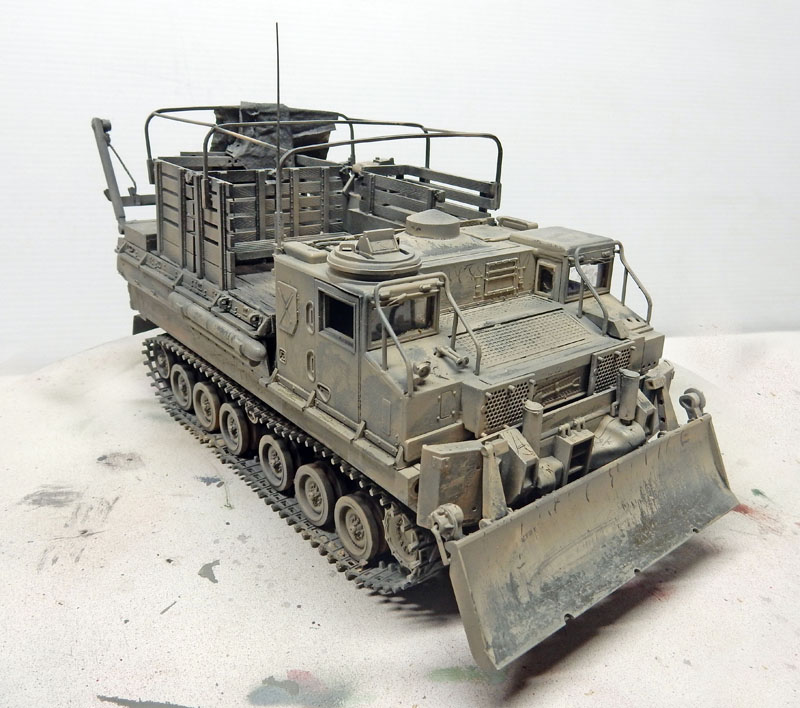
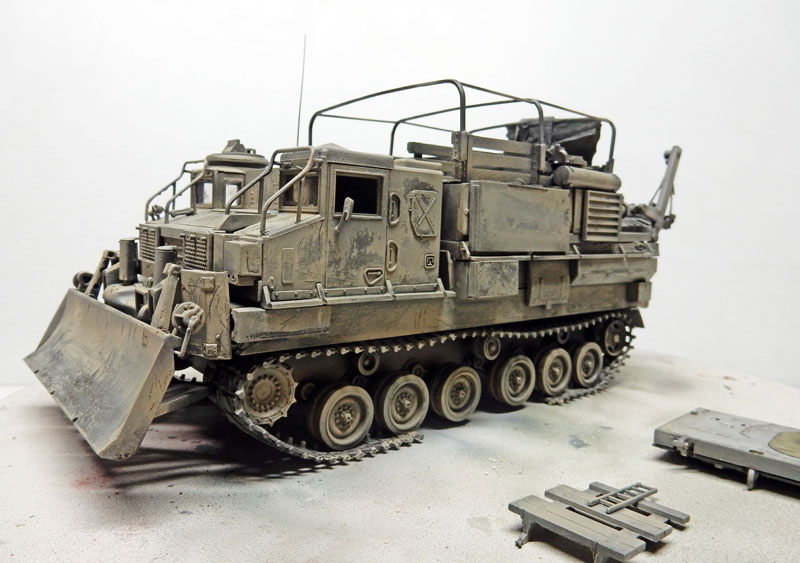
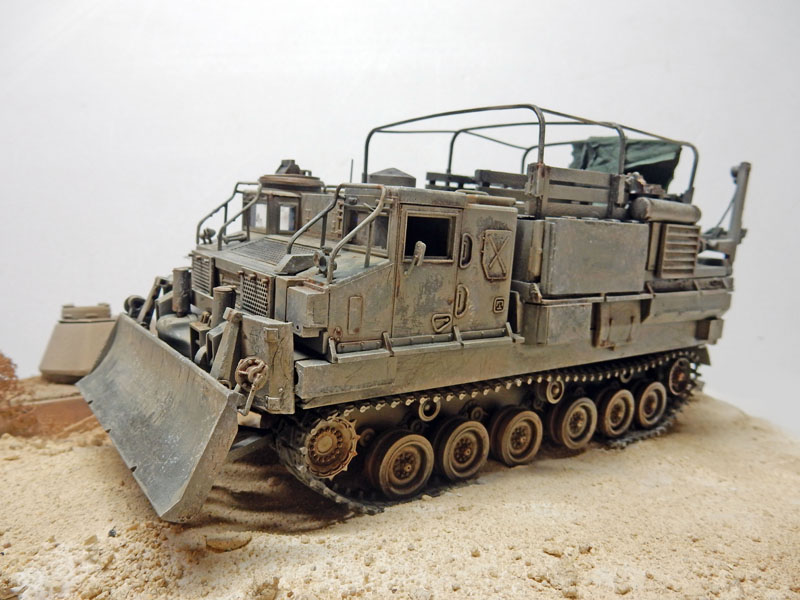
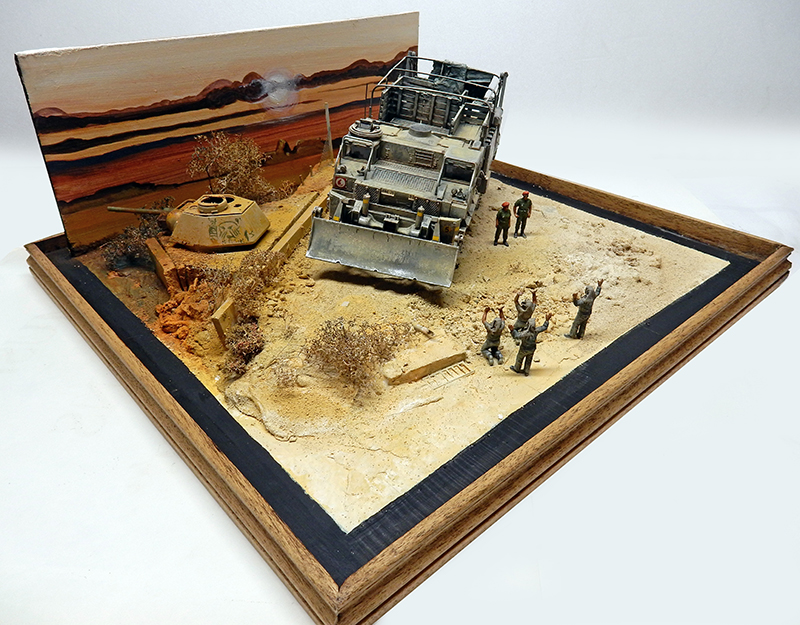
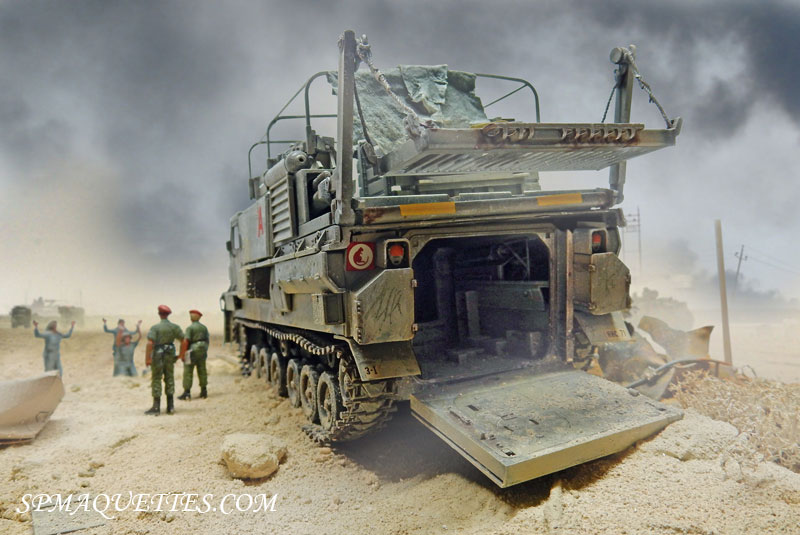
I've named this Brad "Fury"!It all started with an old Nitto kit, the M8A1, a fairly rare tracked tractor. The problem: it’s listed as being 1/35 scale, but the cabs are actually 1/48 scale! That’s not right!
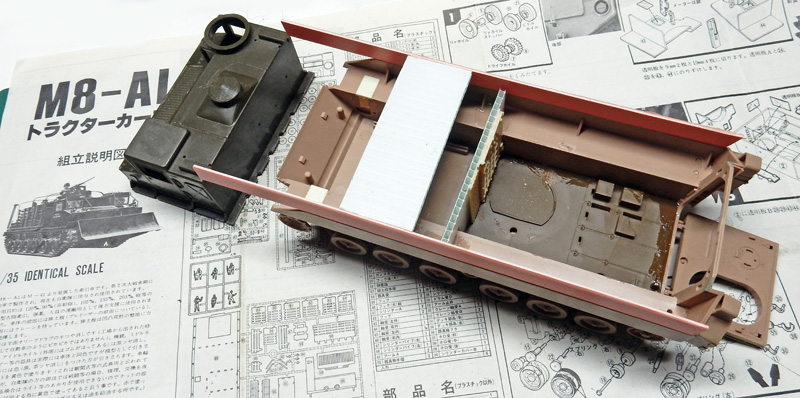
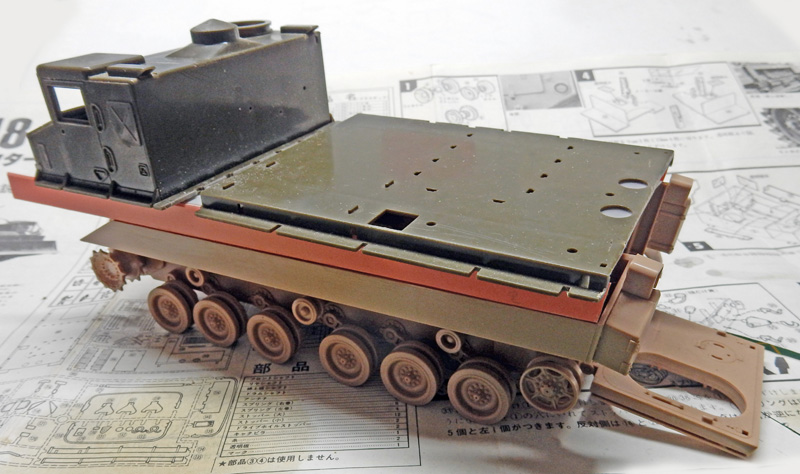
Since this kit is missing the hull and running gear, we'll use a Bradley hull and running gear from Tamiya...
That's going to take a little work to adjust...
...to the Nitto superstructure, which will be slightly raised above the rear opening panel...
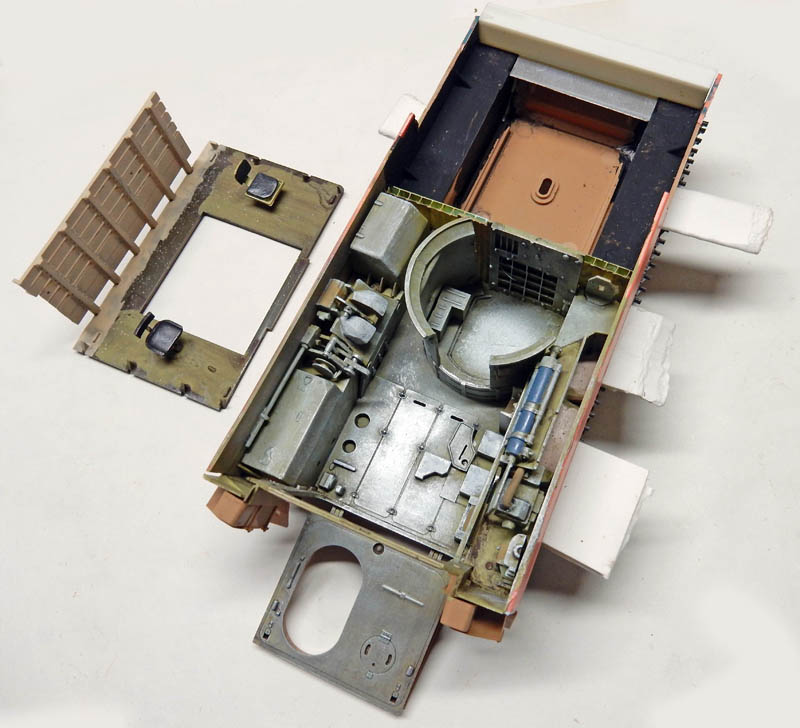
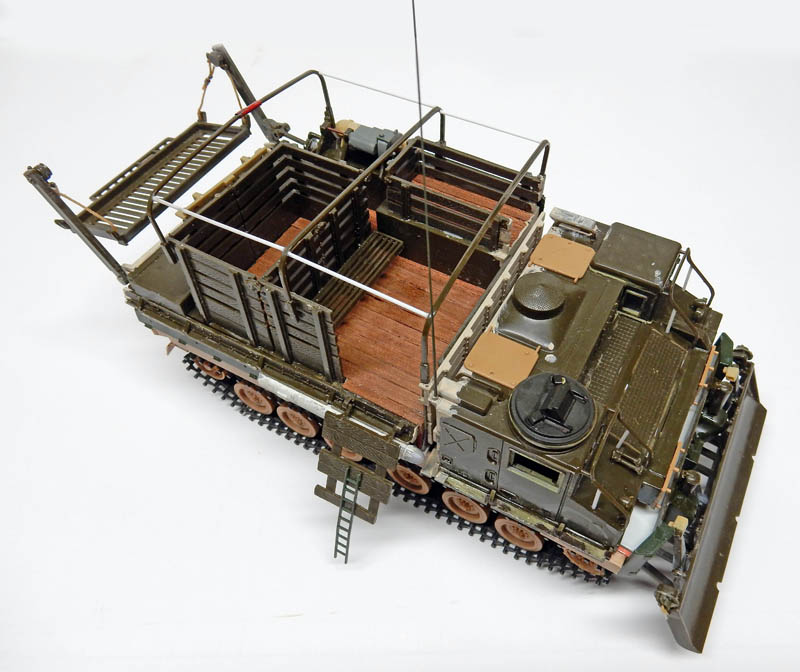
Once the interior is assembled, paint it army green, along with the interiors of both cabins...
Then the usual application of juice, followed by intermediate colors, and finally a metallic color as the finishing touch...
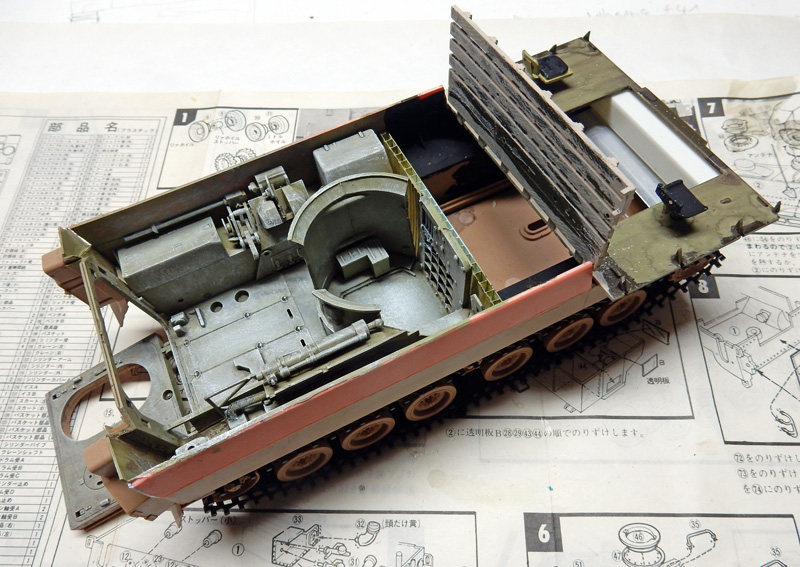
Another view...
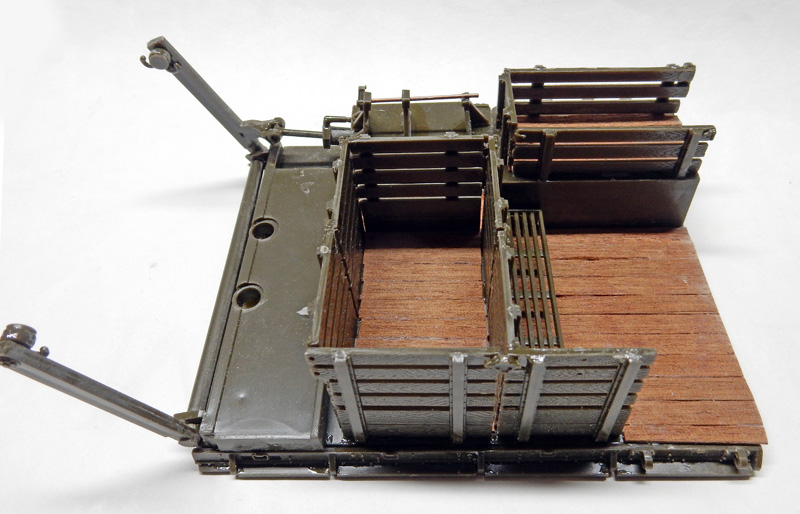
The rear superstructure. The floor is made of balsa strips stained with umber and sienna...
The assembly is mounted on the body...
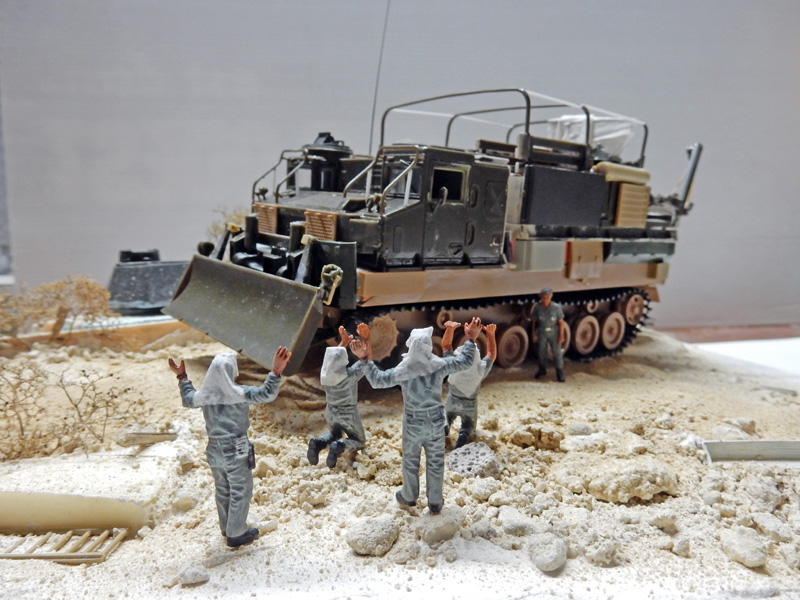
The characters.
They are 1/48 scale and come from the surplus box.
Winsor & Newton oil paint for skin tones and red berets.
Humbrol for uniforms...
Painting.
Primer: Tamiya Acrylic NATO Brown XF68 (or Humbrol 98)...
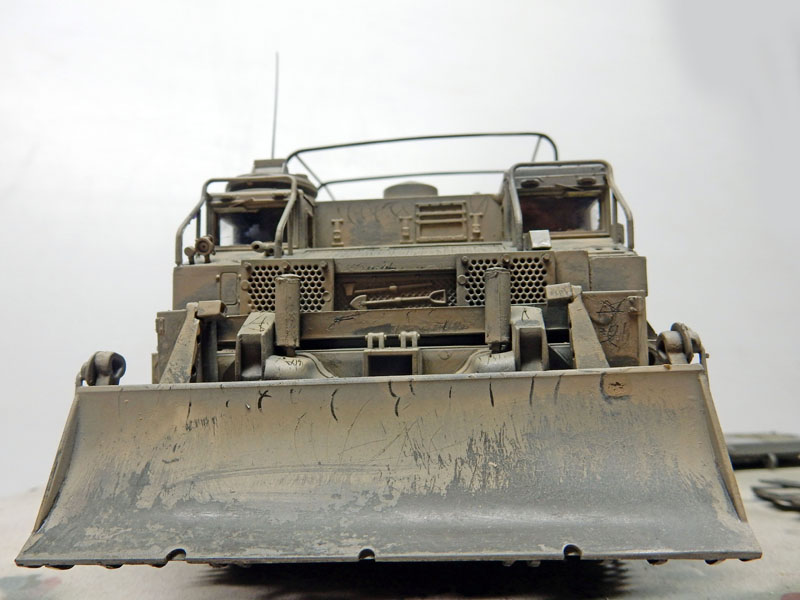
Apply a coat of hairspray (see the Catalina tutorial), then airbrush on a coat of Hobby Color 79 beige acrylic paint (equivalent to Humbrol 121)...
"Scratching" the paint to achieve the desired effects...
Next, apply the usual wash of Umber and Sienna to bring out the details. Once dry, lightly highlight the metal parts using Humbrol 56 and 91. The vehicle is finished; all that's left are the markings...
The Setting
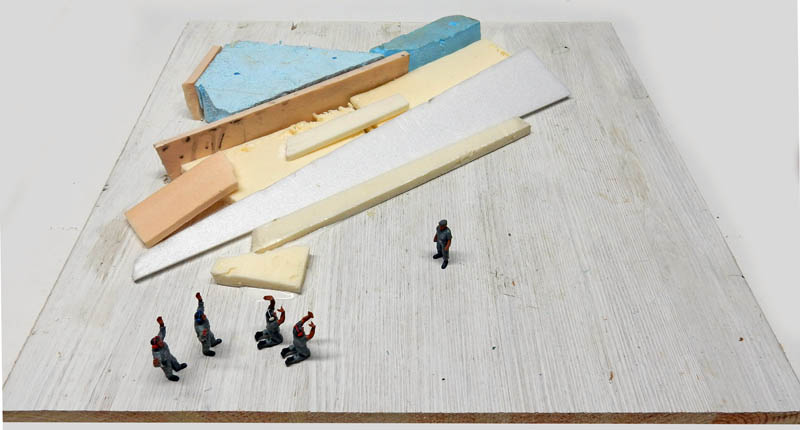
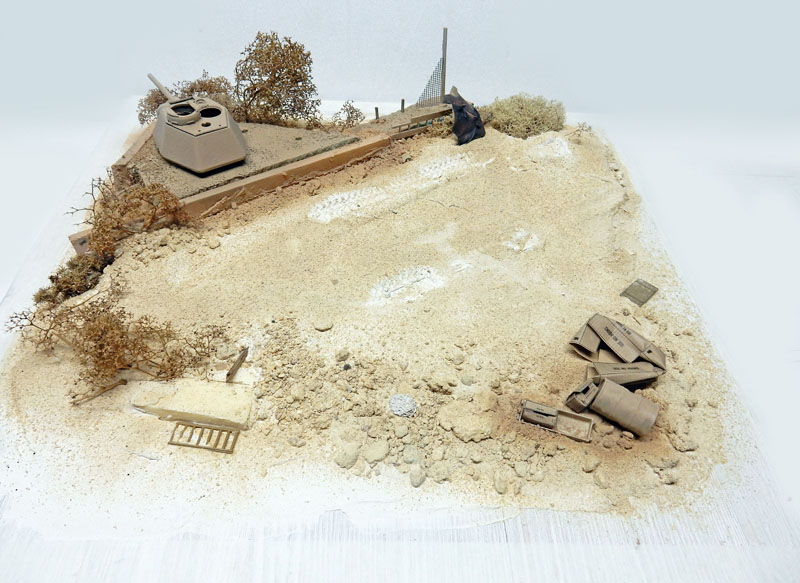
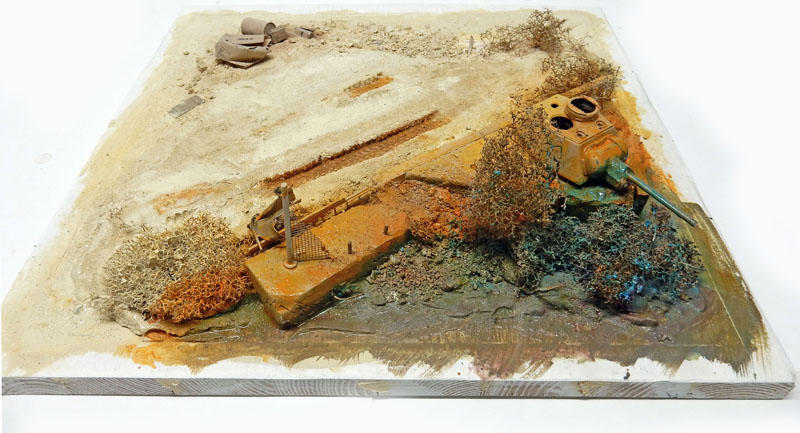
A wooden board measuring 40 cm on each side, which will be coated with a white acrylic primer. Pieces of extruded polystyrene will be used to create a terrain feature at the back...
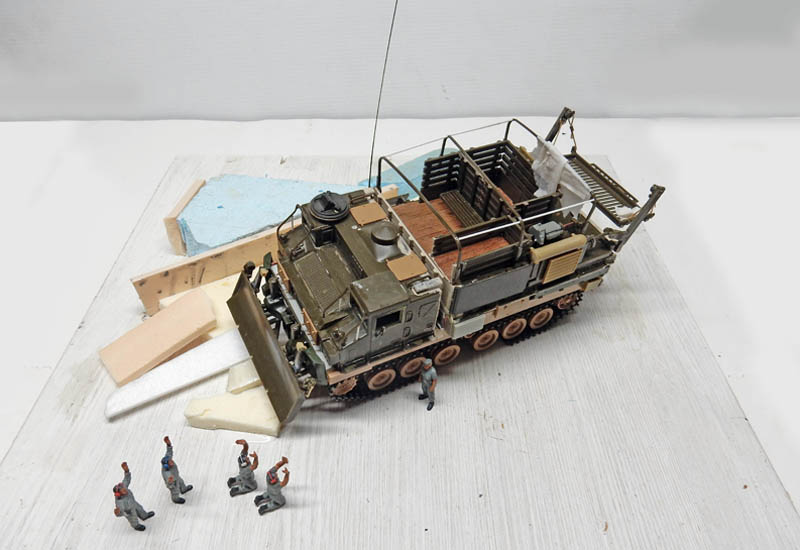
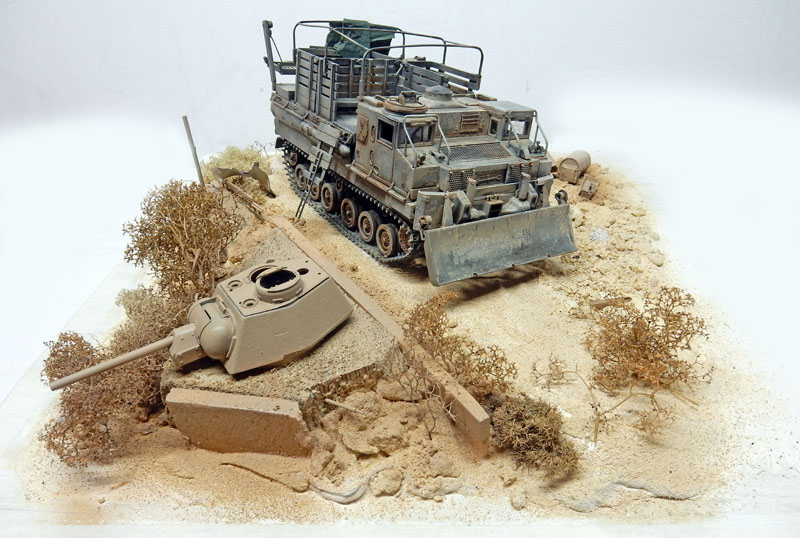
The vehicle gives an idea of the future location...
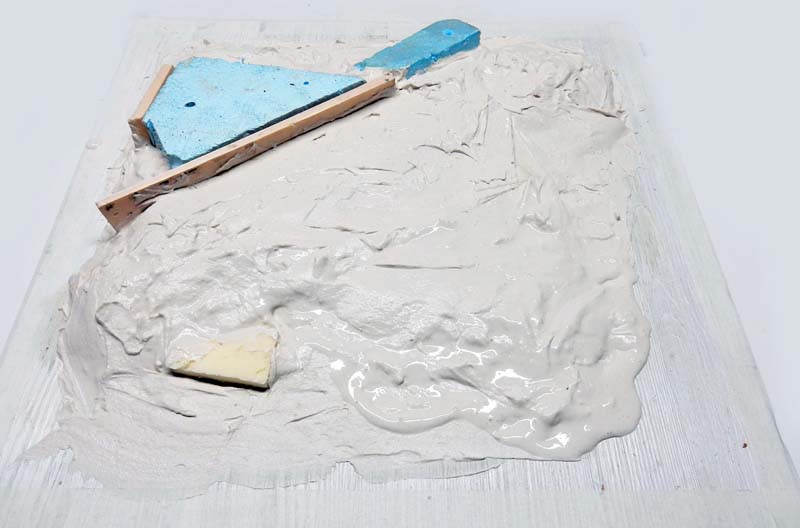
Tile adhesive—which dries more slowly than plaster—will allow you to level out the unevenness in the floor and install the fixtures...
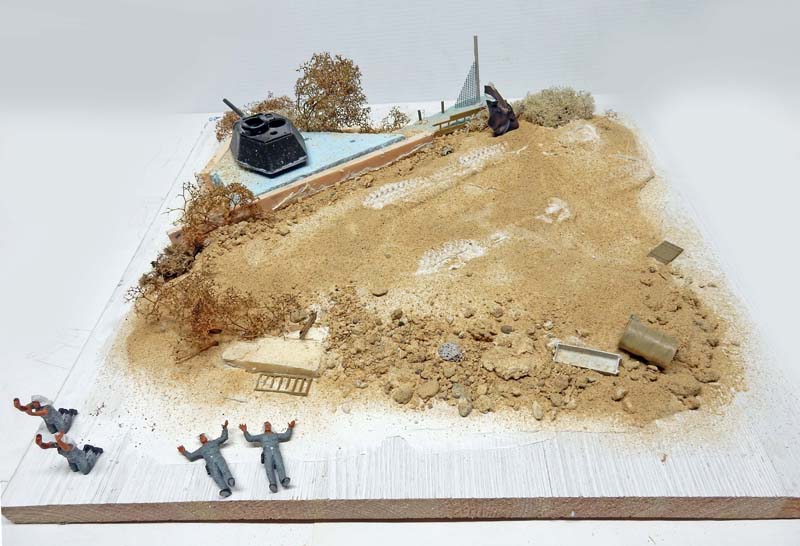
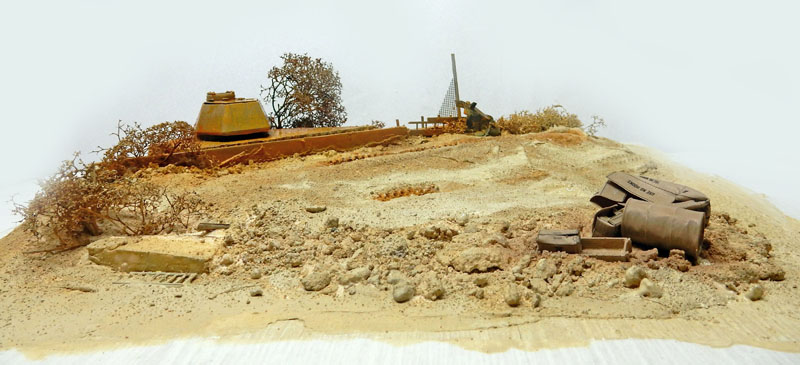
Place the gravel, shrubs, and accessories before the entire arrangement dries...
Another view...
The accessories are given a first coat of brown-beige...
We park the vehicle in its spot to get an idea of the adjustments that need to be made...
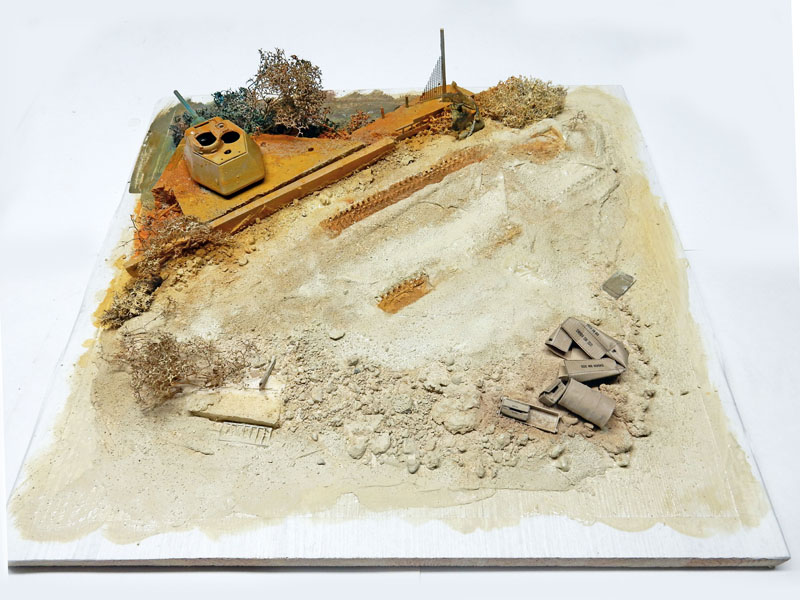
Then we paint the entire set using acrylic paint tubes...
...By making the colors more vivid as you move away from the foreground...
A view of the shaded area in the distance (the viewing angle is from the opposite side) that shows how the colors work...
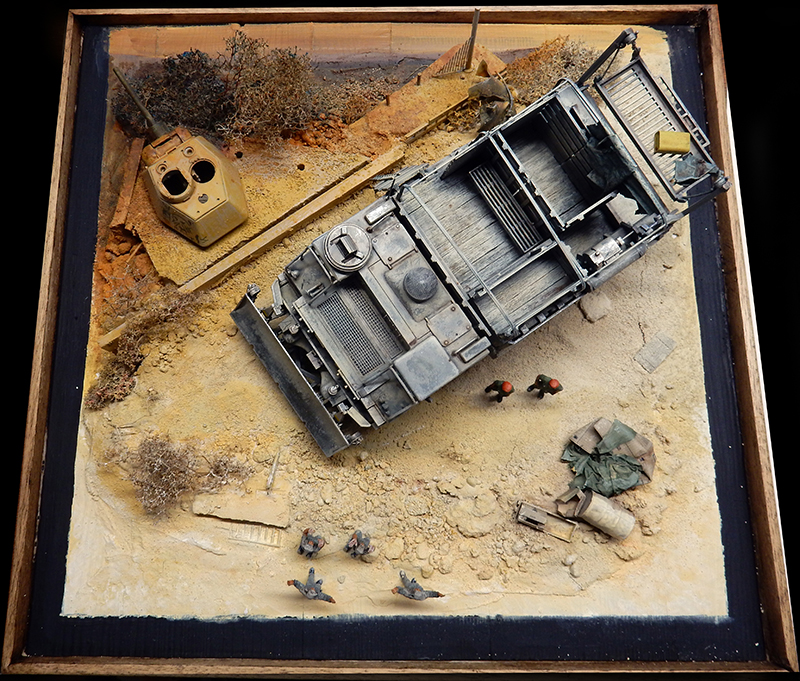
Secure the model to the base using fast-setting wood glue. Apply markings and sand the tracks. Dust the tank with paint. Glue on the figures...
Secure the model to the base using fast-setting wood glue. Apply markings and sand the tracks. Dust the tank with weathering powder. Glue the miniatures in place...
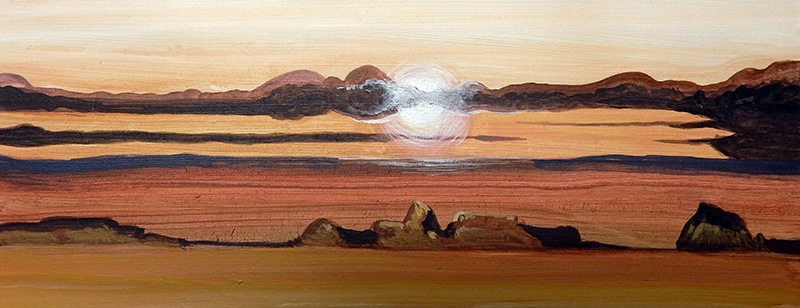
Painting the background with Liquitex acrylic paint...