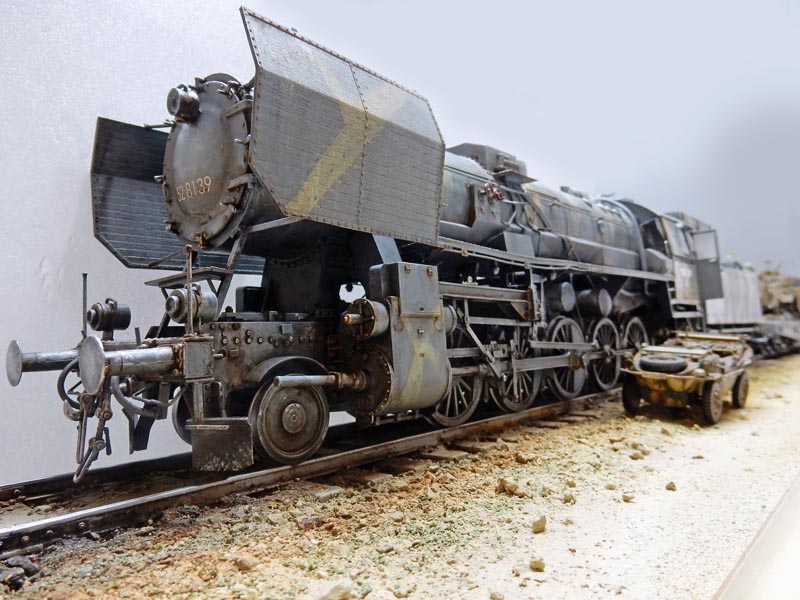
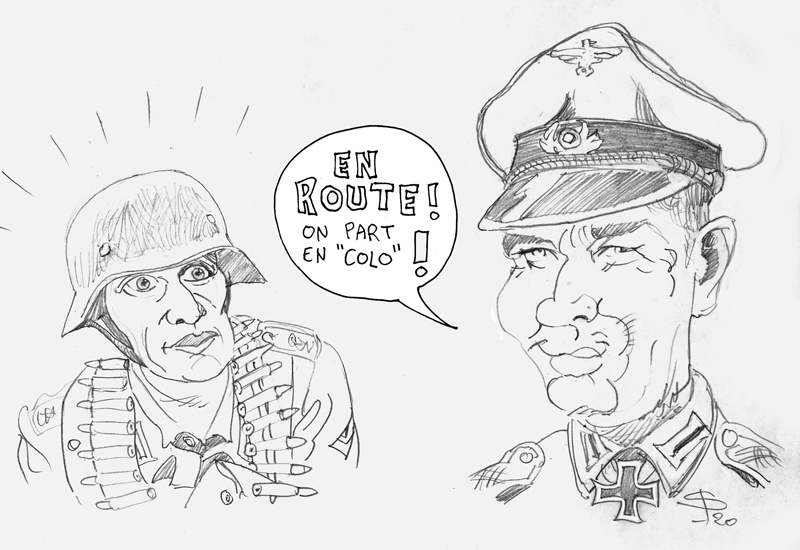
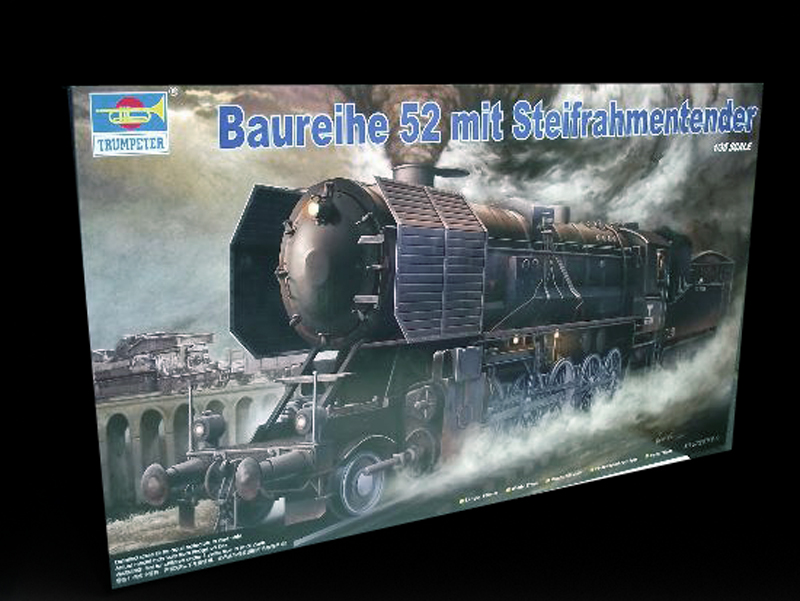
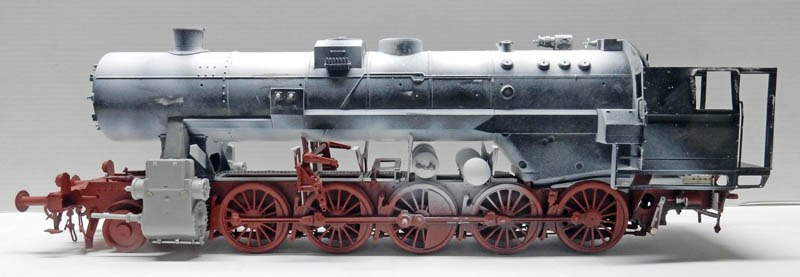
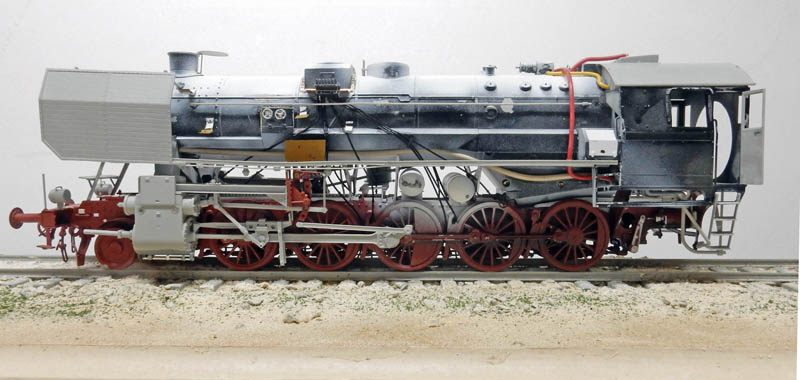
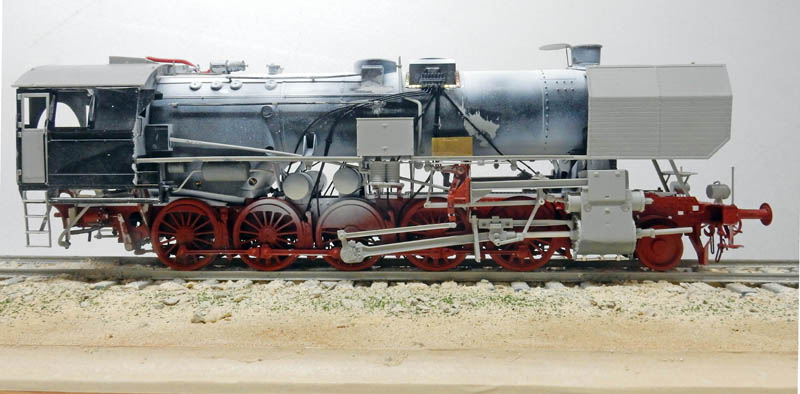
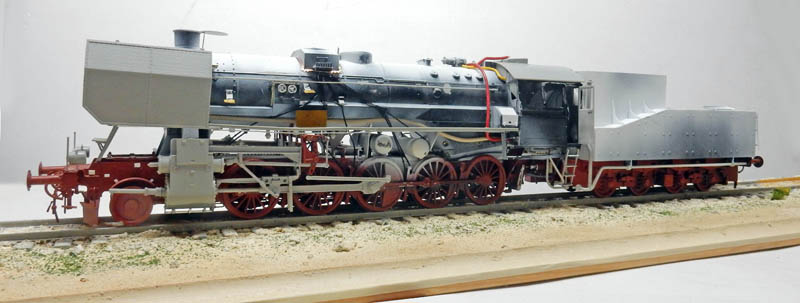
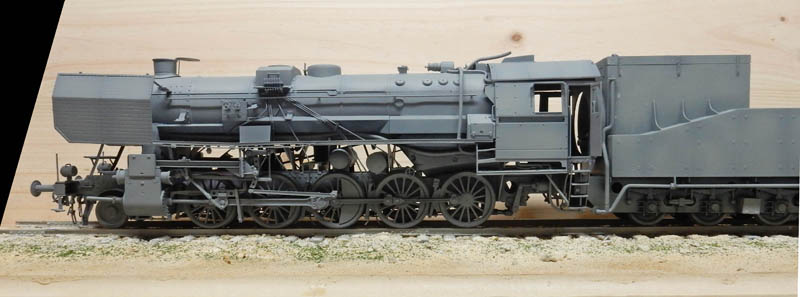
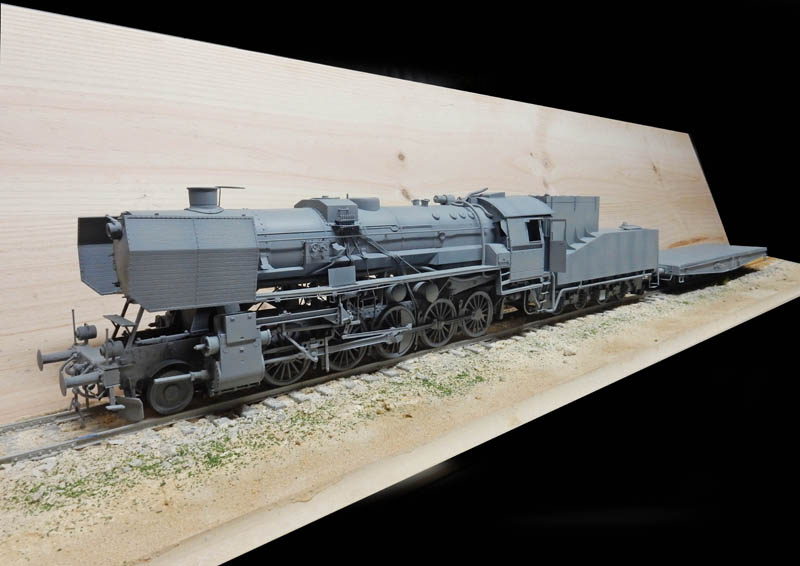
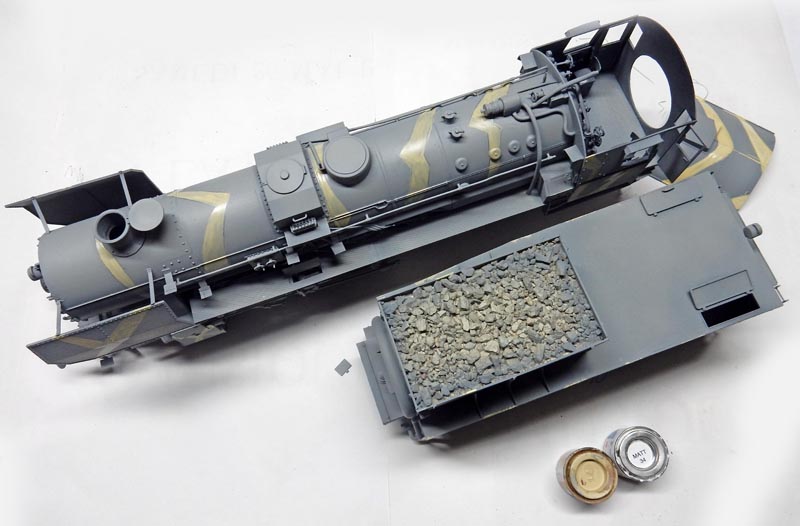
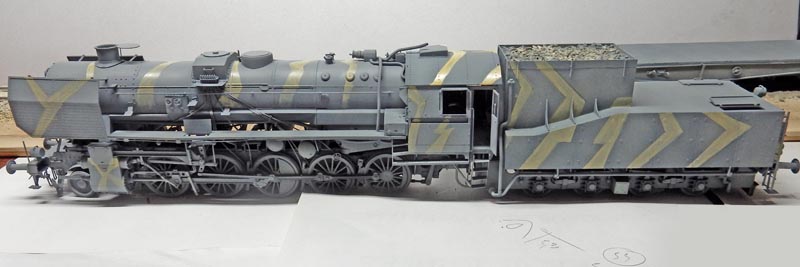
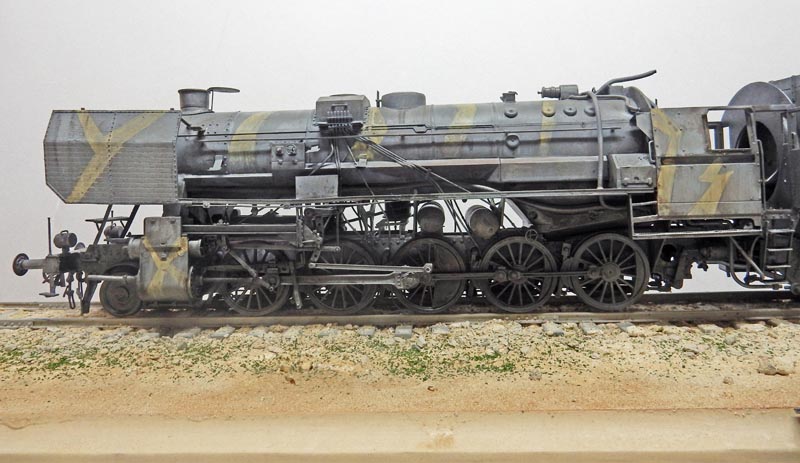
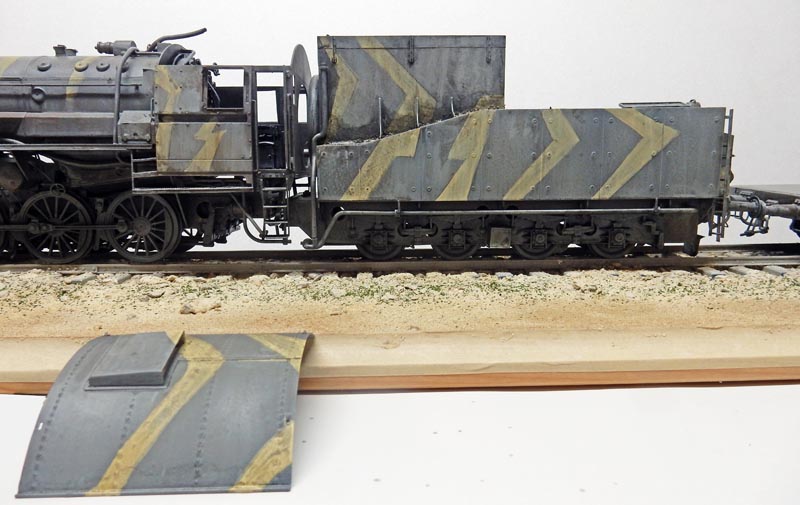
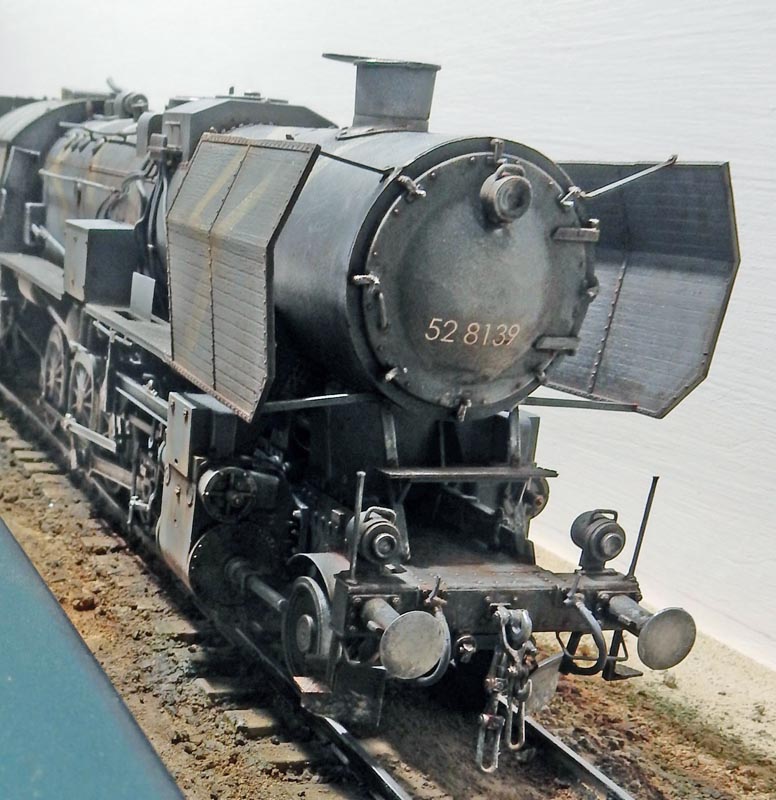
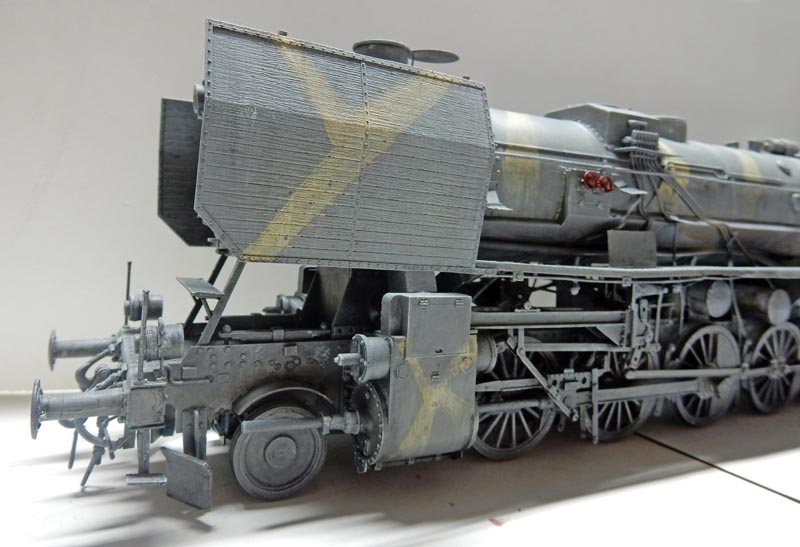
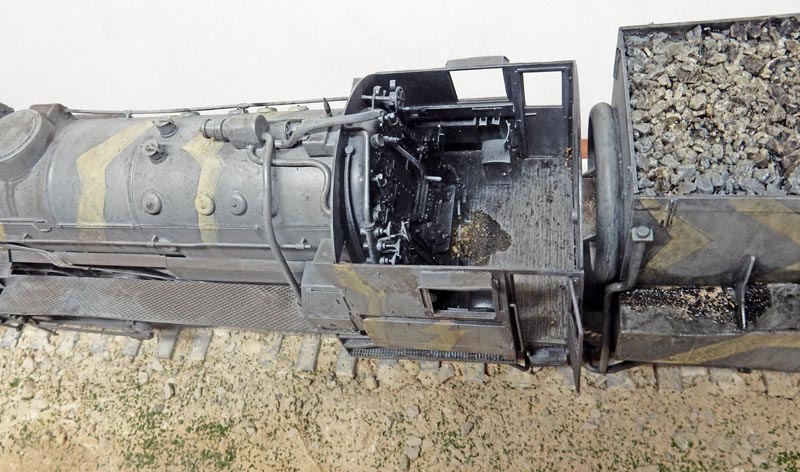
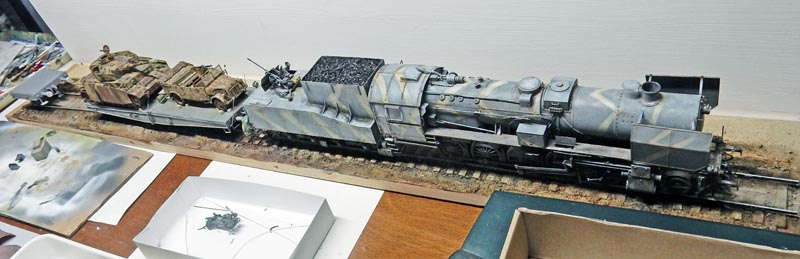
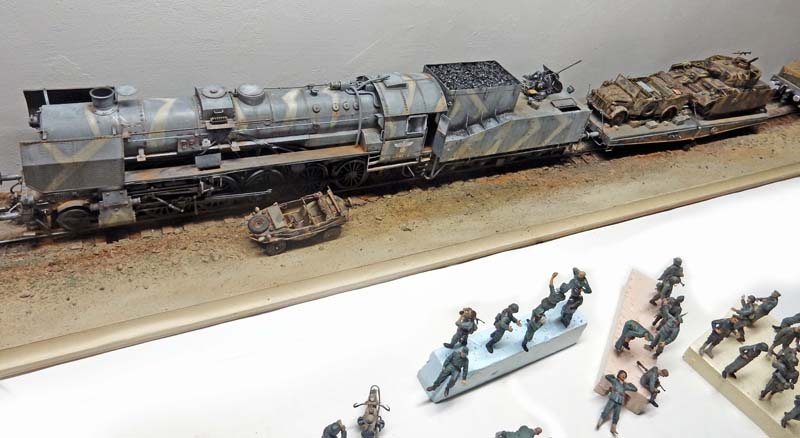
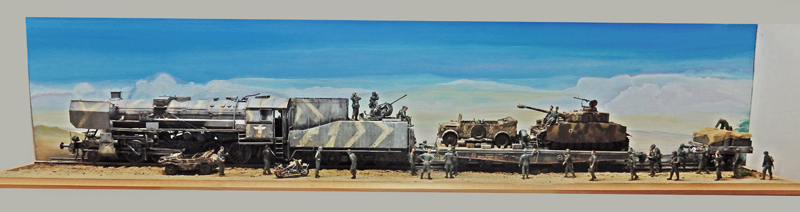
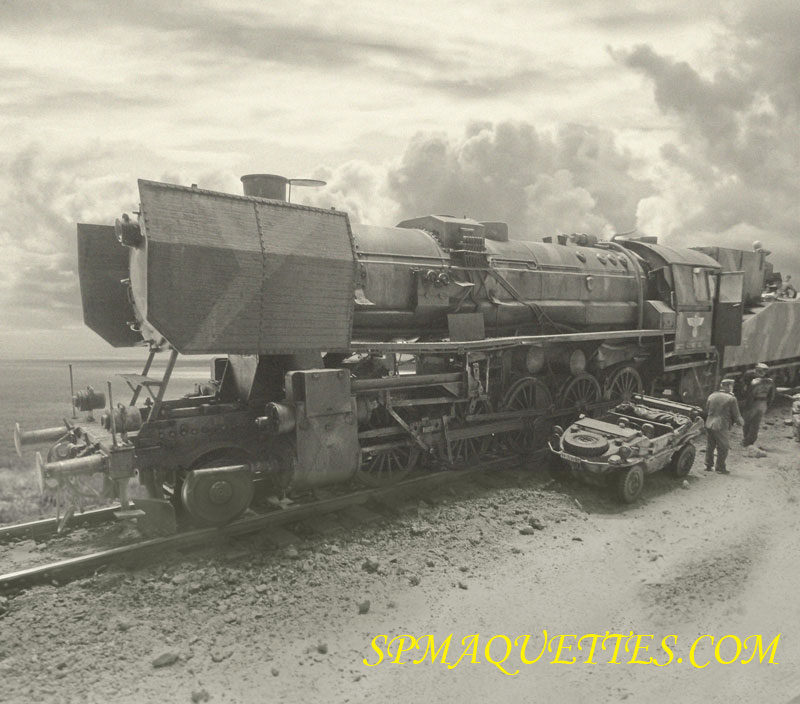
"Off we go! We're off to summer camp!"The "BR 52"—Germany's most famous locomotive—certainly deserved a 1/35-scale model kit. Trumpeter has filled that gap...
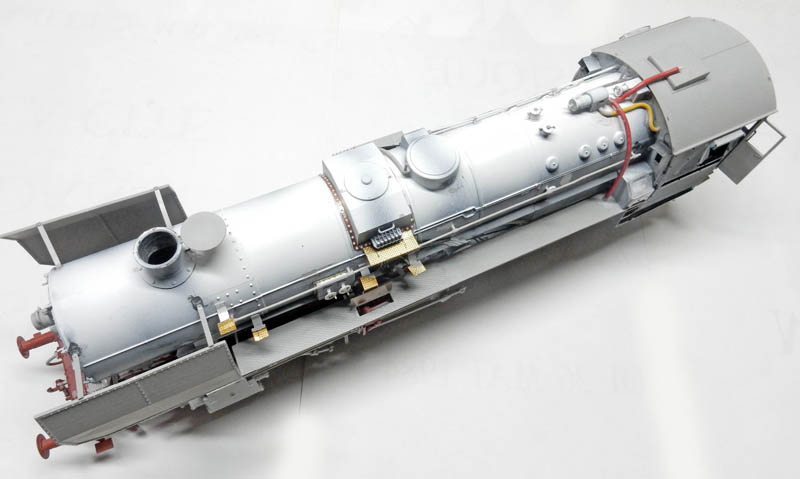
Despite having hundreds of parts, some details are missing and flaws remain. The first step is to carefully glue and fill the two-part pieces so that the seams are invisible...
Photo-etched kits and resin parts are available, but they significantly increase the cost per part. Here, we used photo-etched parts from a surplus box that we reworked to fit. Many of them are invisible once glued in place, so we limited ourselves to adding only the improvements that are clearly visible. The piping has been redone using plastic rod...
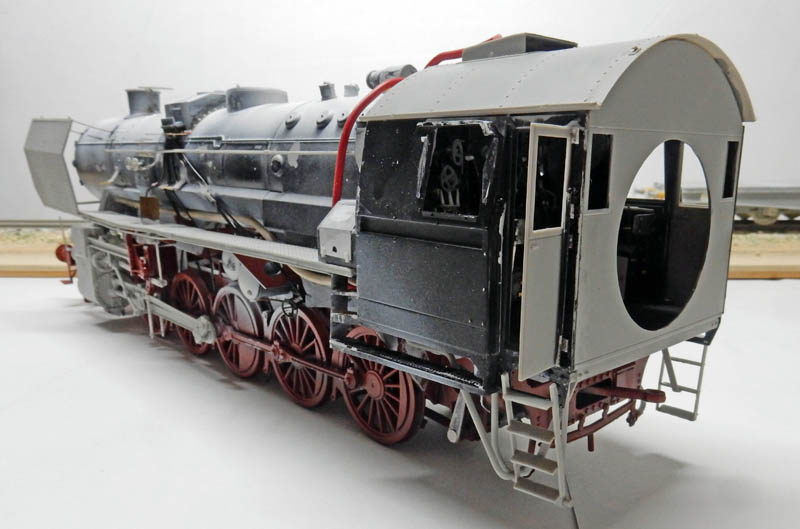
A number of missing nuts and some bars are glued to the wheel carriage, as well as in many other places. The window frames and handles are made of plastic. The running boards are fitted with non-slip plates.
Needless to say, photographic documentation is essential at this stage...
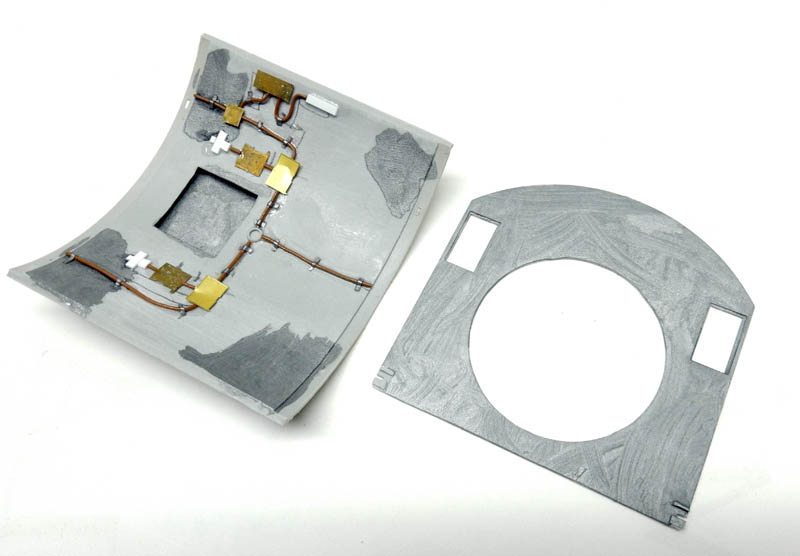
The interior of the cab roof is detailed based on reference materials. The mold lines are filled and sanded...
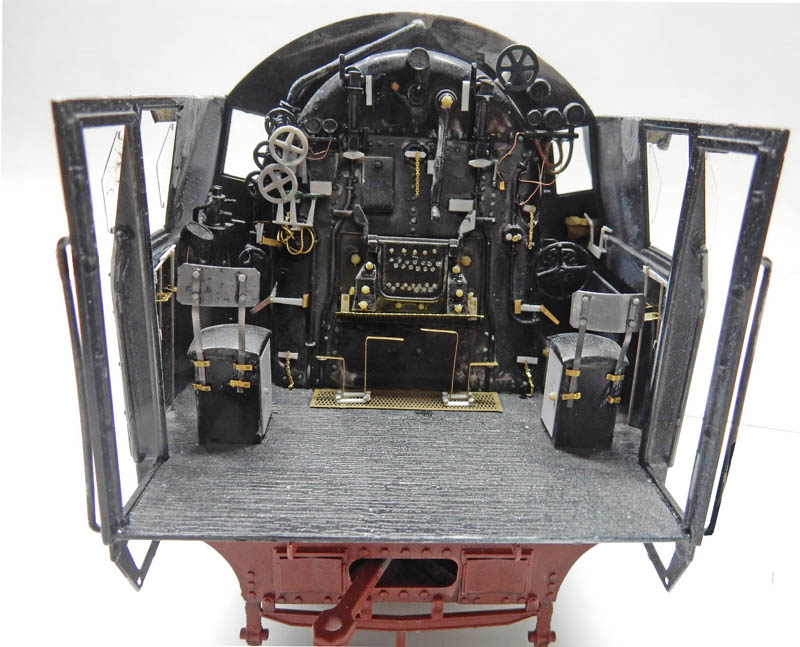
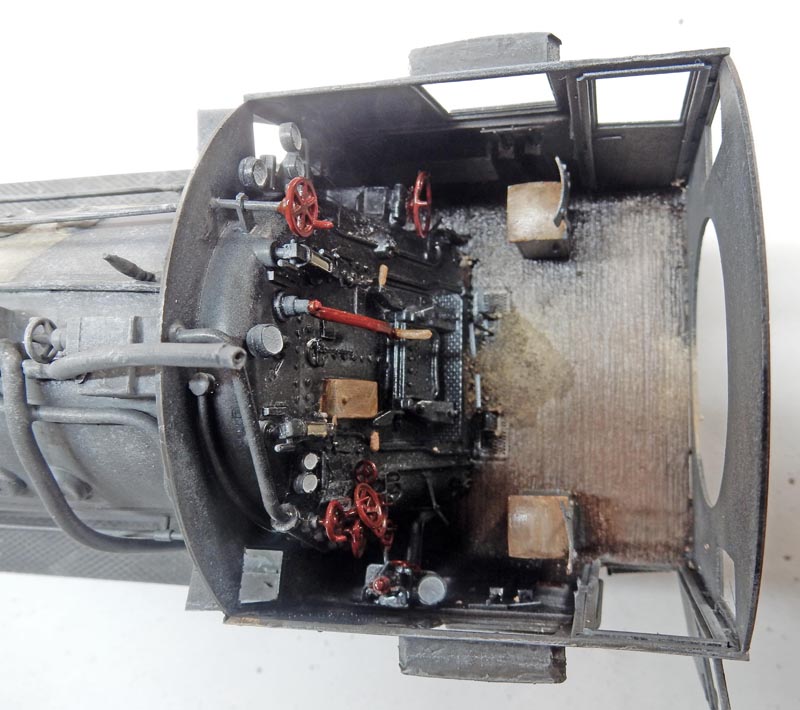
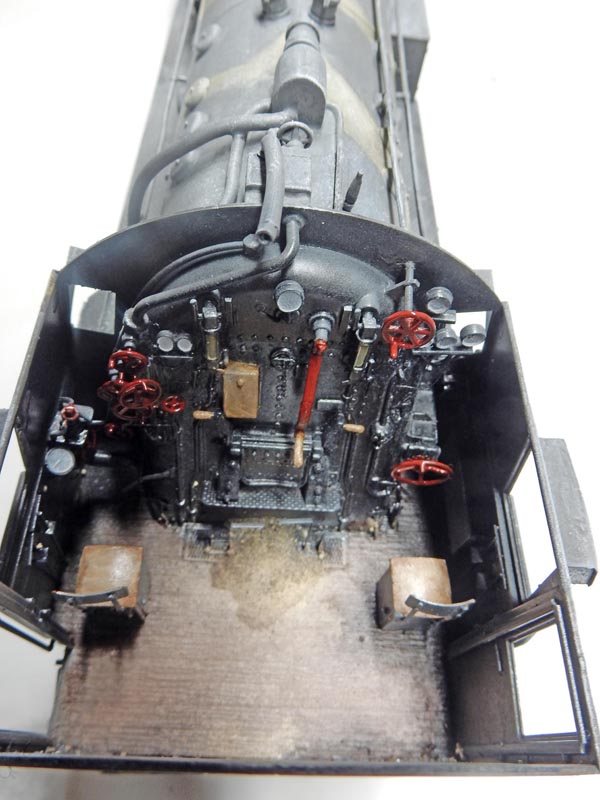
The cockpit has been greatly improved using parts from the surplus bin. The seats have been reupholstered, controls have been added, and cables and various other parts have been installed—all based on the documentation...
The editing is almost finished...
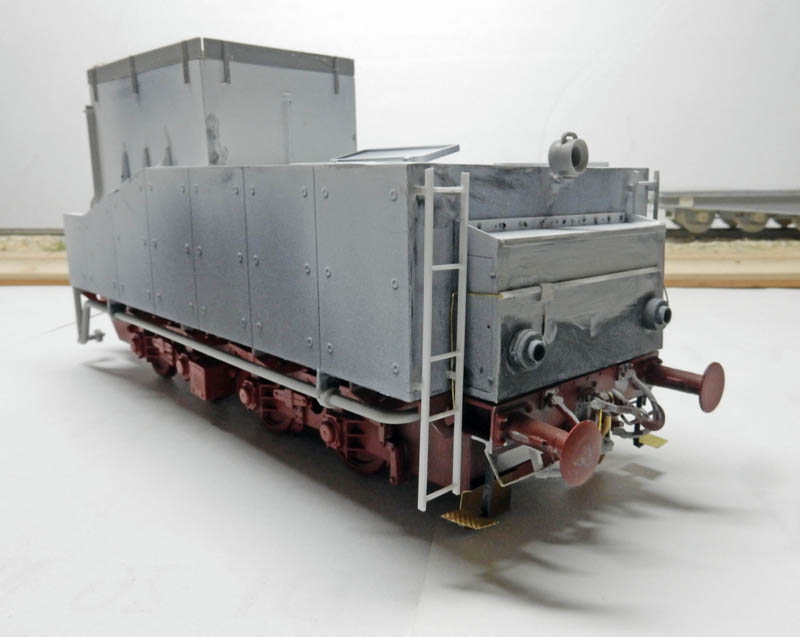
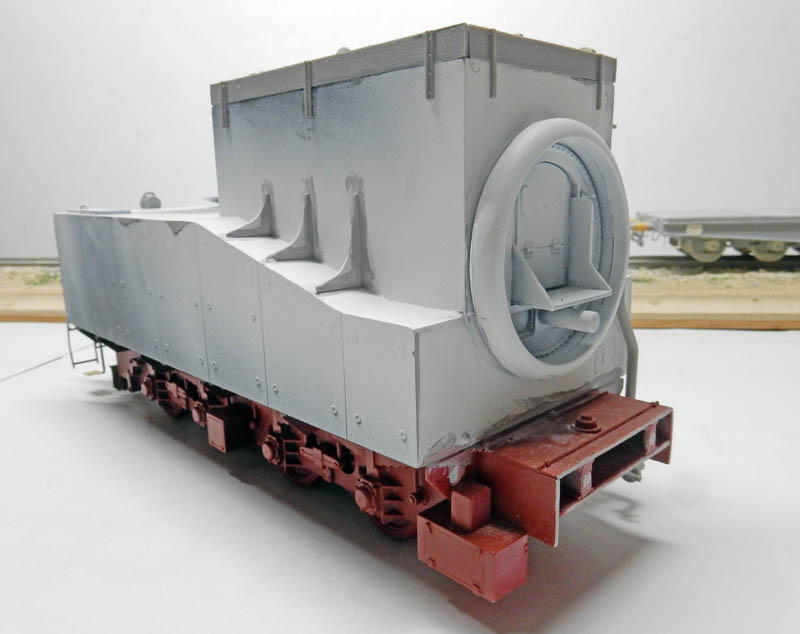
The tender has also been significantly improved. The ladders and bolted plate have been replaced...
It is important to thoroughly seal all joints and openings with liquid sealant. The two-part door seal must be perfectly sealed...
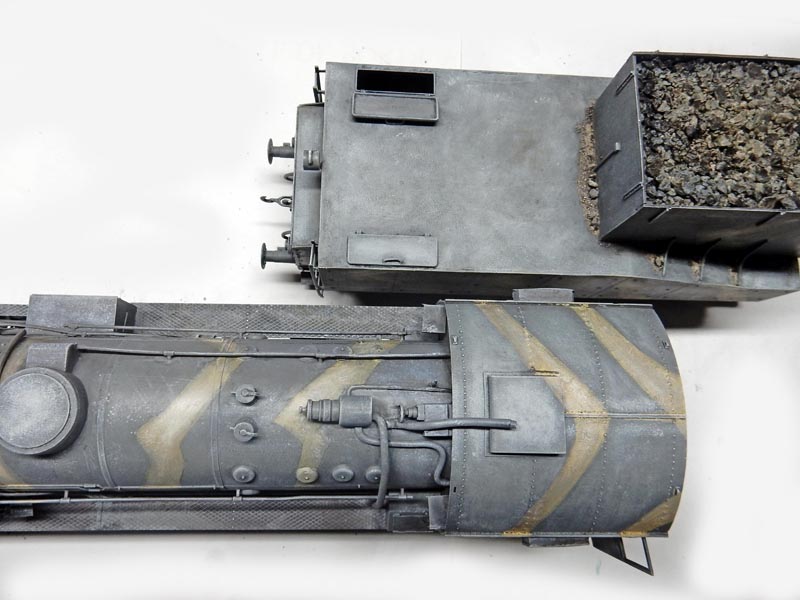
The charcoal is made from crushed cat litter—the larger pieces, that is—and held together with wood glue...
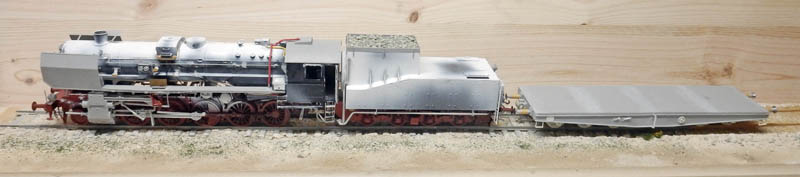
The locomotive and its tender are in position...
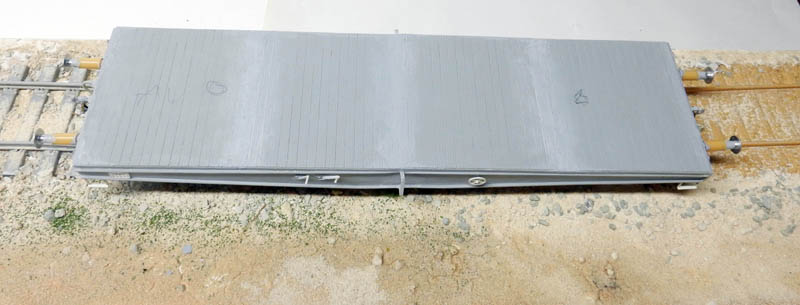
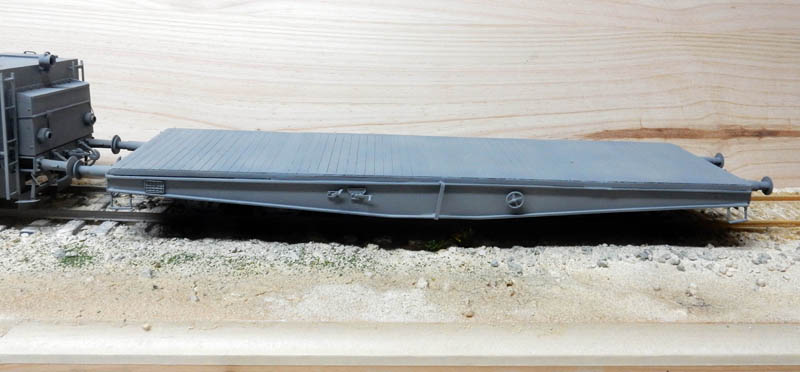
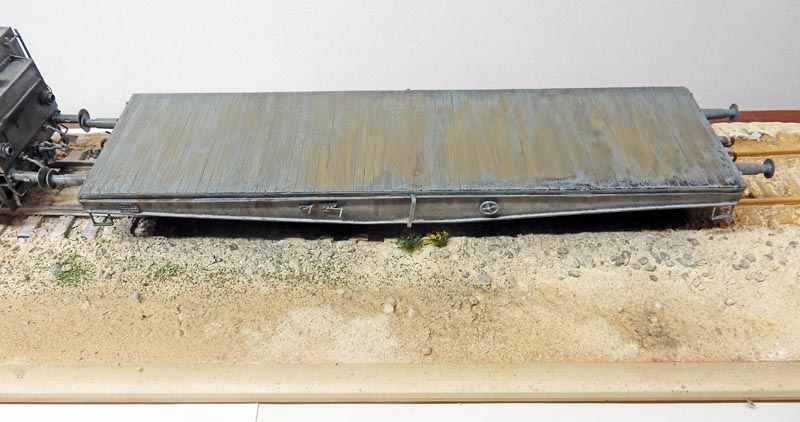
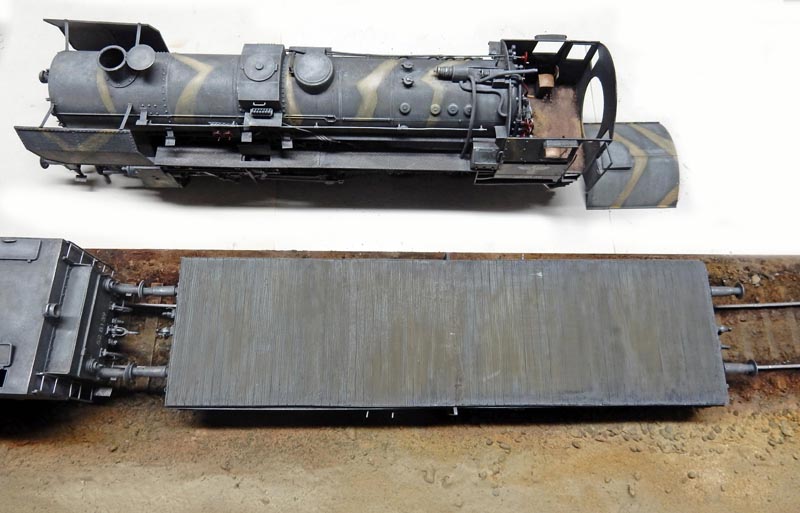
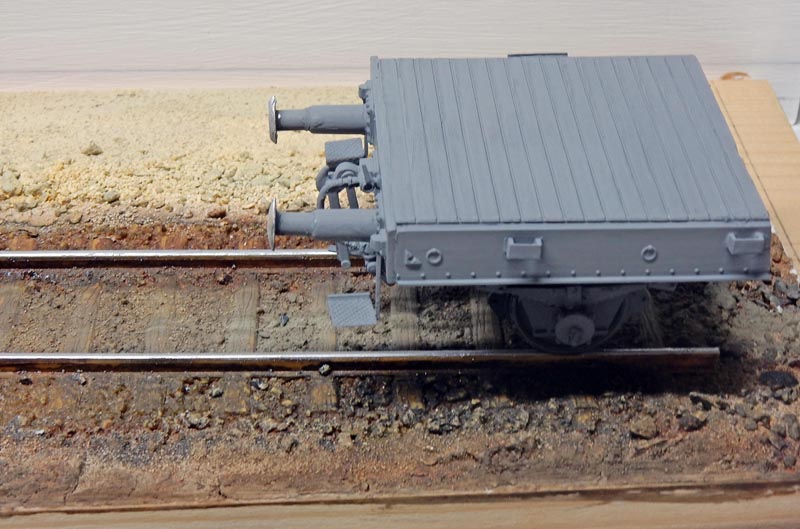
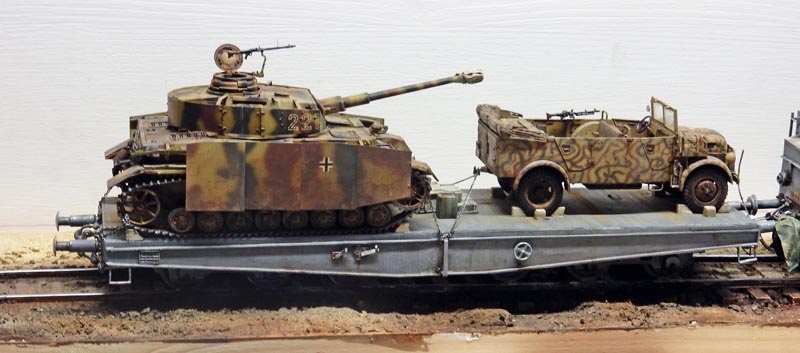
Two flat cars made of resin and plastic from the IRONSIDE brand will complete the diorama...
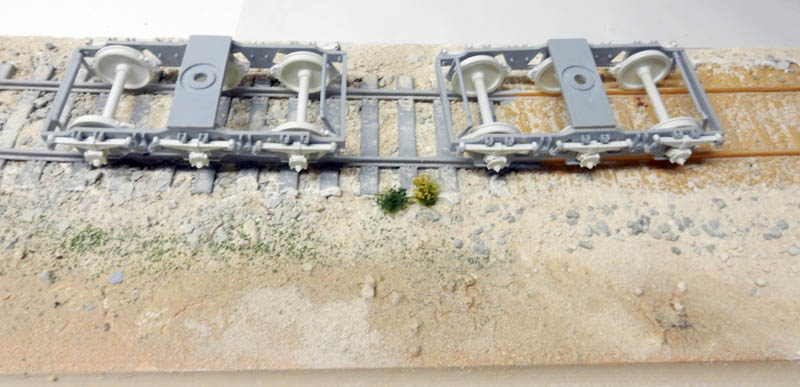
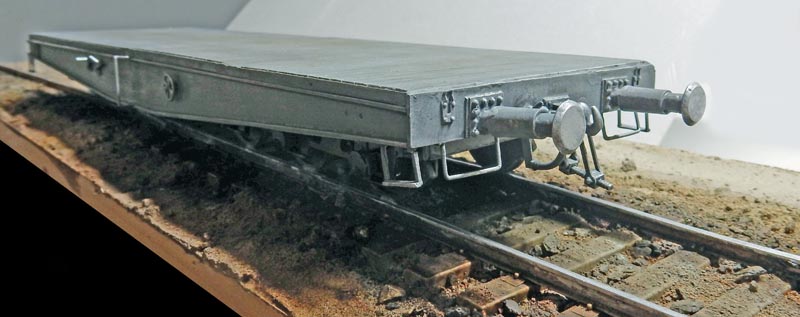
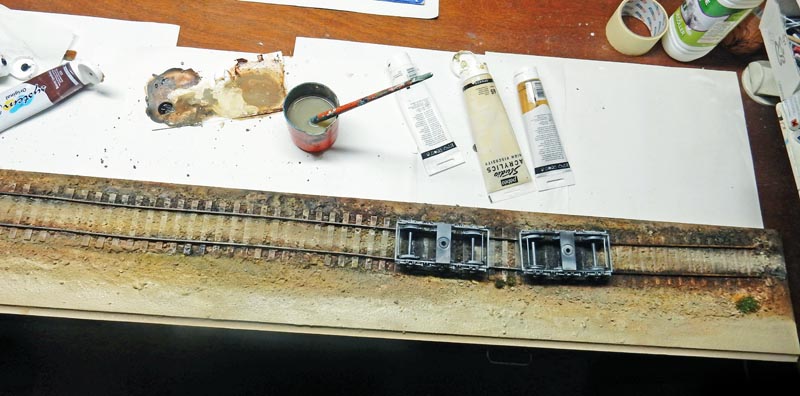
The Trumpeter ballast and rails are matched with the Ironside resin ballast—not an easy task... The flatcar's trucks are assembled and glued directly into their slots to make final positioning easier...
An overview of the base with the two rails and ballasts attached...
The flatcar is in place...
Painting
The base coat: The three parts are given an acrylic base coat of HOBBY COLOR black using an airbrush...
...then as a halo using TAMIYA XF63 German Gray and XF53 Vertral Gray...
The camouflage is applied with a brush using TAMIYA 69 yellow mixed with white, followed by dry-brushing with 71...
The camouflage is finished...
A solution of 98-84 HUMBROL black, diluted to 70%, was applied to the entire piece. The product is wiped off gradually with soft paper...
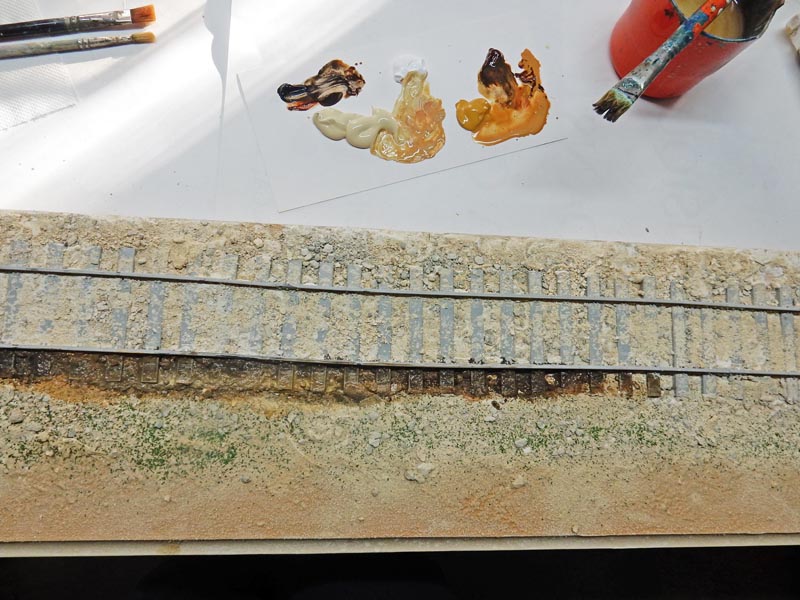
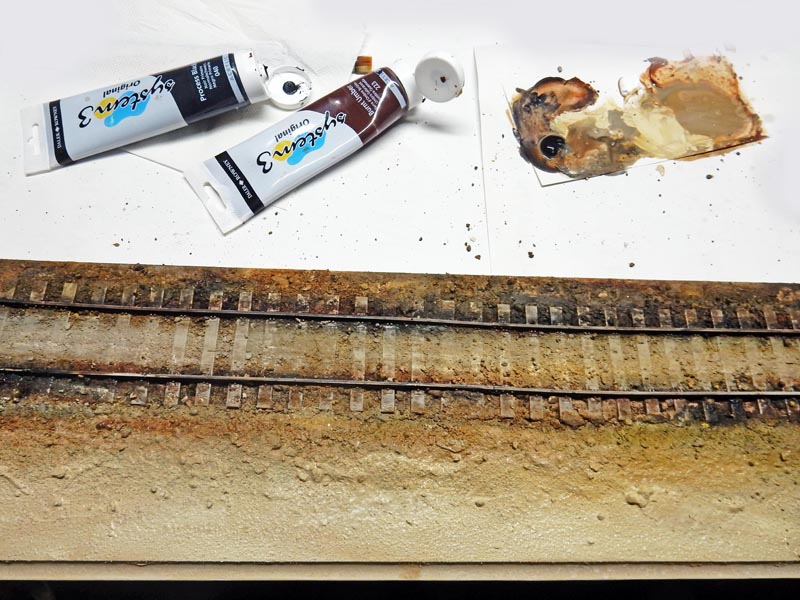
Dirt is being applied to the flatcar's deck...
We finish with a dry-brush technique using HOBBY COLOR H308 gray, H334 barbey gray, and TAMIYA XF66 light gray...
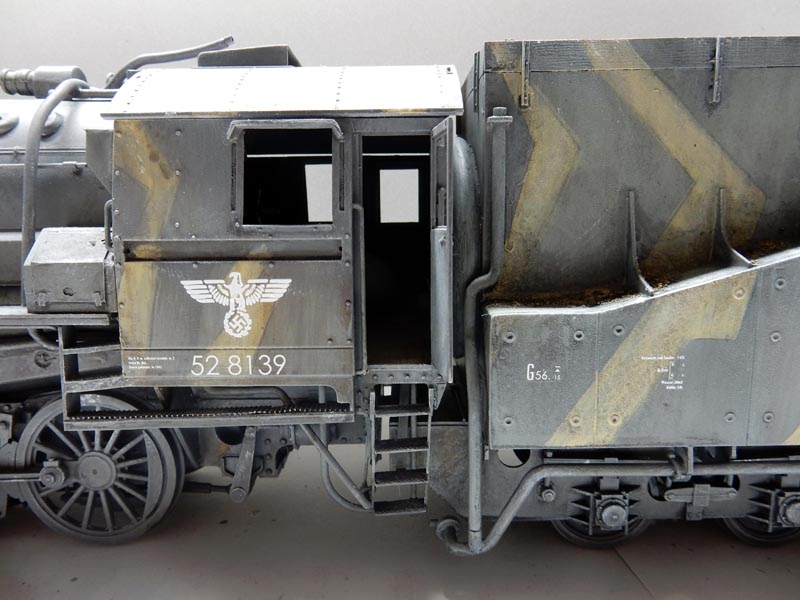
The decals and transfers have been applied and weathered. As a reminder, to make the decal film invisible, apply a coat of gloss varnish to the surface, place the decal on it after it has dried, and then, once everything is dry, apply another coat of matte varnish...
More views...
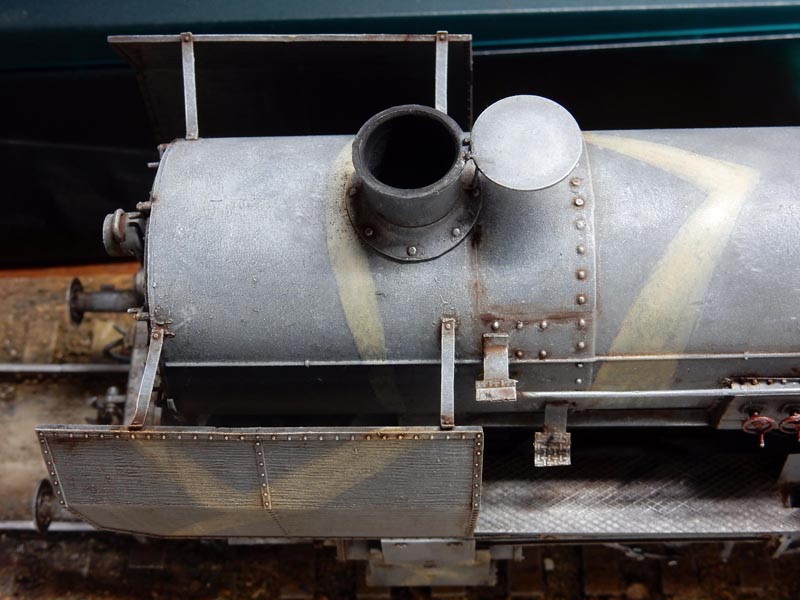
Details... Some black pastel powder got inside the chimney flue...
Painting the driver's cab...
Details...
The second flatcar
We'll use only one-third of IRONSIDE's second flat car to ensure the continuity of the train. It is therefore cut in half, and only one axle is used. The assembly is glued to the track...
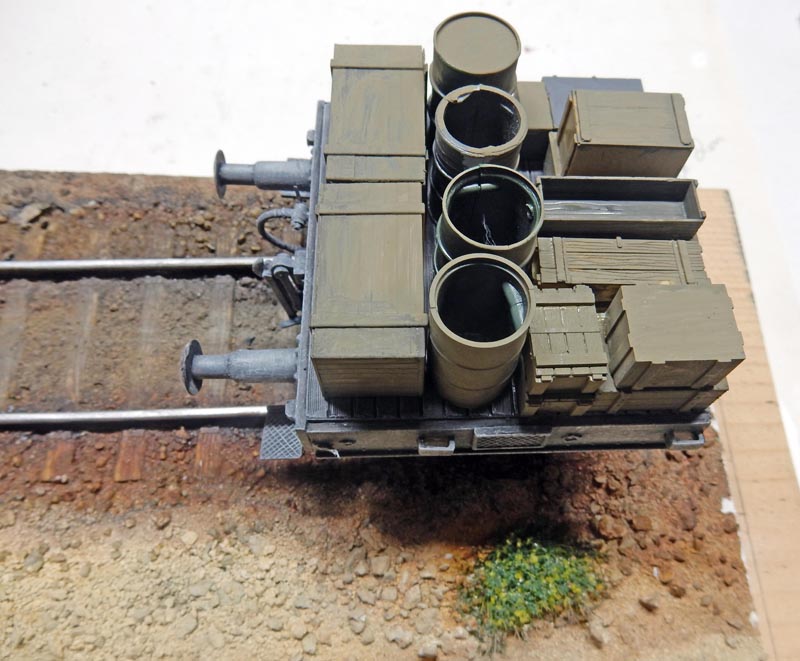
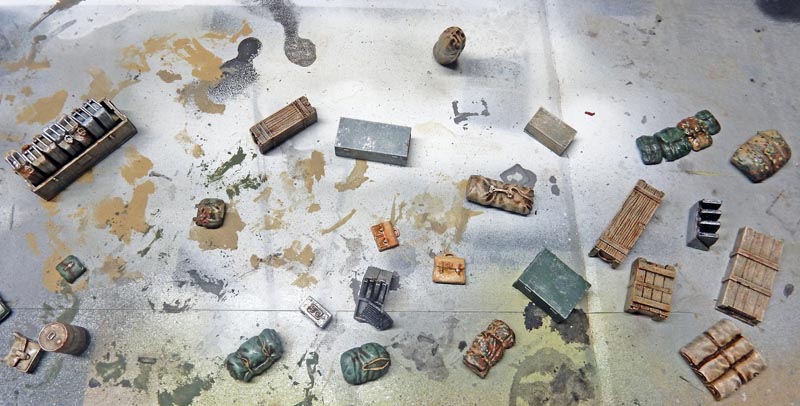
Accessories are arranged and glued onto the railcar...
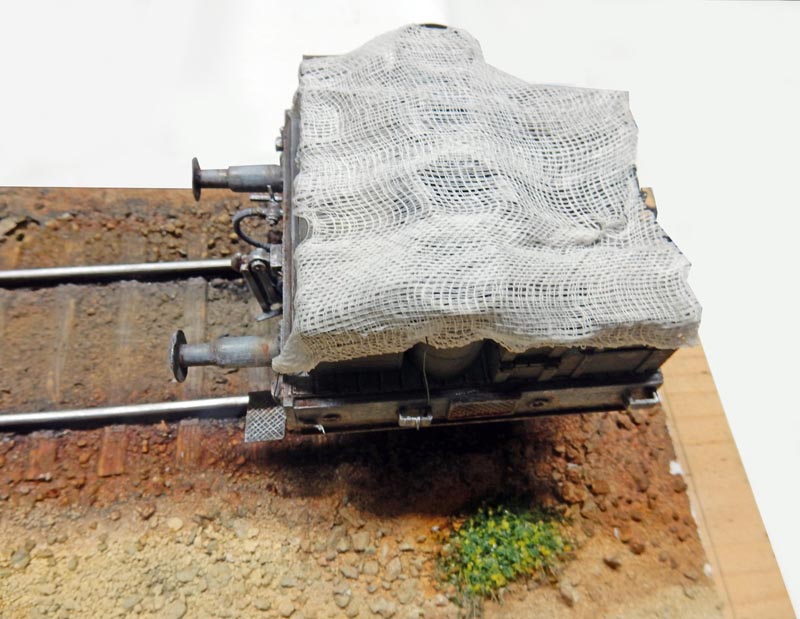
A piece of absorbent gauze is laid out and glued to the entire surface with wood glue...
The vehicles in the convoy
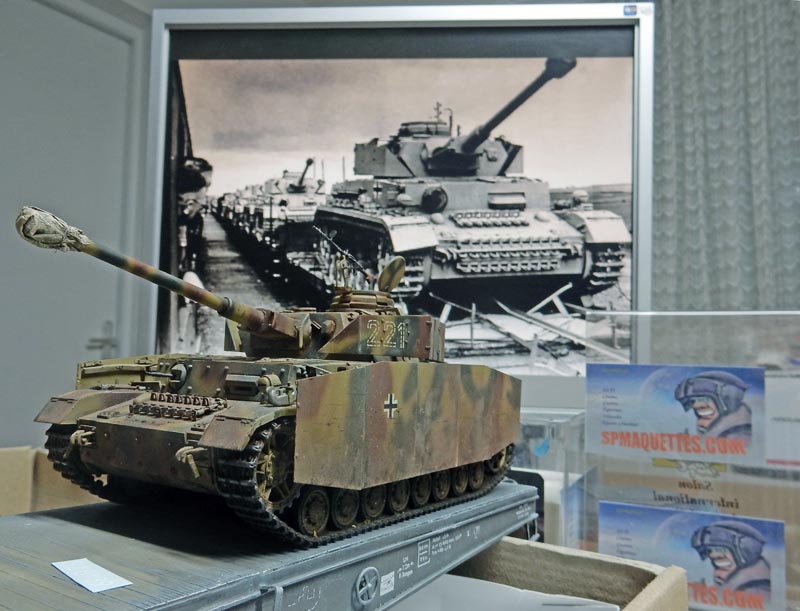
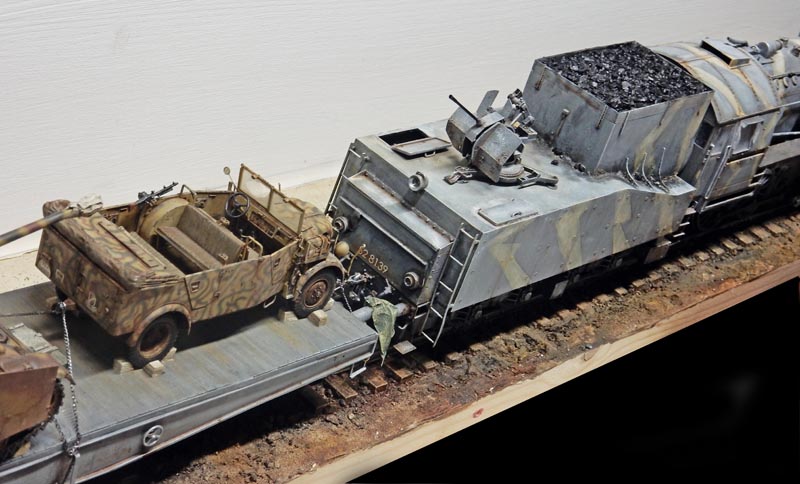
Inspired by vintage photos, armored vehicles will be added to the flatcars...
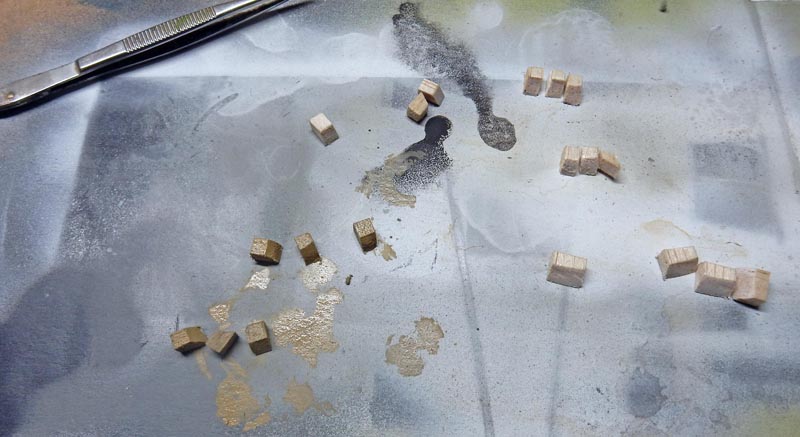
Balsa wood blocks are cut to fit the tracks and wheels...
Chains are also added to hold everything together...
Another view...
Figures & Accessories
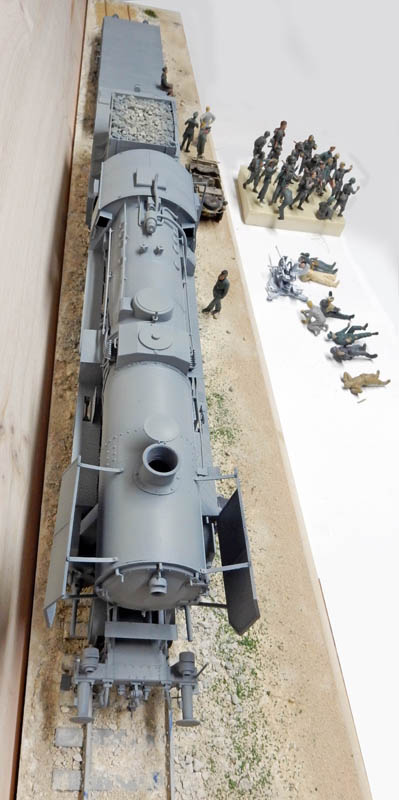
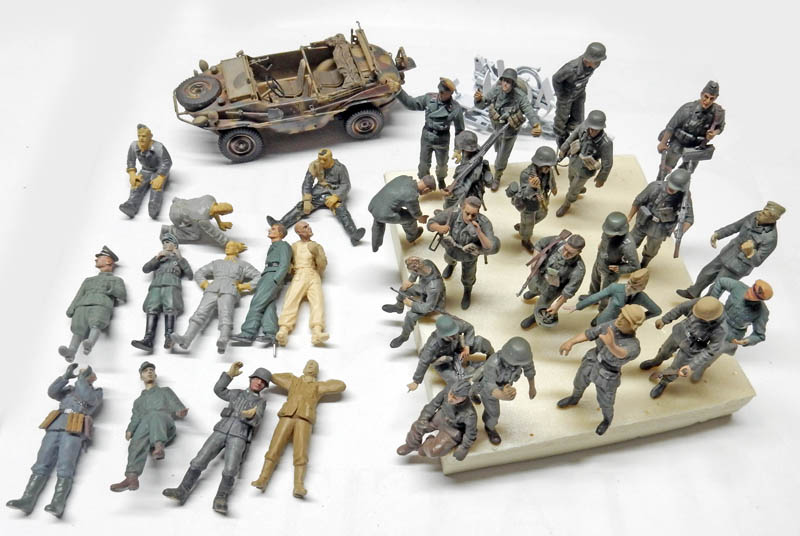
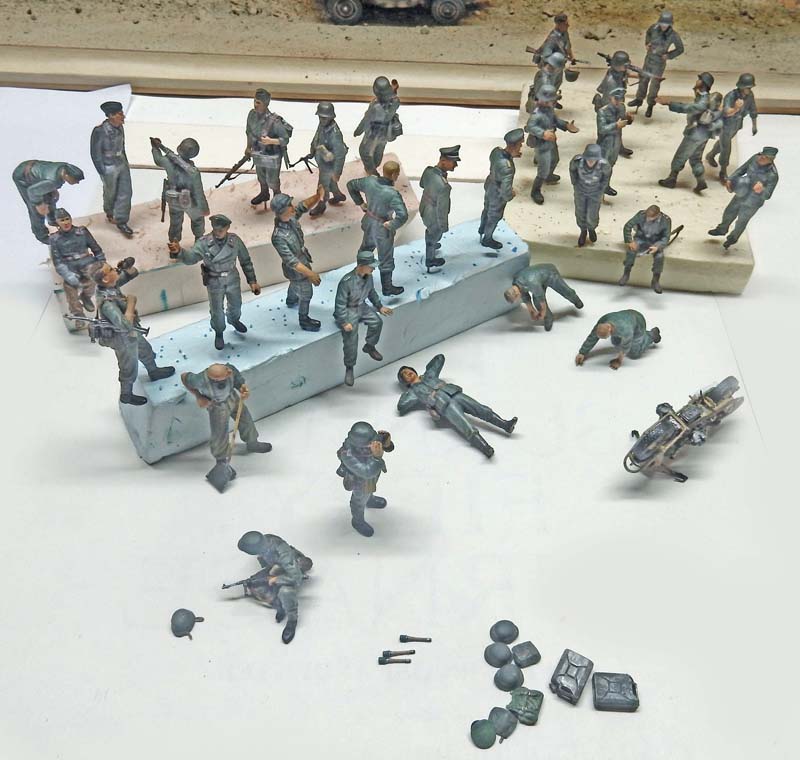
32 figurines from various brands will add to the scene...
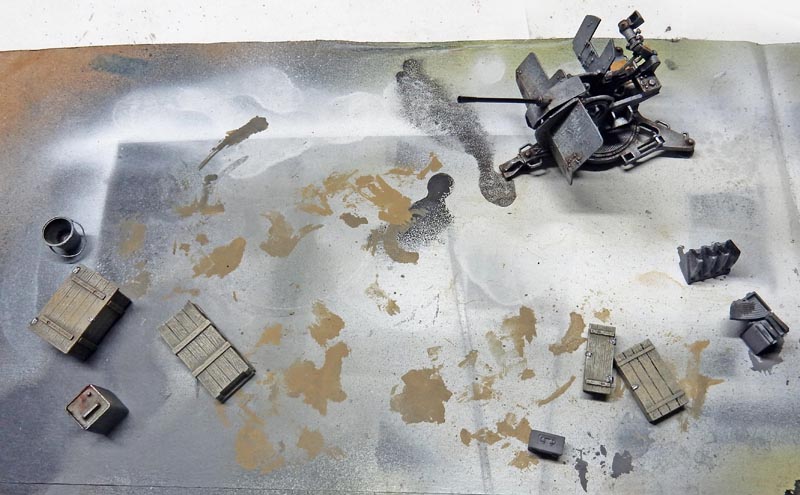
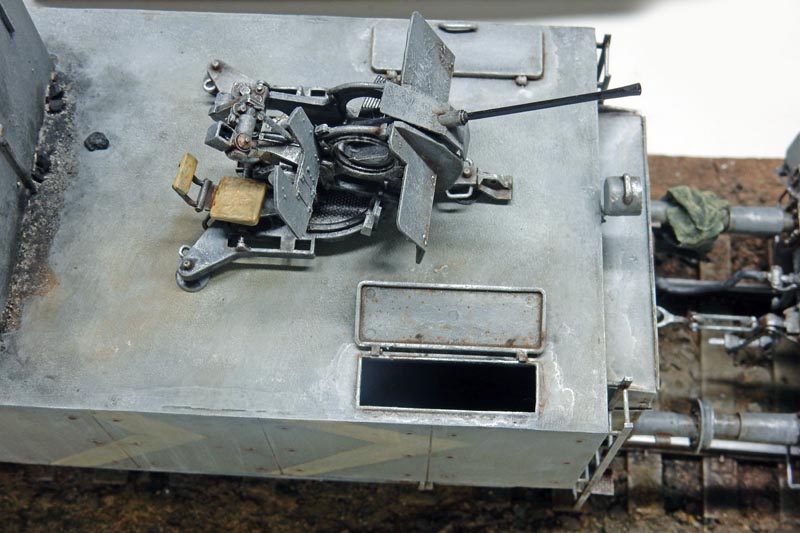
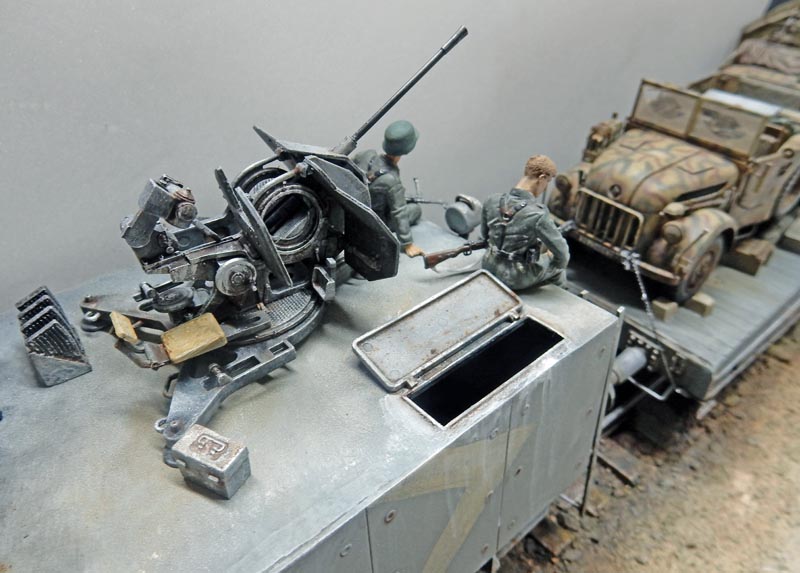
A Flak 38 gun will be installed on the tender for air defense...
Note the coal residue around the tender's tank and the rings around the hatches. Pastel powder has been deposited on the floor of the tender...
Another view...
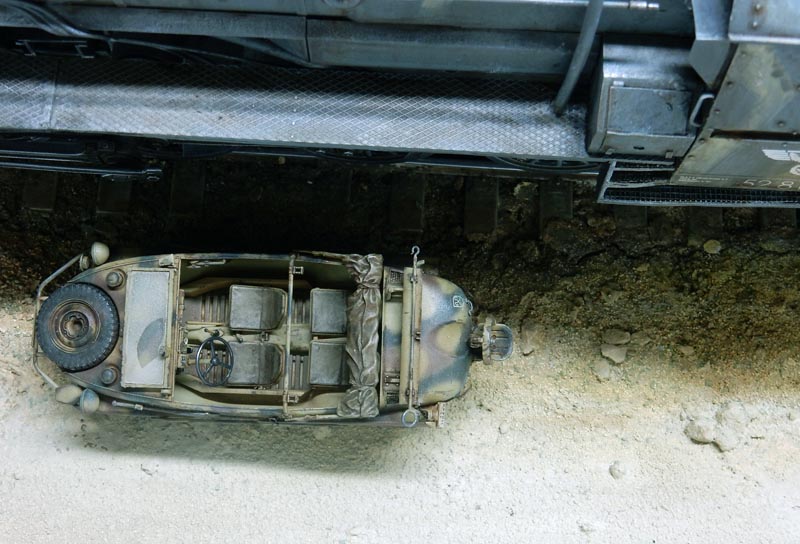
The Schwimmwagen parked next to the locomotive...
Miscellaneous accessories...
The Setting
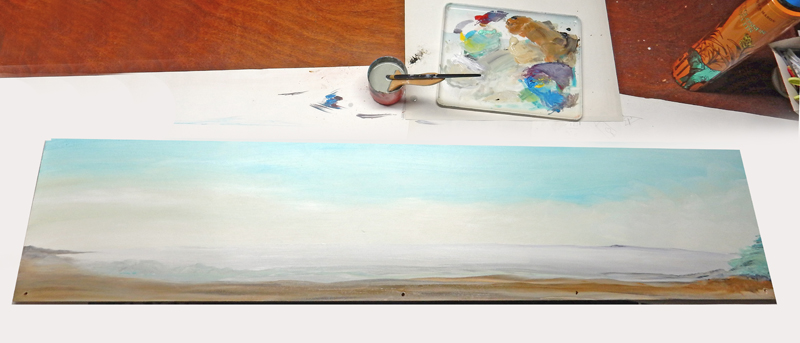
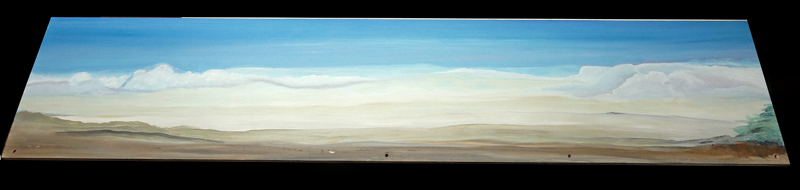
Painting Process - Acrylic Base...
A background painted with an acrylic brush is attached behind the train...