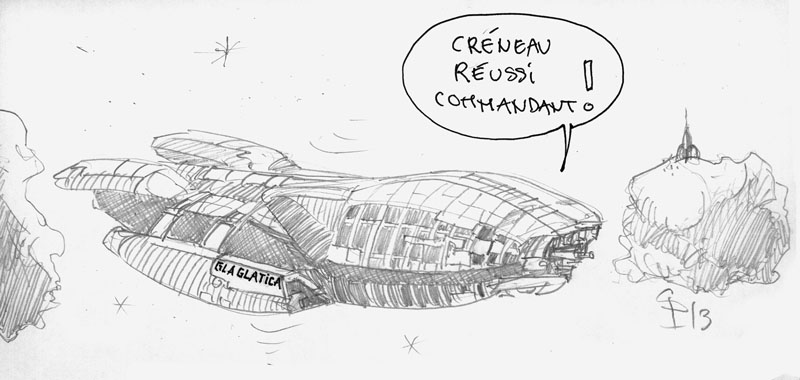
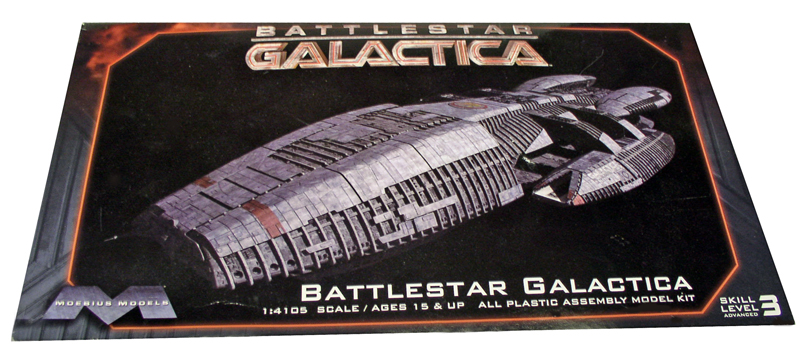
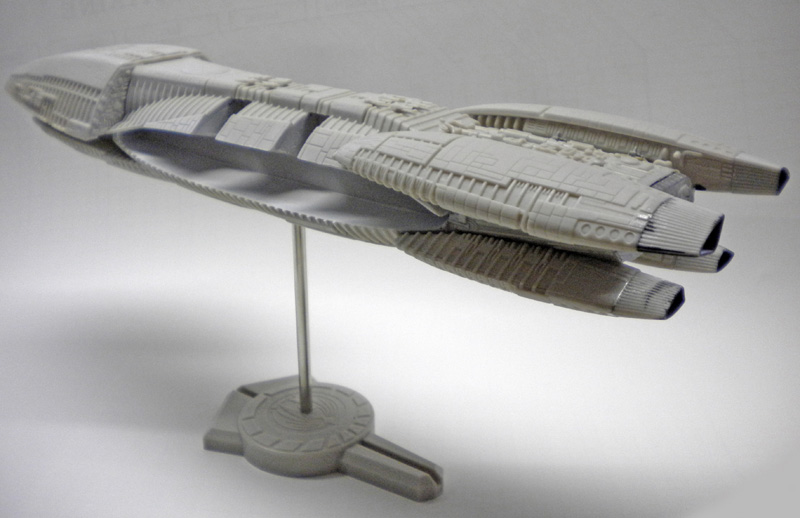
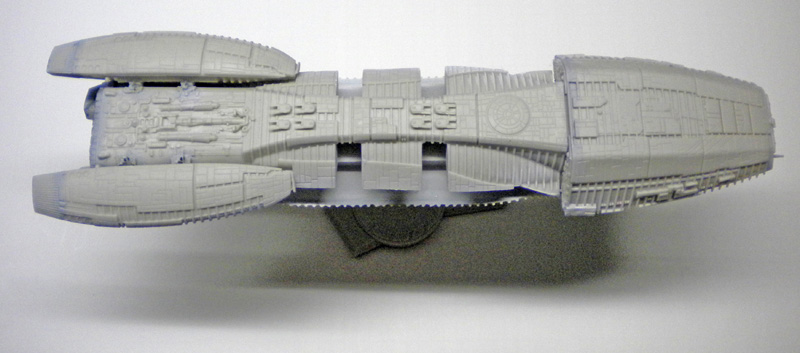
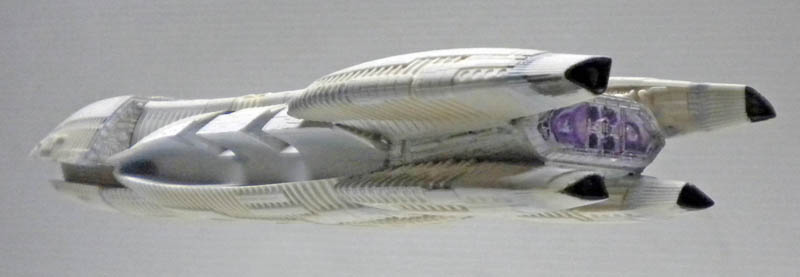
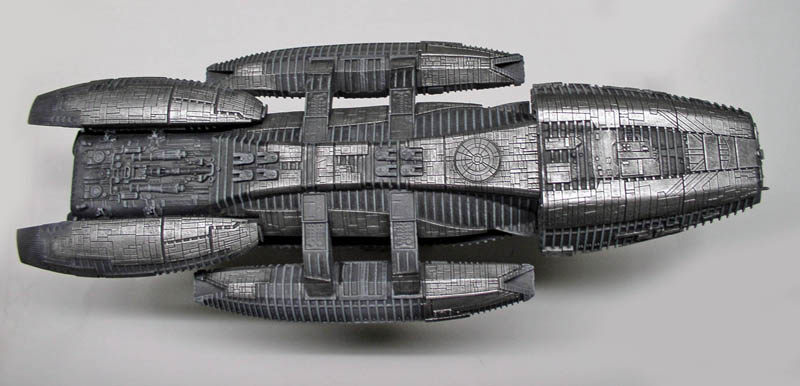
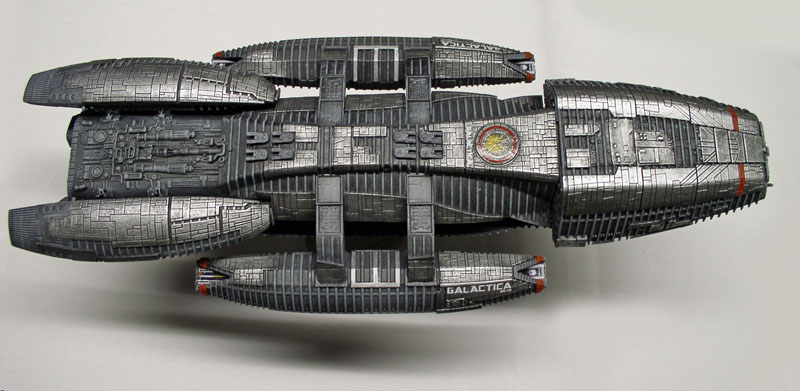
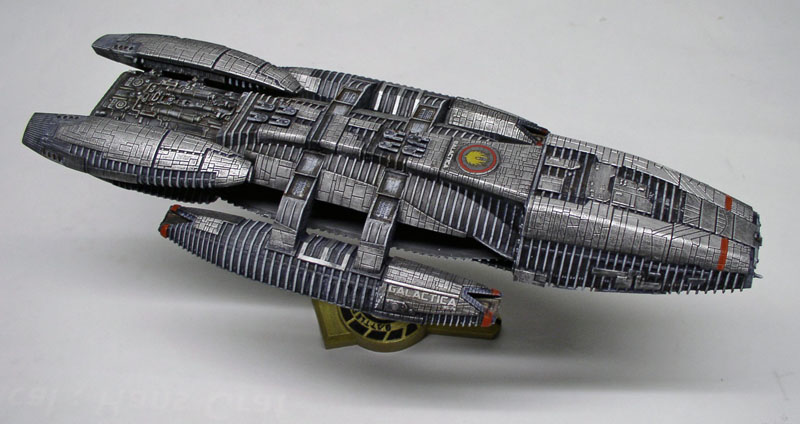
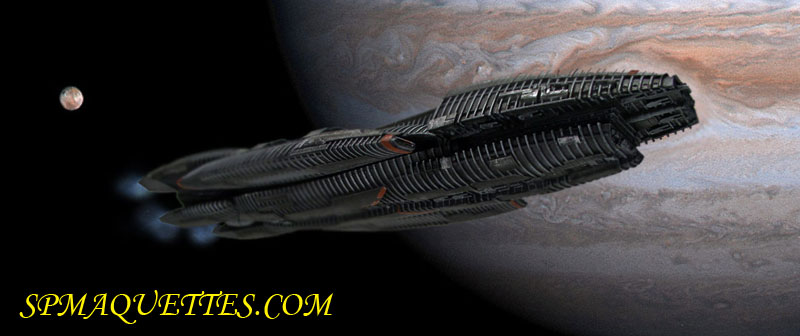
Battlestar Galactica needs no introduction; its science fiction series first aired in France in 1979 and was rebroadcast in 2005 for the new series. This is the 2005 version of the ship...
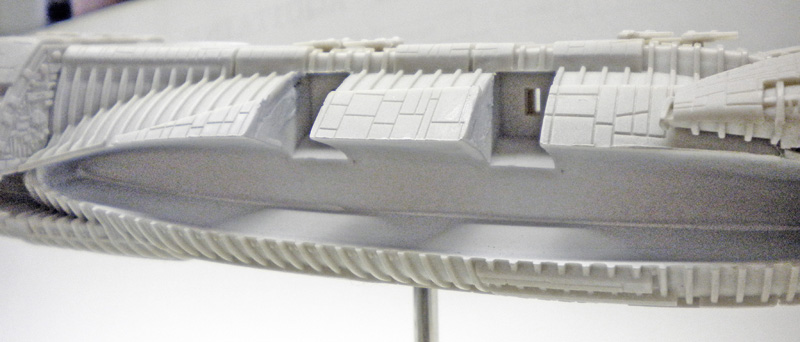
The Moebius model features excellent engraving and is easy to assemble...
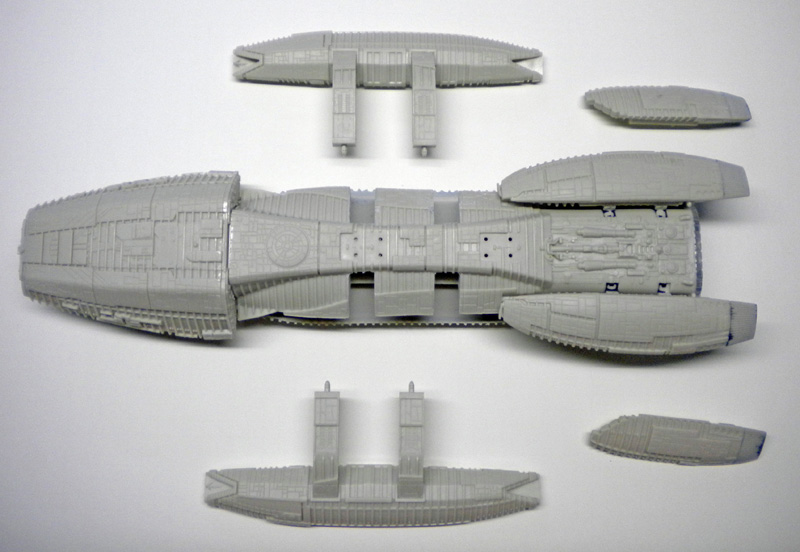
The Moebius model features excellent engraving and is easy to assemble... There aren't that many pieces here, but you have to make sure to glue them in the right order and remember to remove the seams from the two-part pieces after gluing...
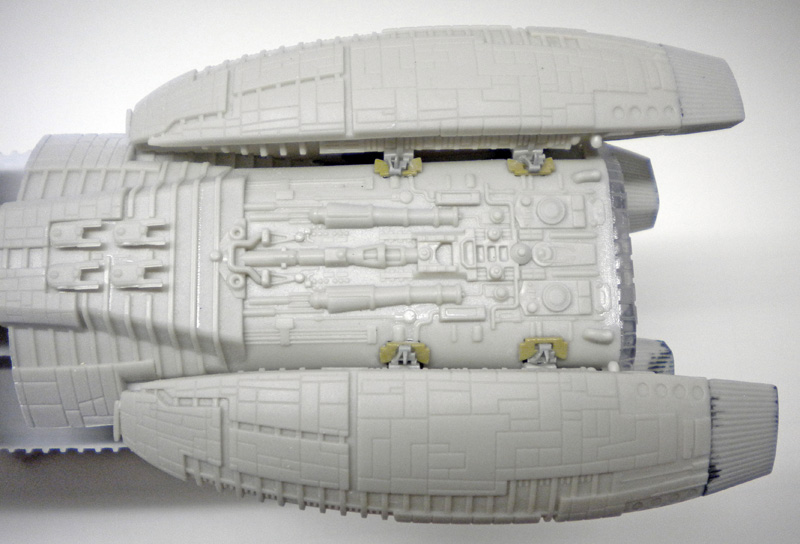
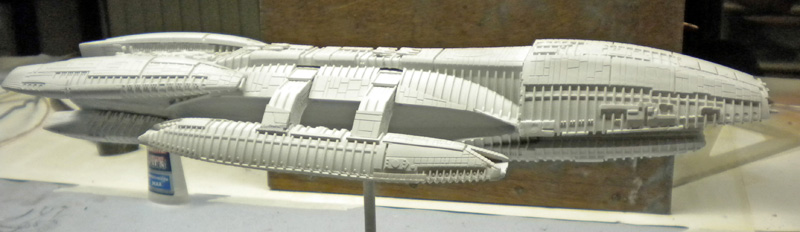
Here, it's not about the number of parts—be sure to glue them in the right order, and remember to remove the joints between two-part pieces after gluing... The mounting points for the upper reactors reveal a gap that will need to be filled here using 8 parts from the surplus box...
Gluing the recessed sides requires a bit of precision, and you must make sure there are absolutely no visible seams. You'll need to fill and sand the inside and the edge...
A coat of primer allows you to check the sanding work...
A coat of primer lets you check the sanding work... All joints were filled with liquid sealant to ensure there were no gaps...
All joints are sealed with liquid mastic to ensure there are no gaps... The rear "canopy" is protected with Maskol (liquid rubber) before painting, and paper is inserted into the four engines, the interiors of which have been painted black...
A photo showing the intricacy of the engraving... The model is finished; the side panels haven't been glued on yet to make painting easier...
Painting
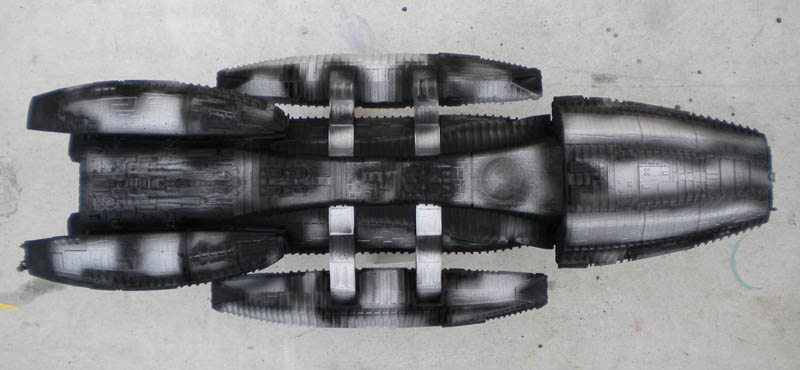
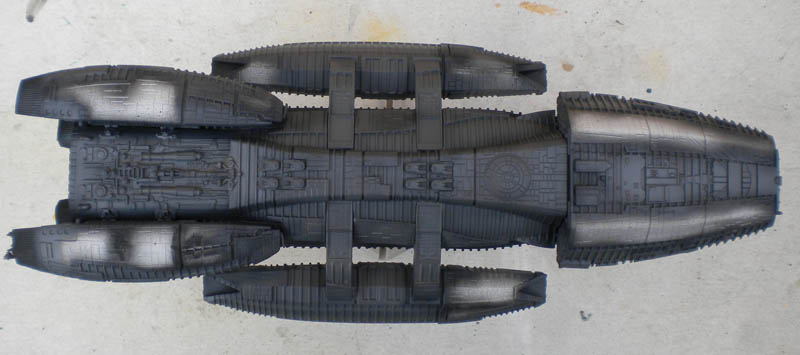
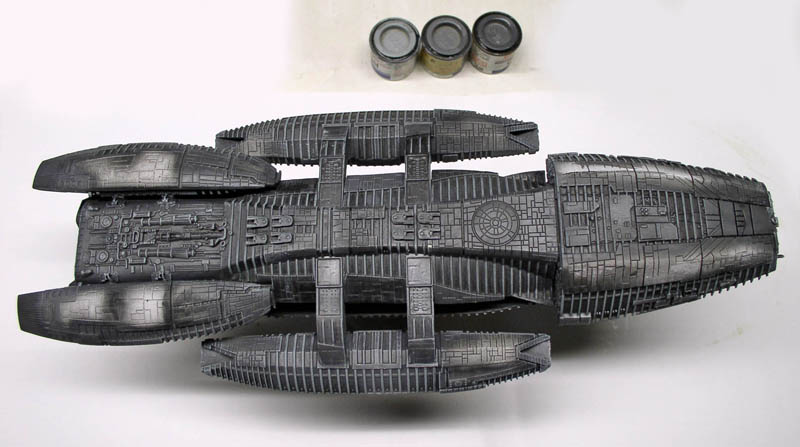
Painting First coat of Humbrol matte black applied with an airbrush to add shading to the entire model...
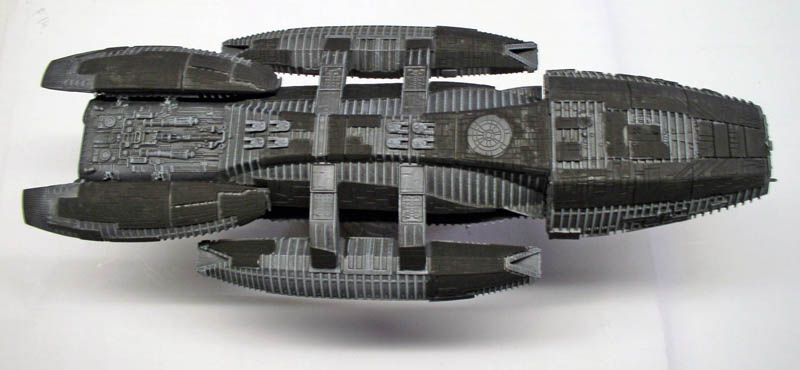
We'll continue with 123 gray... Using a flat brush (marten), dry-brush with gray 125...
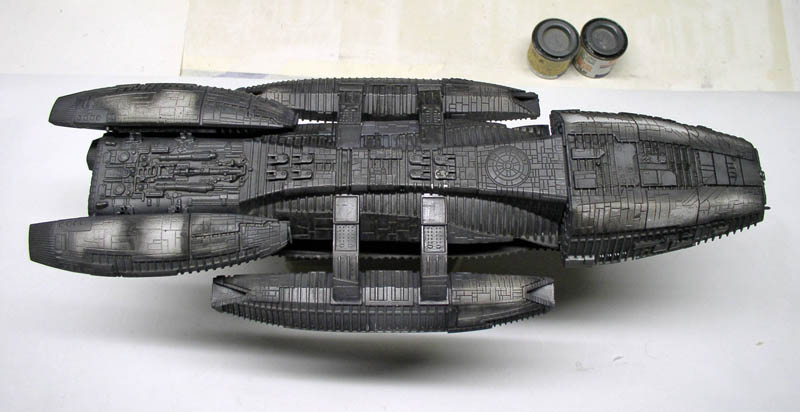
Using a flat brush (sable), dry-brush with gray 125... Then again with a gray 128...
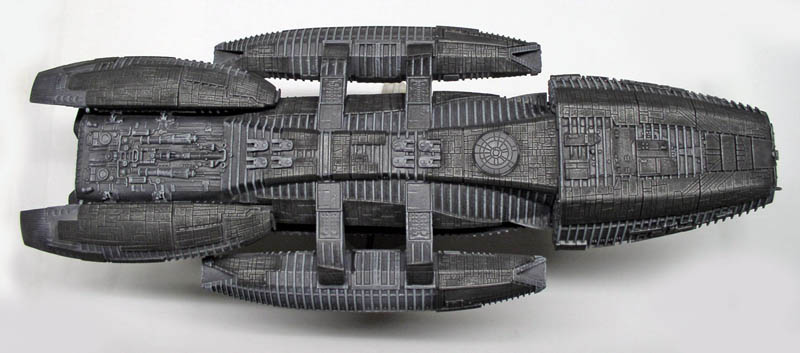
Then again, with 128 shades of gray... We finish the dry-brushing with a 127 brush and matte white...
Metal parts
Metal parts We paint a coat of matte black on all the plates...
A coat of matte black is applied to all the plates... Once dry, dry-brush with Humbrol 53...
Once dry, dry-brush with Humbrol 53... Next up is a Revell 90...
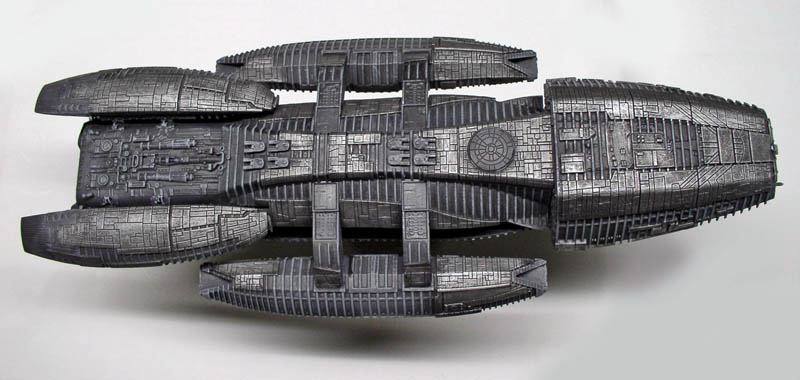
Continuing with a Revell 90... We'll finish with Humbrol 191—or better yet, Model Master chrome silver...
We'll finish with a 191 Humbrol or, better yet, a chrome silver Model Master... Applying the decals; the red stripes are painted by hand...
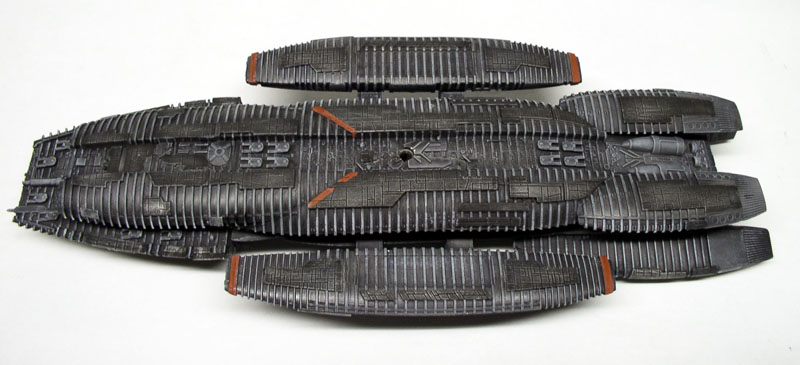
The red stripes are applied with a paintbrush... A view of the model from below...
A bottom view of the model... The finished model. All in all, a good kit for getting started in model building.