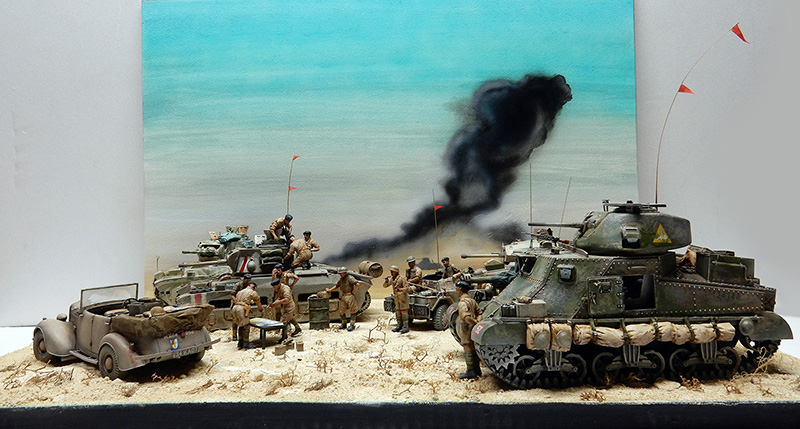
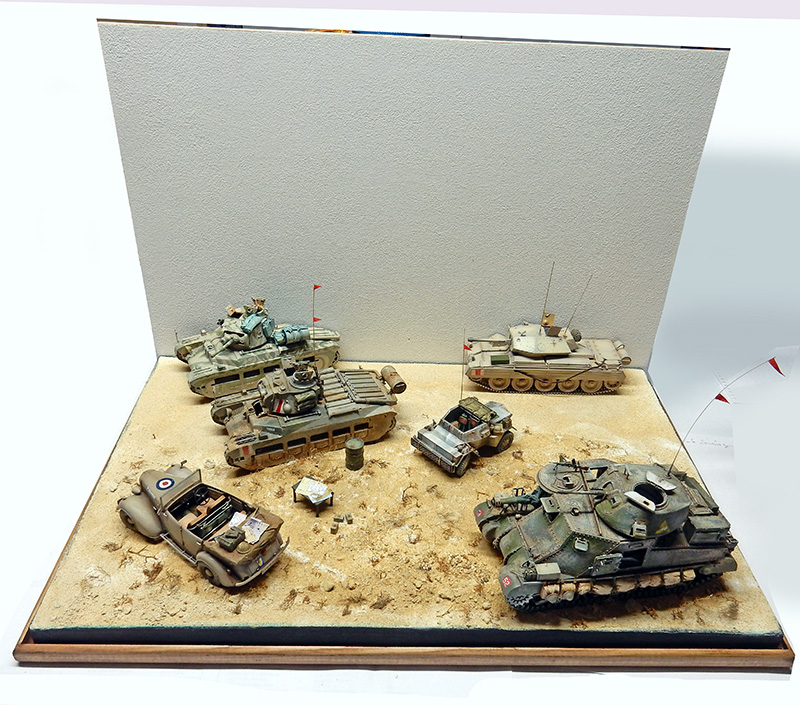
The Battle of Gazala: a pivotal moment in the clashes between the British and Rommel's Italian-German forces...
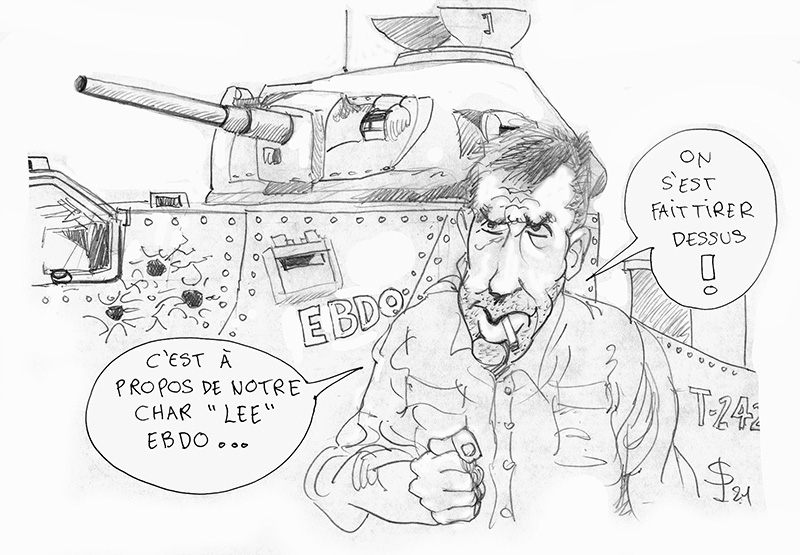
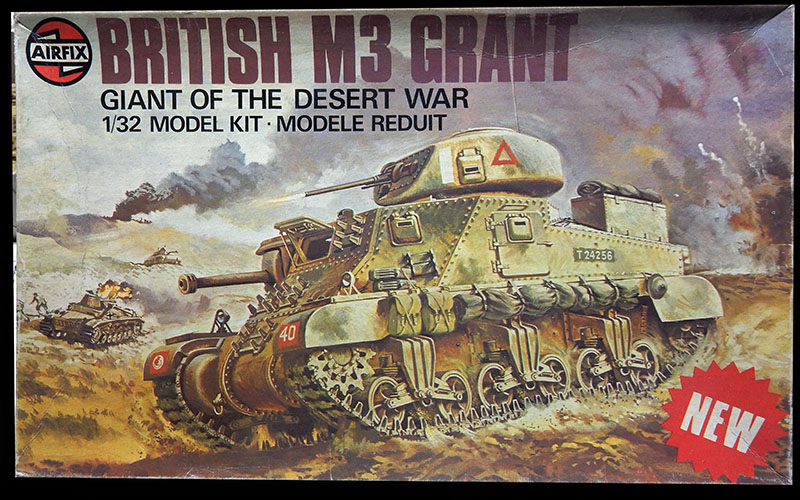
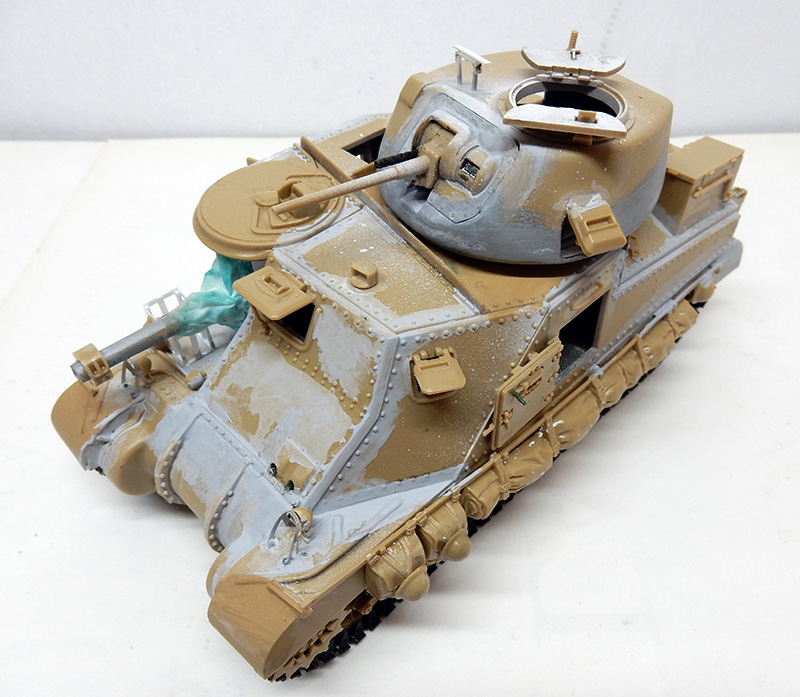
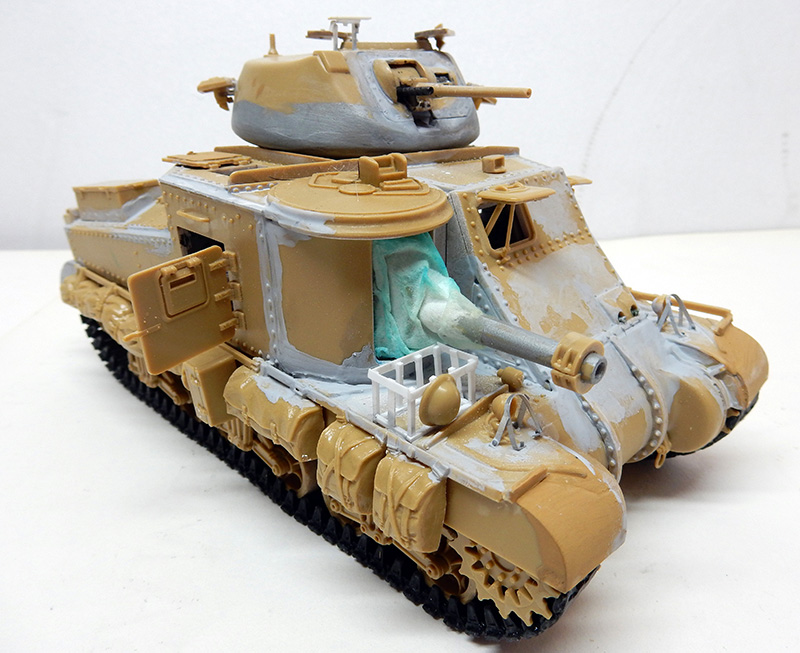
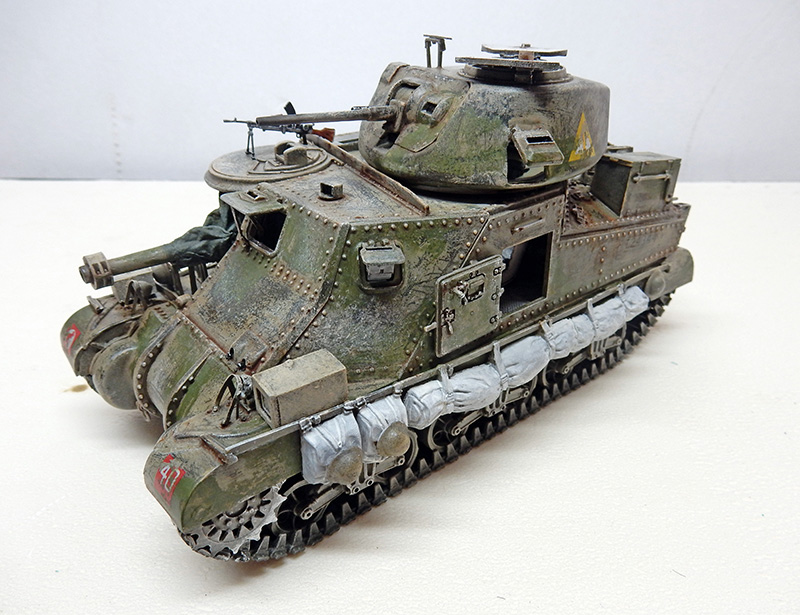
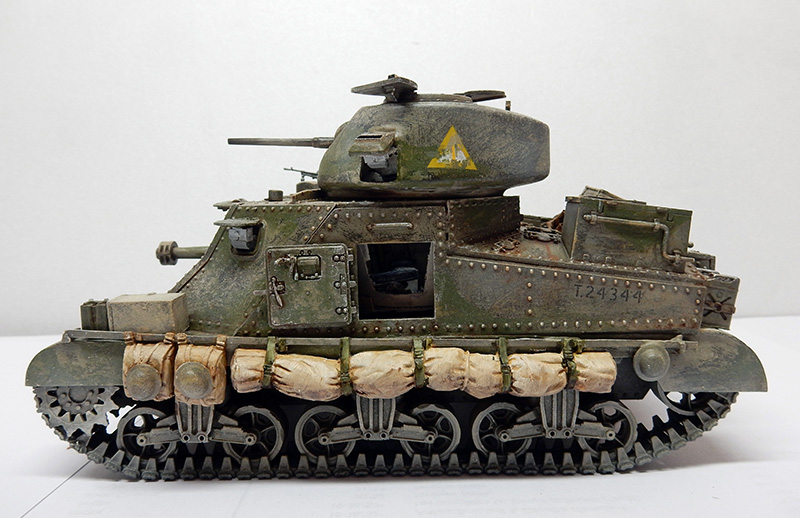
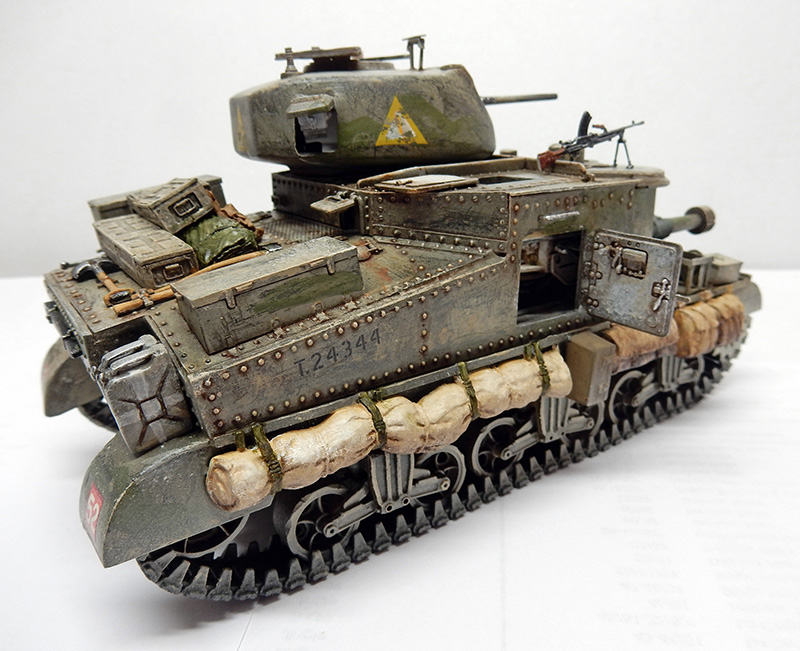
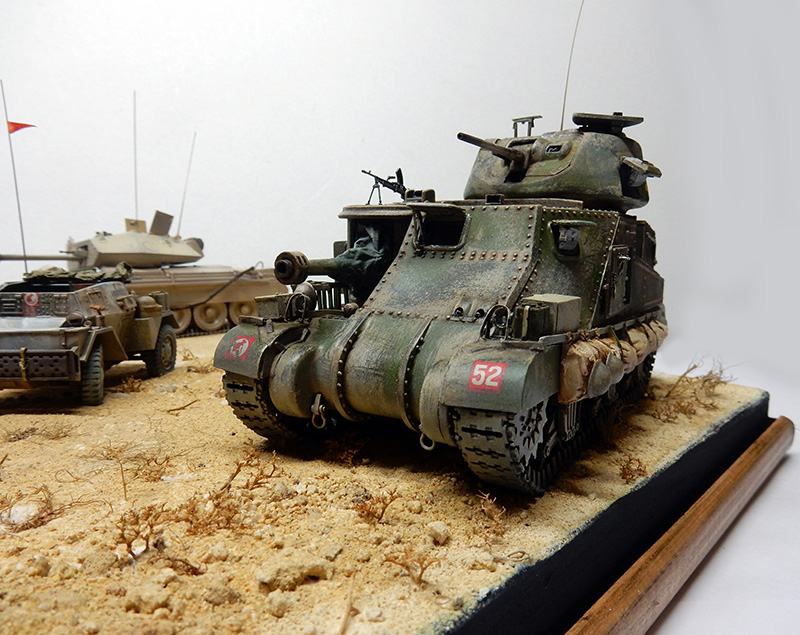
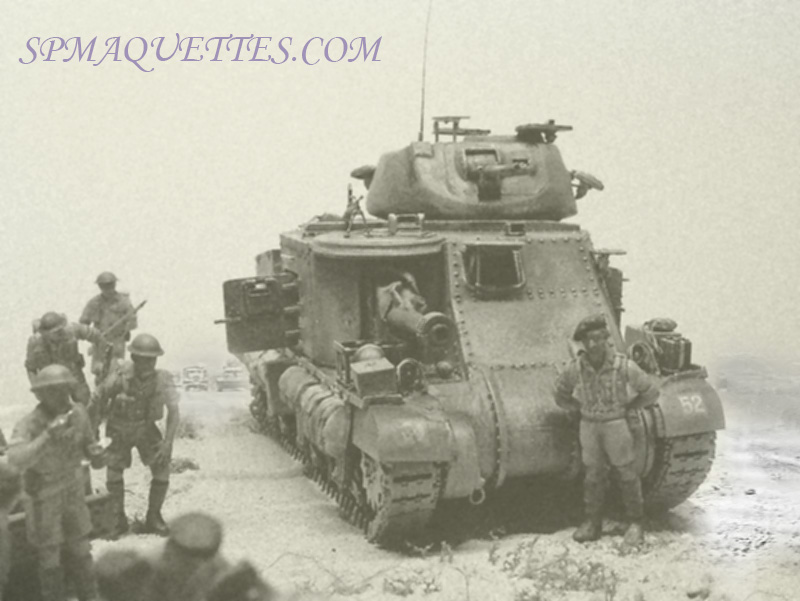
This will be the subject of several dioramas, of which this is the first, viewed from the British side. It features vehicles typical of the North African front. The first is the Grant tank (the Lee modified by the British) by Airfix in 1/32 scale. It’s an old model (1976), but it’s still interesting.
The goal, once again, is to present a foreground and then a background to create a sense of depth...
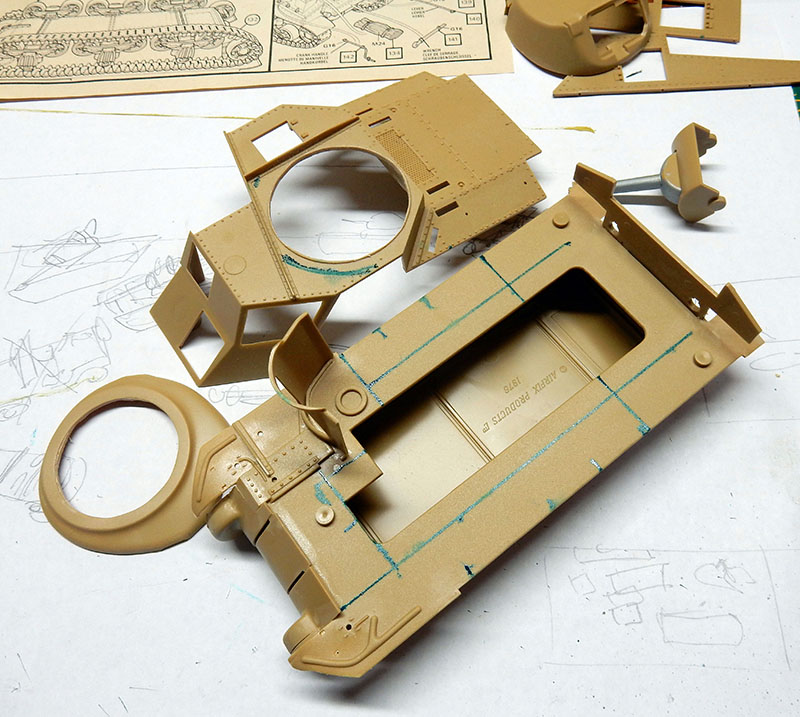
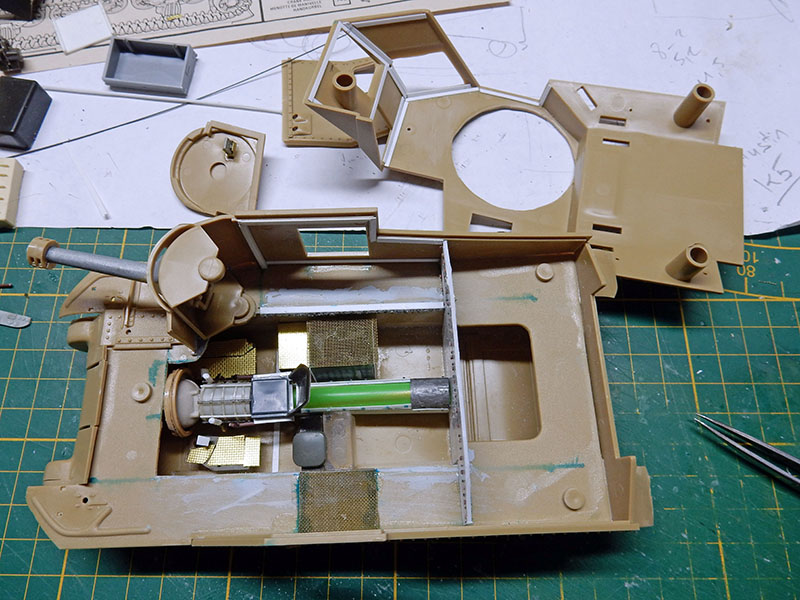
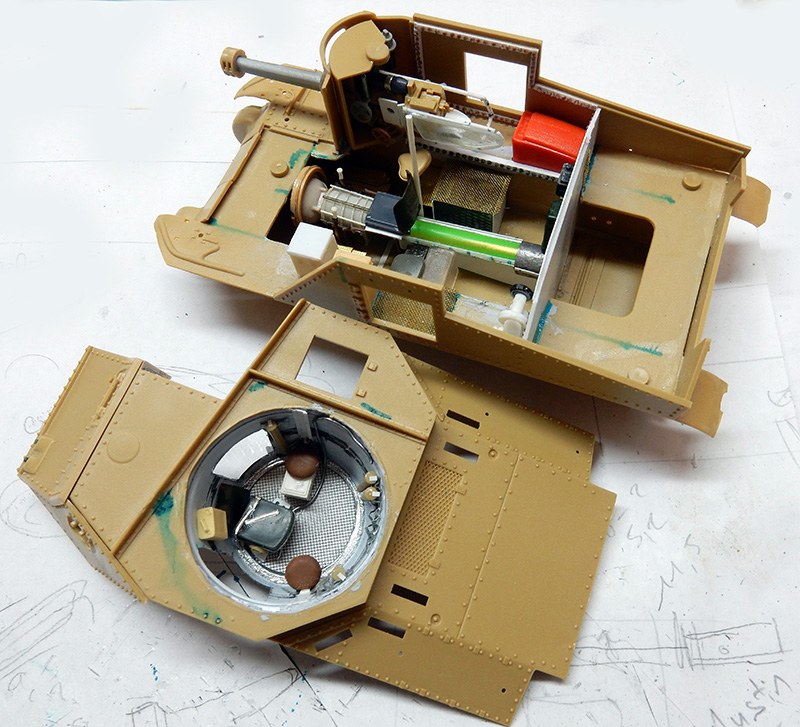
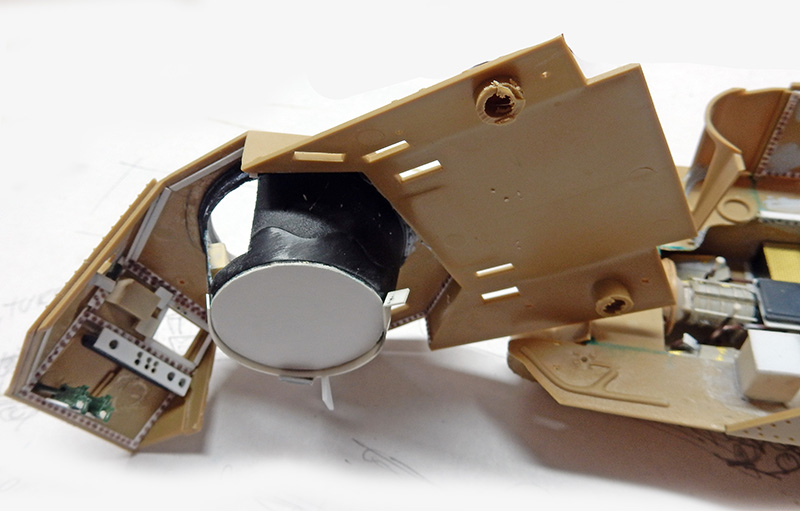
There are no photo-etched parts for this kit at this scale. It has a lot of openings, and it would be a shame to leave them closed just because the interior is empty! So you’ll need to build the interior to some extent. We cut out the interior to make room and accommodate the engine bulkhead. The front and rear fenders are sanded down to the correct thickness...
Installing the drivetrain using parts from the surplus box. The seats are glued in place. Evergreen plastic is used to secure the interior trim strips. The engine bulkhead is installed...
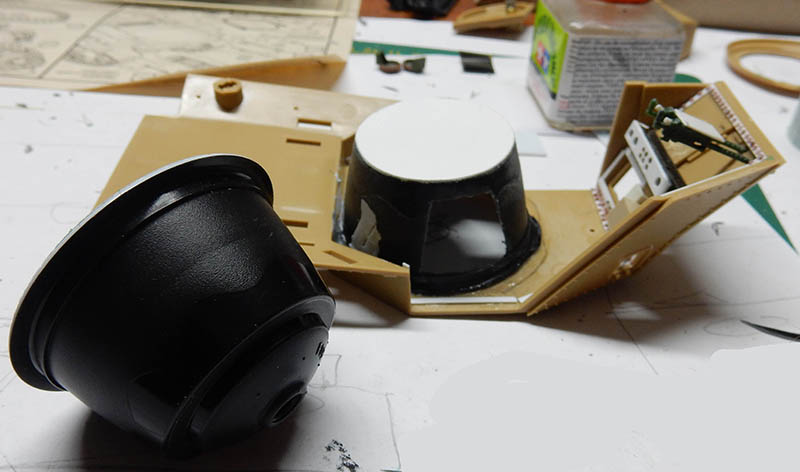
The turret shaft is made from a coffee pod—it's just the right size for this scale!
The turret shaft in place with its openings. A mesh floor has been added...
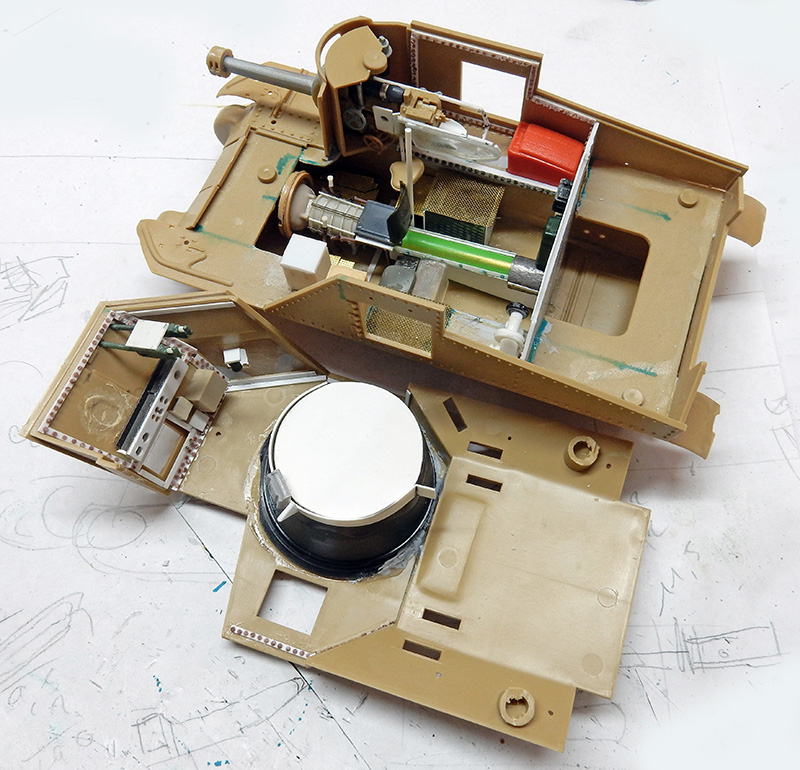
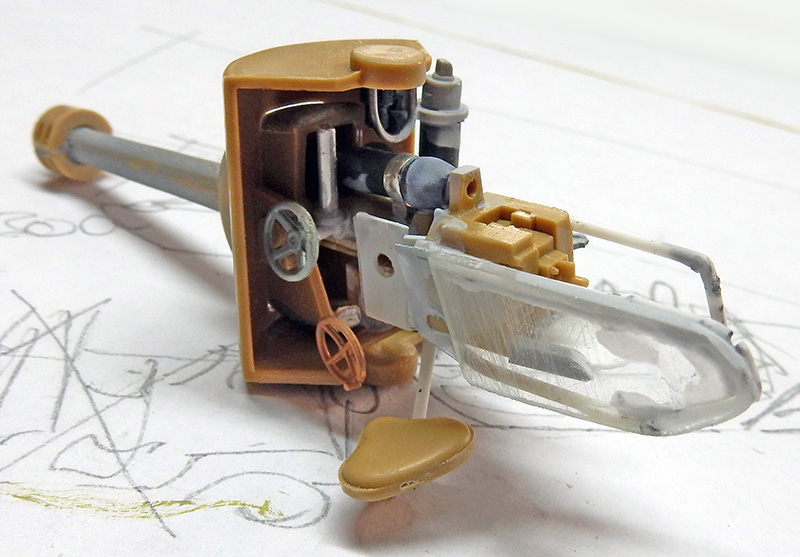
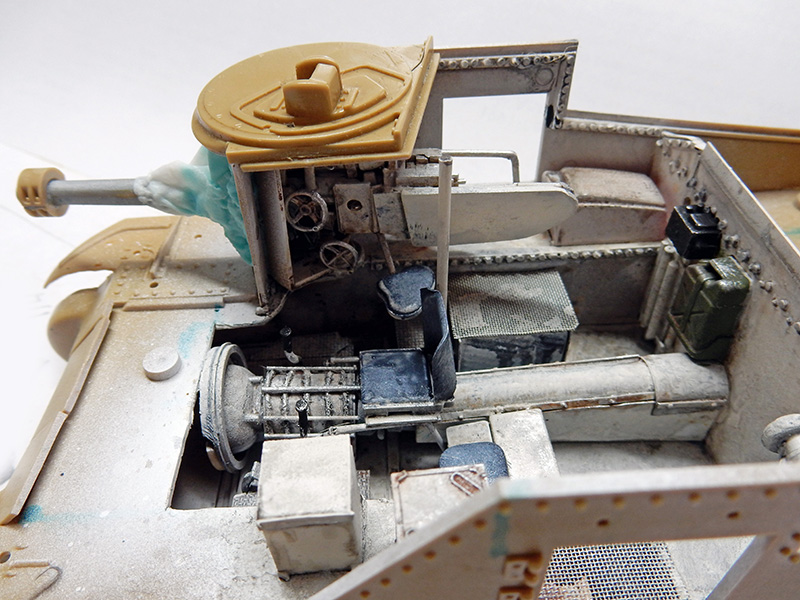
A look at the progress of the work: the dashboard is in place, with the two .50-caliber machine guns below it. The 75mm gun is mounted on its cradle...
Another view...
A close-up of the main gun...
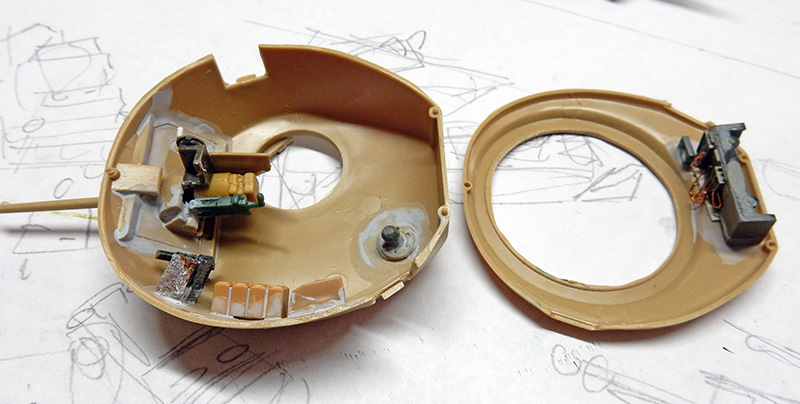
Installation of the radio (30-caliber), the breech of the 37-mm gun, and various accessories in the turret...
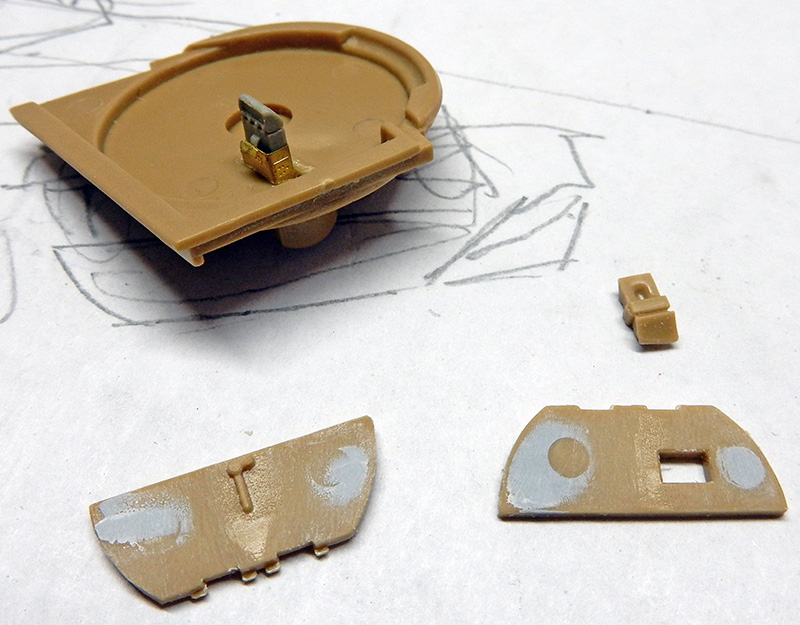
A resin episcope is mounted on the ceiling above the 75mm gun, and others are mounted in the turret hatches...
Another view showing, in particular, the rails with their bolts...
Painting
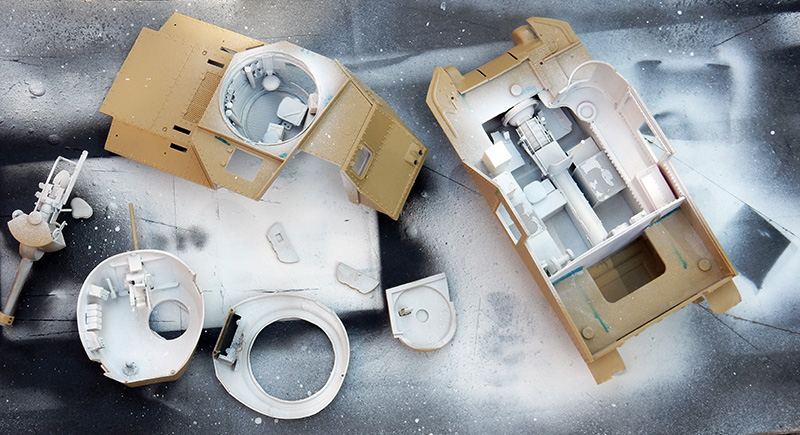
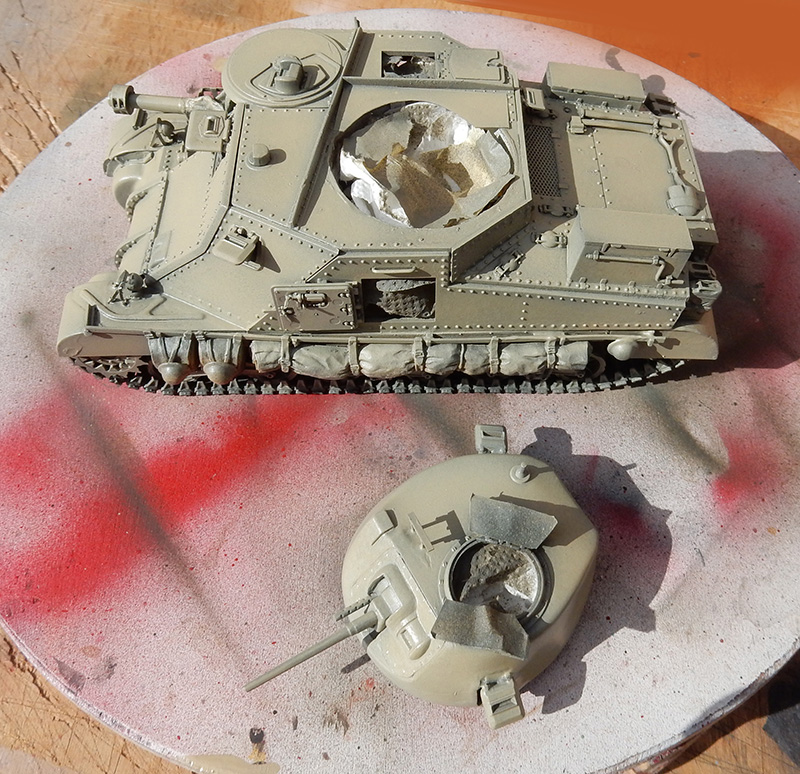
The entire structure is coated with a layer of white primer, which makes it easier to see!
Next, painting the interior. A somewhat dirty white. We start with a light gray and finish with a white drybrush, then apply a wash after it's completely dry...
Another view...
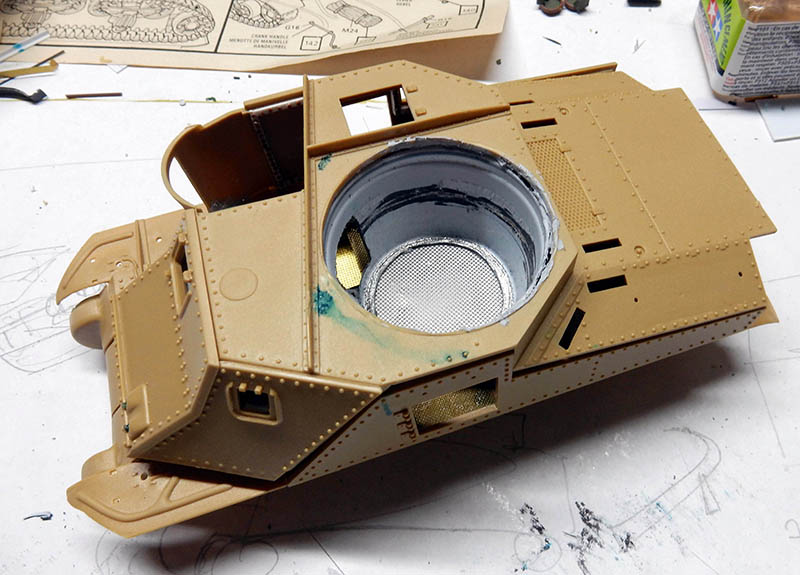
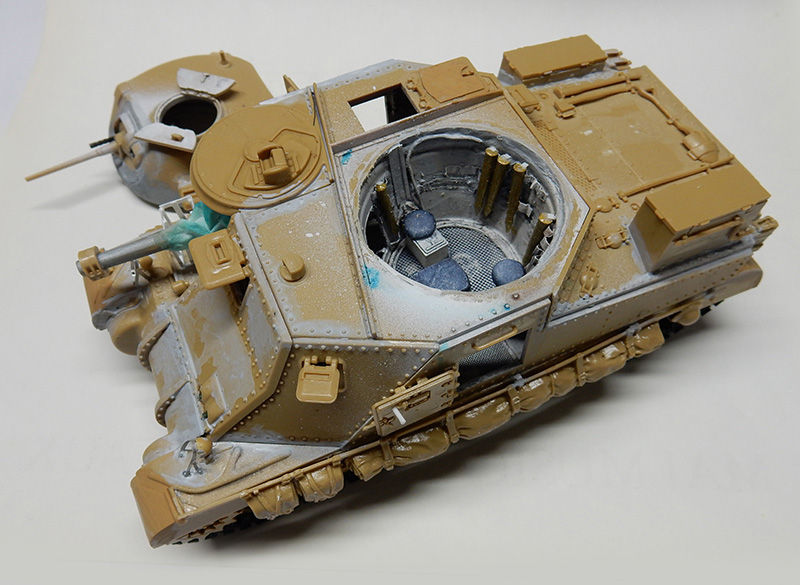
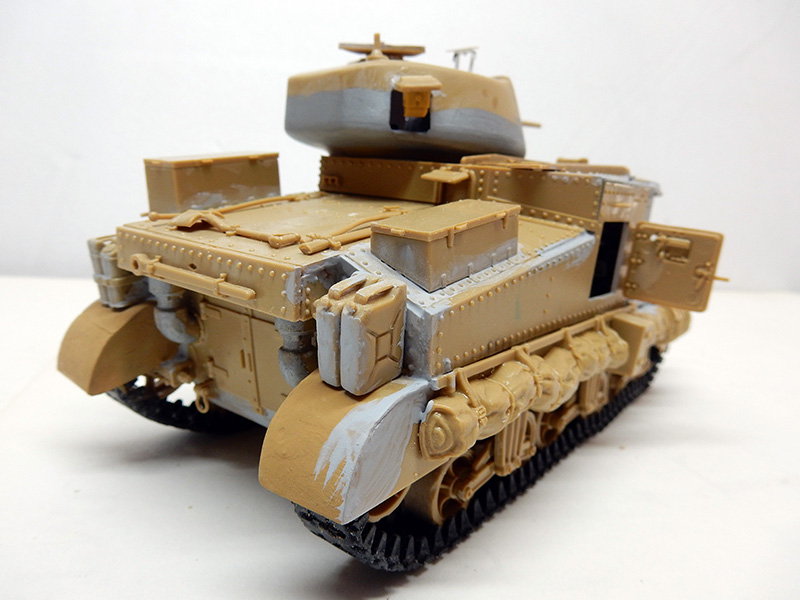
3 photos showing the assembly of the upper and lower sections. Liquid putty was applied to all the seams to finish the assembly. Note that the inner fender liners—on the exhaust side—were made from plastic card, since they were not included in the kit. The protective cover for the 75mm gun barrel is made of toilet paper. The headlight covers have been remade from lead sheet. The seam between the two turret halves must be invisible...
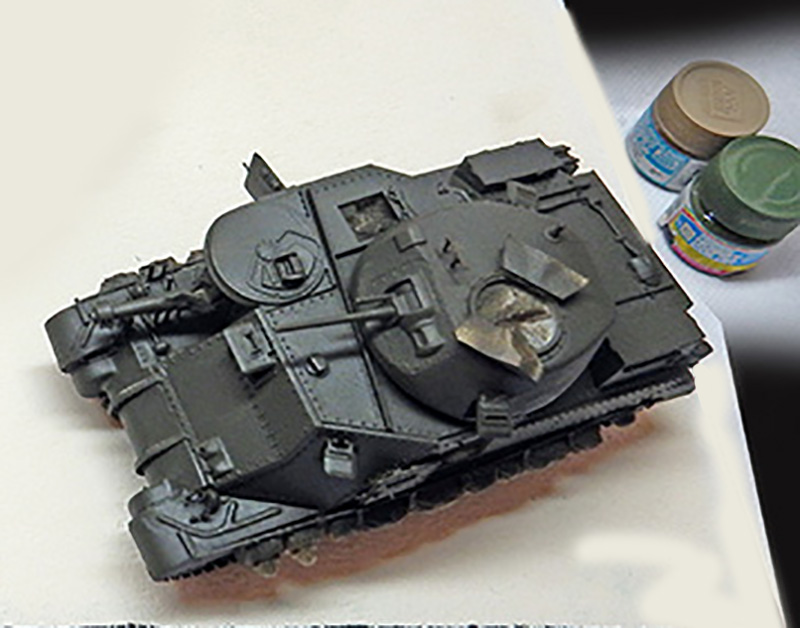
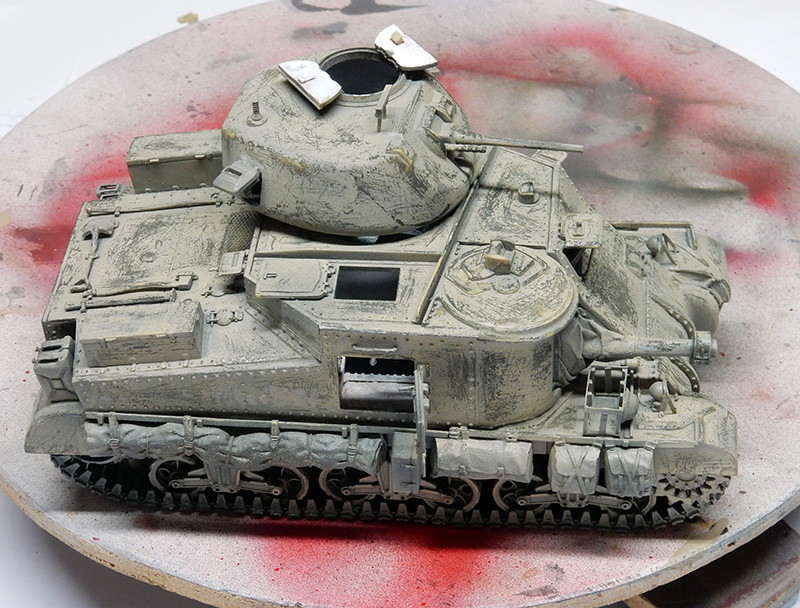
The base acrylic paint is a dark green (H330) from Hobby Color...
Then we move on to hairspray—24 hours later—followed by Hobby Color H85 varnish...
Next, we treat the entire tank...
You apply and wear down the green camouflage in the same way. H303 green FS34102 Hobby Color...
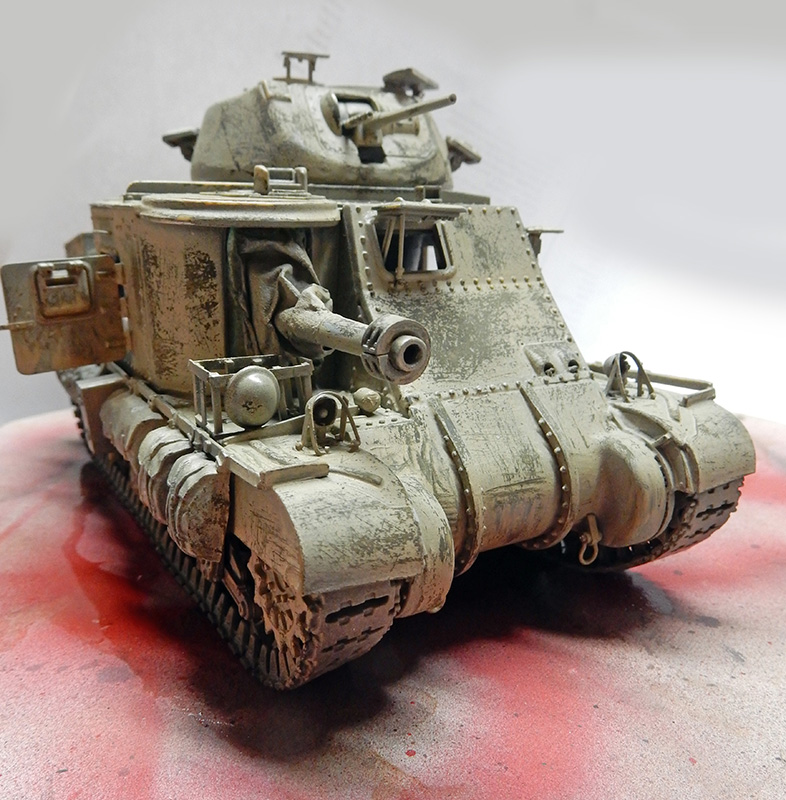
A wash consisting of 70% black and 30% umber was applied to the details throughout the entire piece...
Dust is added to the rocker panels as well as the front and rear—H318 Hobby Color radome...
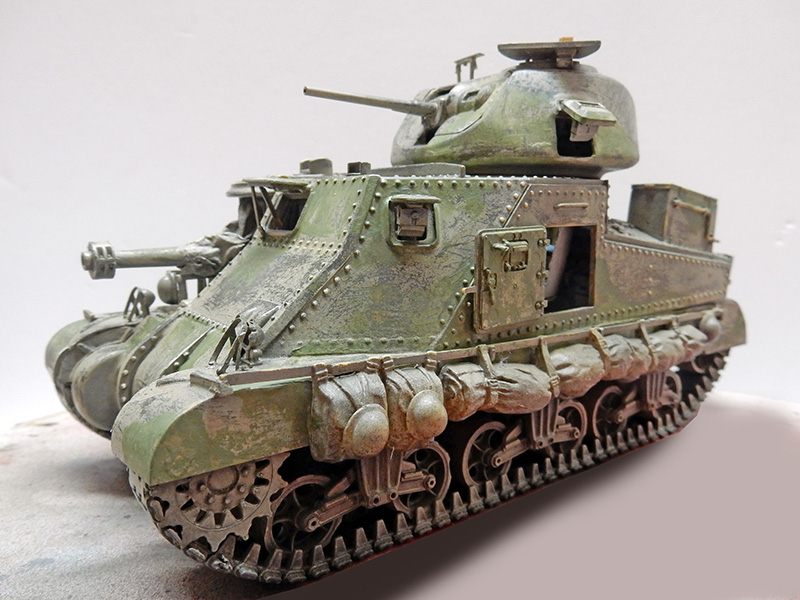
Note that this 1942 version, as seen in the magazine "Bataille de Blindés," is not an almost-white sand color but leans toward light gray...
The finished vehicle placed on its display stand...
The Humber Car
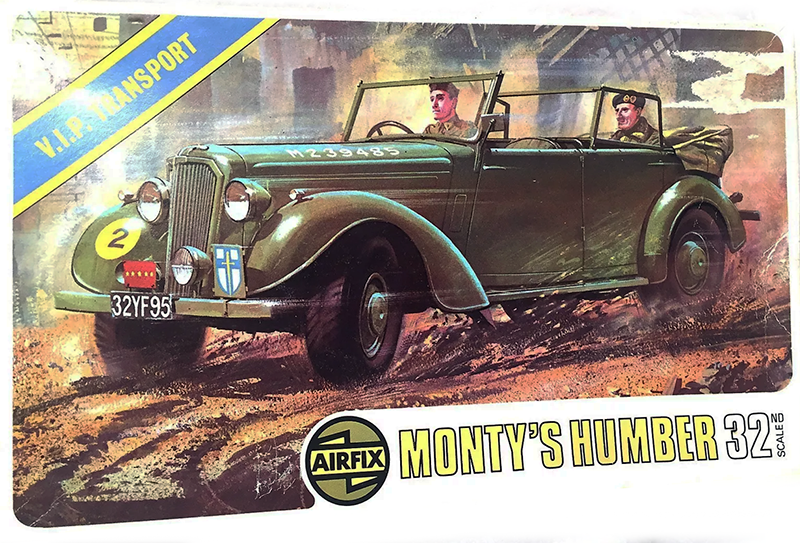
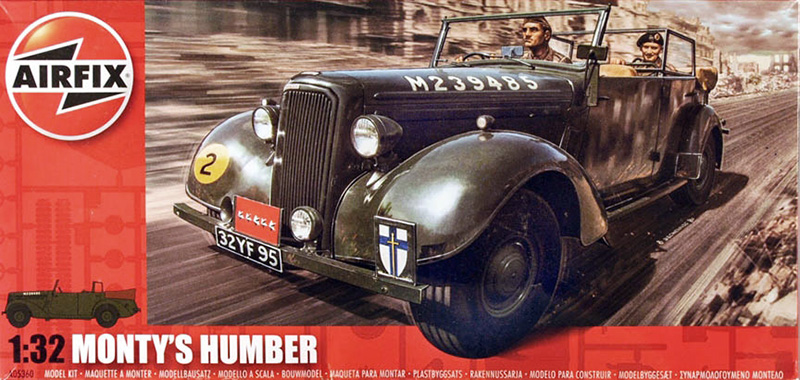
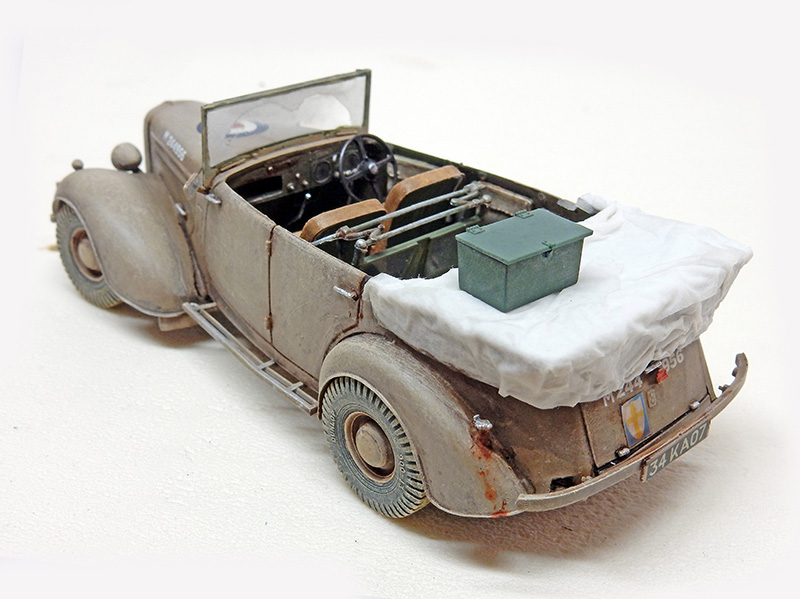
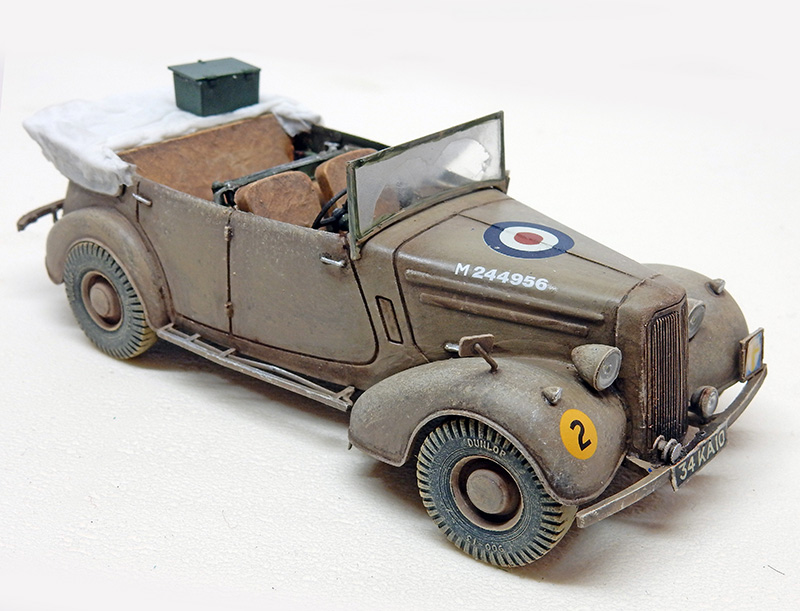
"Monty's" Humber! Best known among modelers as General Montgomery's command car when he took command in August 1942... More of a truck than a car...
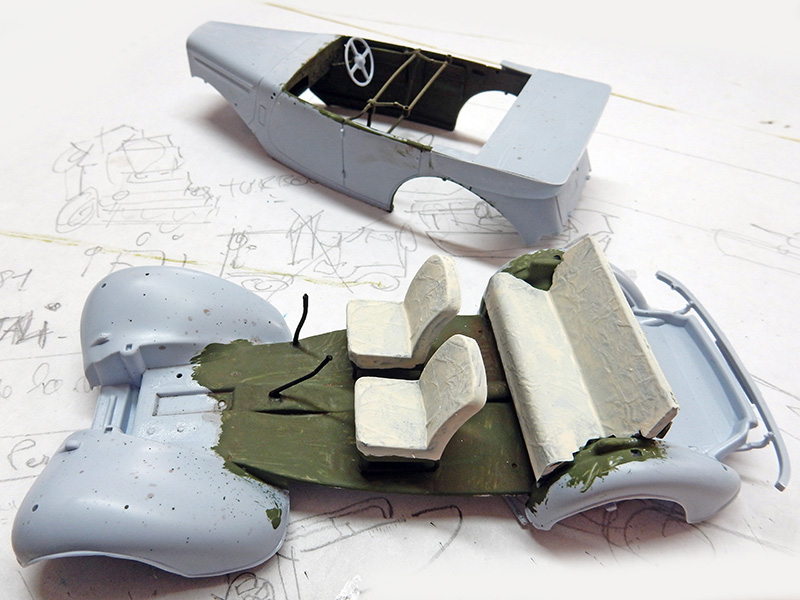
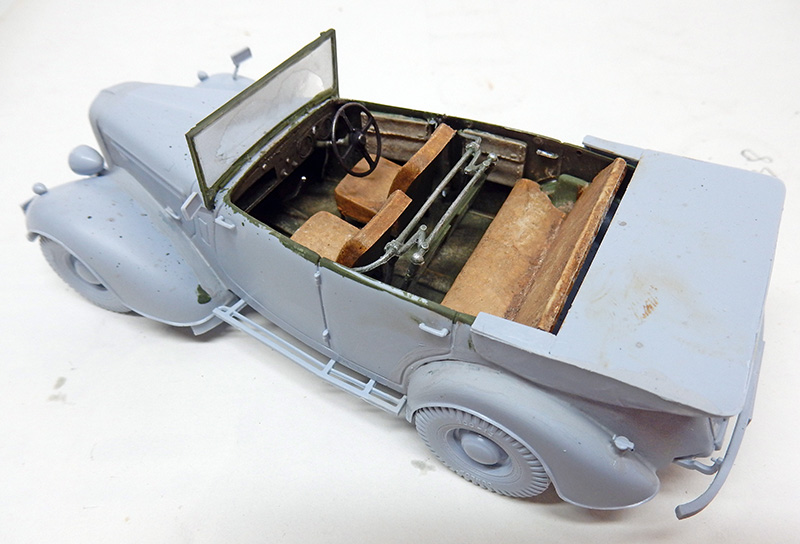
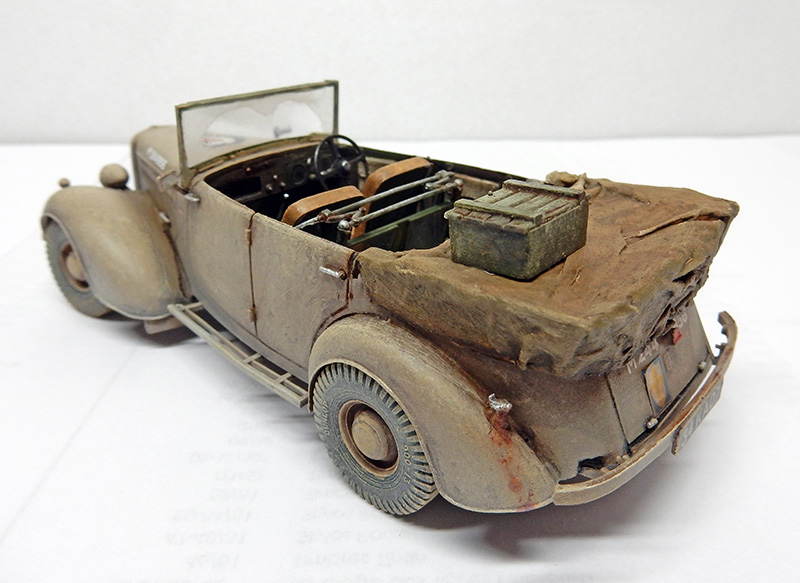
It's an older kit, but it's easy to assemble. The seats and folding top have been improved...
Painting
As with any vehicle interior, we start by painting...
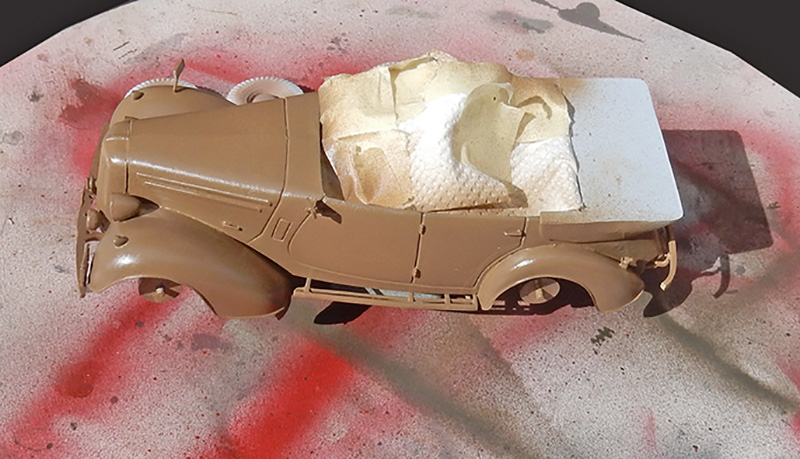
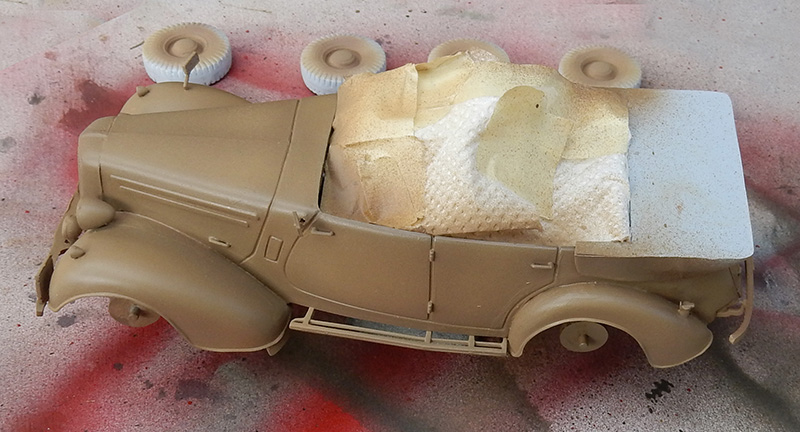
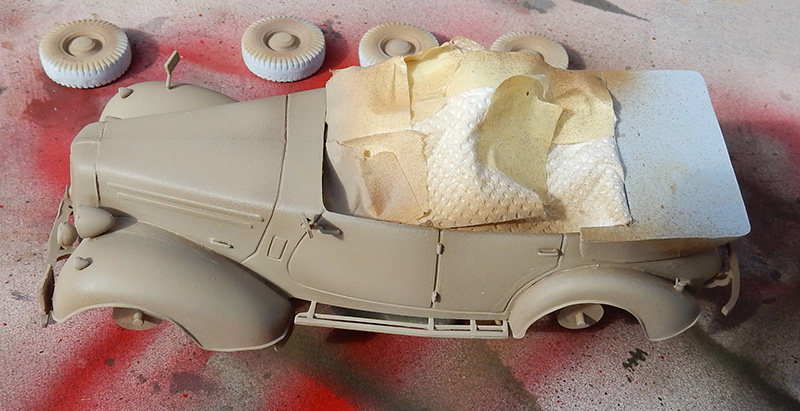
First base coat: Tamiya HF52 Flat Earth...
Then, for the highlights: Tamiya XF59 Desert Yellow...
Finish: Tamiya XF57 buff...
A final dry brush stroke using Humbrol 237 + white will be applied...
Applied the paint, and, after it dried, applied the decals. The windshield was treated with matte varnish...
Paint on the soft top, weathered decals, and a thin layer of dust along the edges of the body and wheels...
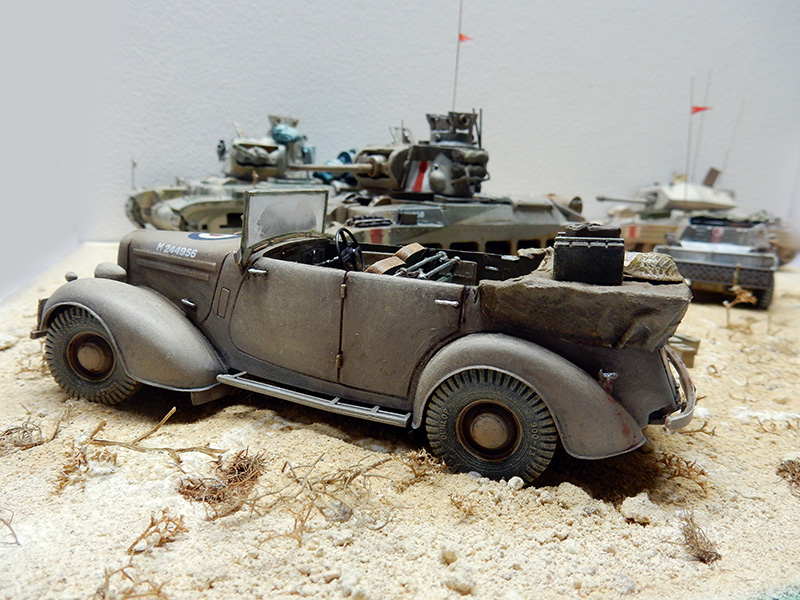
The finished vehicle, set against its backdrop...
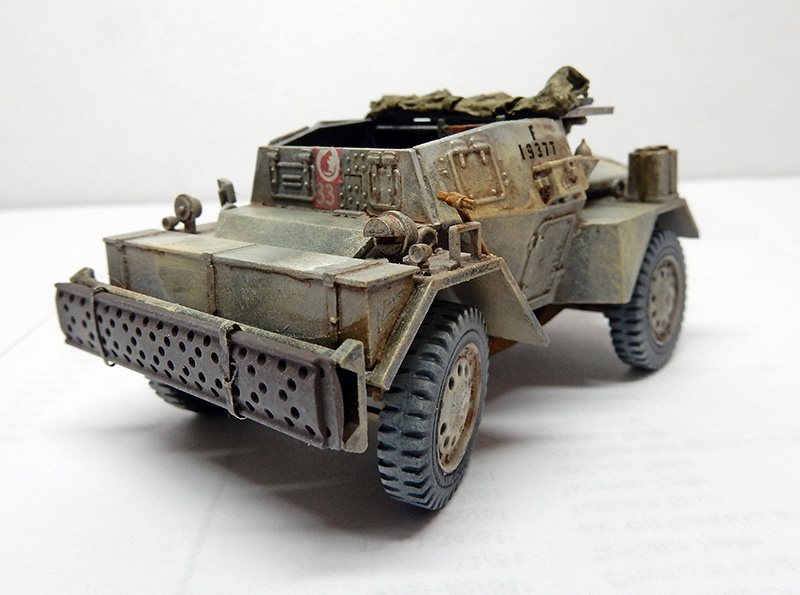
The Daimler Scout Car
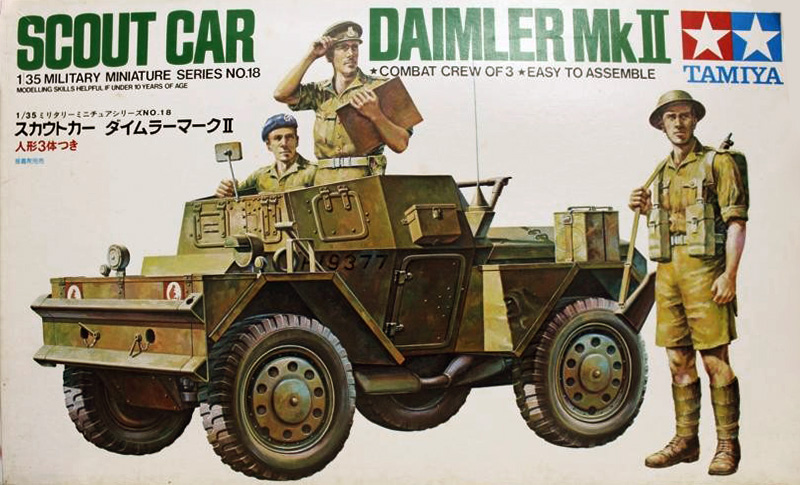
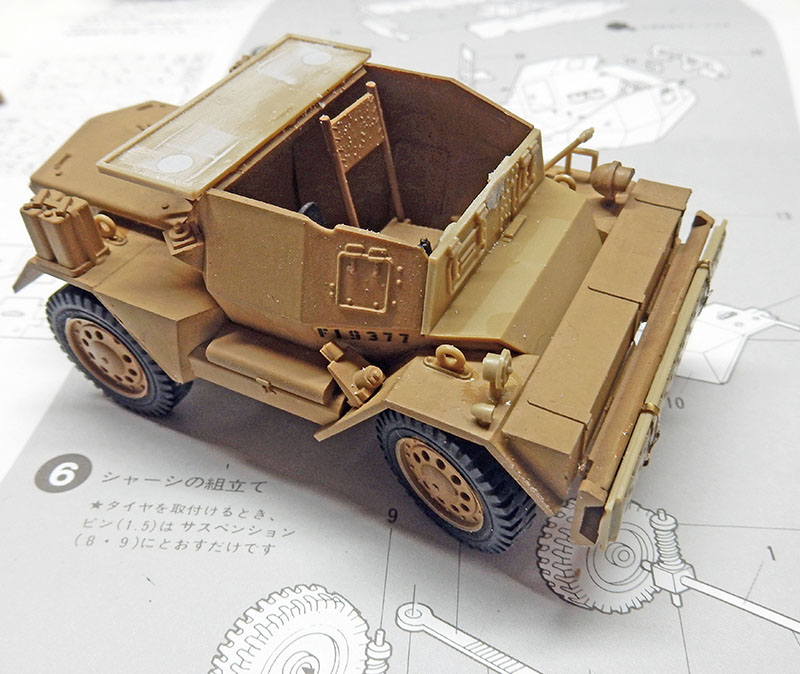
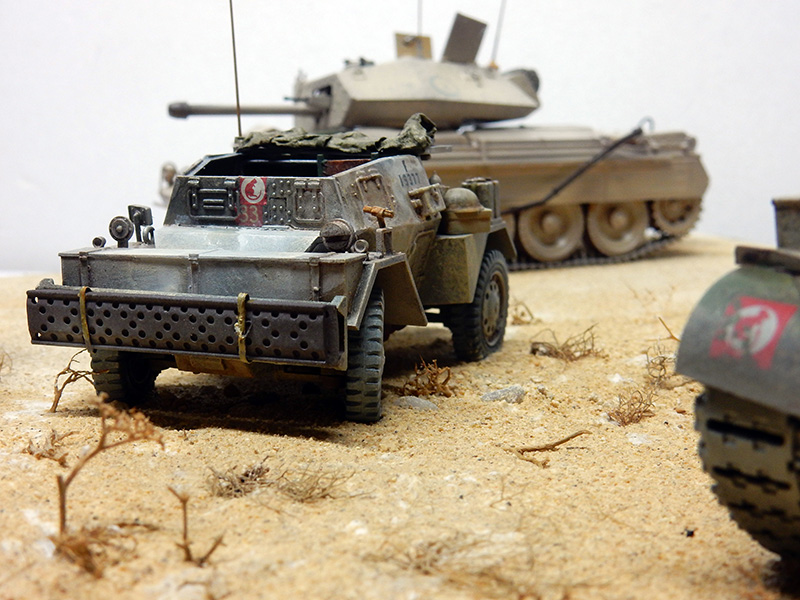
A small, attractive vehicle widely used in the Desert War, but also in Europe...
It's easy to assemble, but like all model kits, it will require a little touch-up work—first, removing the mold sprues...
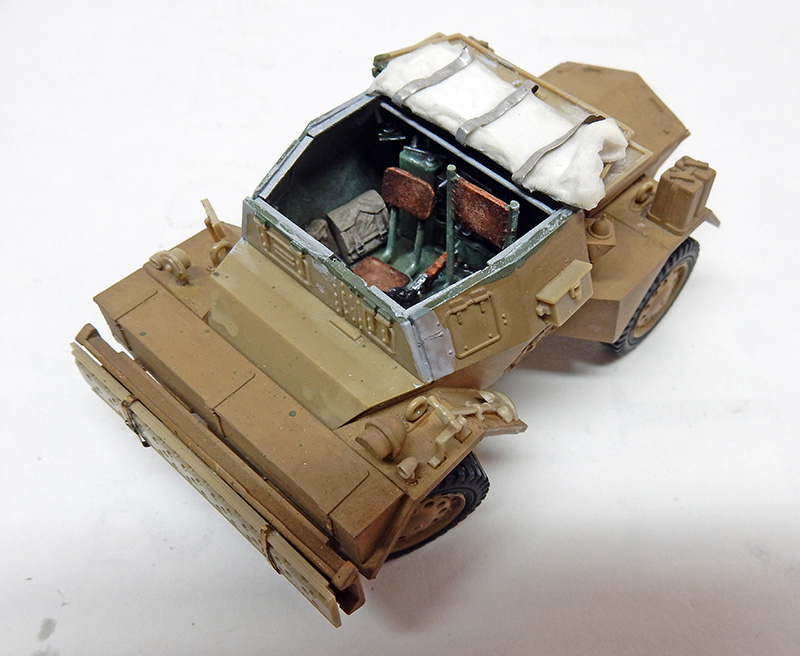
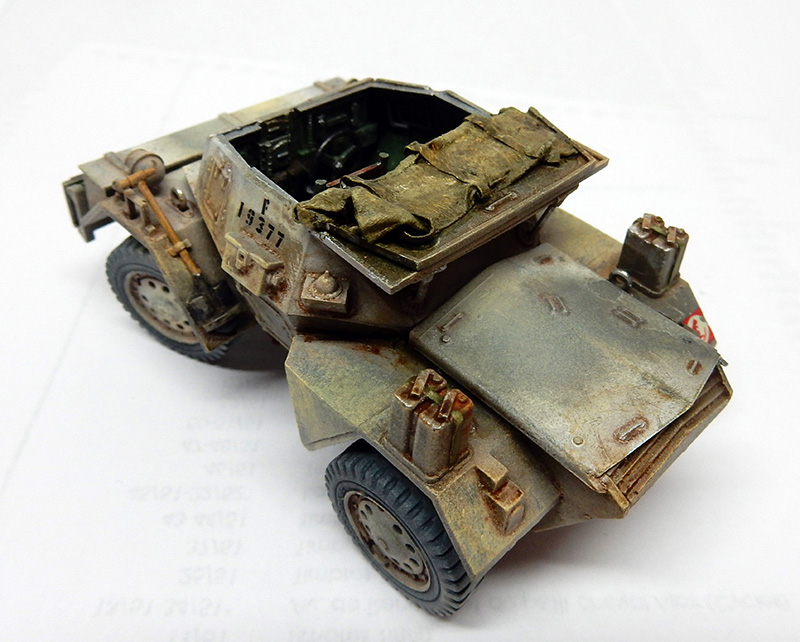
The very open interior will be given more detail. Two radios are installed behind the seats. Trim strips and rods run along the perimeter of the frame. Accessories such as bags and weapons will complete the look. The tarp is made of thin toilet paper. The whole thing is painted...
Painting
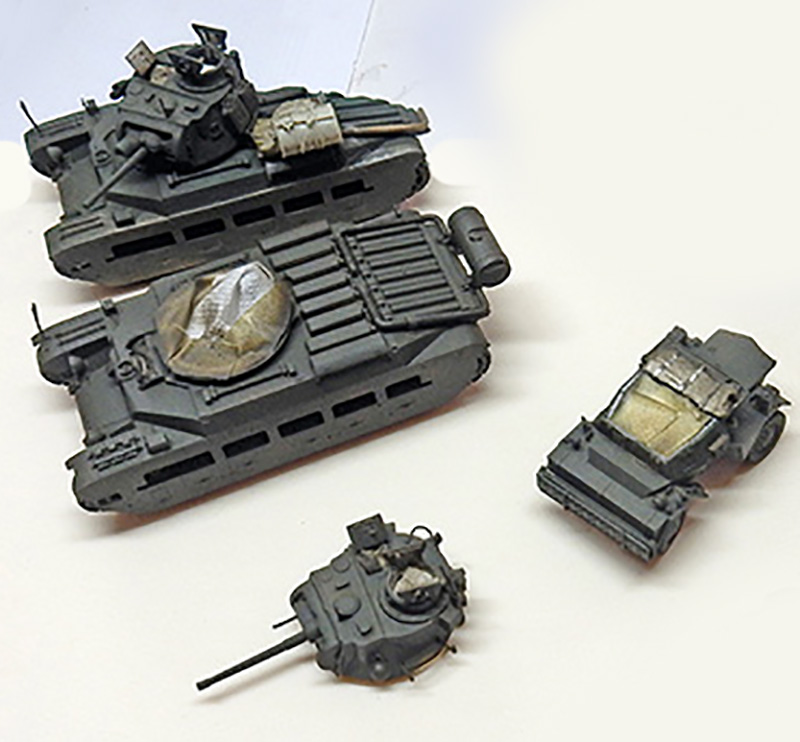
Base: same as the Grant and the Matilda—Hobby Color HC 330 dark green...
Then do the same thing with hairspray...
The top of the body has been whitewashed, and a green camouflage stripe has been added. Applying the decals...
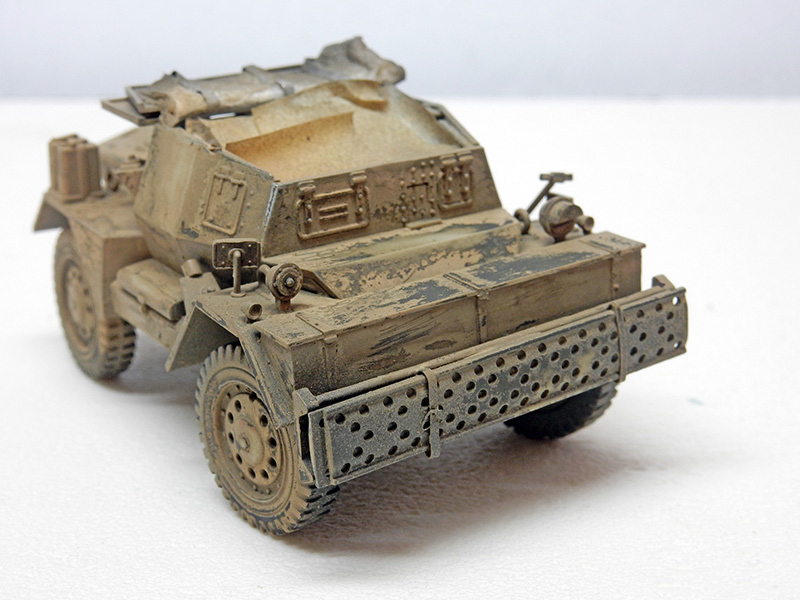
Then the final dusting...
The vehicle in place on its set...
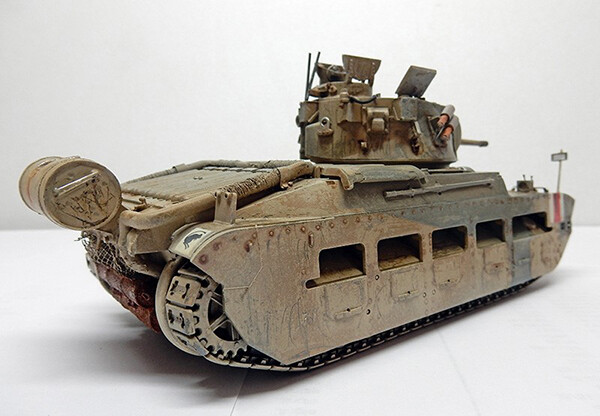
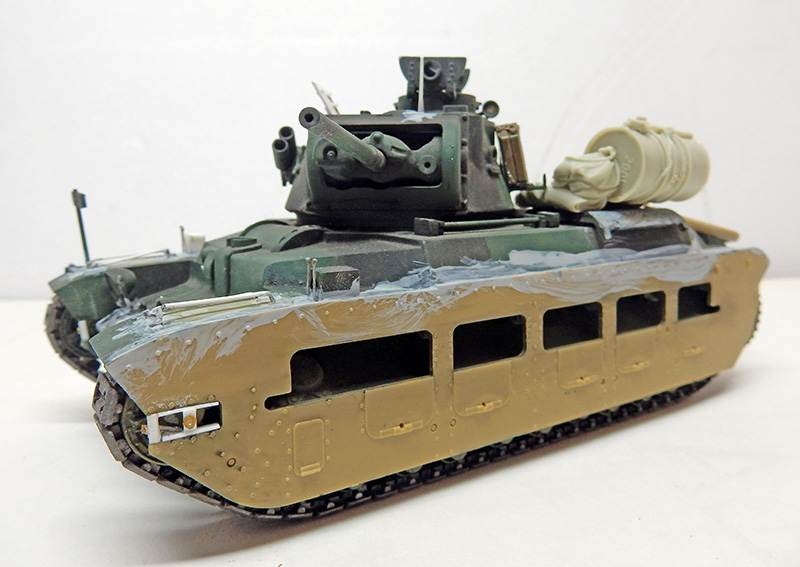
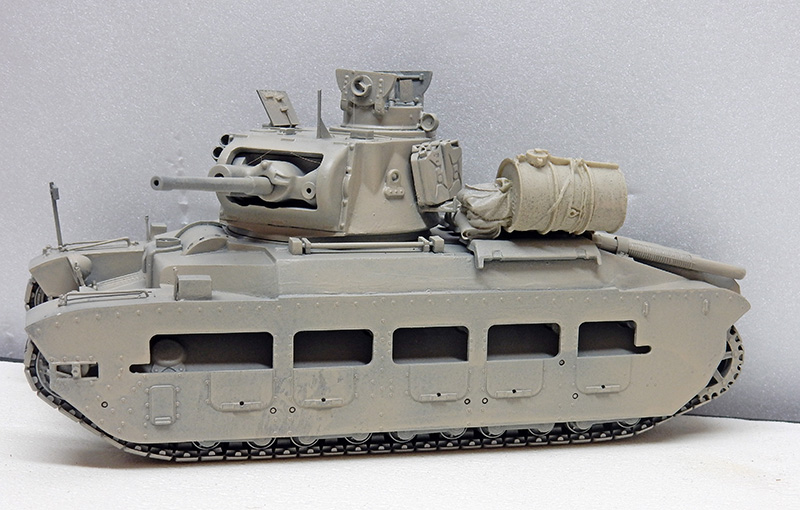
The Matilda II
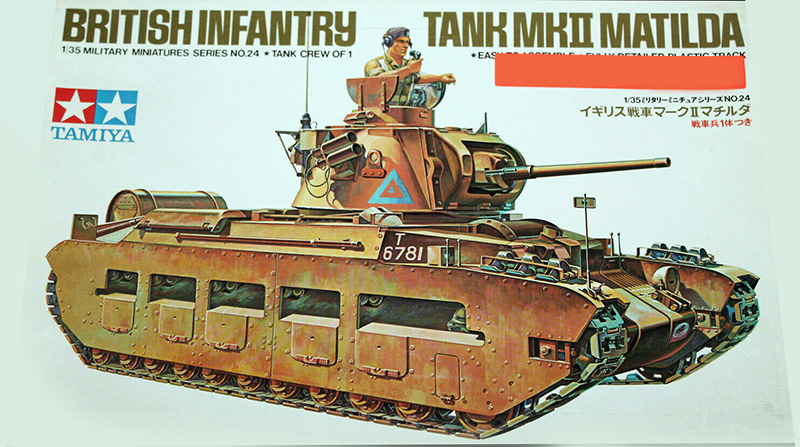
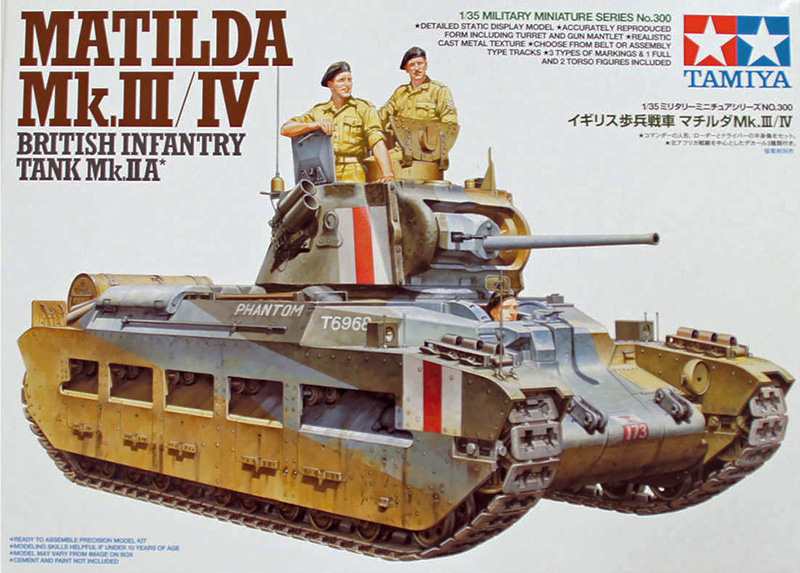
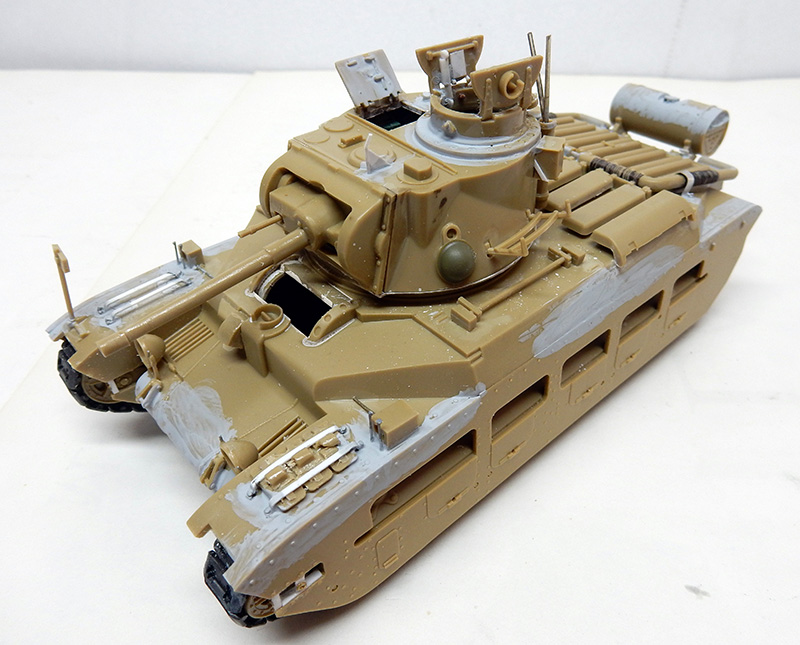
The two versions from Tamiya (a Russian version has since been released). The box on the right, which is newer, features improved details. The kit on the left was used in this diorama and has been upgraded...
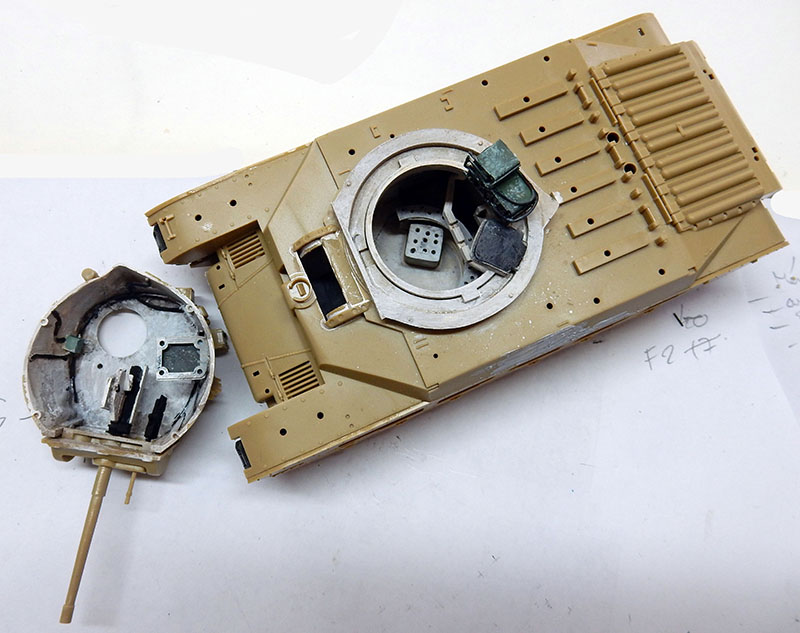
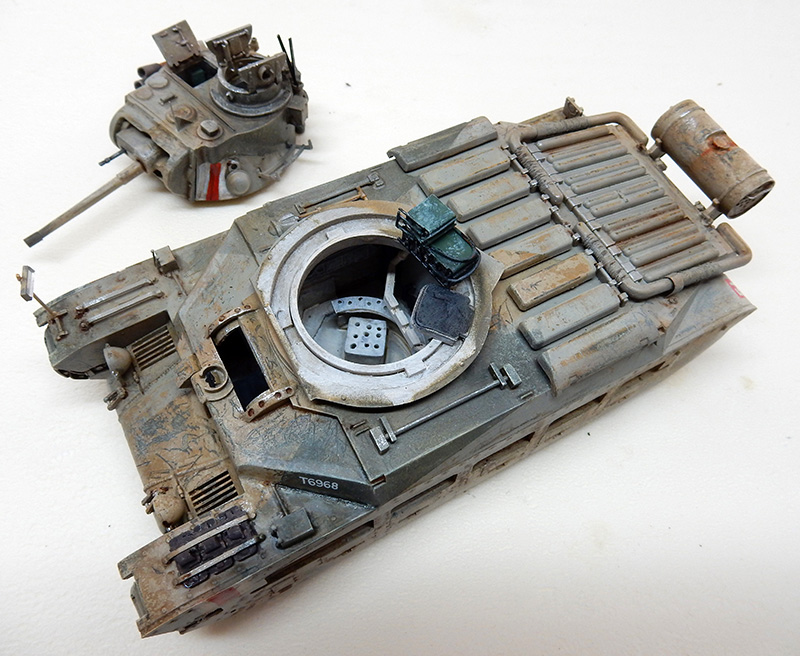
A very unique tank, worthy of a place in any collection. Of course, since the hatches are open, I had to create a semblance of an interior. Once again, the surplus box came in handy. Some parts are custom-made, others are added. Seats, a .30-caliber machine gun, and a breech for the gun in the turret, along with various accessories. You can see the radio mounted at the rear of the turret...
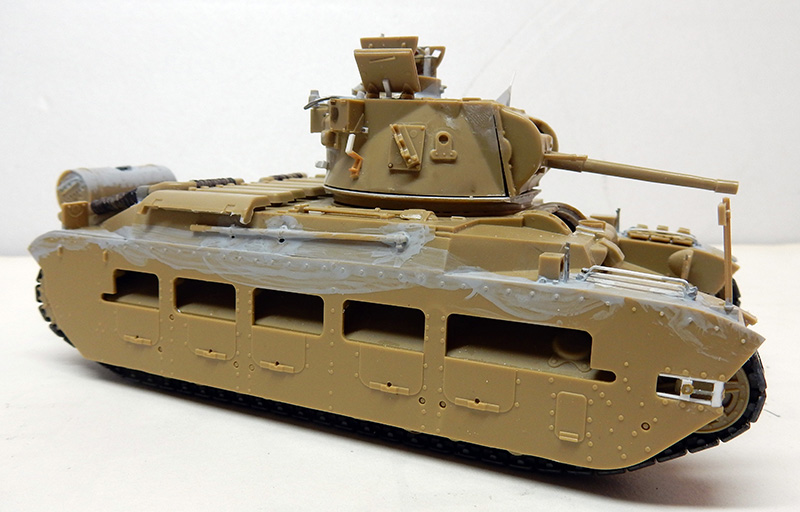
In this version, many missing details have been added...
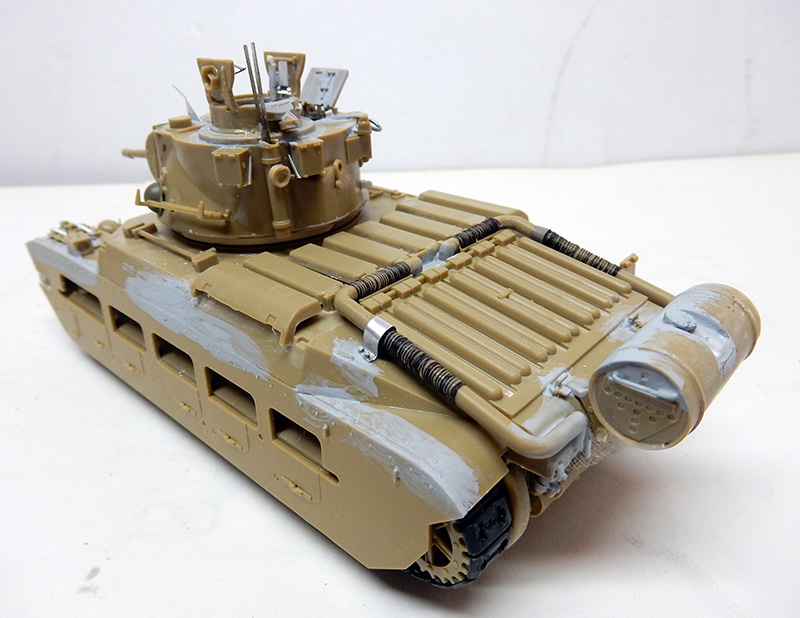
Exhaust upgrades, fuel tank caps. The front and rear fenders have been refined...
Turret hatches, hull mounts, roll bars, and track pads. Rearview mirror stem rebuilt (a rearview mirror on a tank!!!). Then liquid sealant to finish the joints...
Painting
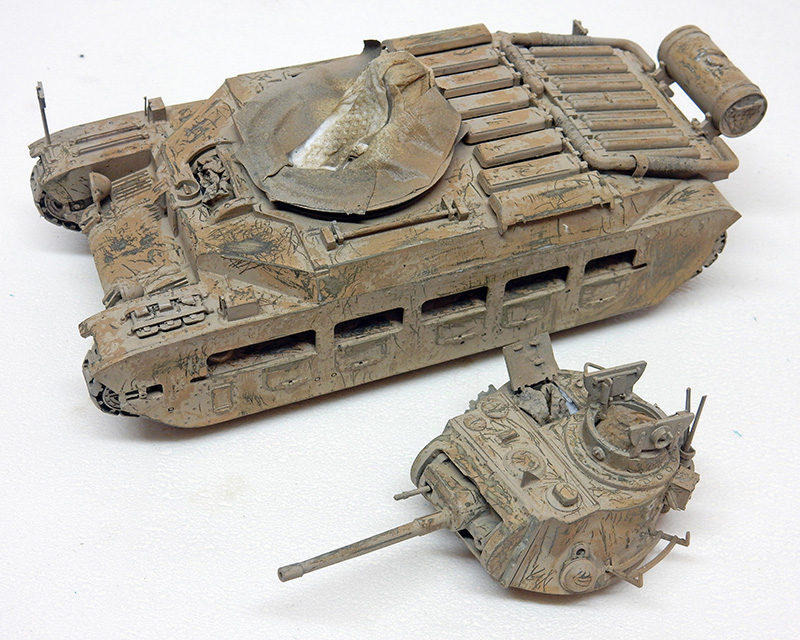
So, a dark green base coat, then hairspray: Tamiya XF59 Desert Yellow and Hobby Color HC85 Veil...
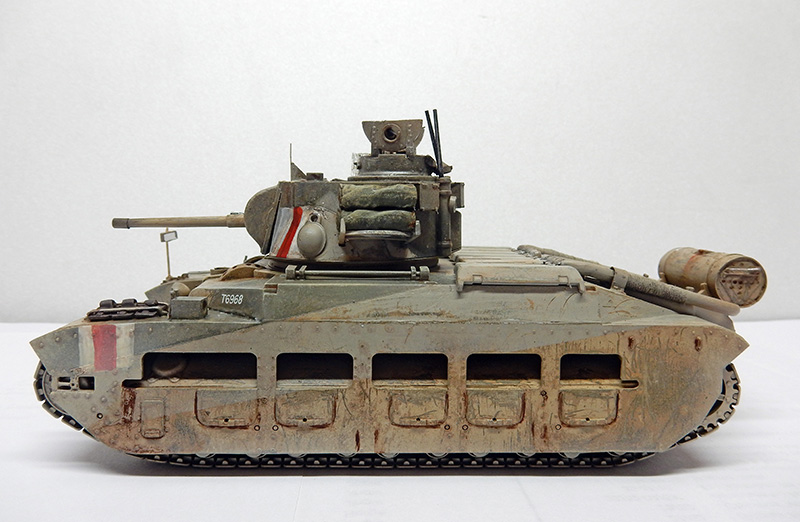
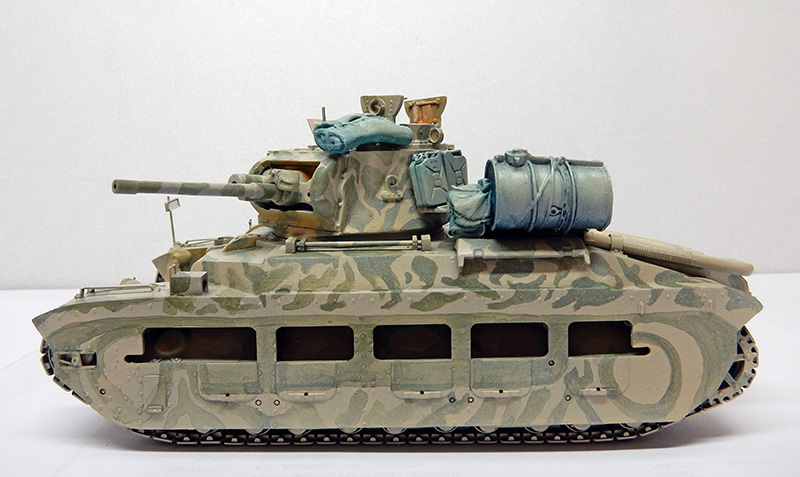
Next, for the camouflage: Hobby Color HC70 RLM02 field gray + white and HC48 field gray...
Following a controversy over the claim that British tanks were never painted blue, the camouflage will now lean toward green-gray and gray-blue—more realistic and less visible...
The second Matilda II
We always assume that a diorama is viewed from a distance, so the tanks in the background will be cut off and painted differently to enhance the effect. It will therefore be cut off laterally along one-third of the right side. The interior isn’t detailed, aside from the turret hatches, since it’s barely visible. There’s no rear fuel tank—few Matildas had one in the desert...
Painting
Here, too, the paint job is less "detailed" because the tank is part of the background scenery and is therefore less prominent. After applying a base coat of green, Hobby Color HC85 was applied as a wash...
A green camouflage pattern—found in a photo from the period in question—is painted over the entire vehicle. The large components are painted a uniform color to blend in with the surroundings...
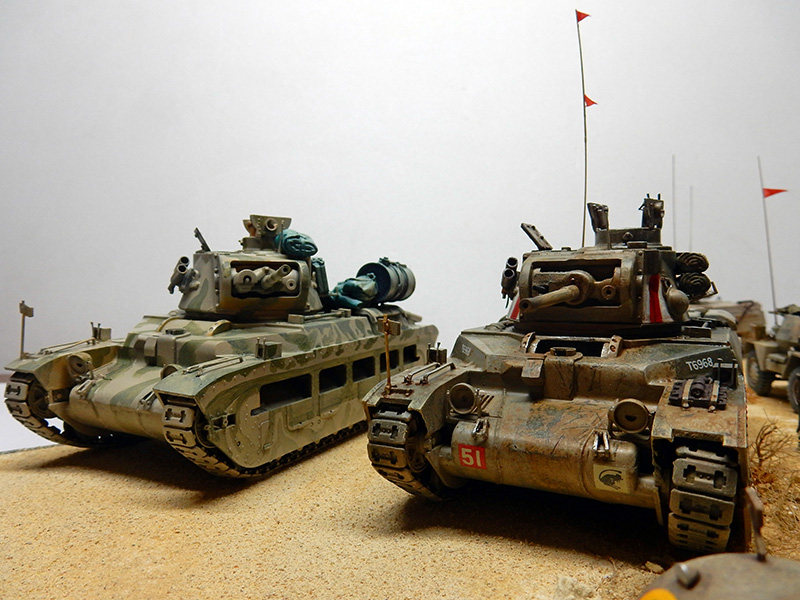
The two Matildas in place on the diorama...
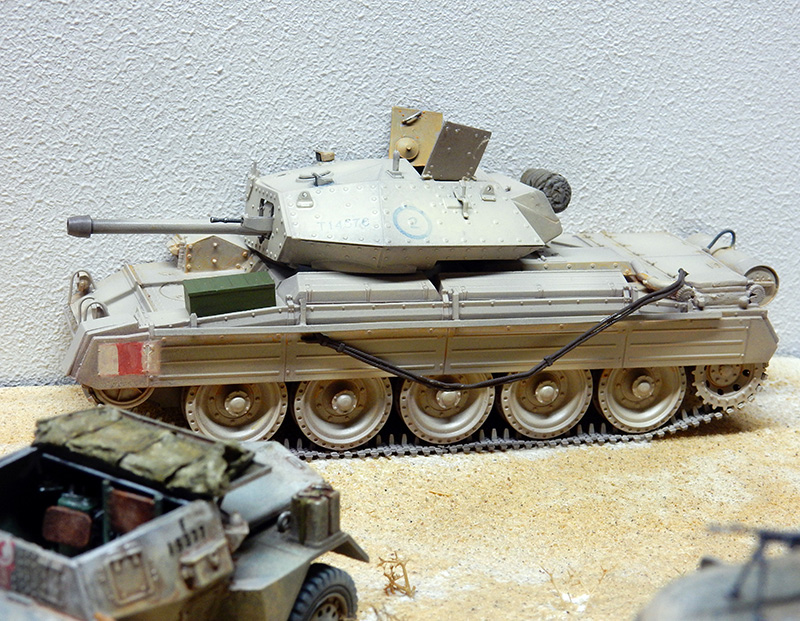
The Crusader III
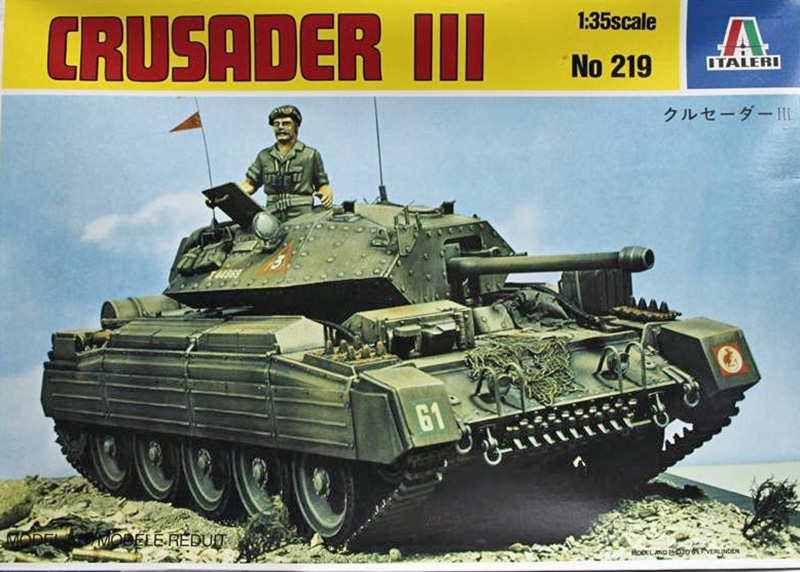
The Crusader III by Italeri. Here is a beautiful photo of the model built by François Verlinden when it was first released...
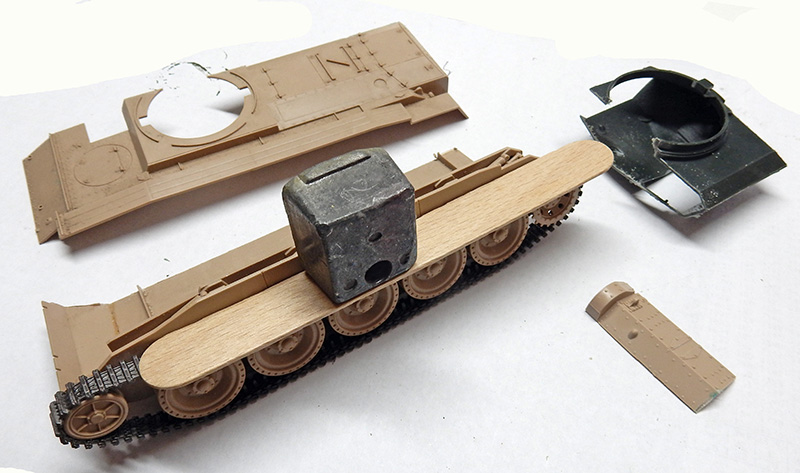
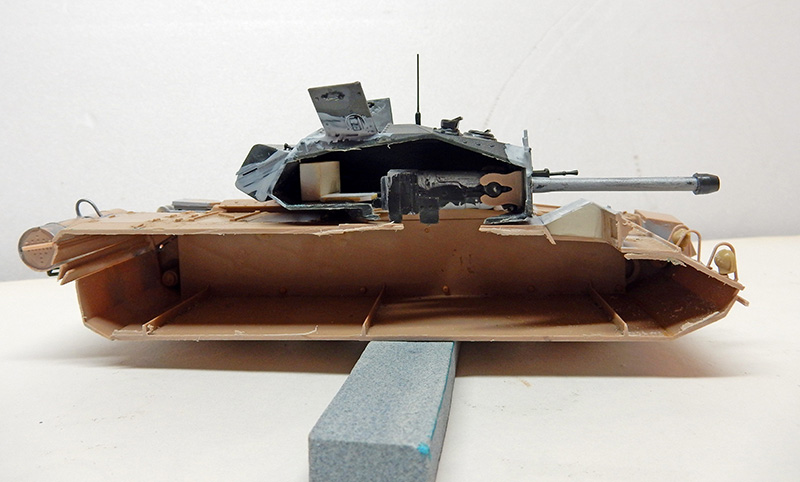
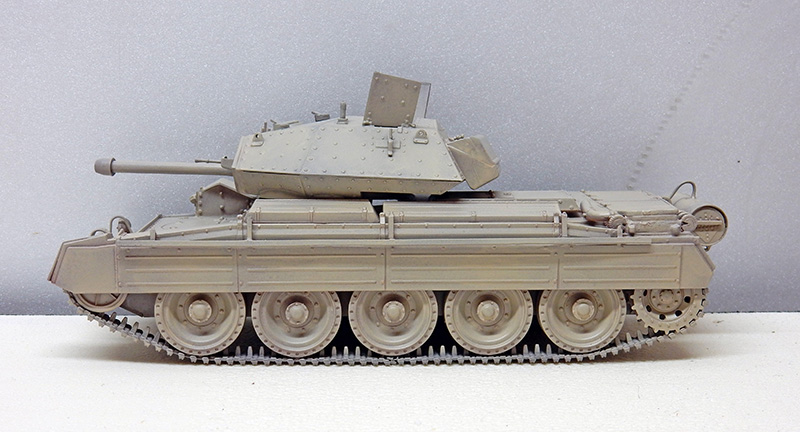
The kit is cut along one-third of its length, including the turret. The track is positioned and glued in place...
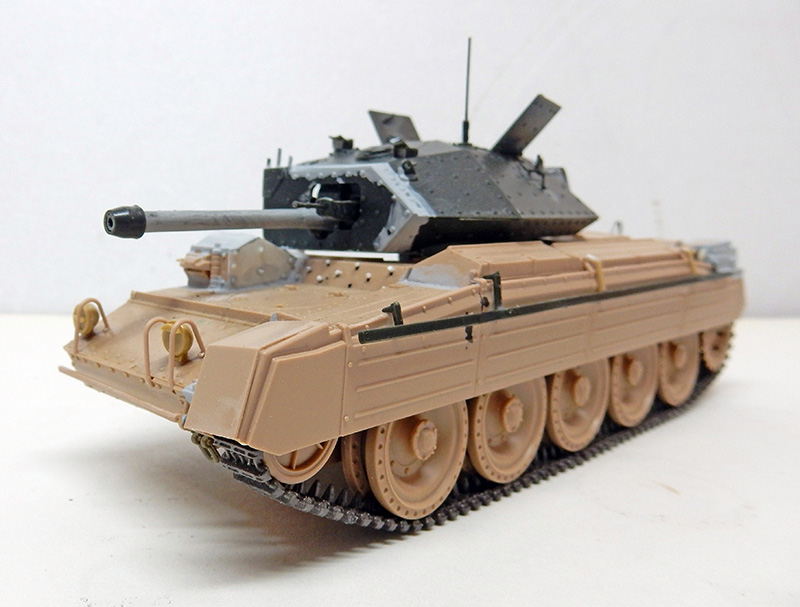
Assembly. A few details added, including some in the turret...
A "cross-section" view!
Painting
Paint: Hobby Color HC85 veil...
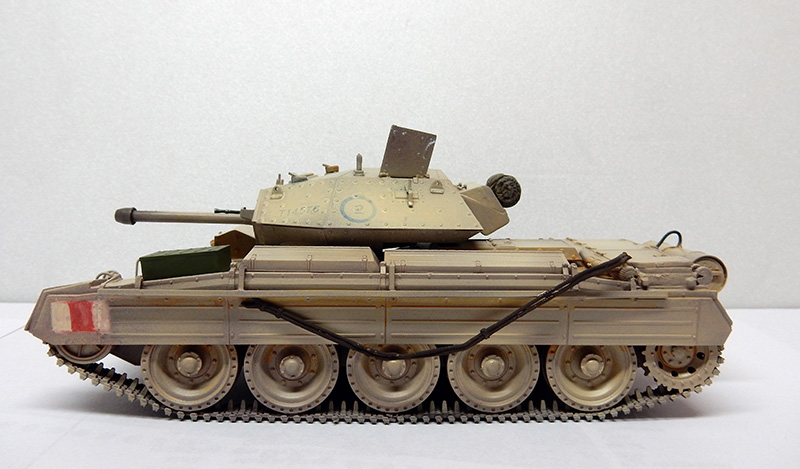
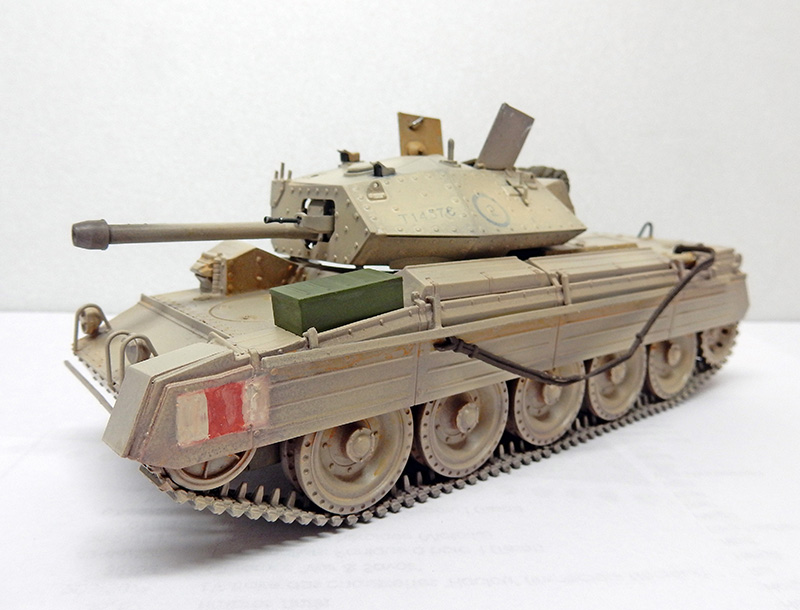
Applying the decals and painting the side markings.
Another view...
The vehicle is in place...
The Setting
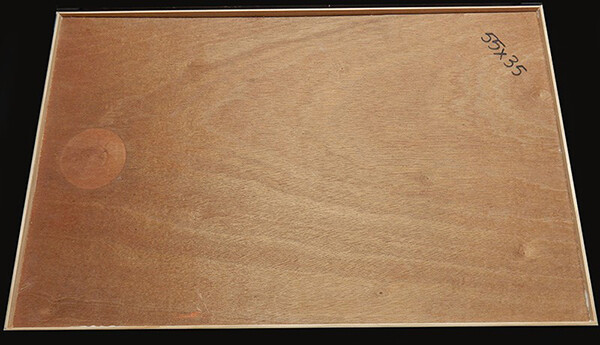
A 55x35 cm sheet of plywood. Frame it using moldings...
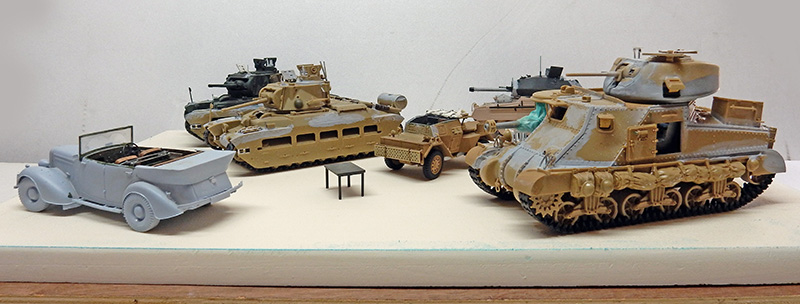
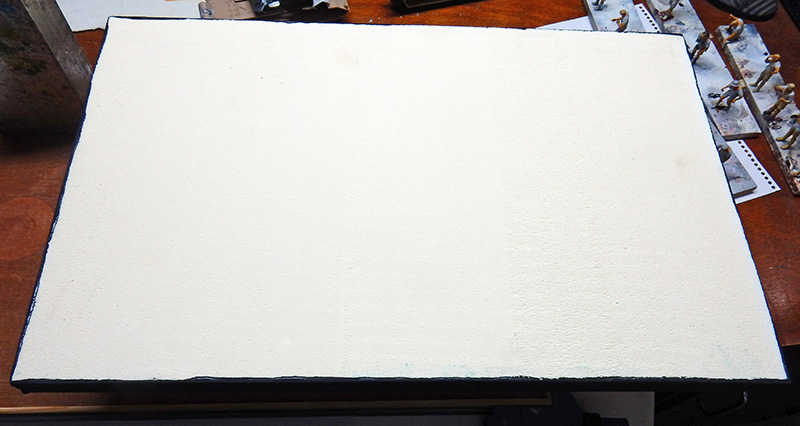
A 2-cm-thick sheet of "roofmat" (high-density polystyrene) is cut to raise the diorama within the frame, leaving a 5-mm gap all around. The edge of the panel is painted with matte black acrylic paint...
The ground is made from tile adhesive. “Pierruche”—a yellow powder used to grout cut stone—is sprinkled on top, along with some pebbles and a few blades of grass planted here and there. Before it dries, press a few tracks from caterpillars and wheels into the surface, taking into account that the ground is more or less hard. Finish by spraying the ground with liquid wood glue using a spray bottle.
Glue each vehicle to its respective spot using wood glue.
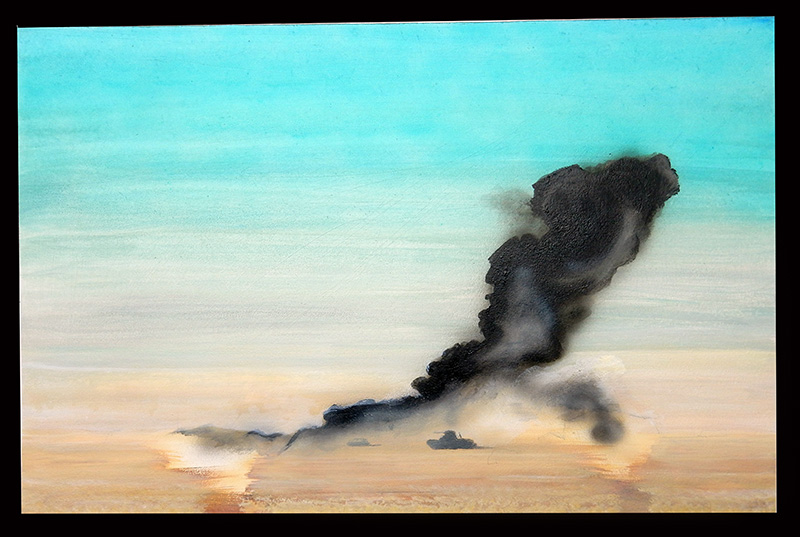
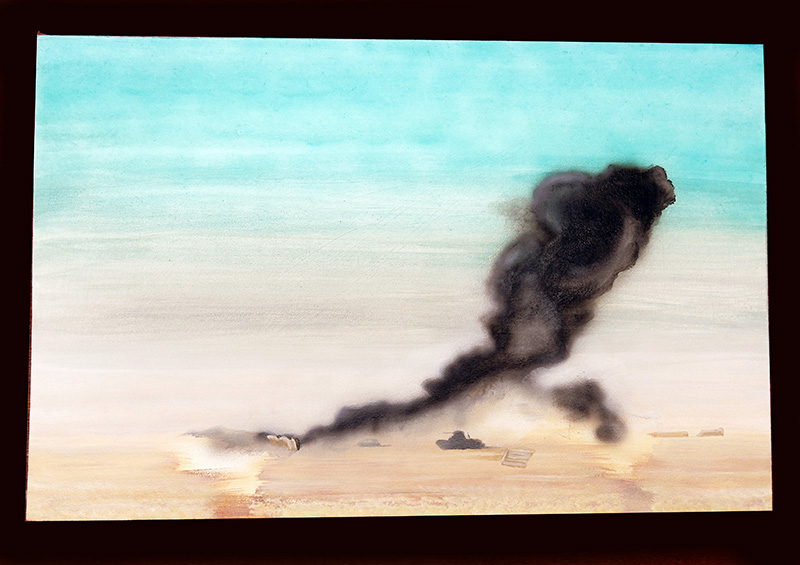
The background set piece is a 54x37 cm panel...
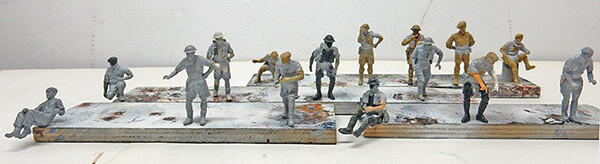
The figurines
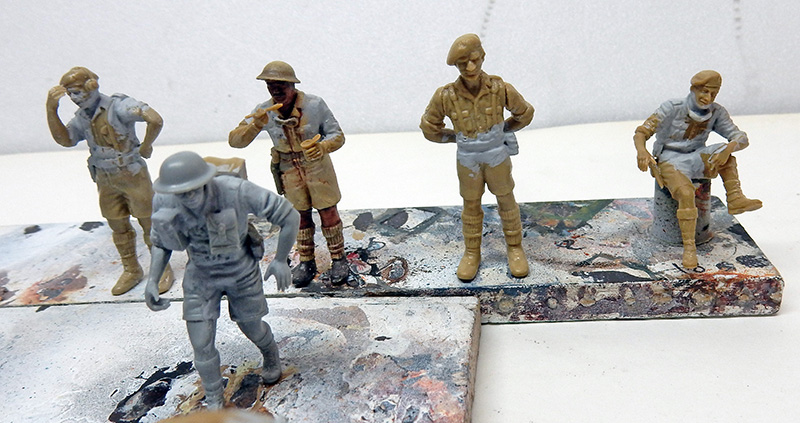
Fifteen figurines of British soldiers and tank crew members bring the whole set to life. They have been modified to varying degrees upon request...
The second one from the right is the only one in 1/32 scale that will be kept to display in the foreground...
Once assembled, they are treated with liquid putty for the seams. The skin is painted with acrylic paint, the straps and weapons with Winsor & Newton oil paint, and the rest with Humbrol oil paint...
The Background of the Set
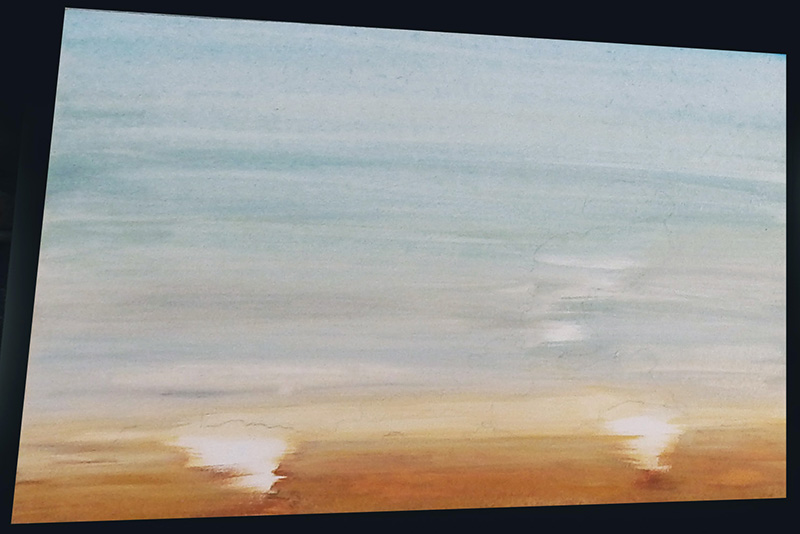
The panel is painted with a brush. A white-blue sky against a desert backdrop...
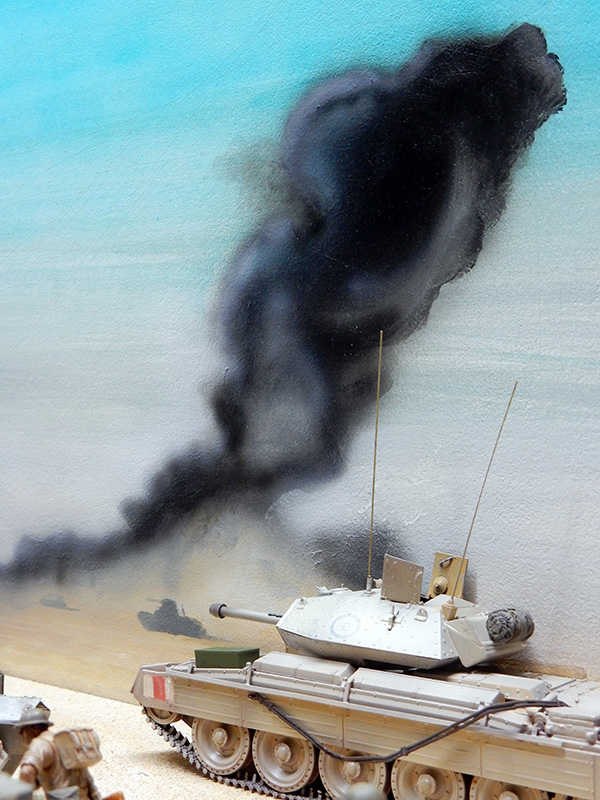
Plumes of smoke rise in the wake of the recent battle... The entire scene was painted with an airbrush...
We're emphasizing the effects to match the color of the background. The unpainted areas are those of the two tanks in the background...
Detail of the smoke cloud: we're giving a "velvety" effect to one part...