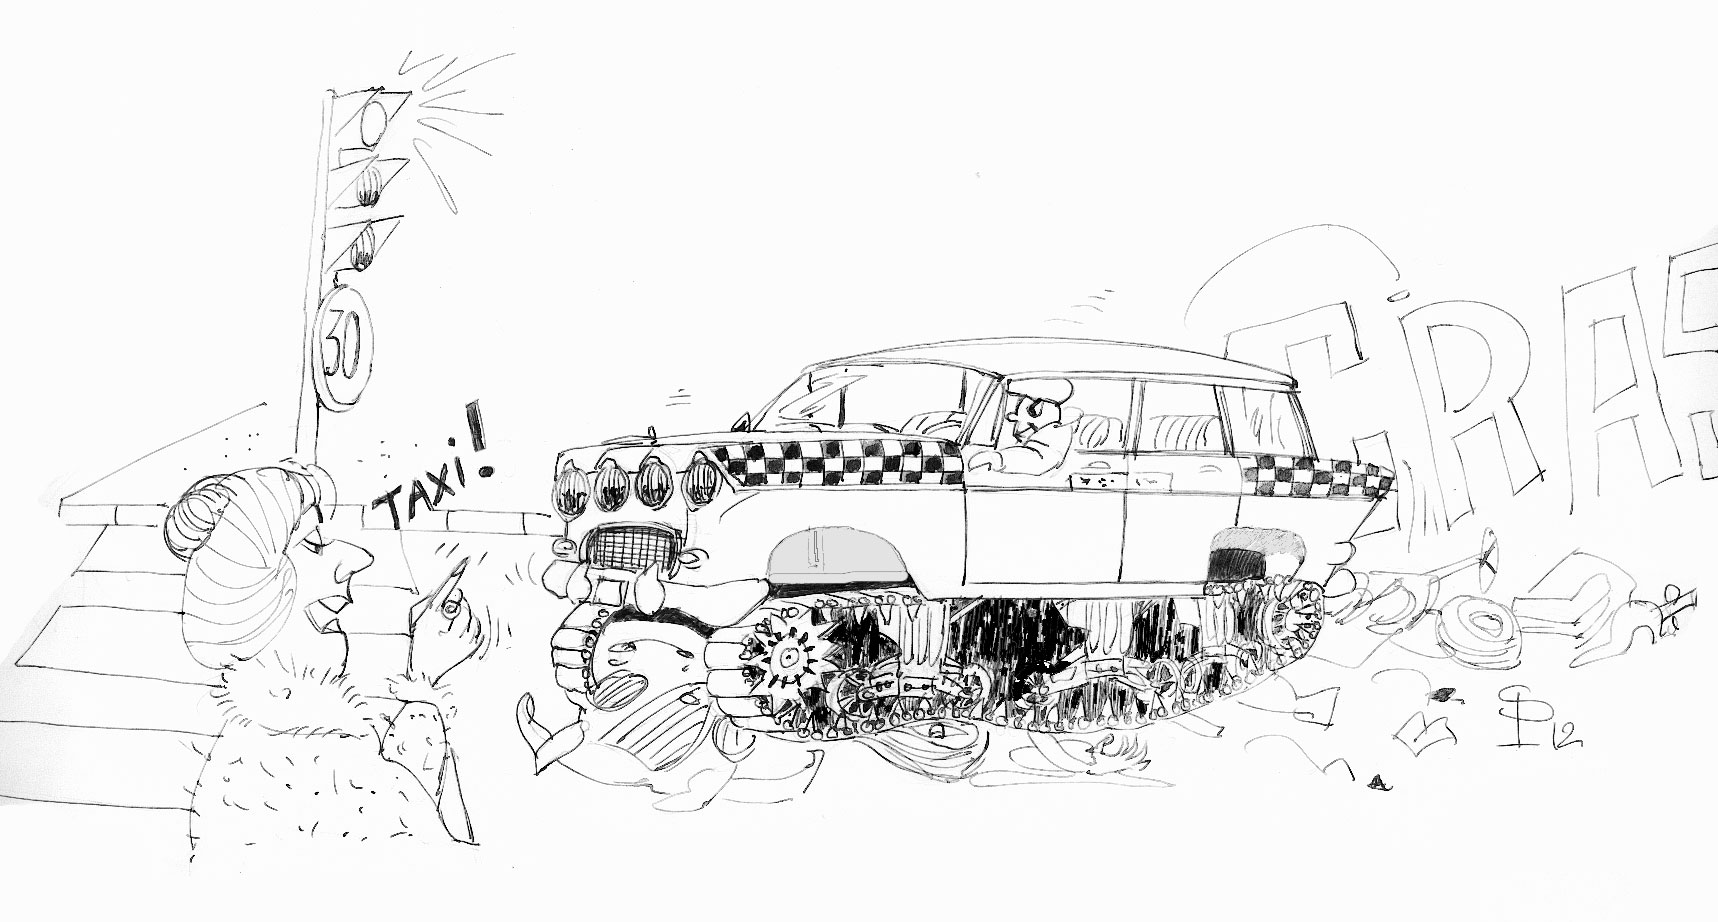
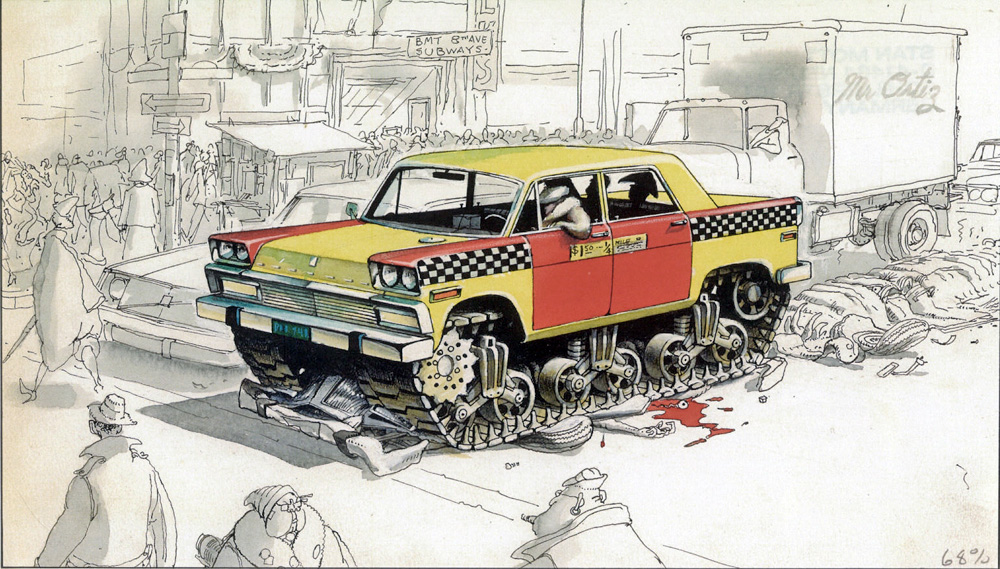
A drawing by artist Stan MOTT that I found online inspired this diorama...
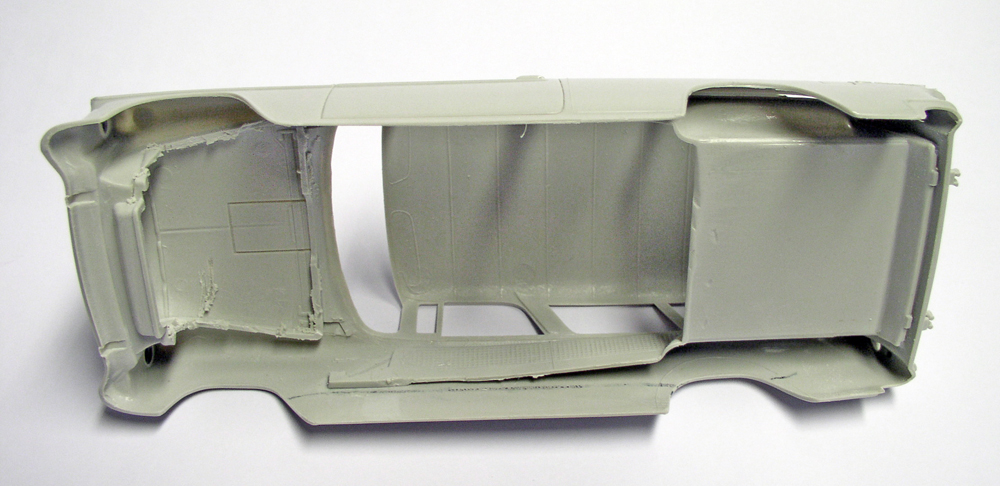
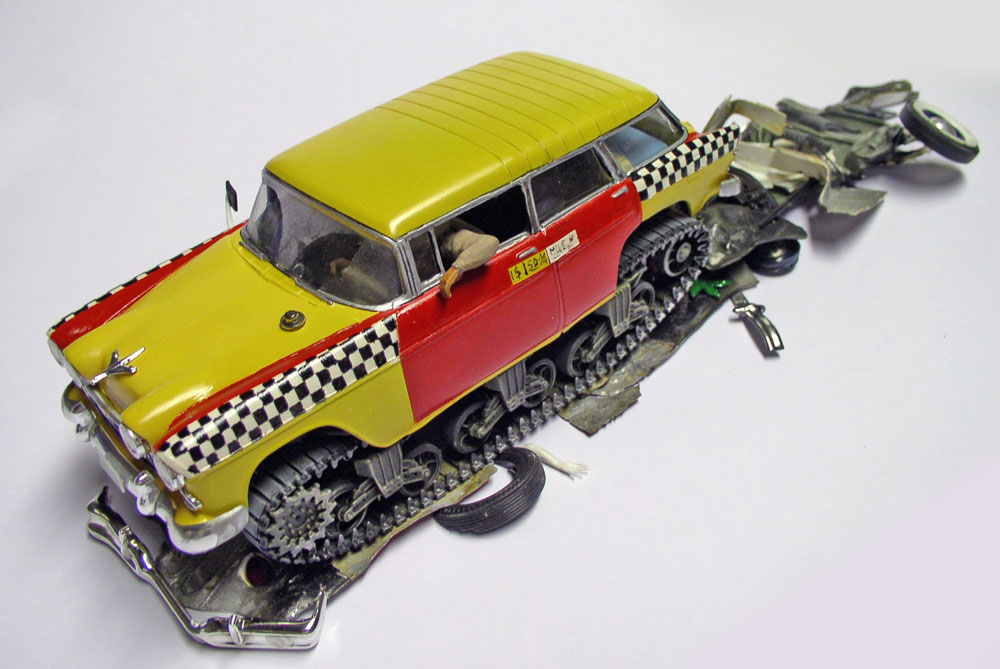
The vehicle will consist of two main parts: a 1/24-scale Chevrolet 55 body, the interior of which has been cut out—only the trunk and the side panels remain...
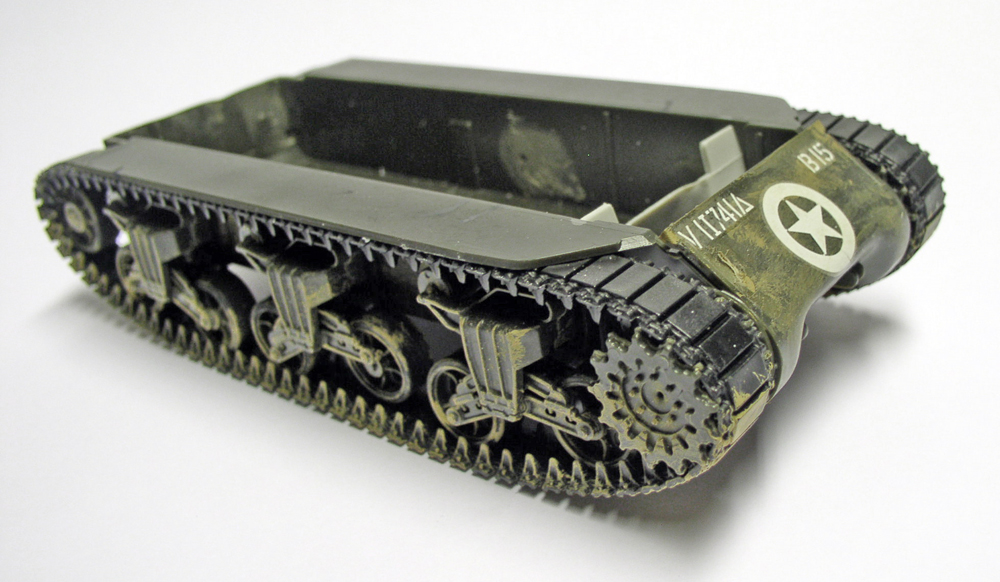
... And a 1/35-scale M4 Sherman tank chassis...
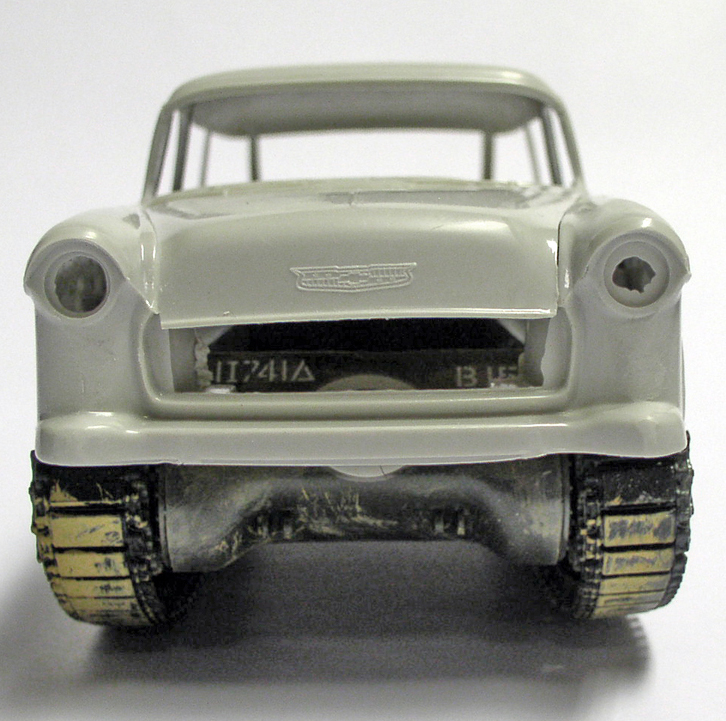
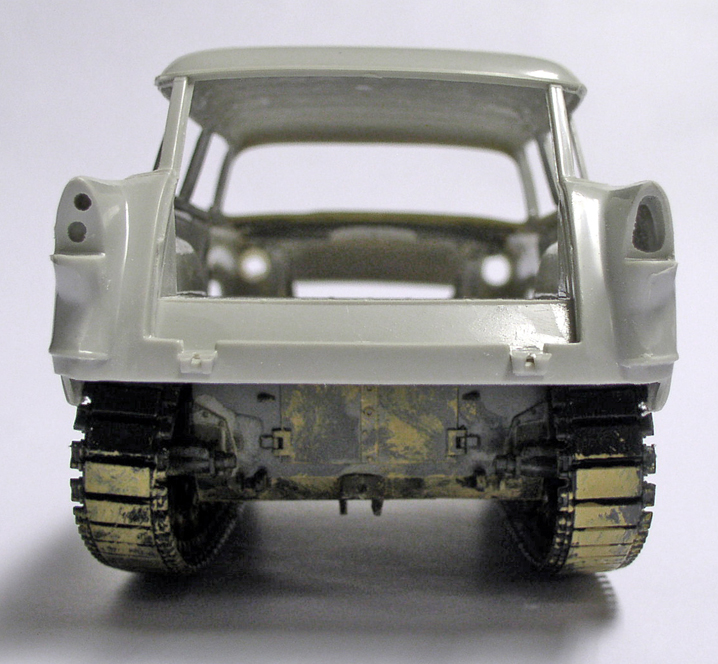
It turns out that the two parts, although on different scales, fit together perfectly to form the model...
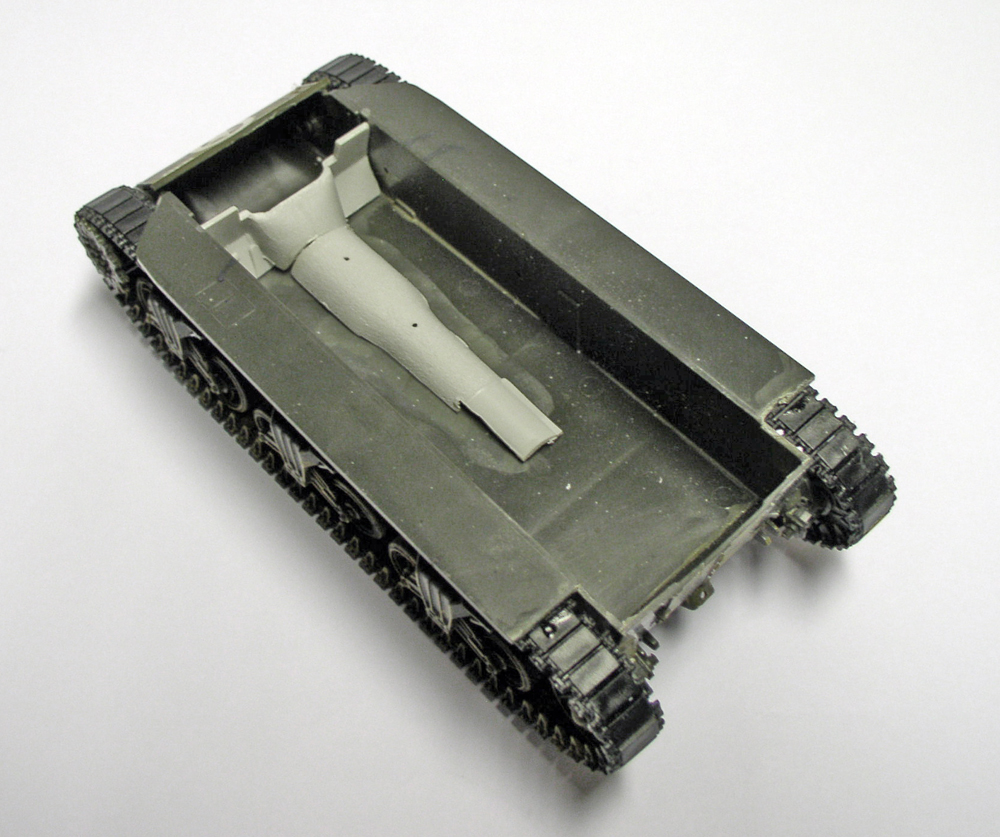
A section of the floor—including the pedals and the car's center console—is glued to the tank's floor...
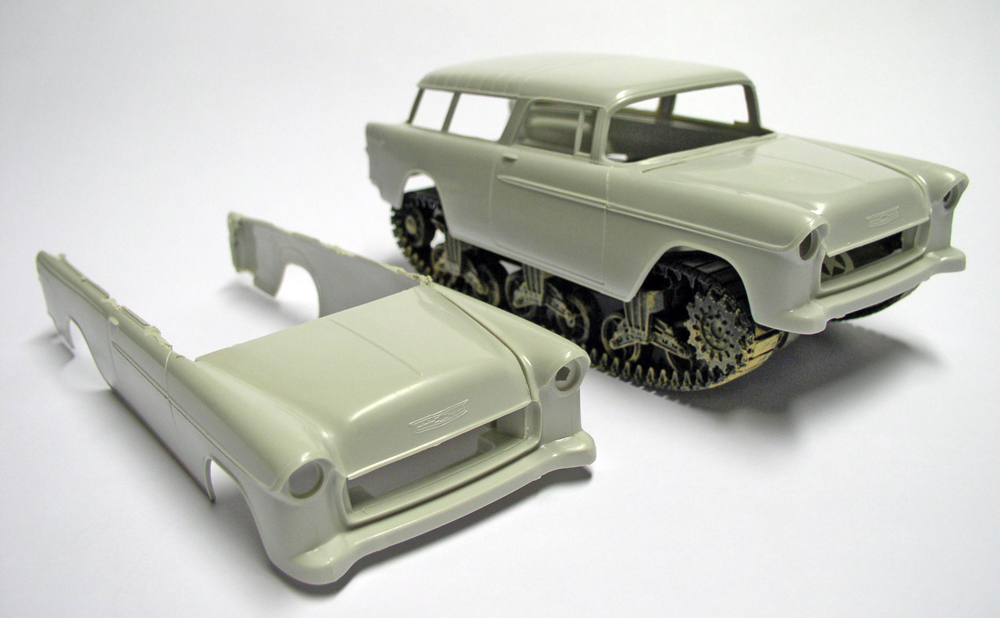
The design was reminiscent of New York City taxis and, although somewhat vague—somewhere between a 1958 Chevrolet and a Chrysler— I decided—to simplify the task while also complicating it—to go with a '55 station wagon, to which I would add a pair of headlights using two kits...
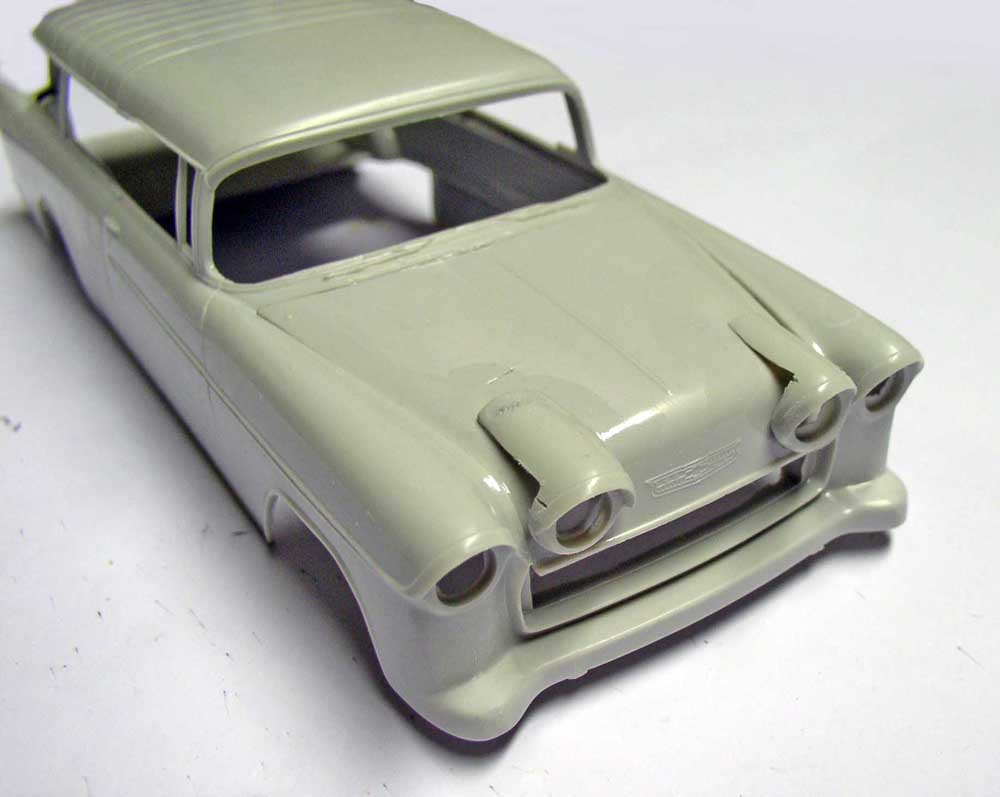
Cutting out and gluing the headlights onto the hood...
Cutting and gluing headlamps to the hood...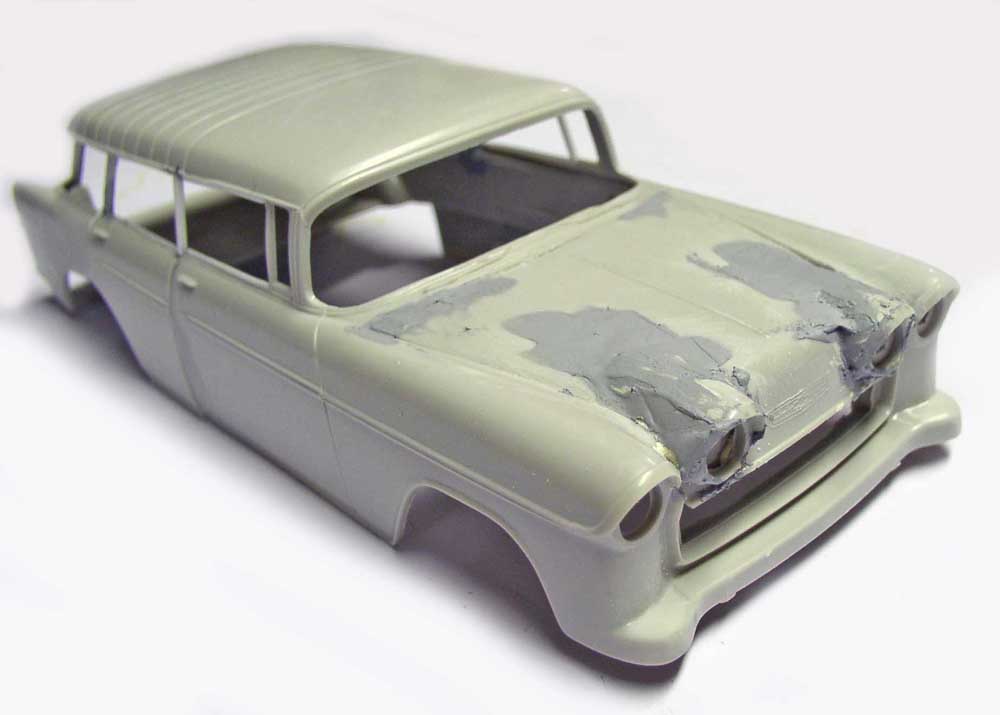
The doors: the problem with taxis is that they have four doors... The model used here—like most kits at this scale—has only two doors. So, using the second car, we take the two front doors, cut them to size, and reshape them so they can be mounted in the rear...
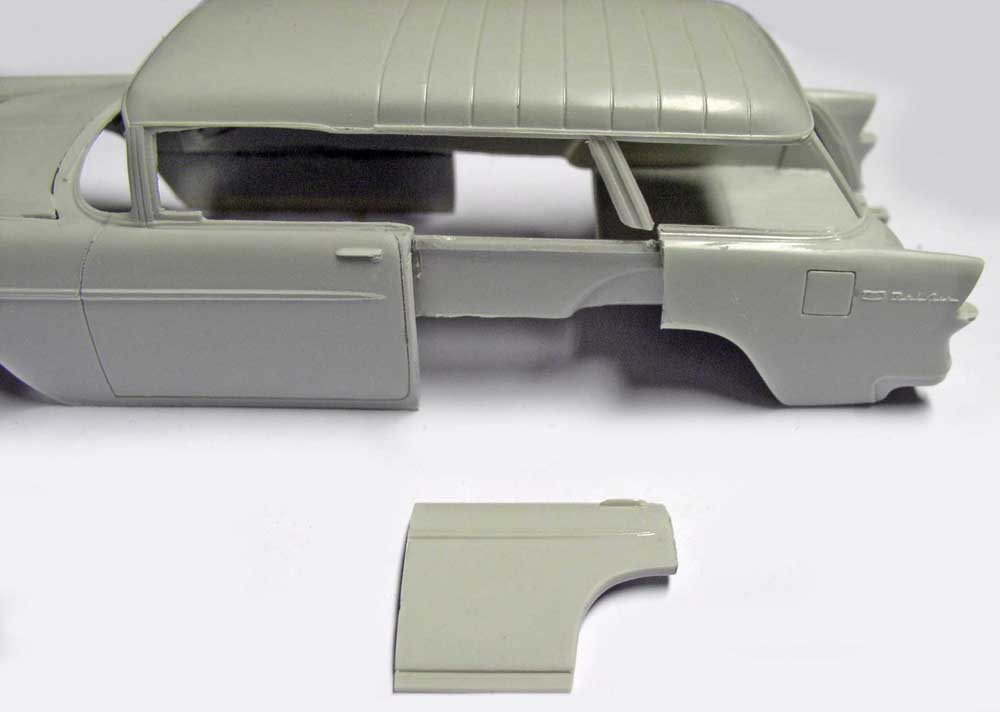
Then we cut out the opening for the future door in the future taxi...
Make door jambs and slots from plastic card and glue...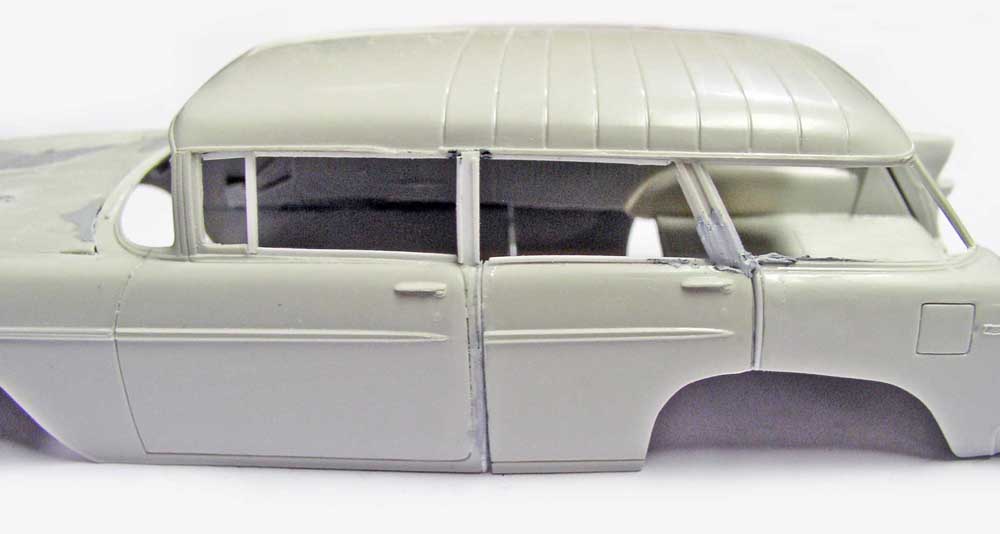
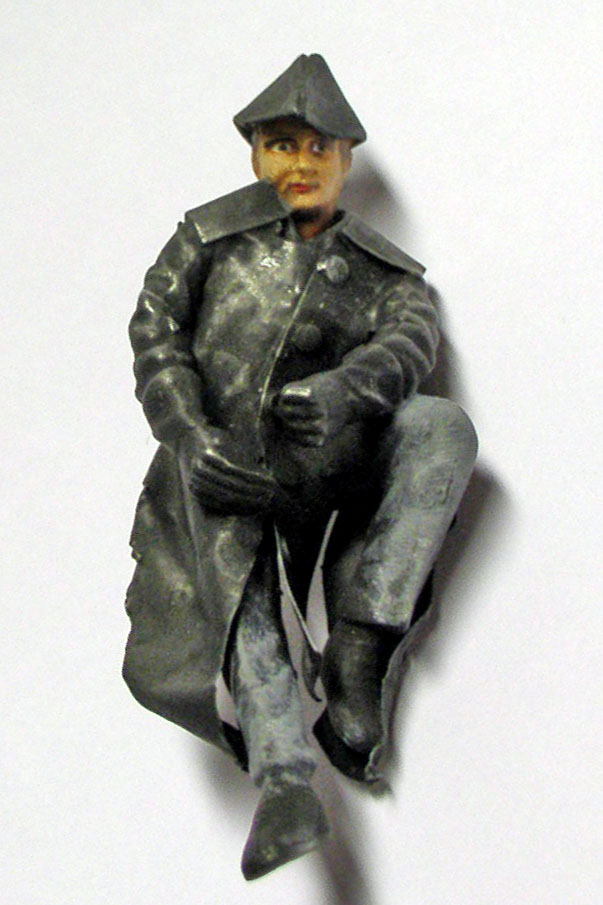
The figurines
The figurines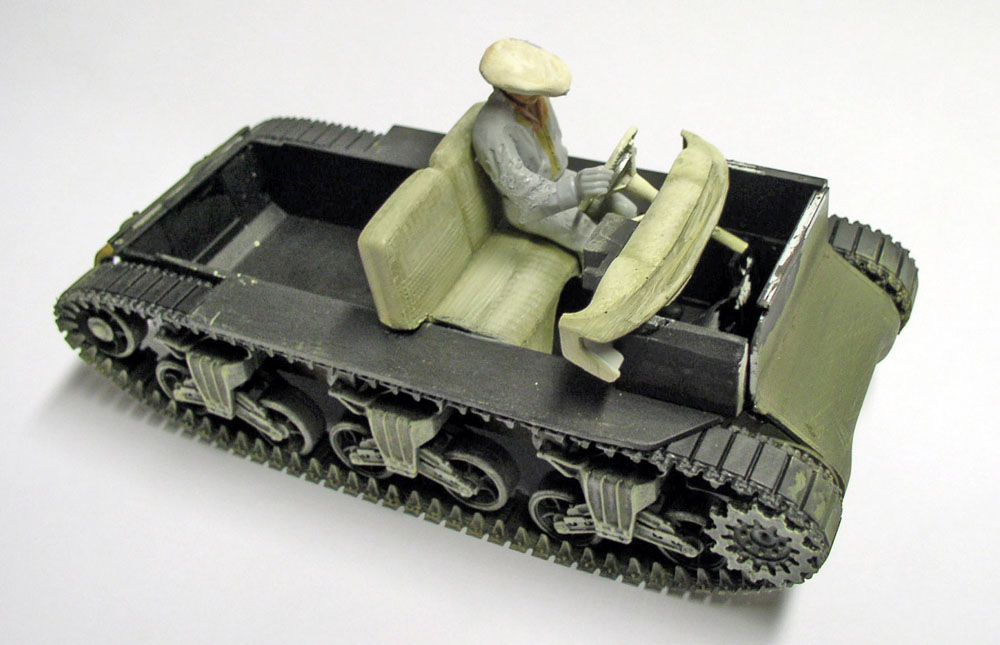
The front seats, steering wheel, and dashboard are positioned to accommodate the figure and the shell that will be placed on top...
Painting
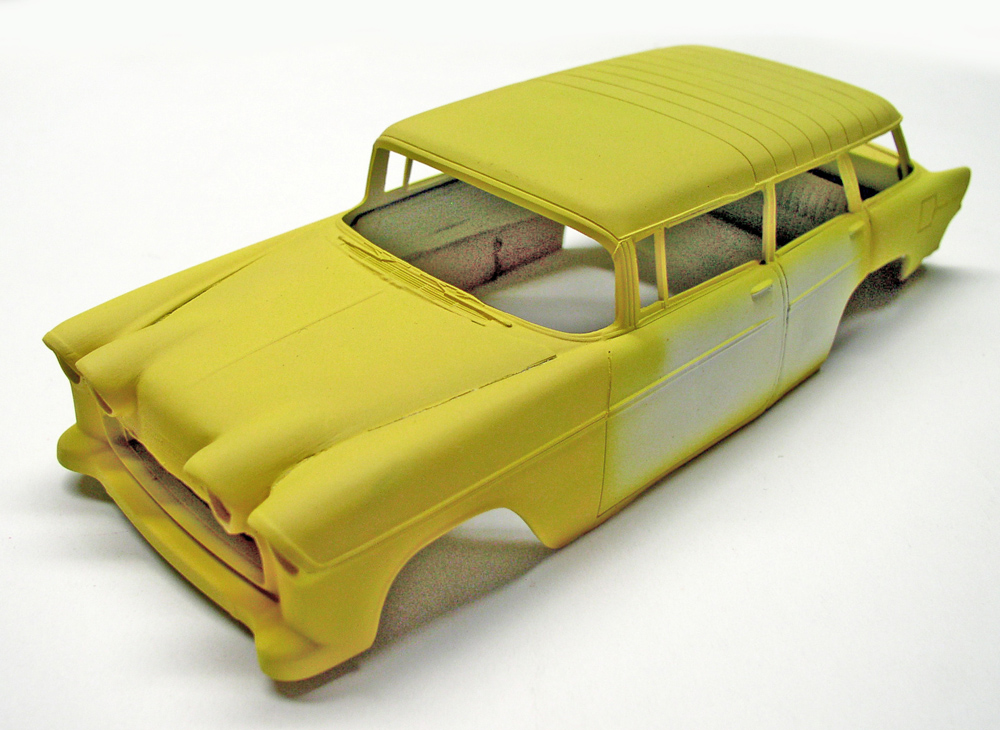
It's relatively easy. Airbrush on a coat of Revell Matte Yellow 15...
It's relatively easy. Airbrushing a Revell 15 matte yellow...
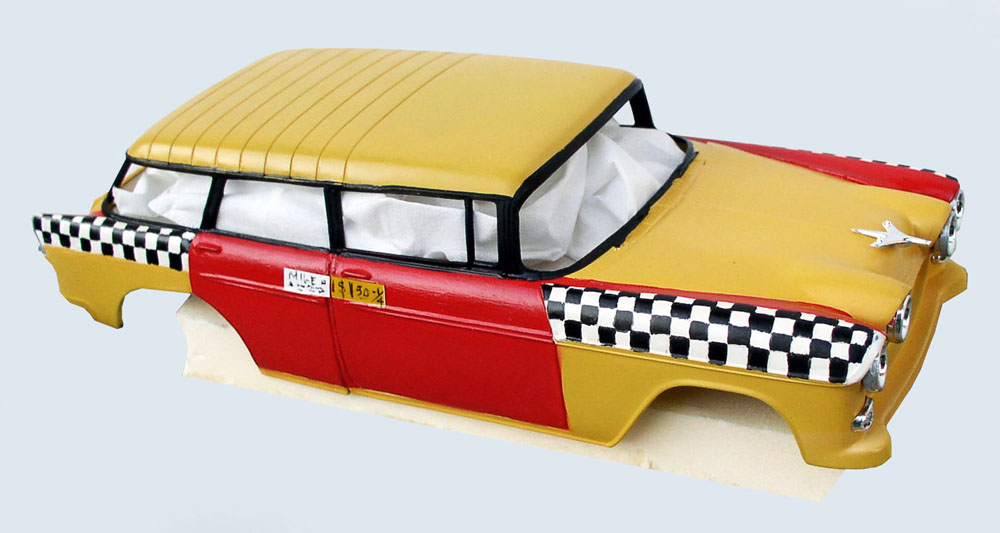
Humbrol Red 60 on the doors and fenders completes the look. The checkerboard patterns are painted by hand, as are the lettering on the doors. A gloss varnish is then applied, followed by a coat of Klir...
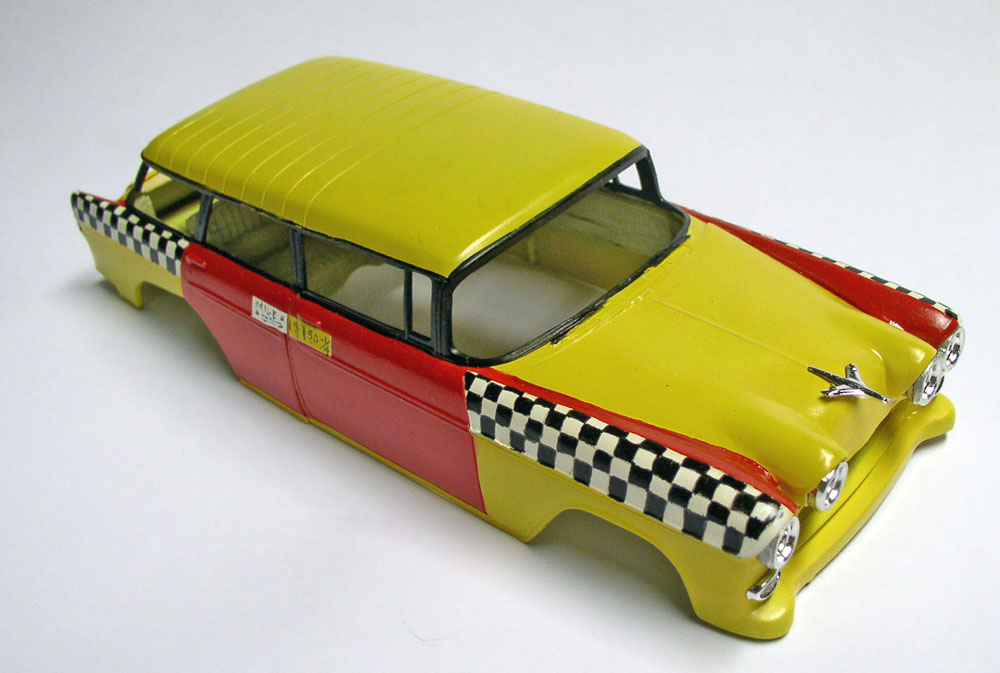
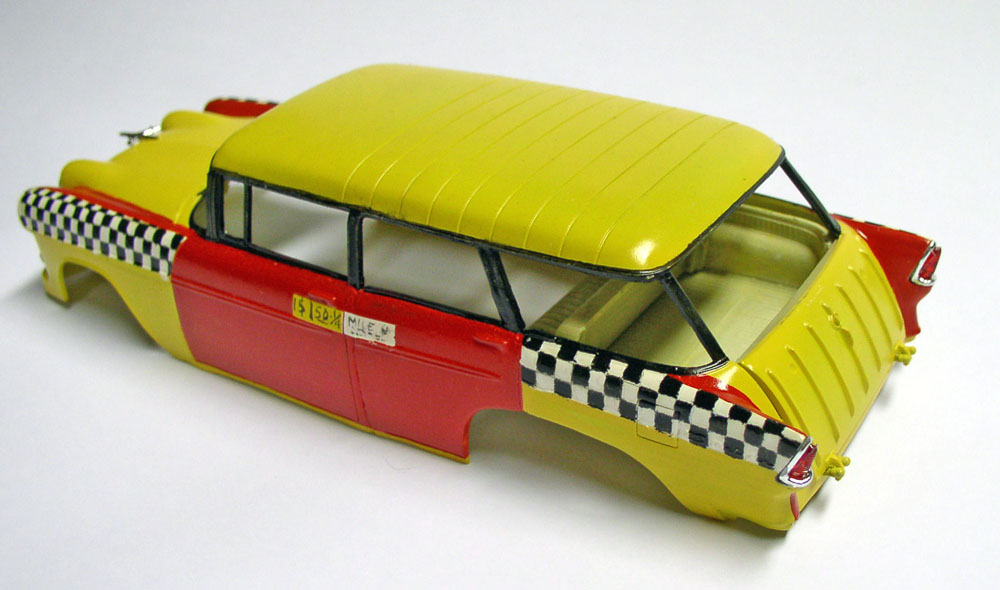
Paint the posts with Humbrol matte black. Install the headlights and taillights...
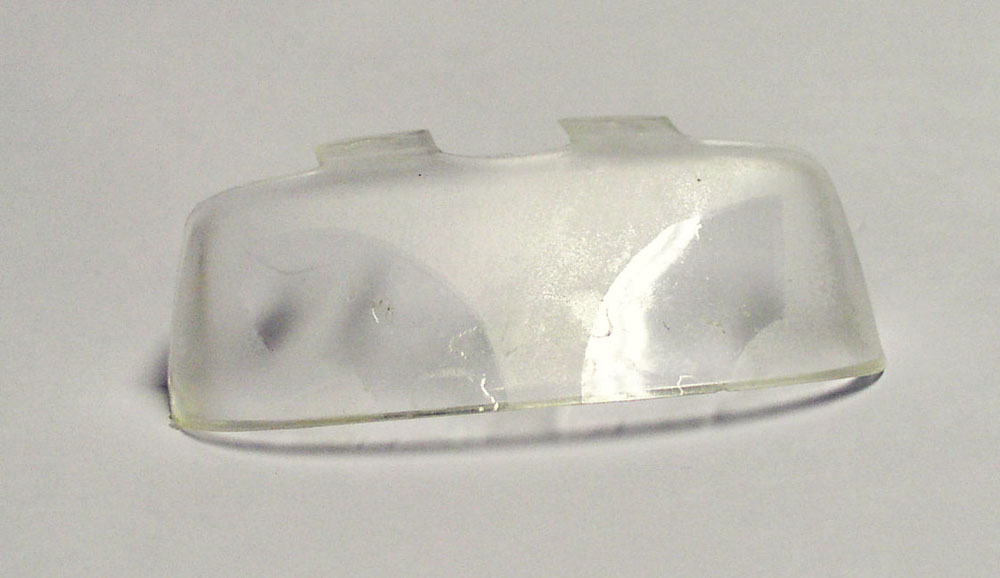
The front and rear windshields, which are connected so they can be glued to the ceiling as a single piece, are cut out separately. We apply stencils (invisible clear office tape) over the windshield wiper blades, then spray on matte varnish to simulate dust. Then we remove the stencils...
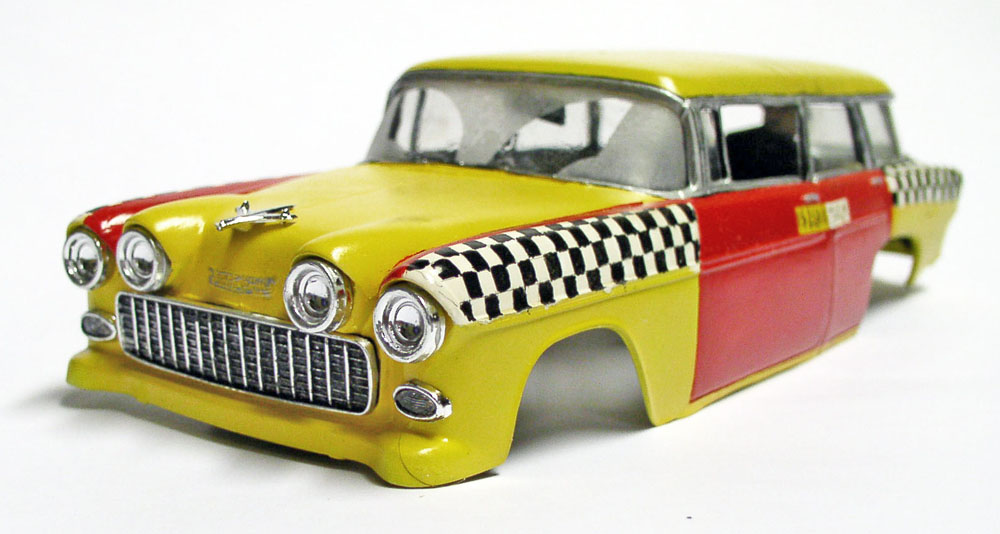
Brushing the silver pillars with Humbrol 11. Installing and gluing the windshields. The rear windshield includes the two rear side windows. The front door windows are cut from clear Rodoid... The front windows are glued with Klir. Install the engine grille after shading it (diluted black paint)...
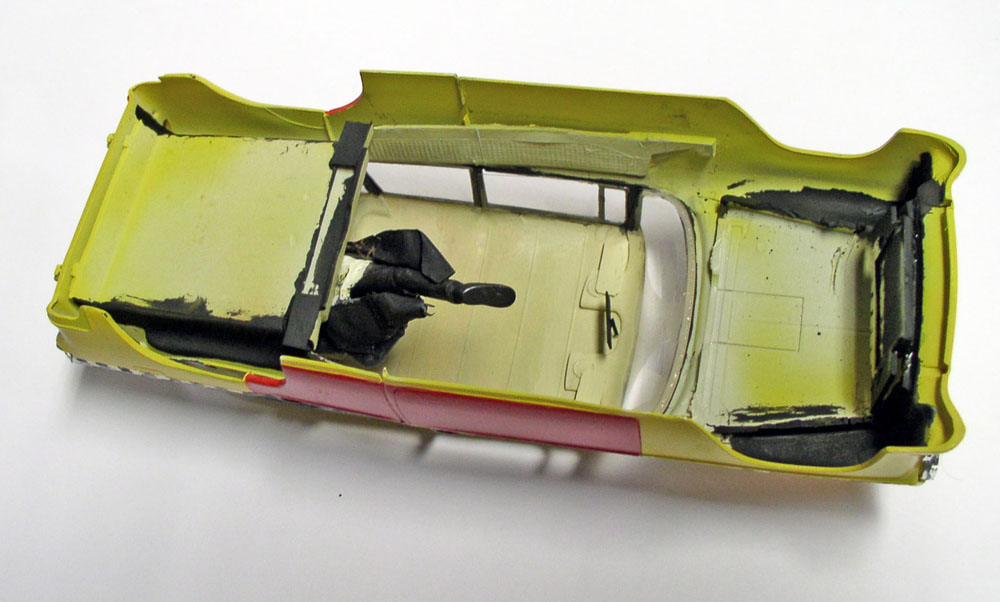
The two parts of the vehicle are finally assembled and glued together (phew!). I glued the figure's arm in place, filled in the gaps, and painted it. The rebuilt bumpers and license plates were attached and glued in place...
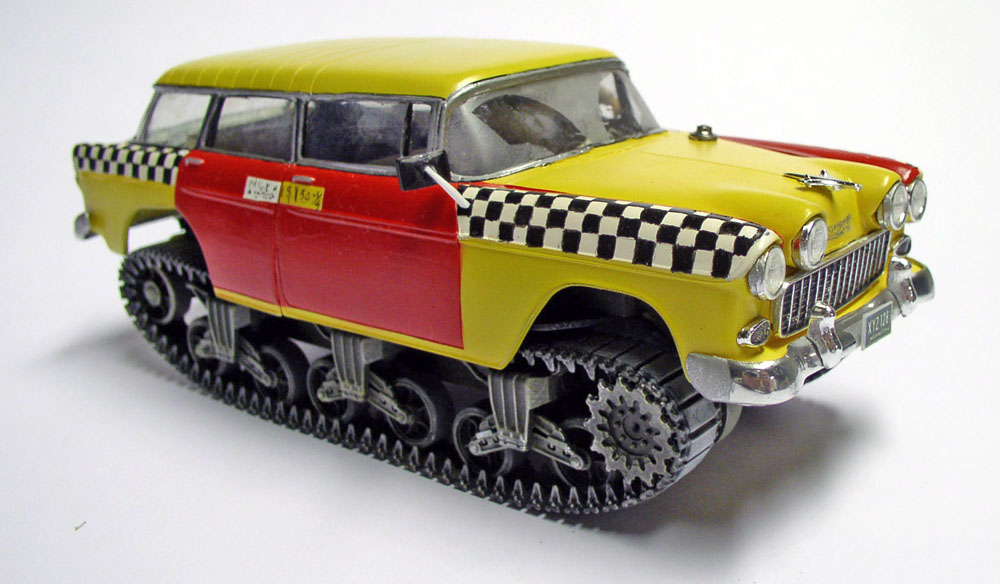
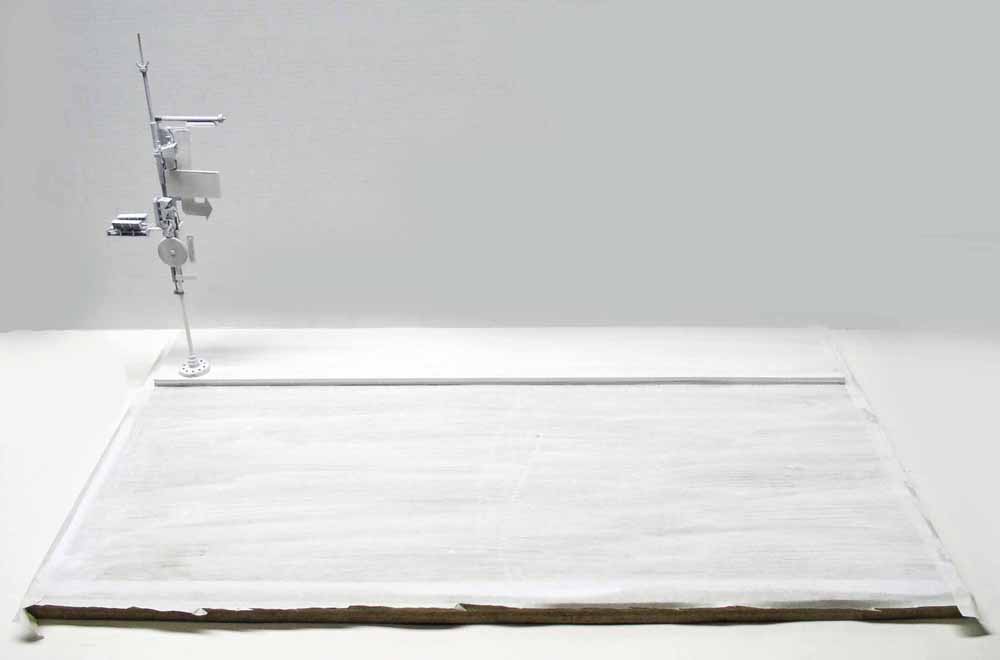
The Setting
Since there’s no building facade, a traffic light on the sidewalk will indicate where the action takes place. Due to a lack of characters at this scale, there won’t be any pedestrians crossing the crosswalk...
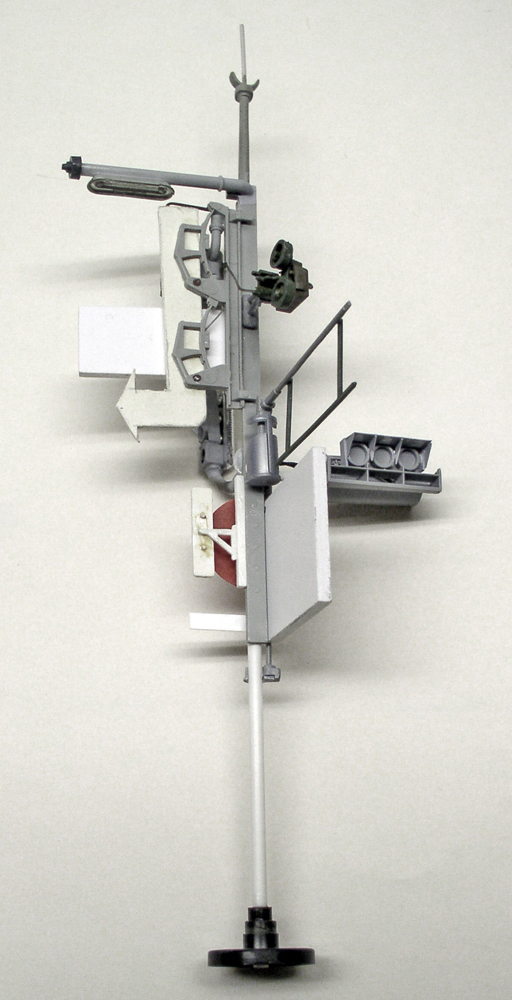
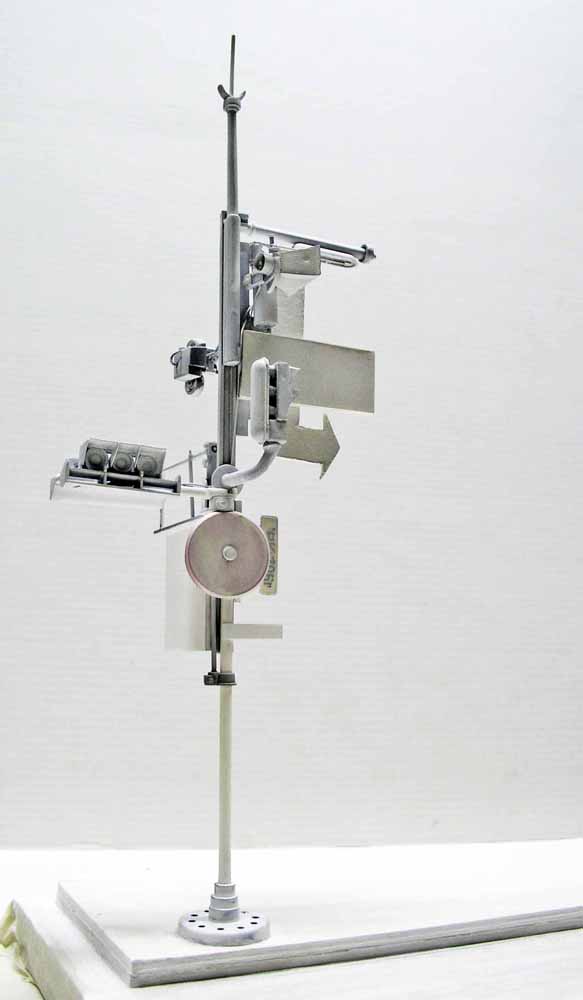
The lights and advertising signs are made using parts from the surplus box...
Vehicles waiting at the traffic light in the right lane along the sidewalk. A Lincoln and a Ford, with drivers added. The whole scene is painted white...
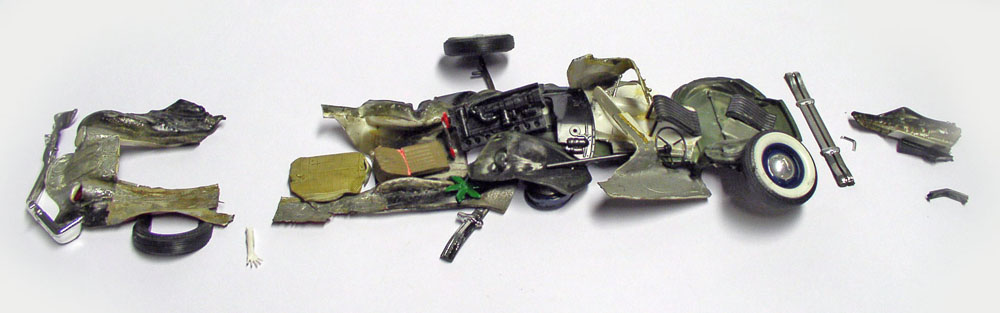
The vehicles crushed by the taxi. Some parts were heated to cause deformation. Pieces of lead sheet were used to simulate crumpled sheet metal...
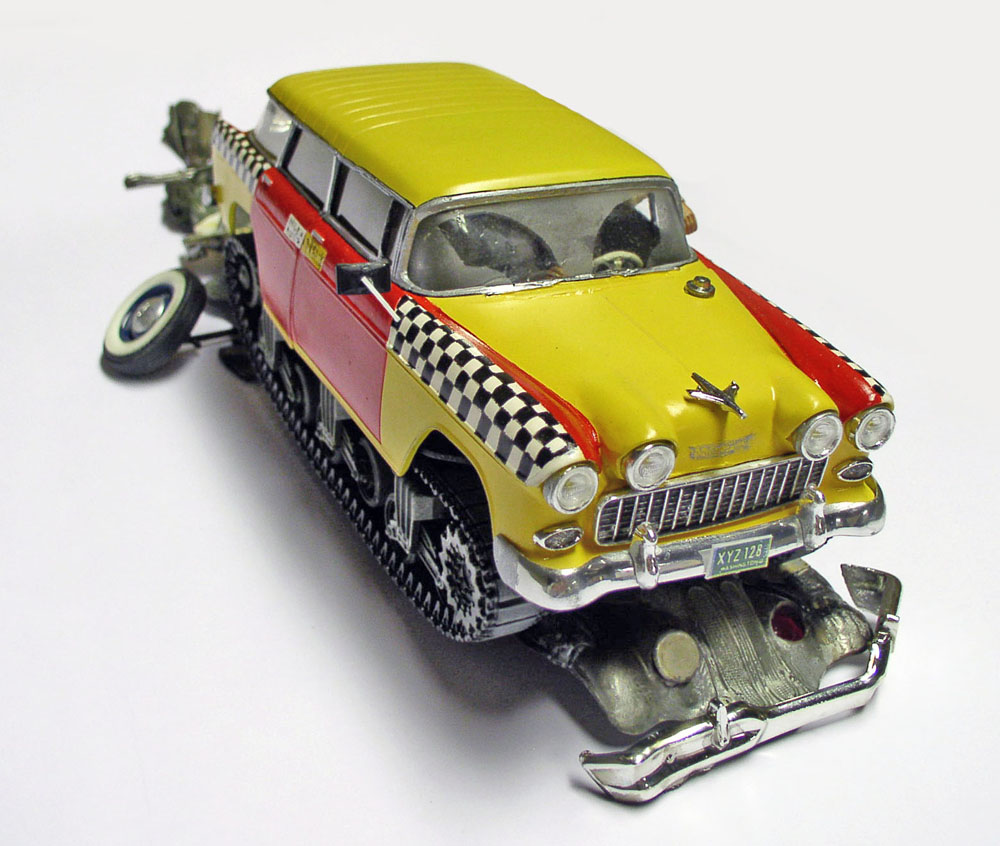
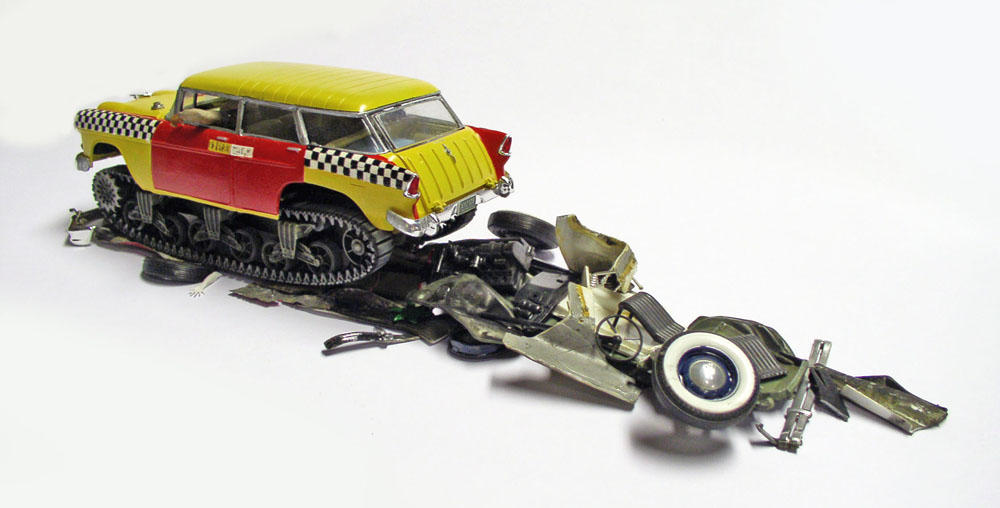
Positioning tests...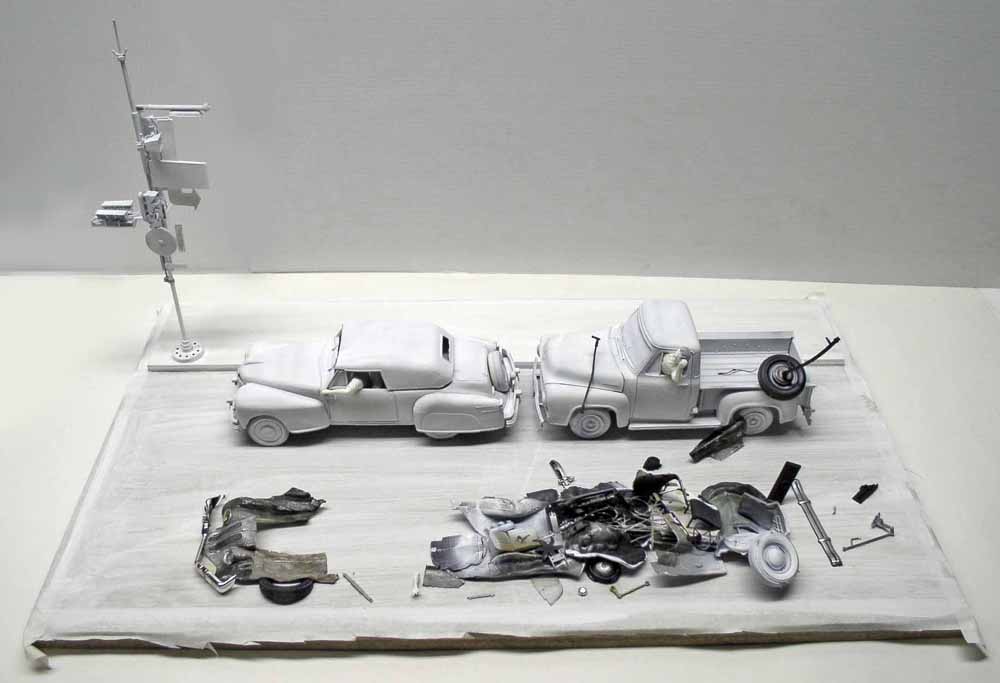
Set piece. After the crash, some parts fly into the air and fall onto nearby vehicles...
The little scene. I decided (in consultation with myself) to stay true to the drawing. The white background draws the eye to the main subject and highlights the action (in color)...
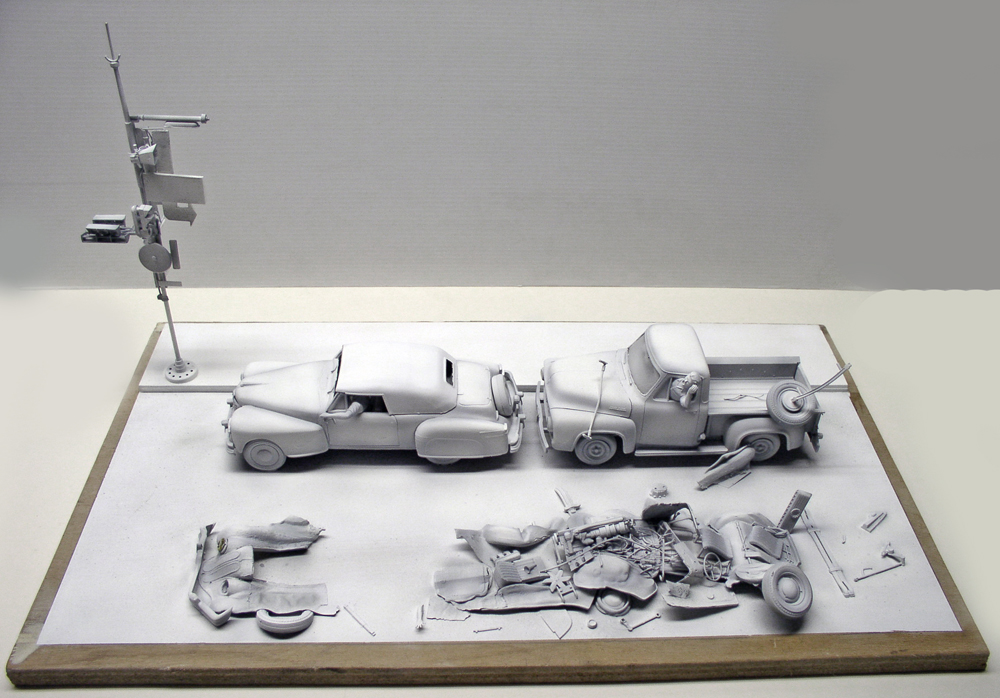
The entire model is airbrushed with Humbrol matte white. A coat of light gray is then applied to simulate shading and add a bit of depth to the scenery...
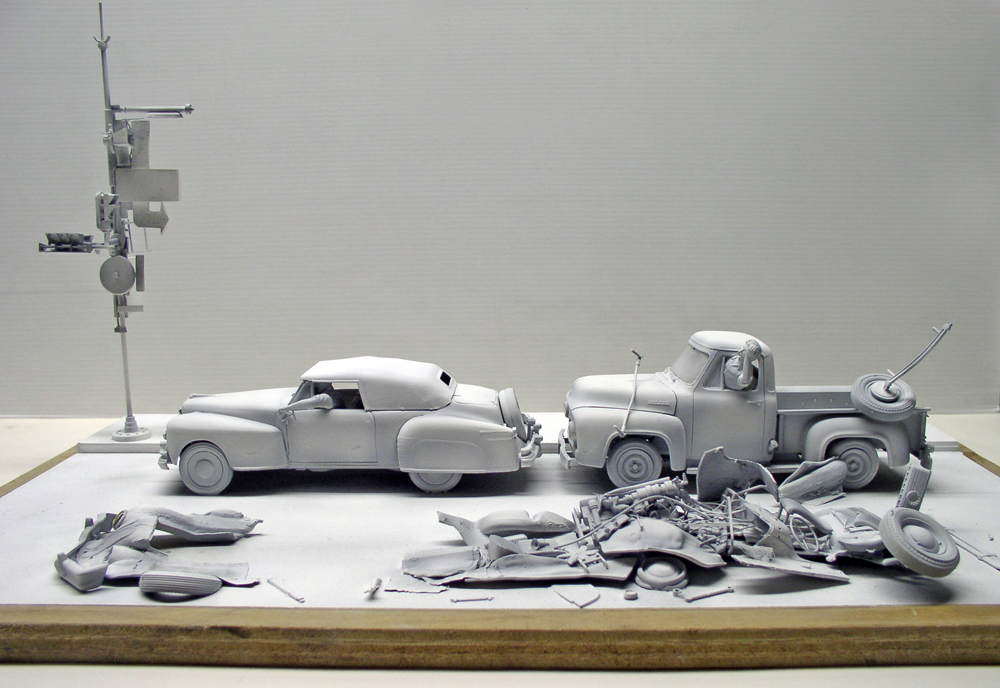
It's hard to see in the photos...
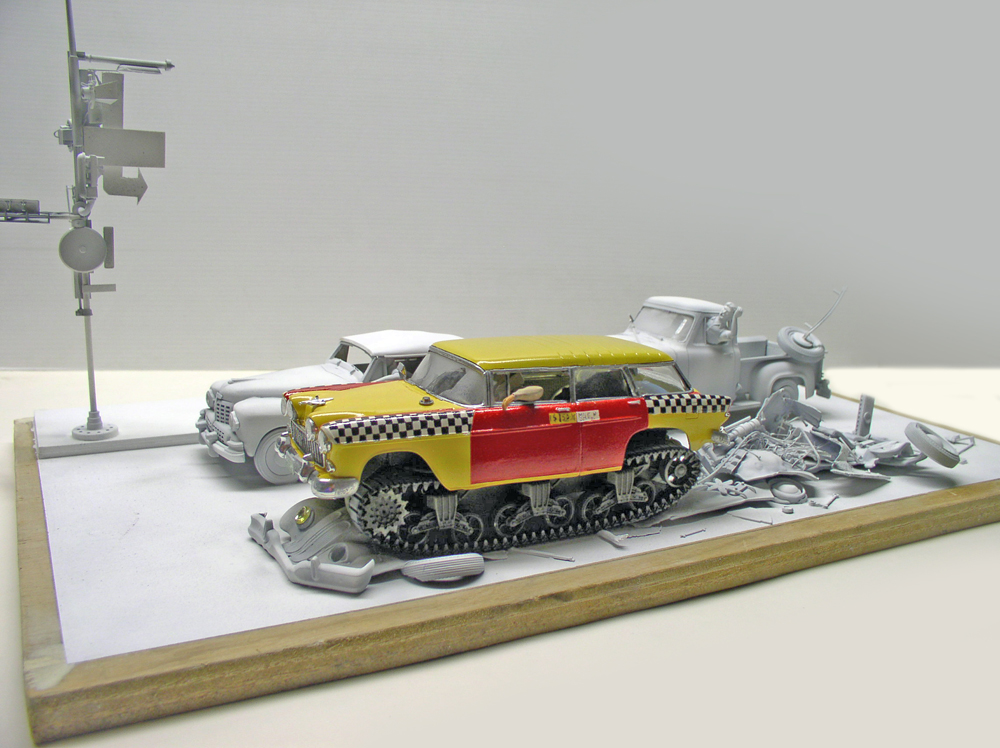
Gluing the vehicle to the scenery...
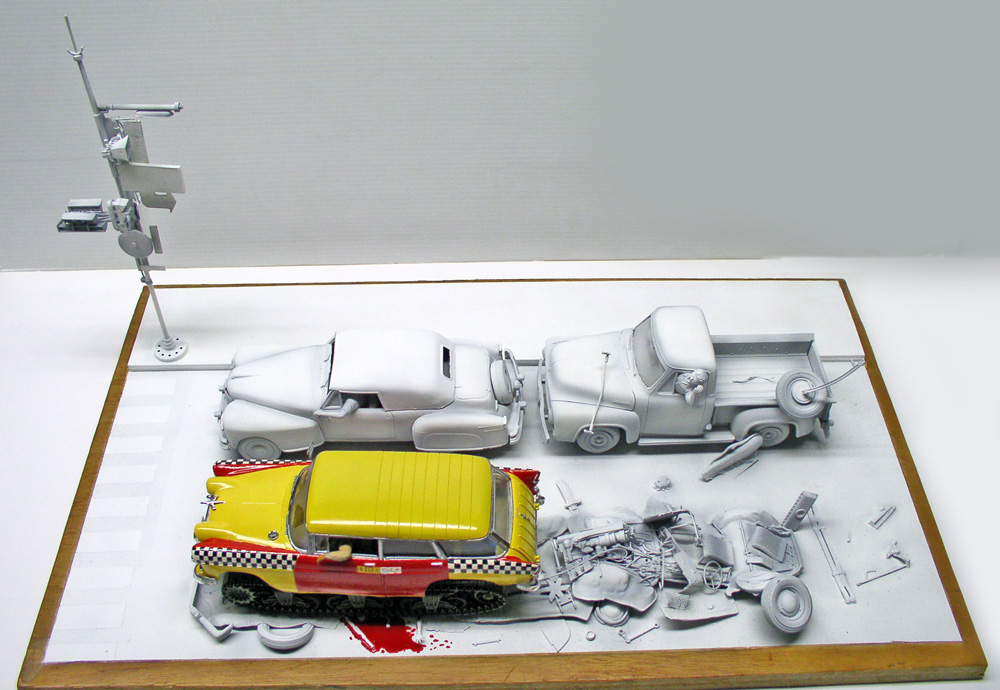
The pool of blood is painted with bright red...
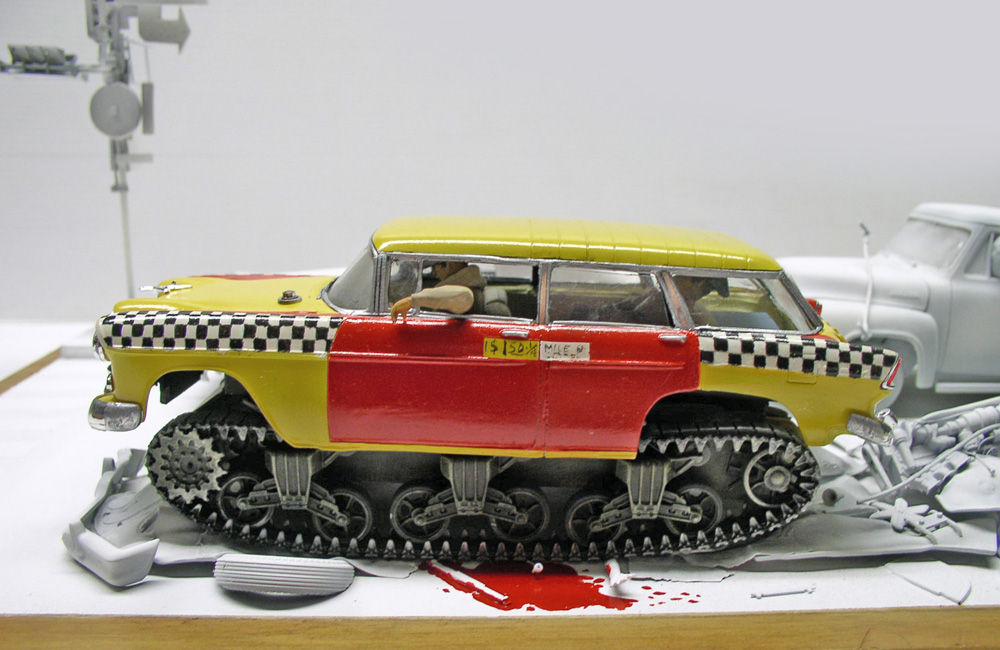
Next to the arm, an oversized eye in the middle of the puddle...
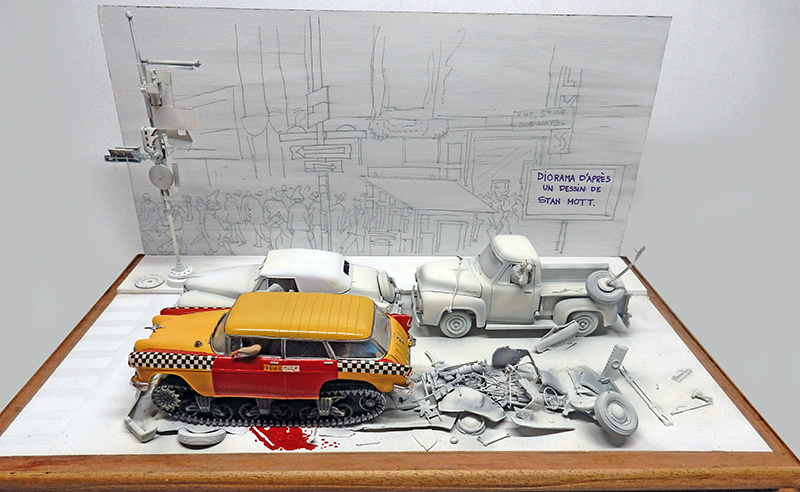
All in all, an interesting and very original topic that gives one pause for thought...

