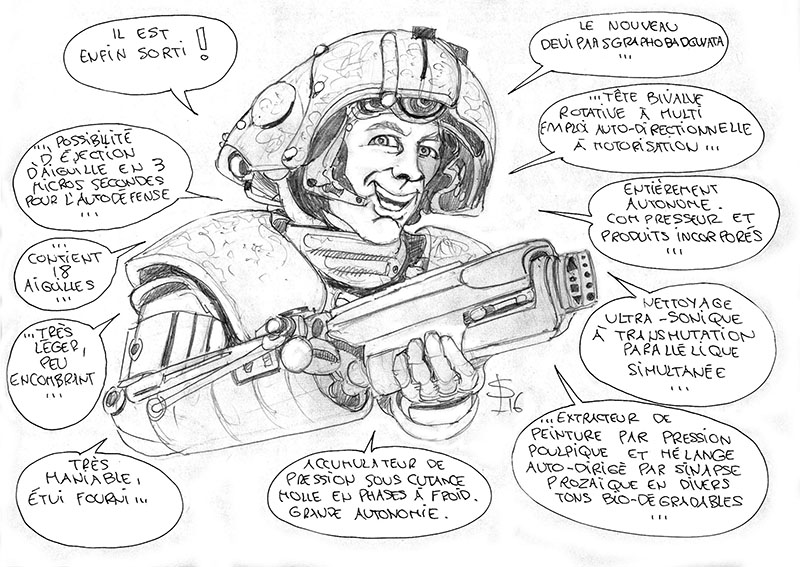
The airbrush. A tool still little known among model-making enthusiasts and a real headache for some, whose purchases aren’t always well guided by professional salespeople—some of whom… have never even used one!
But what a wonderful tool—especially in graphic art, where the technical capabilities of this device really shine and allow for the creation of unique and magnificent works….
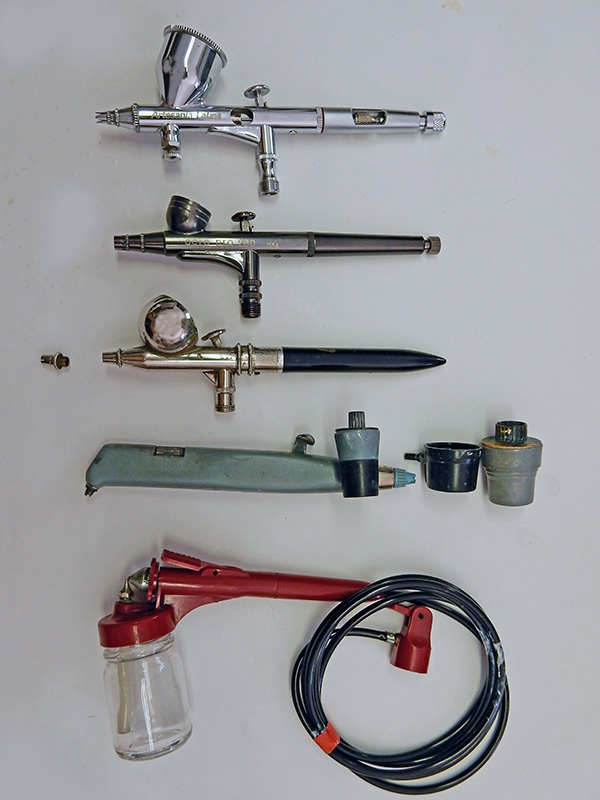 |
The first three are double-action, gravity-fed.
The other two don't have needles.
Gris can choose to use either a spray can or a compressor.
"Red" is an airbrush for children that attaches to an aerosol can...
History
The date of the airbrush's invention remains uncertain but is believed to be before 1893.
In 1893, Charles BURDICK—an American—patented his device, which he named the “airbrush,” in England and founded his company, “Stylo & Peinture.”
There is a U.S. patent dating from 1888 for an instrument similar to an airbrush.
Burdick was a watercolorist and was looking for a way to apply one layer of watercolor over another without altering the underlying layer.
The device already resembled the third instrument in the photo above; the cup was welded on, it was double-acting, and it had interchangeable nozzles. It could have been manufactured in our time.
Other companies developed similar models, such as PAASCHE—a Norwegian immigrant—who founded his company in Chicago in 1904. His Turbo AB, with its turbine, remains the best airbrush to this day.
DEVILBISS founded his own company in 1890. He was a friend of Burdick—who decided to return to the U.S.—and sold him his business, knowing that Burdick already had a distribution network in England (the airbrushes used today are based on these two brands).
It would take 70 years for the airbrush to shed its “commercial and mechanical” image, which had prevented it from being fully recognized as one of the artist’s tools...
In the early days of photography, images were colored by hand, and the introduction of this technique significantly improved the quality of retouching...
It wasn’t until the 1930s that it made inroads into the graphic arts. The German Bauhaus school had a major influence on the use of the technique, which was later adopted in the United States by George PETTY and Alberto VARGAS, who popularized pin-up art worldwide. With the rise of the poster in the 1960s, the airbrush made a strong comeback in commercial art. Advertisers then embraced it to enhance their products and inspire their future customers...
In the world of fine arts, following in the footsteps of Pop Art, Hyperrealism emerged, a movement that matched and surpassed photography...
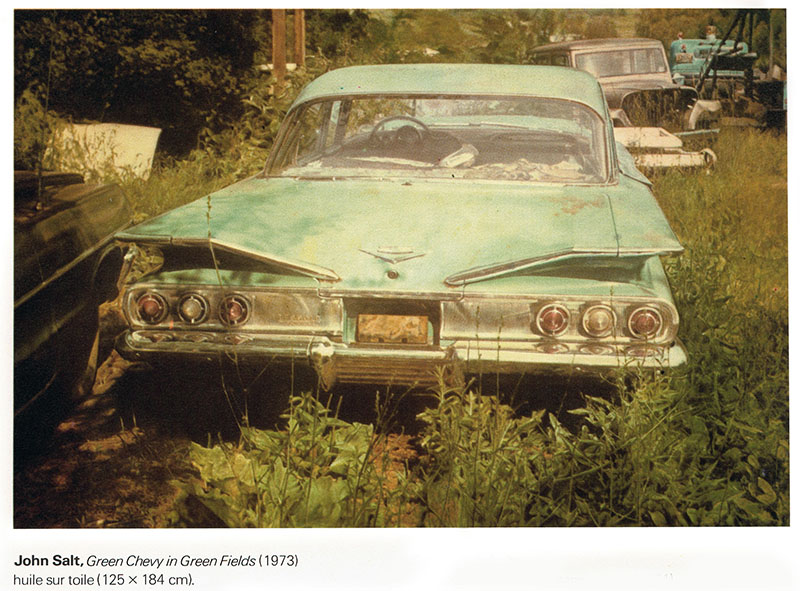
An example of hyperrealist painting. We're talking here about painting with traditional tools, not "tinkering" with digital software...
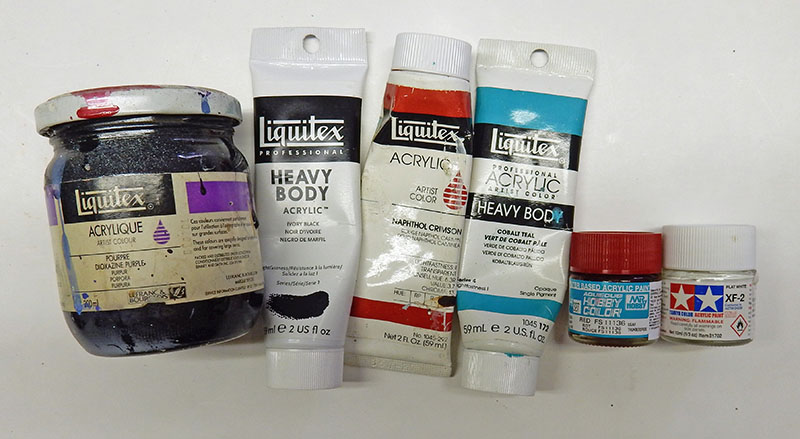
Colors
Inks.
Most inks—whether water-soluble or not—are compatible with airbrushing. The choice of colors is limited. It’s important to remember that once inks dry, they are very difficult to clean out of the airbrush...
Gouaches & Watercolors
Watercolors are best suited for airbrushing. Since gouaches are more opaque than watercolors, they are not always suitable for rendering skin tones and delicate shades...
Acrylics
These are the most commonly used, especially in model making these days. They come in 200-milliliter jars, 59-milliliter tubes (such as LIQUITEX), or 10-milliliter jars from various brands for model making...
Some are water-soluble, but others require special thinners—including rubbing alcohol bought at a supermarket—so be careful, as they dry quickly inside the airbrush...
Oils
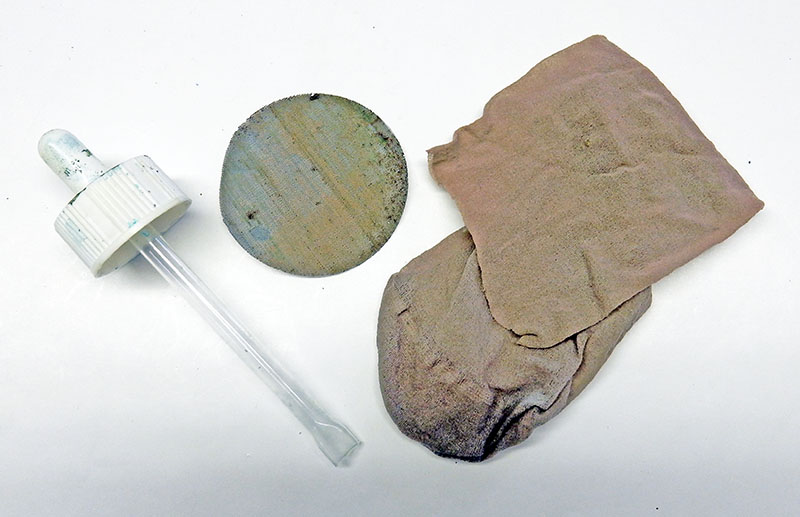
Thicker than acrylics, they require proper mixing with thinner before spraying. It is strongly recommended that you strain the paint to prevent thick pigments from regularly clogging the airbrush...
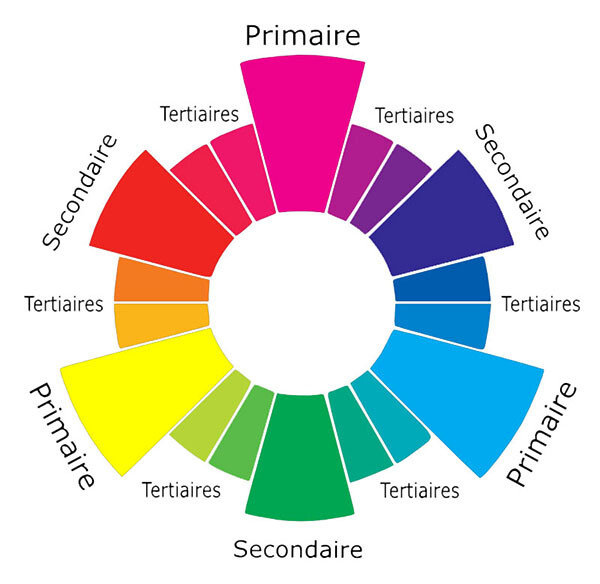
There are three primary colors: red, blue, and yellow. Mixing two primary colors produces a secondary color. Mixing a primary color with a secondary color produces an intermediate color. The color wheel allows you to visualize each color as well as its complementary hue...
A mixture is always less bright than its brightest component.
You reduce the intensity of a color by adding its complementary color.
Most paints look darker when they are wet.
The more you dilute a paint, the more its brightness and opacity decrease, as does its adhesion to the surface.
Always apply several thin coats, letting each one dry in between, rather than a single thick coat. For acrylics, use a hair dryer between coats to speed up the process.
If you're using two different types of paint—such as oil and acrylic—on the same surface, never apply acrylic over oil; always apply oil over acrylic.
When you spray, never stop over one spot; keep moving in a slow, continuous motion. Start before you reach the room and finish after you've passed it.
First and foremost, avoid dust and work in a clean space. A tiny speck of dirt on the model can be the equivalent of a stone on the original! Use a good cartridge-style respirator even when working with acrylics (don’t assume they’re any less harmful to your lungs than our old lead-based paints). If possible, work outdoors when spraying...
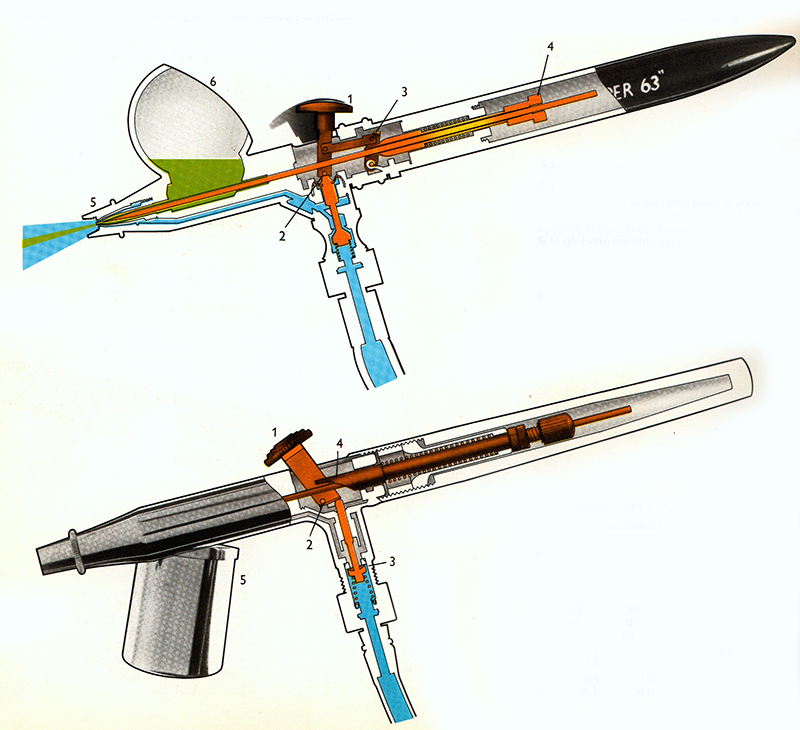
The Airbrush
Your choice of airbrush will depend on how you plan to use it and on the price. For light use, a mid-range model will suffice. You can find good-quality airbrushes for around 100 euros. When making your purchase, consider the availability of replacement parts for the specific brand...
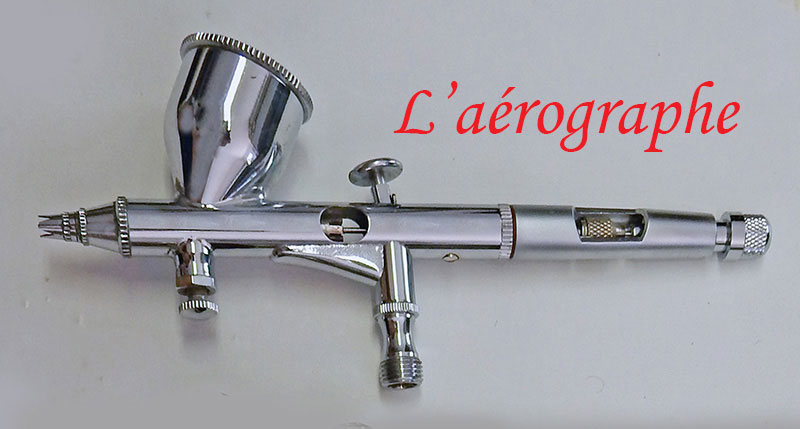
An airbrush consists mainly of a paint reservoir, a needle, an interchangeable nozzle, seals (on some models), a trigger with its mechanism, and a protective cap. The air inlet is connected to the bottom of the device.
There are three versions: single-action, double-action, and unified double-action.
This single action only allows you to adjust the paint flow rate.
The dual-action mechanism allows you to adjust the paint flow and the air flow separately.
The fixed dual-action mechanism controls both at the same time—it's easy for beginners but offers fewer options…
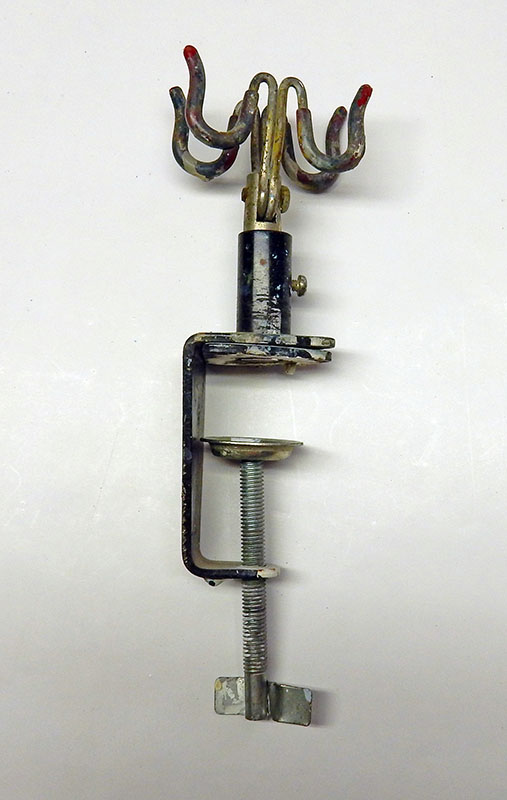 |
A must-have purchase for anyone who uses an airbrush:
The bracket—in this case, a double bracket—that attaches to a table corner or
There are two types of tanks...
The tank is welded to the unit's body by gravity and comes in various sizes depending on the task at hand...
With the suction method, the paint cup is attached to the side or bottom. This type allows for the application of large quantities of paint from tanks of various sizes, but it can be cumbersome for delicate work done very close to the surface...
For intensive work—especially on canvases or when creating backgrounds for your model sets—two airbrushes of each type can complement each other perfectly, or you might prefer to use a paint spray gun and an airbrush…
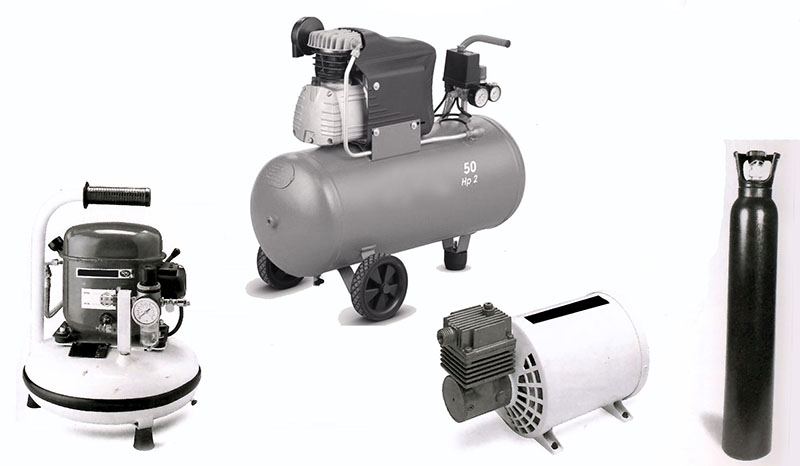
Compressors
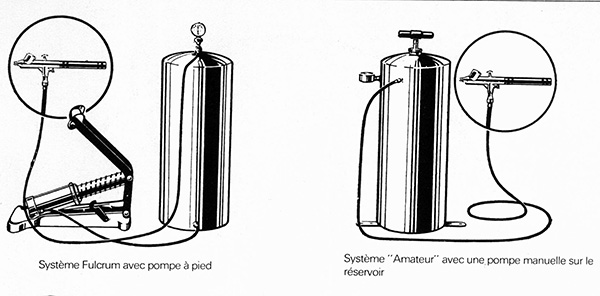
There are 4 main models:
Disassembly & Cleaning
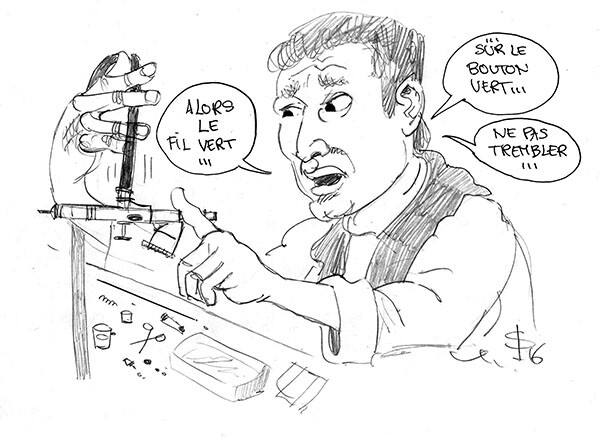
You must take the utmost care when disassembling your airbrush, especially during the cleaning process. Take just as many precautions as you would when gluing delicate parts onto a model. Remember that this is a high-precision tool. The needle is extremely fragile, and YOU MUST NEVER TOUCH THE TIP; clean it only with a soft brush and thinner. Along with certain very fine nozzles, it is the heart of the system.
To clean the body of the device, unlock it and ALWAYS REMOVE IT FROM THE BACK OF THE DEVICE. Place it on a flat surface to prevent it from rolling and falling. NEVER touch the tip. Once everything is clean, reinsert the needle by ALWAYS starting by inserting the BACK OF THE NEEDLE BODY INTO THE FRONT OF THE AIRBRUSH, then pull it back far enough and lock it in place so it doesn’t hit the tip when you reinstall the nozzle and the nozzle cap; then unlock the needle and push it forward to its original position in the nozzle, and screw it back in. Test it with water or thinner, as appropriate.
These steps help you avoid having to regularly replace bent or dirty needles—which are unusable—and prevent you from getting increasingly annoyed and cursing the manufacturer for generations to come….
Troubleshooting: Problems
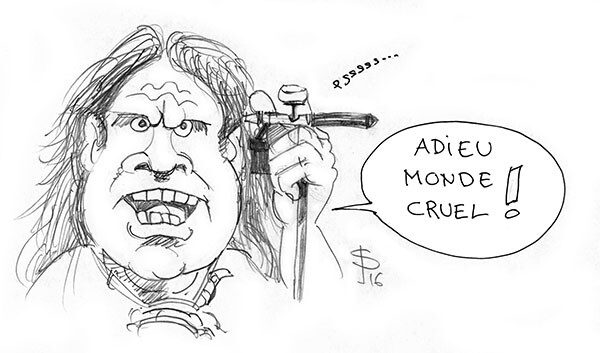
Here are a number of common problems associated with using an airbrush that can help you troubleshoot the issue yourself before you get so frustrated that you throw the thing in the trash or out the window!!!
Most malfunctions are caused by improper use of the device or incorrect connections made by THE USER, and not by the parts themselves...
No spraying of the medium
The nozzle is too far from the air inlet; adjust it. The medium is mixed improperly; clean it. The medium has dried inside the nozzle; clean it. The opening in the airbrush tank lid is clogged; unclog it.
No mist and bubbles
The nozzle cap is loose; tighten it. The nozzle is not installed properly; reinstall it. The nozzle gasket is missing; replace it. The nozzle and its cap do not fit properly; replace one or both.
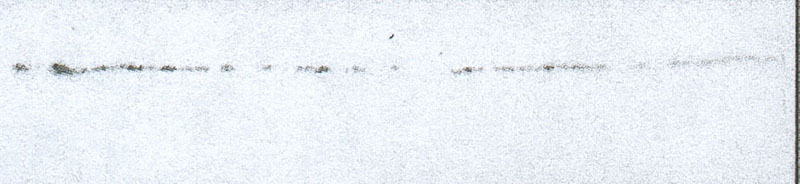
Fine but intermittent spray
Clogged nozzle, poor paint dilution. Clean the nozzle thoroughly; soak it in solvent. Filter the paint—using a fine mesh or very fine screen—as pigments have accumulated in the nozzle.
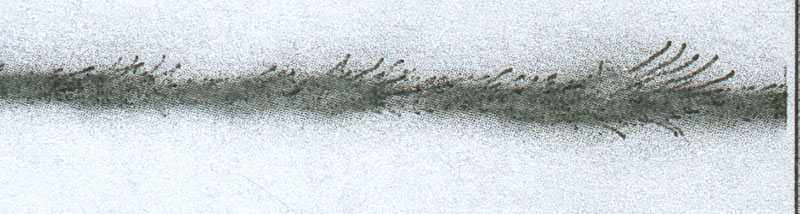
Uneven spray with streaks
Excessive pressure, known as "spiderweb" pressure. Reduce the pressure on the compressor pressure gauge. This may also be caused by paint that is too thin, resulting in an insufficient air supply relative to the paint; increase the air flow or reduce the paint flow, or check the air supply. Loose nozzle cap—tighten it.
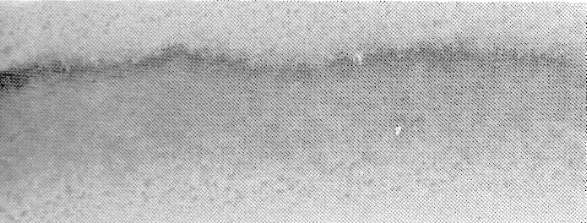
Medium drips from the nozzle during use
Insufficient air supply relative to the medium being used; increase the air flow, reduce the medium flow, or check the air supply. Loose nozzle cap; tighten it. Do not tilt the airbrush too far if the cup is very full. The angle at which you hold the airbrush is causing the medium to leak out of the paint cup; hold the airbrush upright if you do not have a cup lid, and do not overfill the cup. The seals are not properly installed or tightened; check and reinstall them. Missing or damaged nozzle seal—replace it. The bottle is not securely attached to the airbrush—reattach the bottle by tightening it. The needle is positioned too far back when the airbrush is not in use—screw it forward after use.
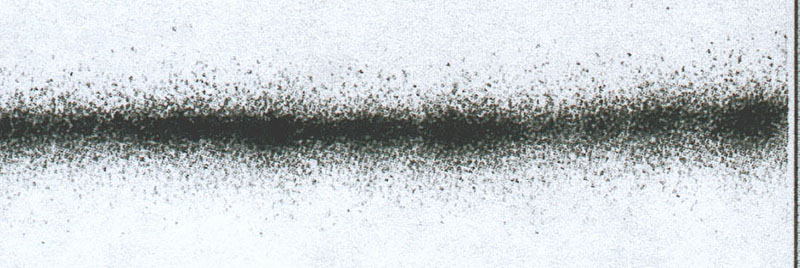
Granular atomization
Paint not thinned enough/pressure too low. Thin the paint and increase the pressure. Hair or dust in the nozzle—remove and clean. Thinner is accumulating in the nozzle cap; hold the needle firmly and clean with a brush and thinner. Worn, cracked, or split nozzle; replace. Nozzle and needle do not fit properly; return to the dealer and replace. Air supply is blocked because the nozzle was removed while medium was still in the machine; remove the nozzle and blow high-pressure air through it. Dust and moisture entering the air supply: Remove the nozzle and blow air through it; check the air filtration at the source. Air supply clogged by the medium; the seals that prevent the medium from entering the back of the device are worn, and the diaphragm assembly is broken—repair. Do not overtighten the needle sleeve. The user allowed the medium to enter the handle opening, causing the diaphragm assembly to break; replace it.
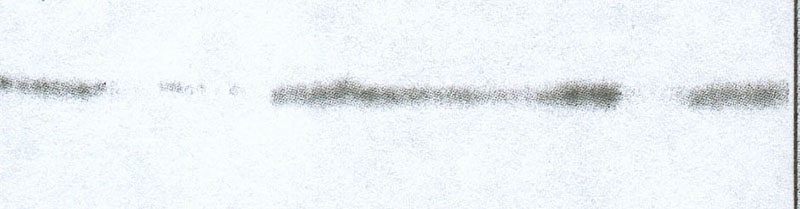
Spraying is correct but erratic and intermittent
Improper use of the device. It’s all about the technique. It’s the forearm that moves, not the wrist. This entire area should act as if it were fused together and move as a single, unified unit. Use a slow, continuous motion while spraying.
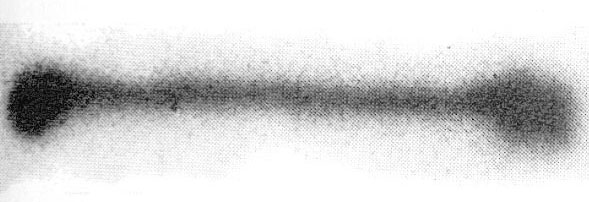
Heavy misting at the beginning and end of the run, sputtering
As a precaution, you should start off-center and end off-center as well. To avoid this problem, you need to learn how to use the camera.
With double-action airbrushes—when spraying paint—you first gently press the trigger—WHICH ALLOWS AIR TO FLOW INTO THE BODY—and then pull it back to spray the paint. YOU DO THE OPPOSITE AT THE END OF THE PROCESS, which also helps prevent the nozzle from clogging all at once when you start and when you finish. You must ALWAYS apply air first, then paint…
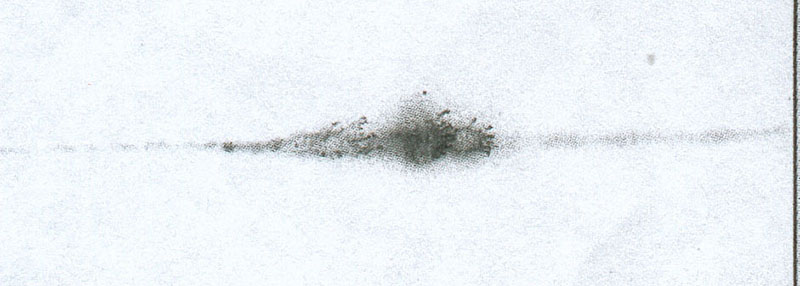
Spraying works properly, but there are occasional spots
The tip of the nozzle is dirty, but ink is coming through. As pressure is applied, pigments are dislodged and transferred to the substrate. Soak the nozzle until it is completely clean…
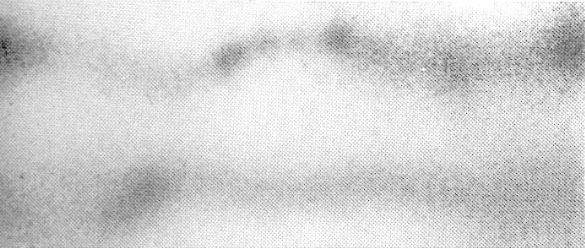
Off-target or uneven spraying
The tip of the needle is bent. The needle needs to be replaced; straightening it would be a miracle given the precision of the entire assembly. The nozzle may be cracked—this is difficult to detect with the naked eye. It may have been damaged by an impact or by a bent needle.
The air isn't circulating.
Something is disconnected from the compressor; check the compressor. The aerosol can is empty; replace it. A drop in pressure in the can is causing it to cool; place the can in lukewarm water or replace it. The adapter’s safety valve has popped due to excessive pressure in the can; disconnect it, unscrew the connecting hose, reconnect it, and press the valve several times to let air through. The air inlet in the airbrush is clogged; empty it, remove the nozzle, and blow air through the device. The lever assembly is broken; replace it. The plunger is broken; replace it. The adapter on the paint can is stuck; loosen it if possible or replace it. The air supply tube from the compressor is clogged; disconnect the airbrush and blow air through it at very high pressure.
Air flows through the nozzle when the airbrush is turned off.
The air valve spring is not properly tensioned; retension or replace it. The diaphragm assembly and the plunger or ball are not properly adjusted; see your dealer.
Air is leaking at the source.
If any connections are loose, tighten them. The adapter isn't screwed in tightly enough; screw it in even if it leaks.
A seal has come loose in the pipes or connections; replace it.
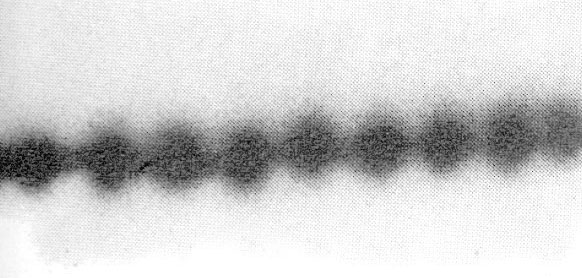
Wavy-structured jet
Pulsating air flow due to a small compressor without a reservoir; use only a compressor equipped with an air tank. Dust in the nozzle; clean it. Cap or nozzle not properly attached—check. Nozzle seal worn out—replace.
The trigger does not return to its original position after being pulled
The air valve spring is loose; stretch the spring or tighten the spring sleeve, or replace it.
The trigger does not return to its original position when released
The needle spring is jammed or loose; if you can reach the spring, tighten it and lightly grease it after removing the old grease.
Jolts at the back of the airbrush when moving it forward
The counterweight at the end of the airbrush comes loose and hits the needle; remove the handle and insert a rod to put the counterweight back in place.
I’d like to remind you once again of the precautions to take when using an airbrush—at the expense of… your wallet! It’s clear that you spend more time preparing the paint and cleaning the entire setup than you do actually painting. But the result is definitely worth it, and it would be a shame to miss out on this wonderful medium...
On the other hand, if you’re meticulous when it comes to model kits, you can be just as meticulous when it comes to airbrushing, which is an art form in its own right...
Tips & Tricks
Would you like a cold beer?
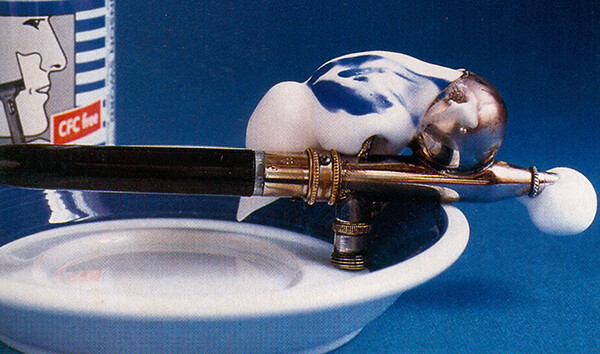
It can happen that, in the “heat of the creative process,” you forget to clean the device—or clean it improperly—after using gouache or acrylic, and the next time you try to use it, it won’t work properly…
Don't panic. Shaving foam is here to the rescue. Not gel, but plain old shaving foam. Put a little bit into the containers holding the paint and the spray nozzle cap. For some models, you can pack the foam in with your thumb once the needle has been removed (you can clearly see in the photo how the foam absorbs the blue paint). After half an hour, rinse the airbrush with clean water. If necessary, use a brush, and the airbrush will be clean!
If the appliance is really dirty, repeat the process or let the foam sit overnight. You’re usually guaranteed good results.
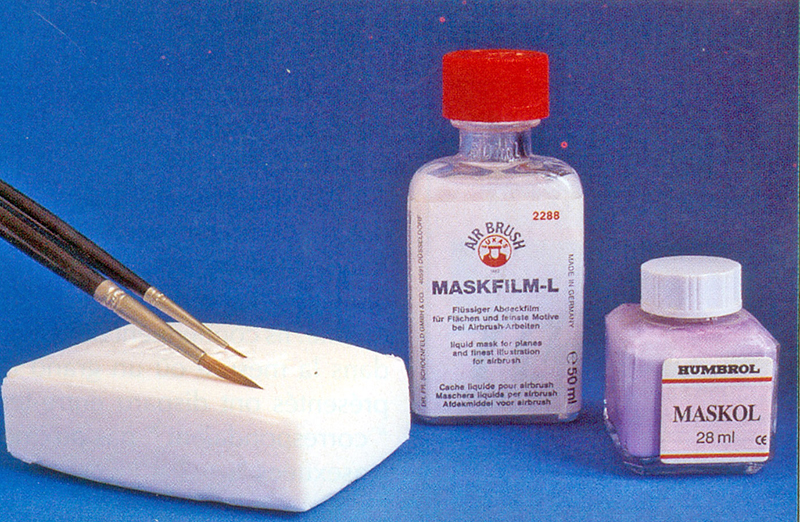
When applying liquid mask to a surface, you use a brush. However, people often use an old brush because they quickly realize it turns into a piece of rubber! This wouldn’t be a problem if it weren’t so extremely difficult to remove the liquid mask from the brush without damaging the bristles!
To start with, use synthetic-bristle brushes because they are much more flexible than “real” ones and therefore easier to clean. To avoid any potential problems and protect the brush while applying the mask, it’s very helpful to rub a little soap between the bristles before dipping the brush into the liquid mask. Regular soap works perfectly, as does dish soap…
Acrylic and gouache tend to dry right in the brush while you’re painting. Very quickly, you can no longer paint with precision because the paint begins to harden on the handle and the bristles no longer hold their shape properly. If you’re using gouache, simply hold the brush upright, since the paint can always be dissolved in water, and regular rinsing with clean water is sufficient. Acrylics, on the other hand, must not be allowed to dry. You should therefore dip the brush in water even during breaks of just a few minutes. During prolonged use, it has been found that thorough, intermittent rinsing with soap and water helps the brush retain its optimal performance...
 | 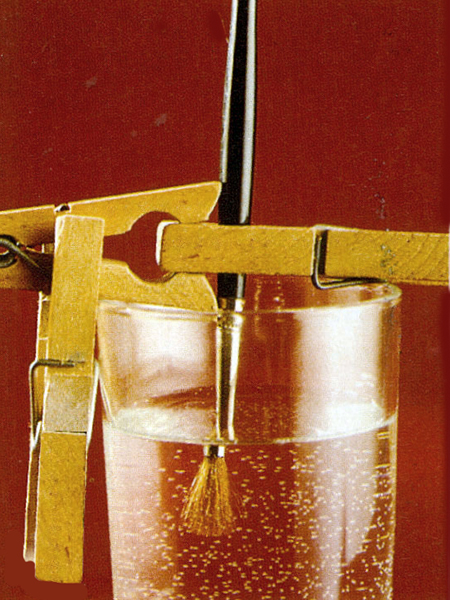 |
Acrylic and gouache tend to dry right in the brush while you’re painting. Very quickly, you can no longer paint with precision because the paint begins to harden on the handle and the bristles no longer hold their shape properly. If you’re using gouache, simply hold the brush upright, since the paint can always be dissolved in water, and regular rinsing with clean water is sufficient. Acrylics, on the other hand, must not be allowed to dry. You should therefore dip the brush in water even during breaks of just a few minutes. During prolonged use, it has been found that thorough, intermittent rinsing with soap and water helps the brush retain its optimal performance...
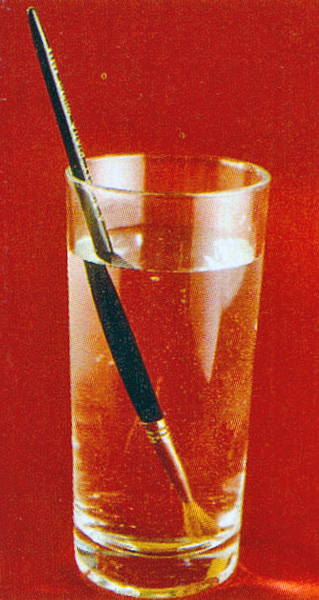
The wooden handle gets soggy, and the bristles end up at the bottom of the glass. It’s not even recommended for short breaks…
The brush isn't clamped between the clothespins; it's just held by its handle. This makes it quick and easy to use.
On the other hand, by adjusting the spacing between the two horizontally positioned clothespins, only the bristles are submerged in the water.
The clamp, positioned vertically, ensures the stability of the entire setup. This method is used when painting, not for extended periods of inactivity.
There are devices available on the market designed for this purpose. If you have the money to spend…
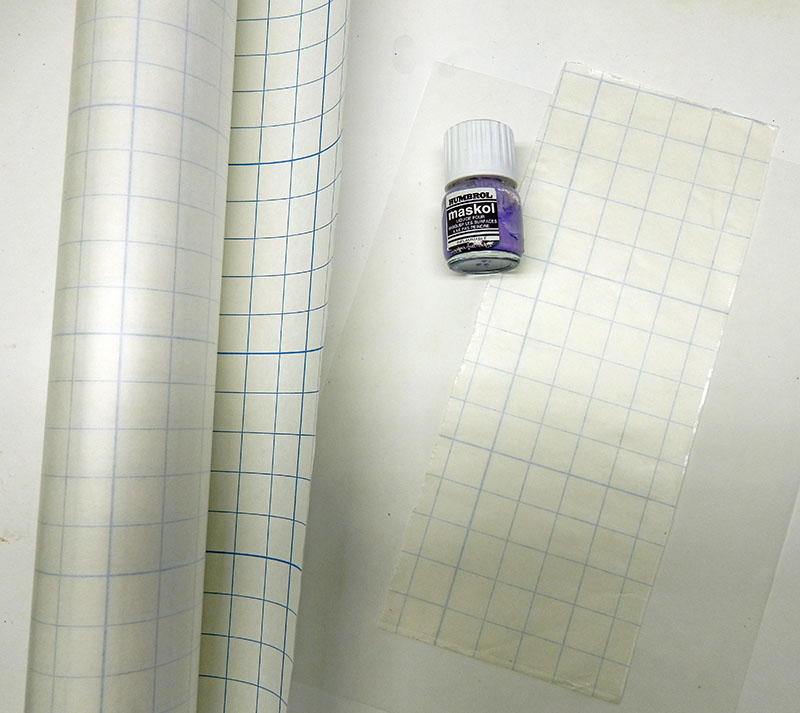
A quick note on masking. Maskol is a liquid rubber that you apply with a brush and that air-dries in a few minutes...
Masking film sold in rolls is mainly used for paintings or any large surface, but it can also be helpful for creating logos or paint effects on large models...
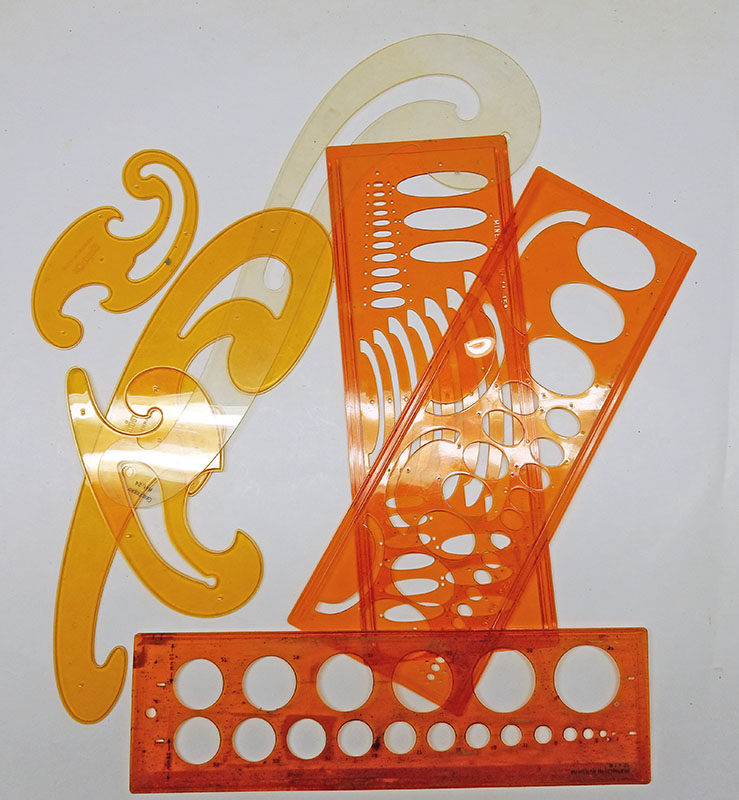
Gallery
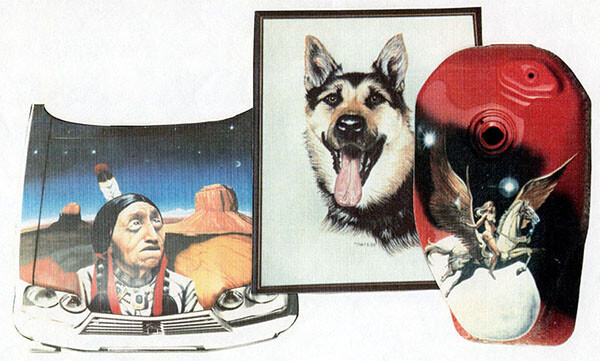
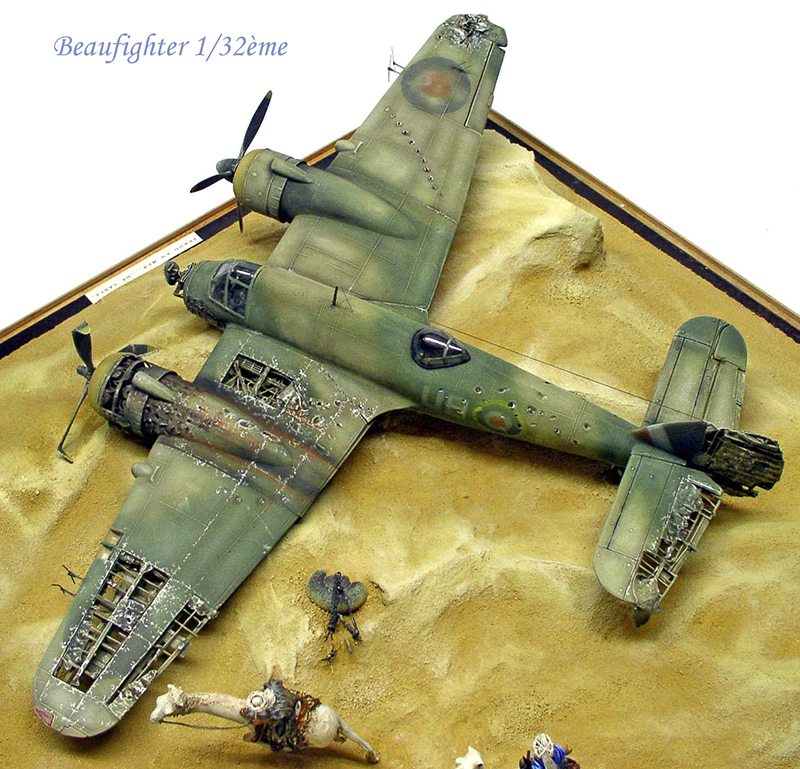
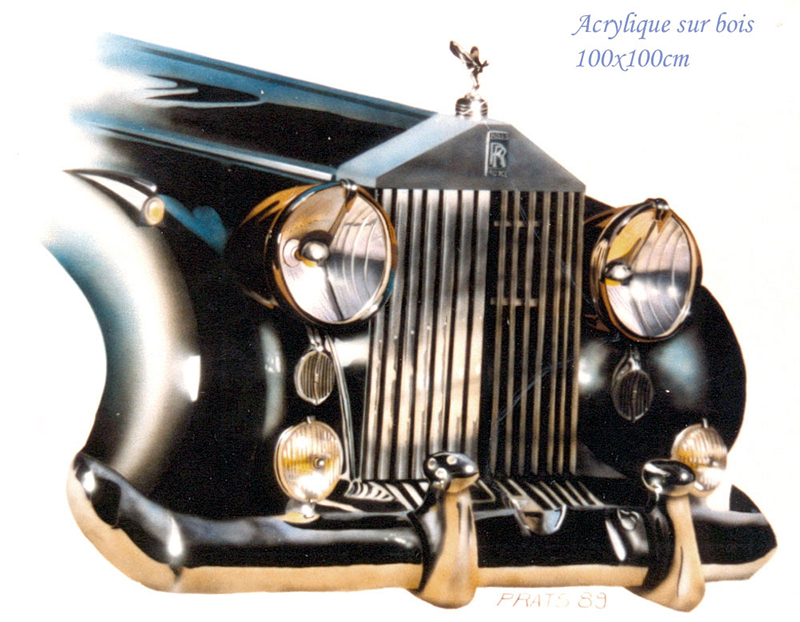
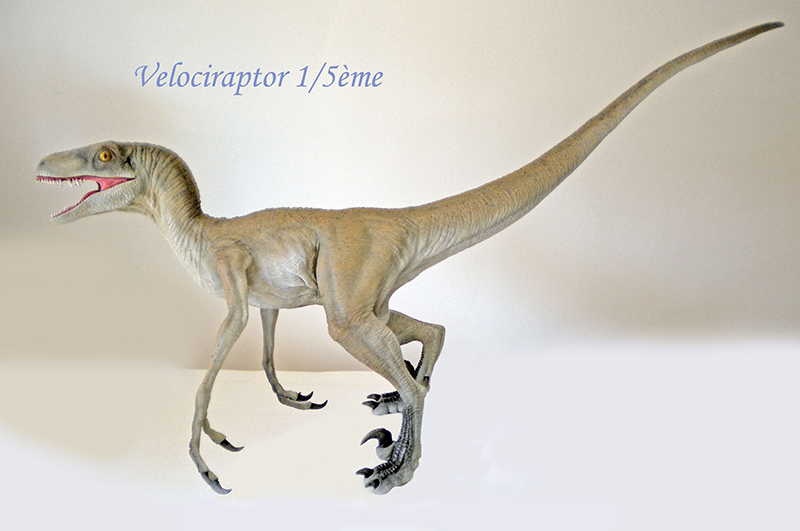
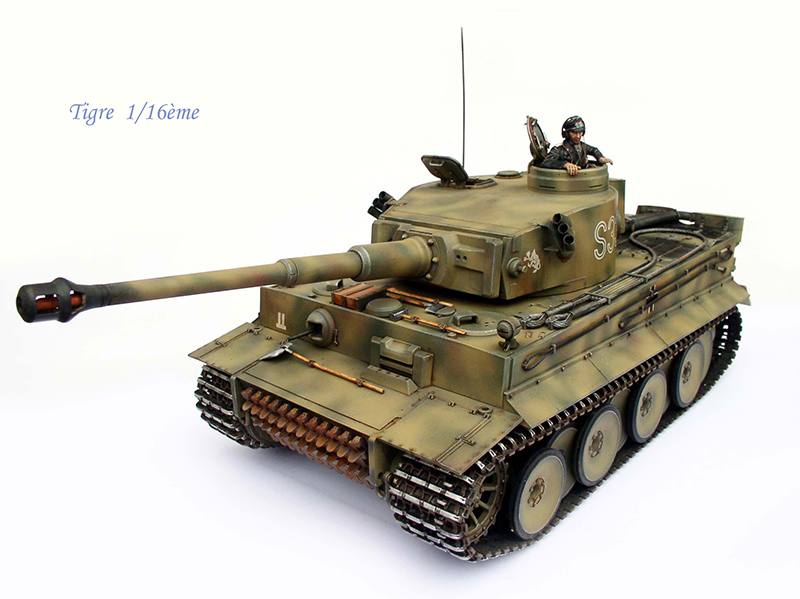
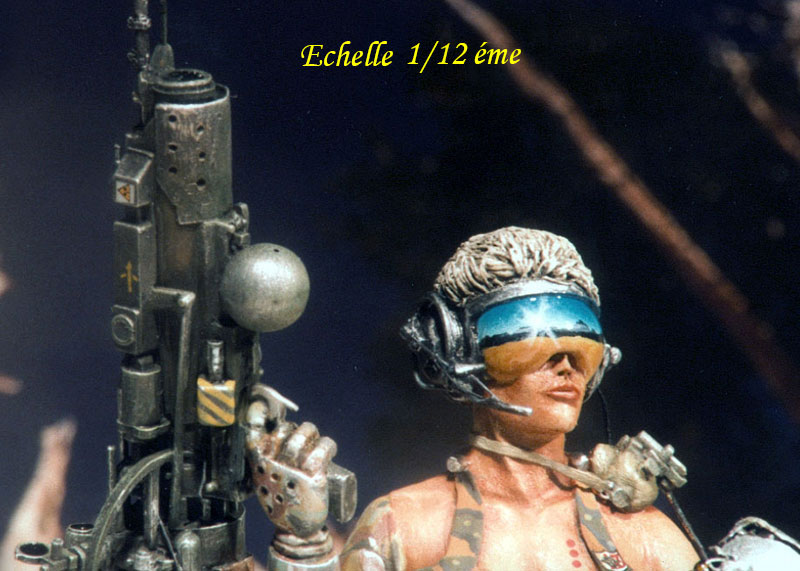
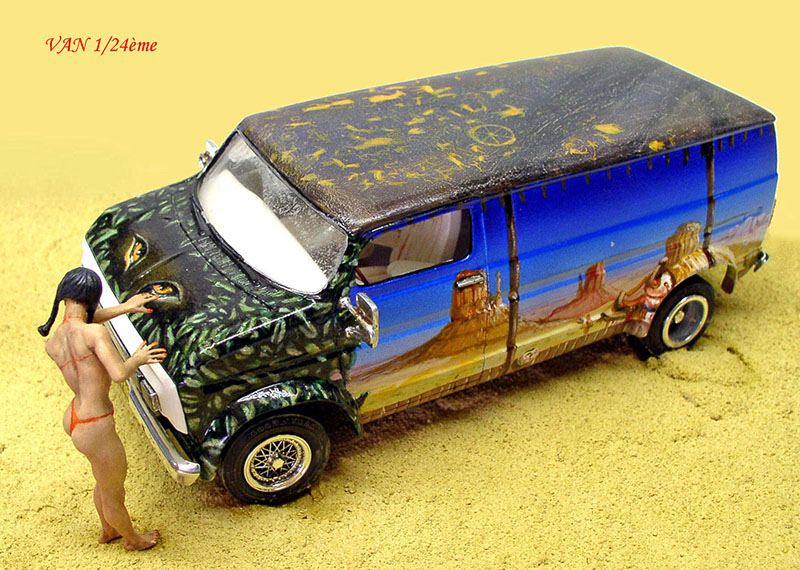
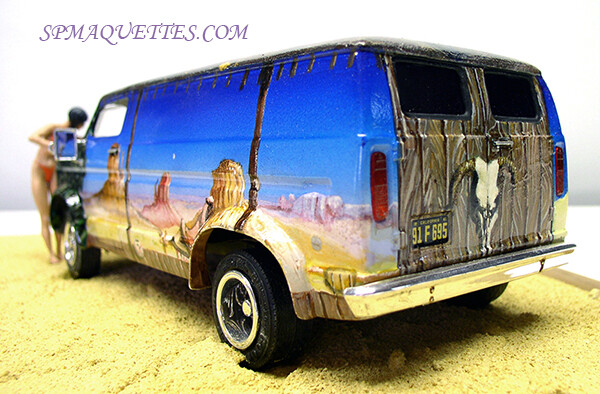
Here are a few examples of airbrush artwork...
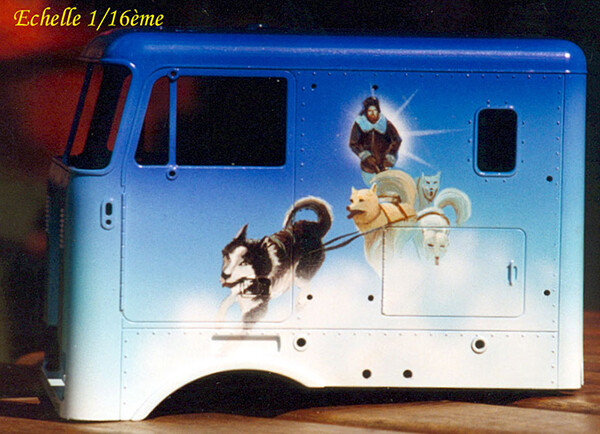
Truck cab: Liquitex acrylic paint—airbrushed background—figures painted with a brush—airbrushed clear coat...