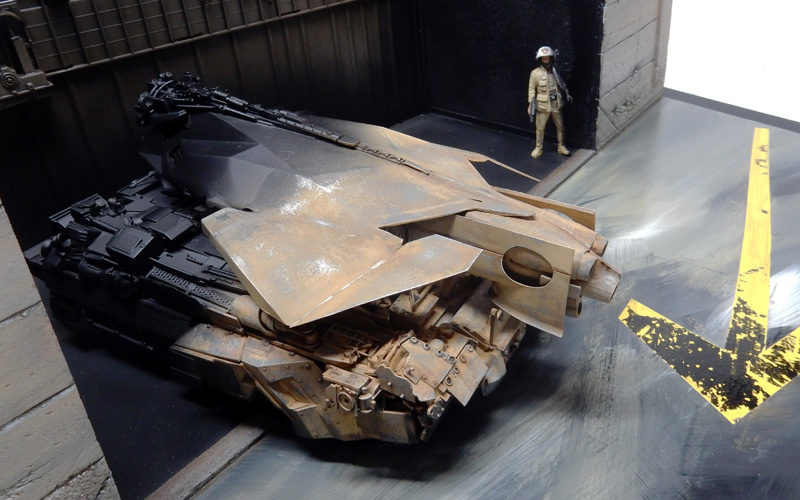
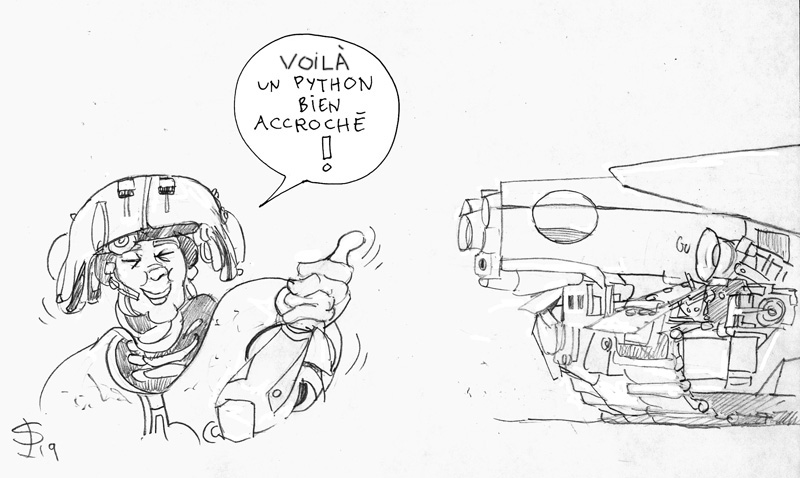
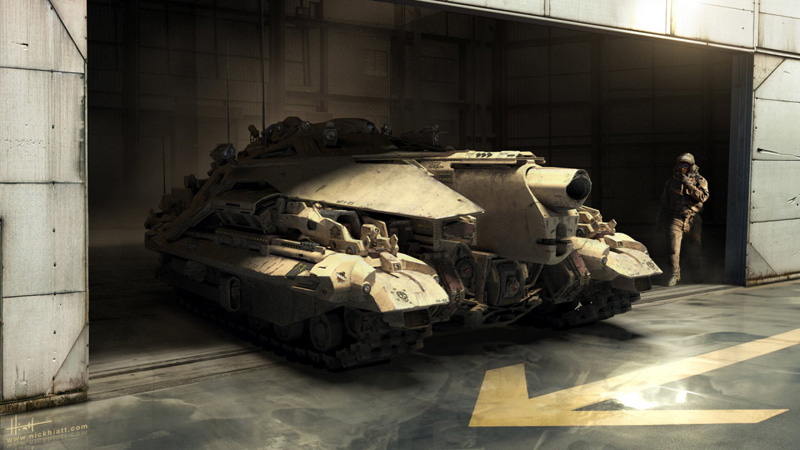
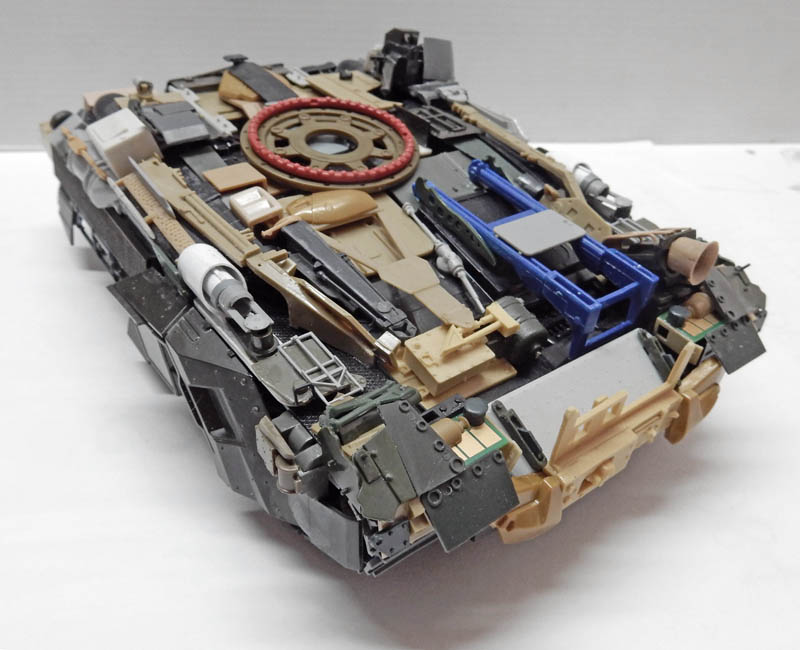
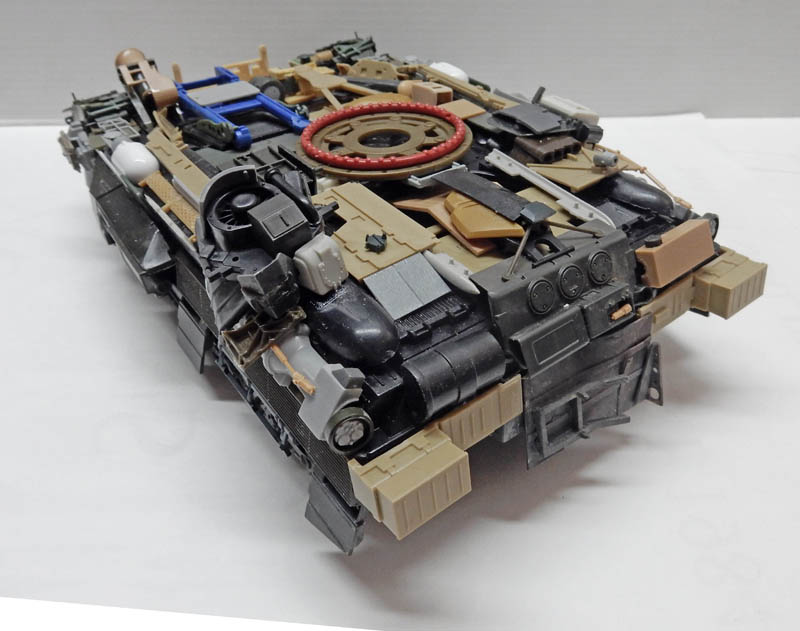
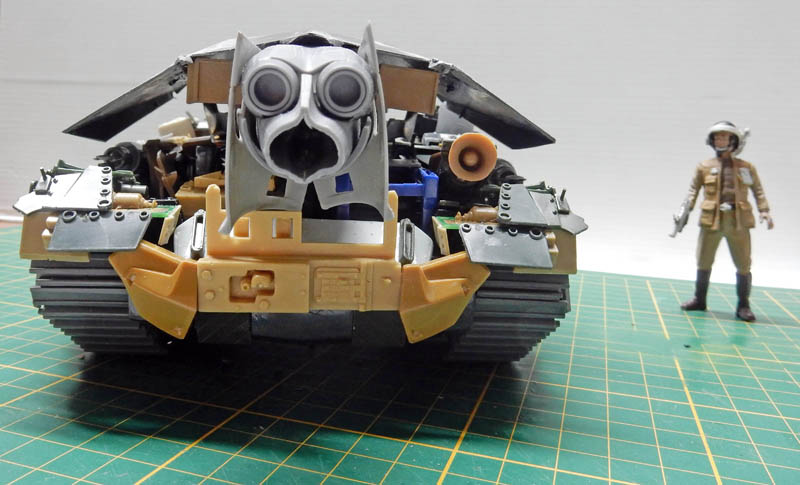
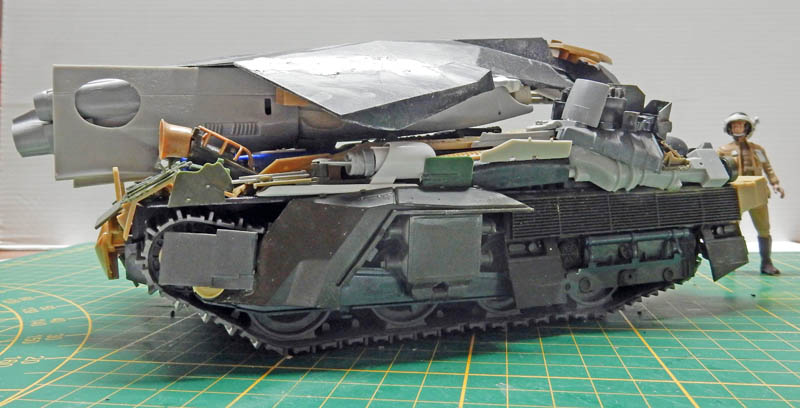
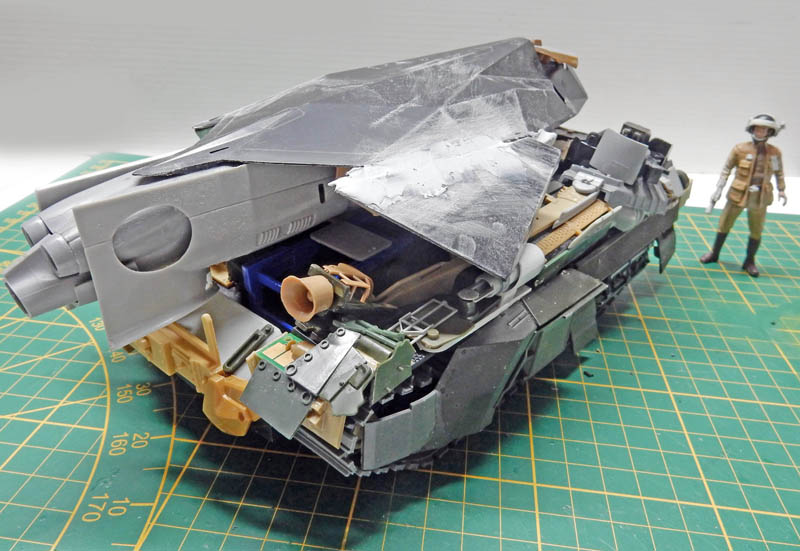
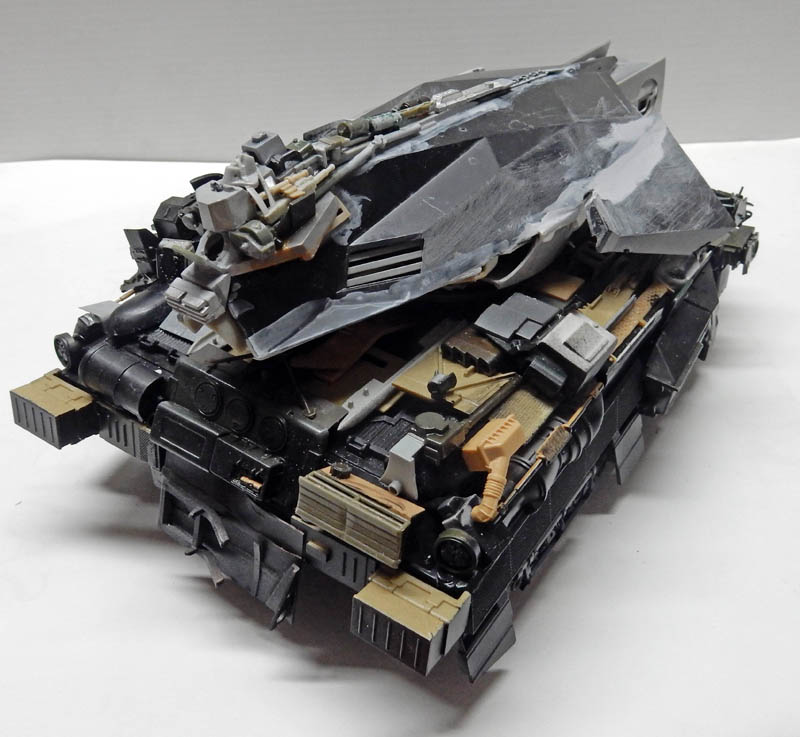
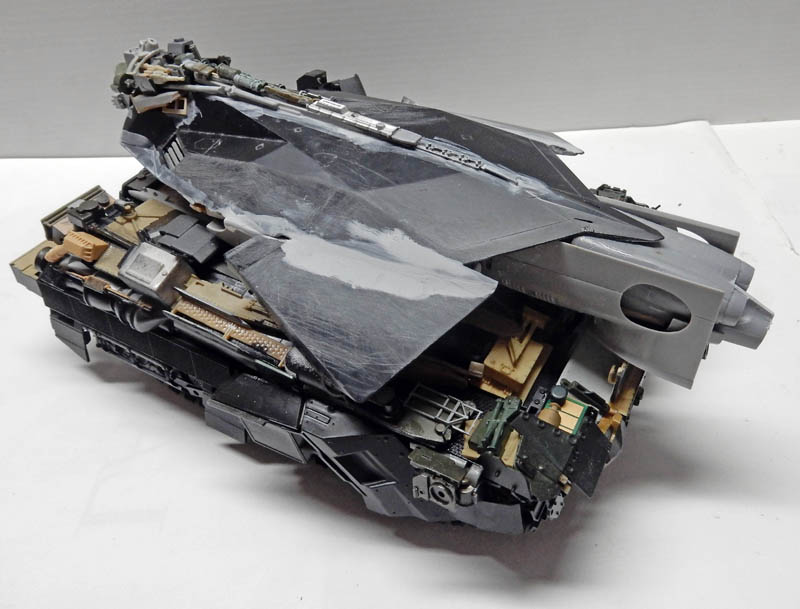
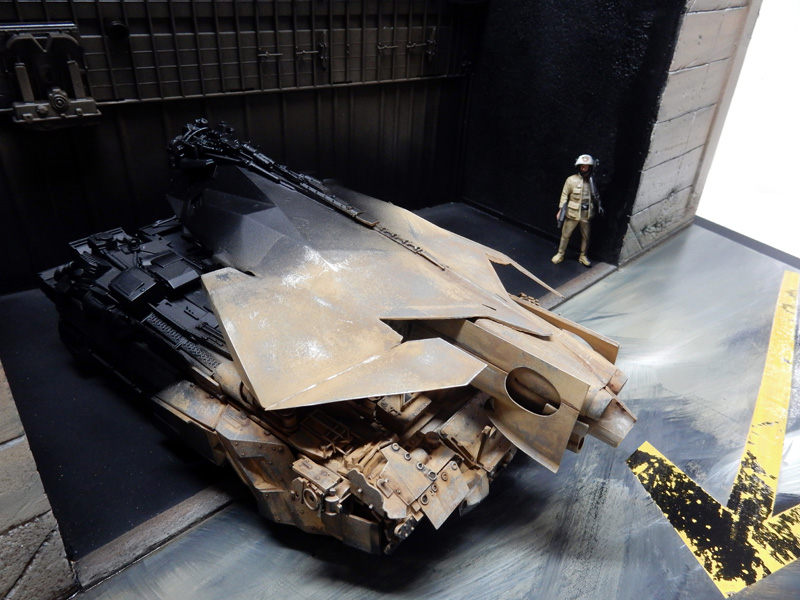
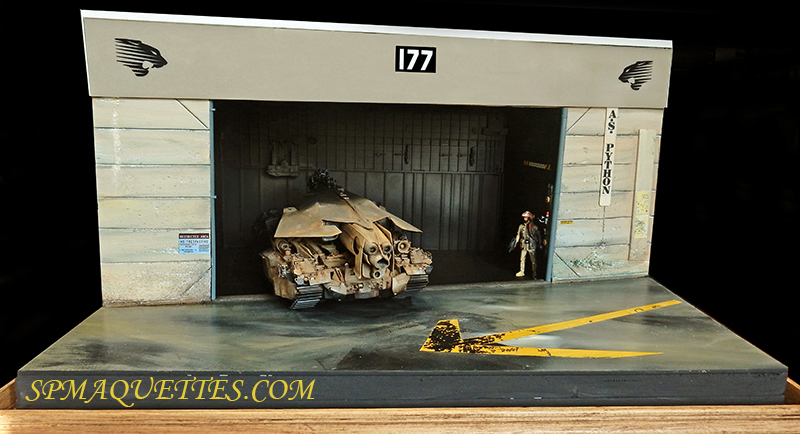
Here's a Python with a good grip!A 1/24-scale model inspired by a 3D drawing by Nick HIATT.
No major difficulties. Accessible to both beginners and experienced builders who want to move beyond assembly plans and get creative. You just need to think logically and have a small stash of parts on hand. Avoid using very recognizable parts that you can spot right away at first glance....
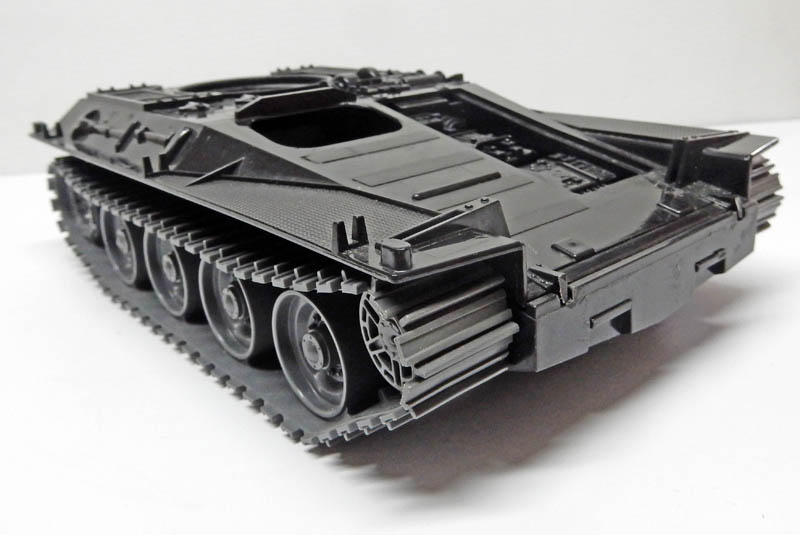
The base: a Hasbro toy with the upper structure and various stickers removed. The piece is then washed with soapy water...
Bodywork...
Body cladding...
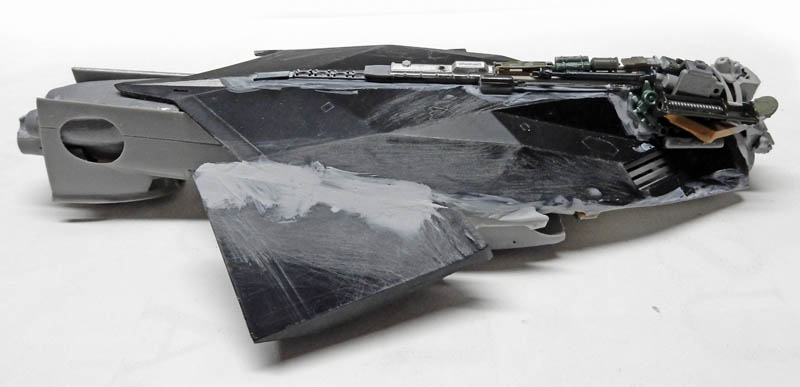
Creating the turret...
Positioning tests...
Positioning tests...
Adding details about the turret...
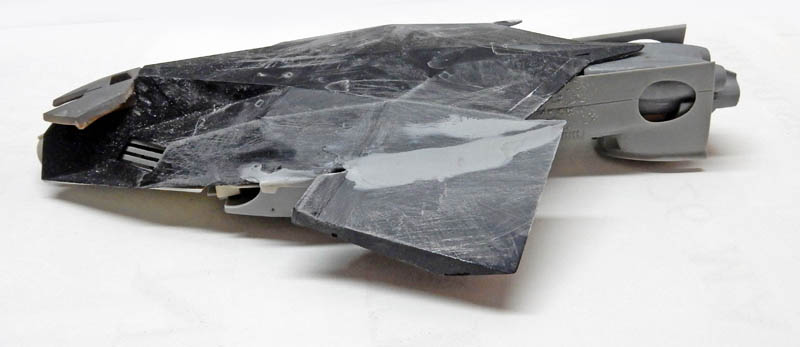
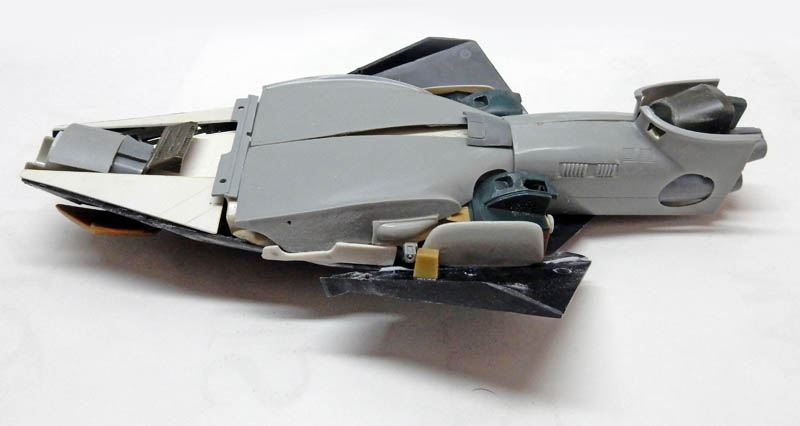
Extending the ailerons...
End of extension...
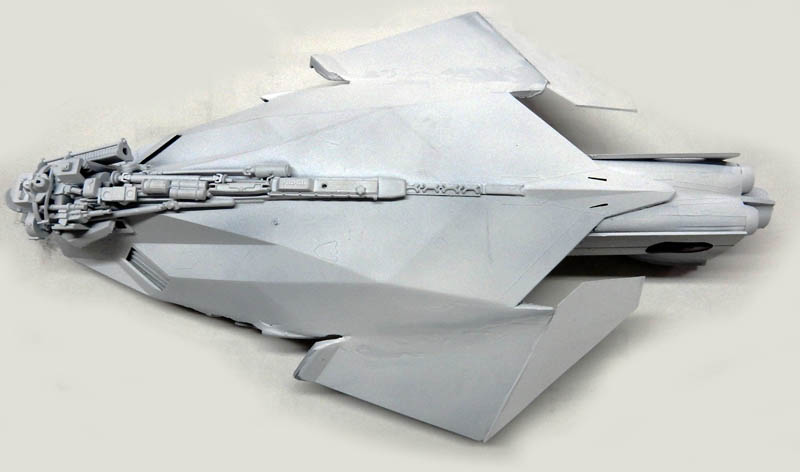
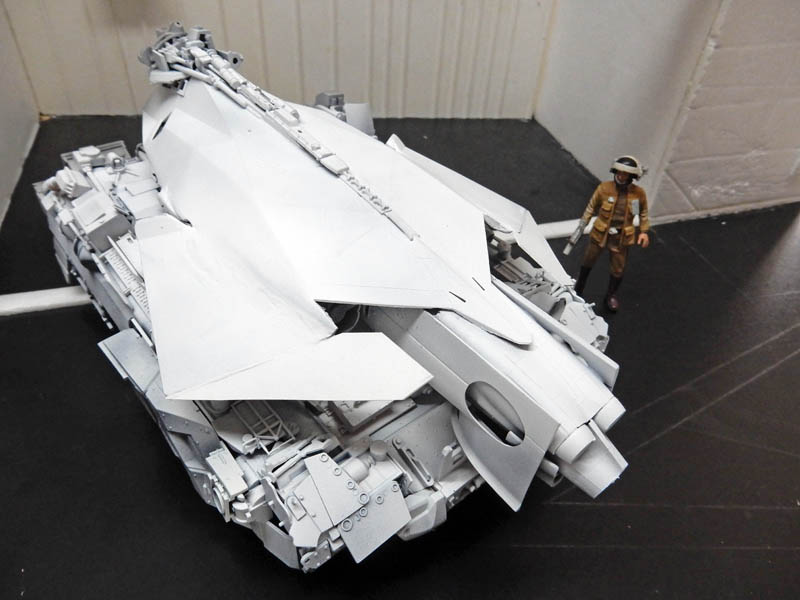
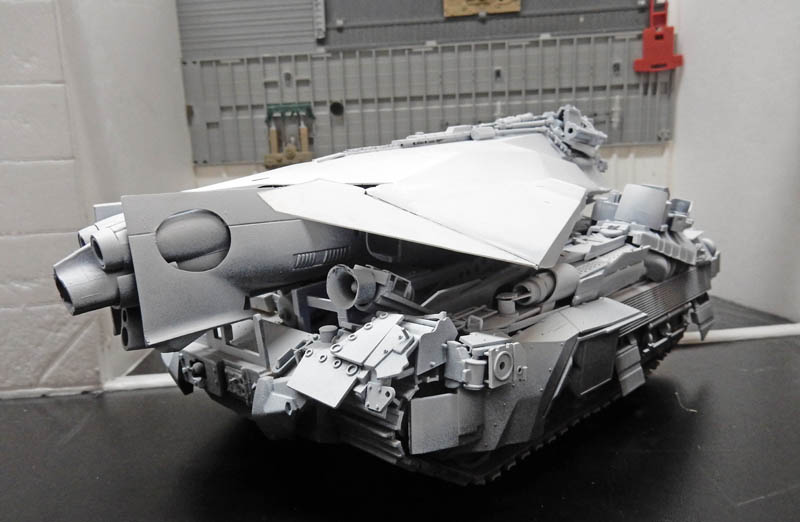
The entire room is given a coat of white primer. The uniform finish makes it possible to see if “everything fits together” and to spot any flaws or “tasteful missteps”...
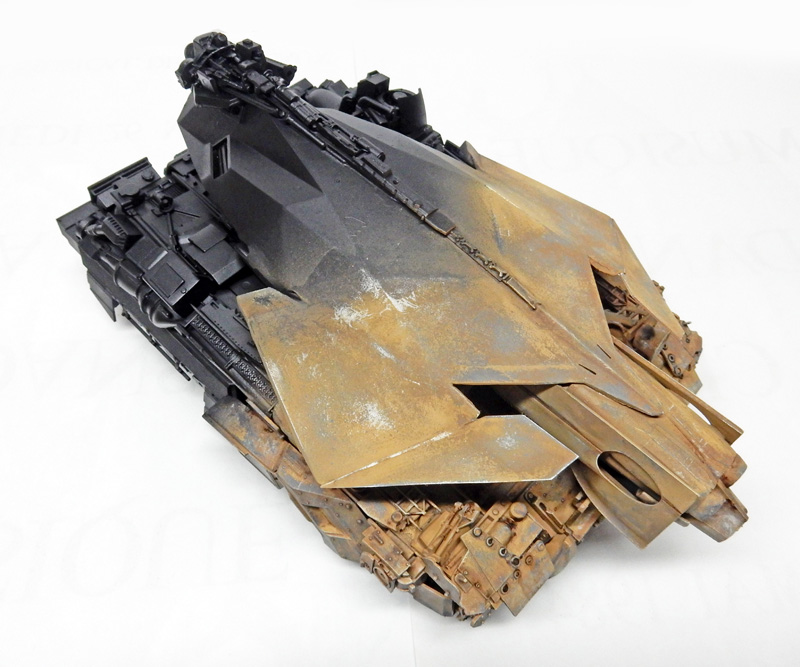
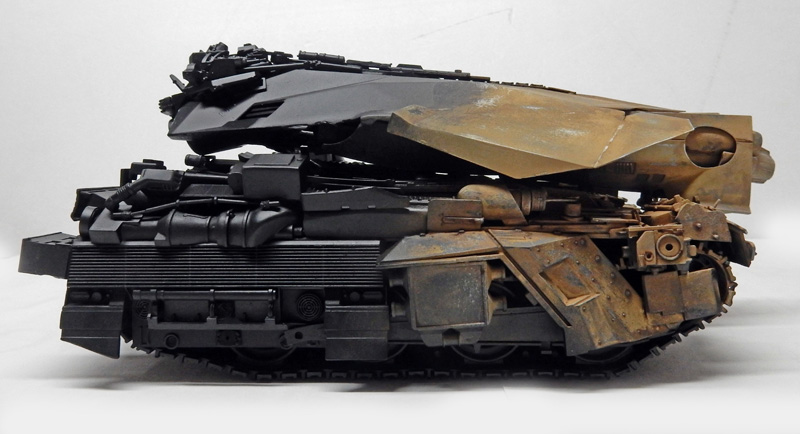
The tank is ready for its final coat of paint...
Painting the Tank
The purpose of this diorama isn't the construction itself, but rather the lighting that falls on the scene, creating an interesting atmosphere...
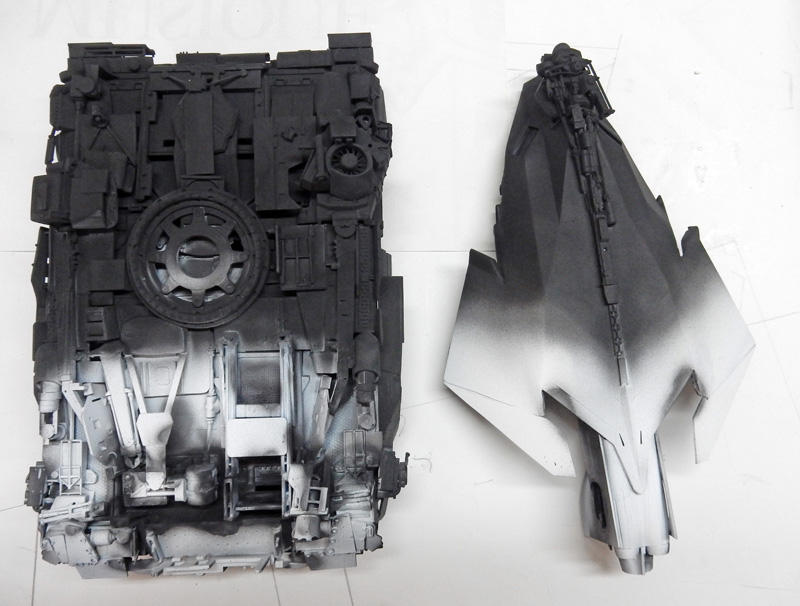
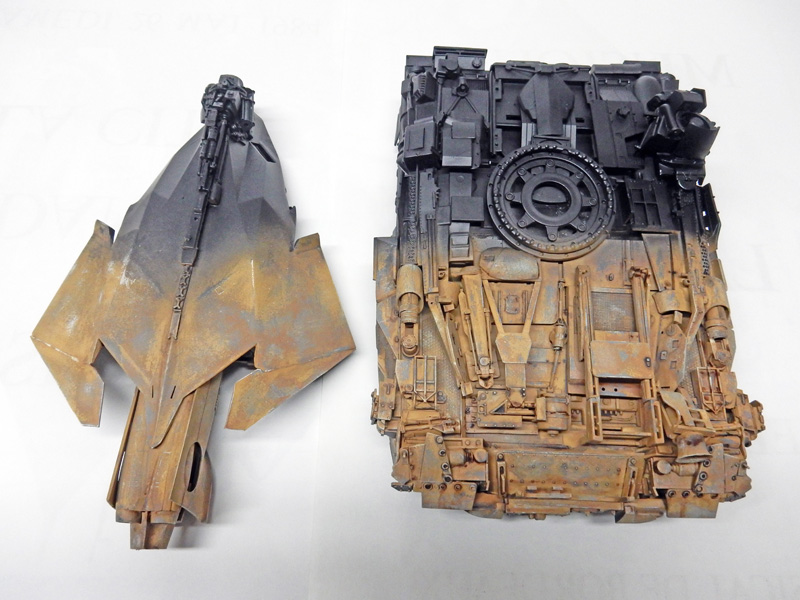
Since part of the vehicle is in shadow, we start by airbrushing a generous amount of Tamiya matte black over a large portion of the part. The medium used is acrylic...
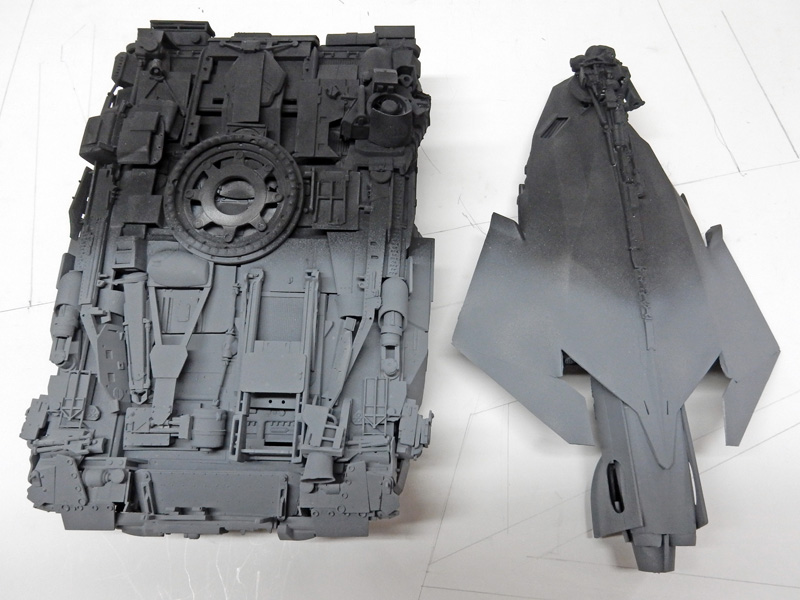
The front is painted with Tamiya XF53 Neutral Gray...
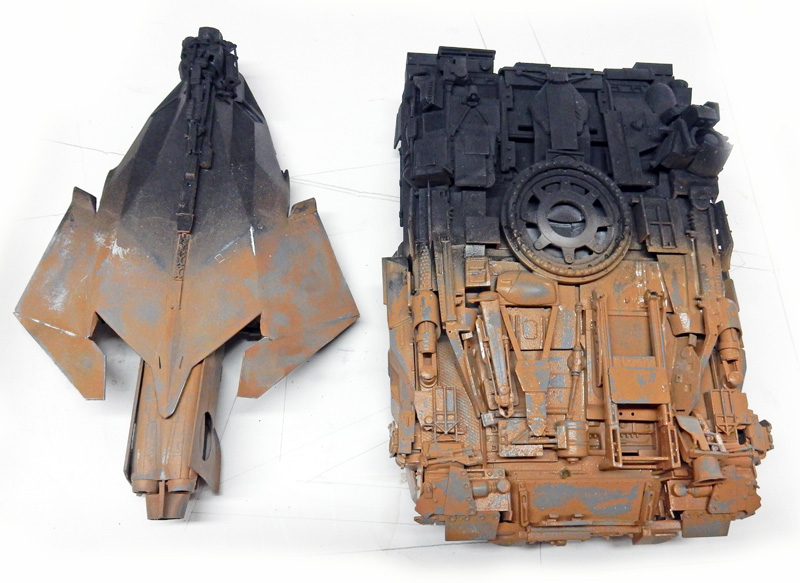
Next up is Hobby Color 66. Here, we'll use the hairspray technique to create a weathered effect—see the Catalina tutorial. here...
We finish with a drybrush using Hobby Color RLM79 Sandy Brown, Tamiya XF59 Desert Yellow, Humbrol 71 oil-based paint, and white. The black section is delicately drybrushed with the base gray on the top...
The painting of the room is finished...
The Setting
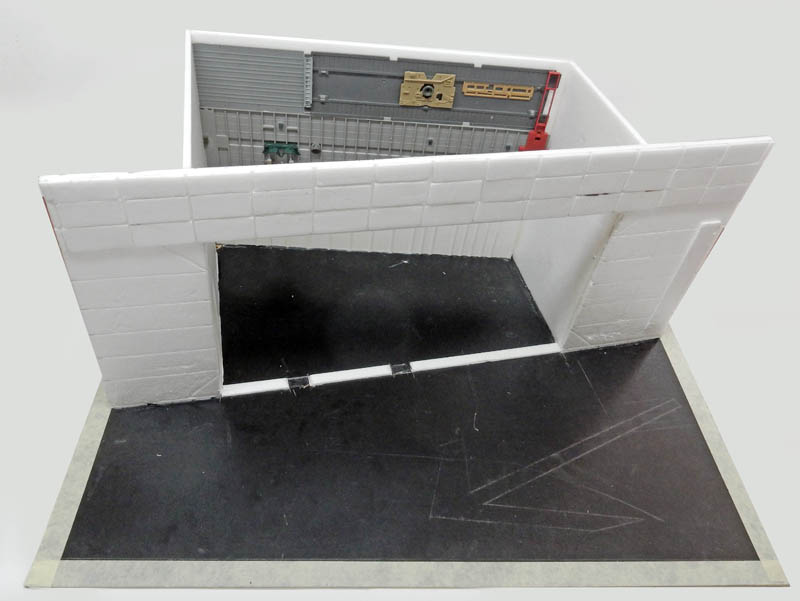
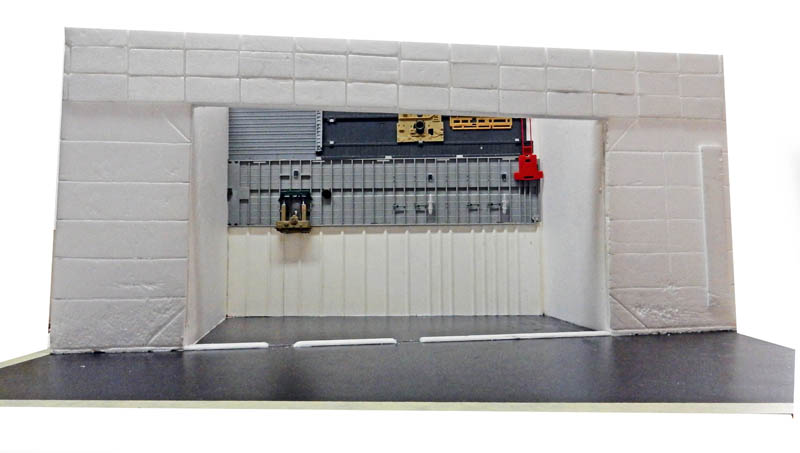
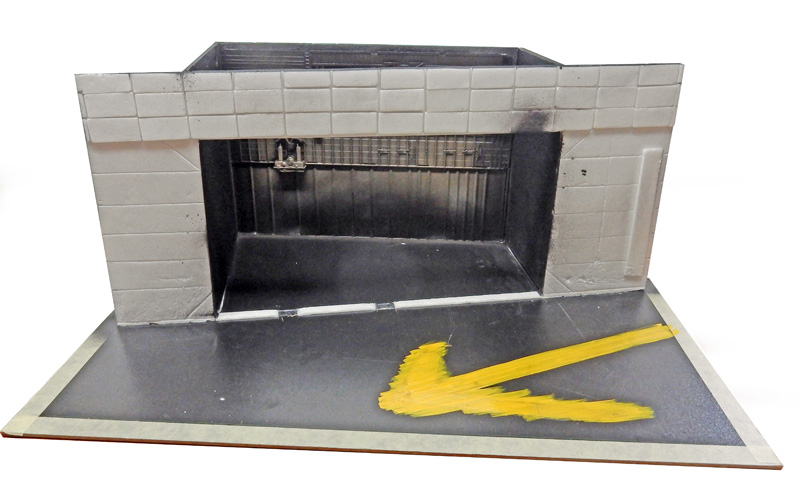
Hardboard for the 60 cm x 40 cm base and extruded polystyrene sheets for the walls...
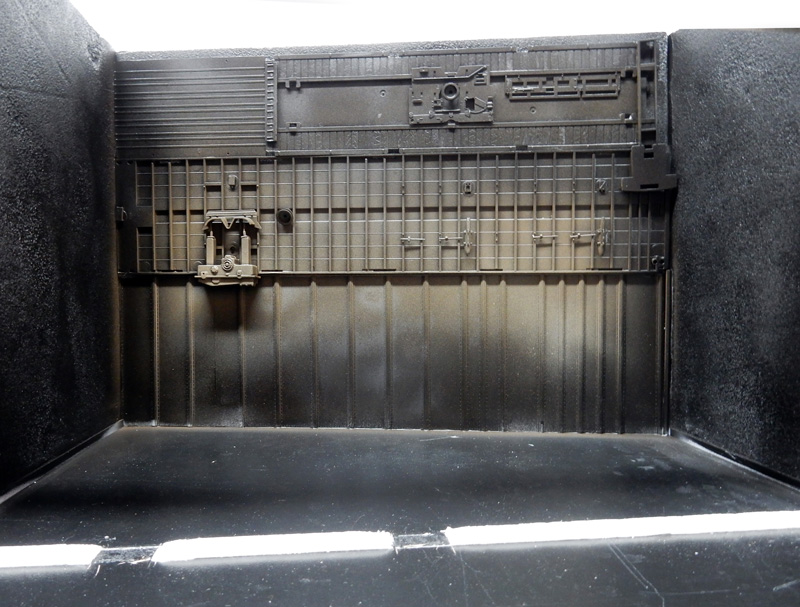
The back wall is built using materials from the scrap box, and tiles are added to the outside to cover the wall...
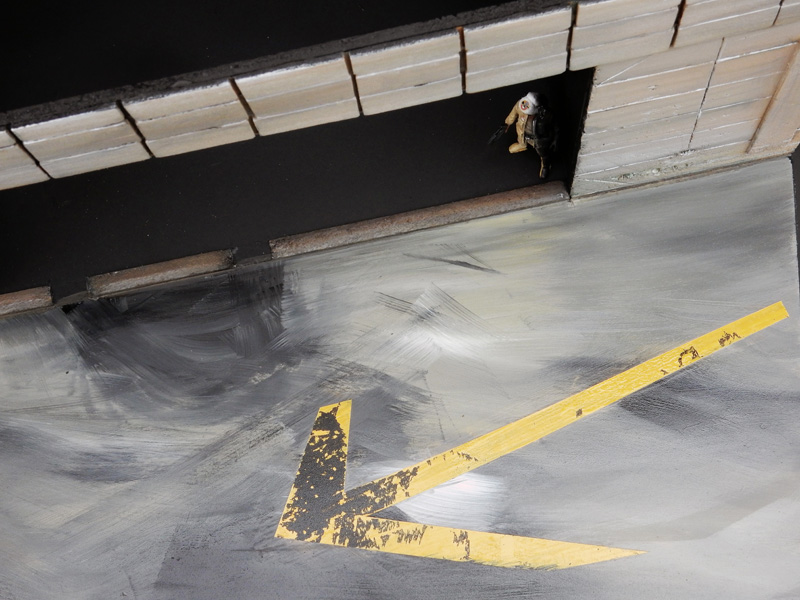
The arrow is drawn, painted with Humbrol 69 yellow, and a transparent film (stencil) is placed over it...
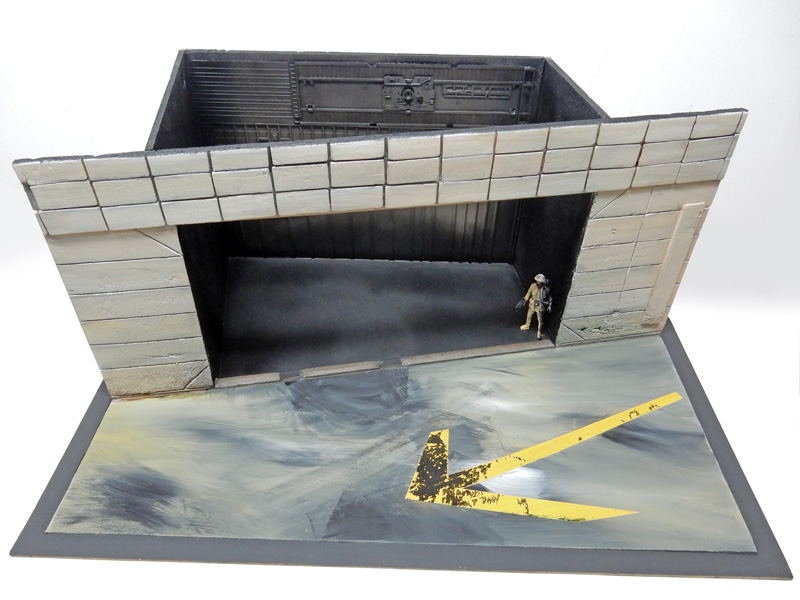
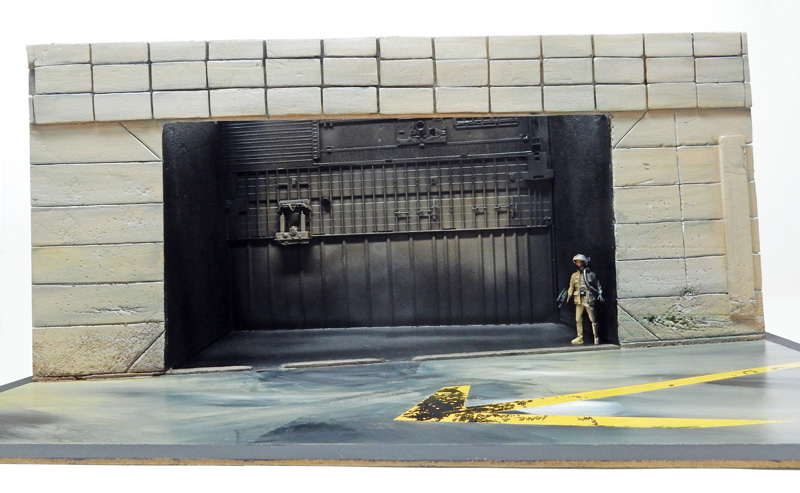
Note that we have retained the forced perspective effect for the building and the spire...
Lightly spray a halo of Tamiya XF59 Desert Yellow and white onto the background of the wall...
The floor is painted with Liquitex acrylic paint using a brush. To simulate the wet floor in the drawing, we apply satin varnish with a brush, focusing on certain areas...
The mask covering the arrow is removed, peeling away some of the yellow paint (the hardboard underneath is shiny and glossy), which creates an interesting worn effect...
A view showing, from a distance, the halo effect at the back of the building...
The figurine is a "Star Wars" lead figure that has been repainted and redetailed.
The right side simulates the part of the building that is in the shadows...
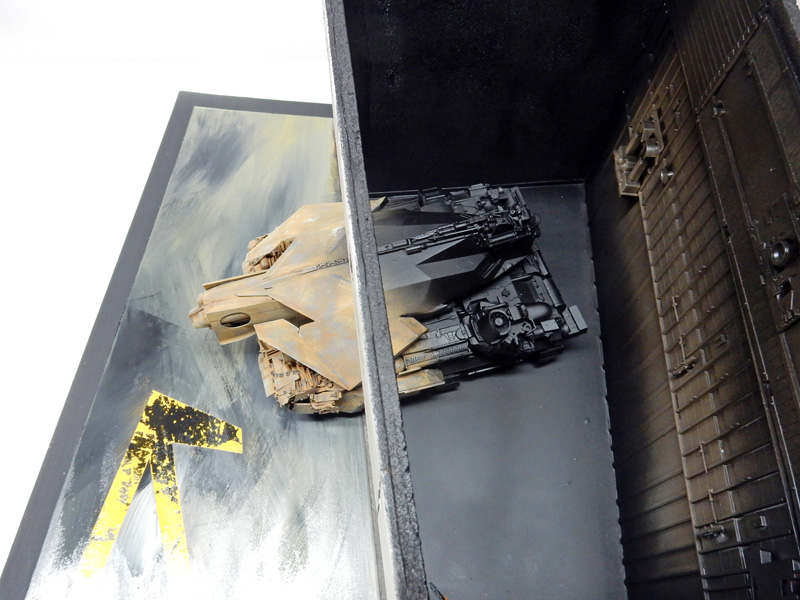
An aerial view showing the transition of colors. A black ceiling will complete the look...