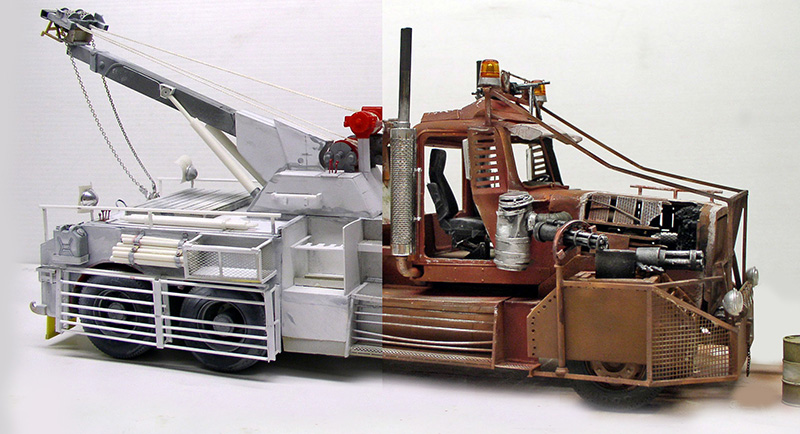
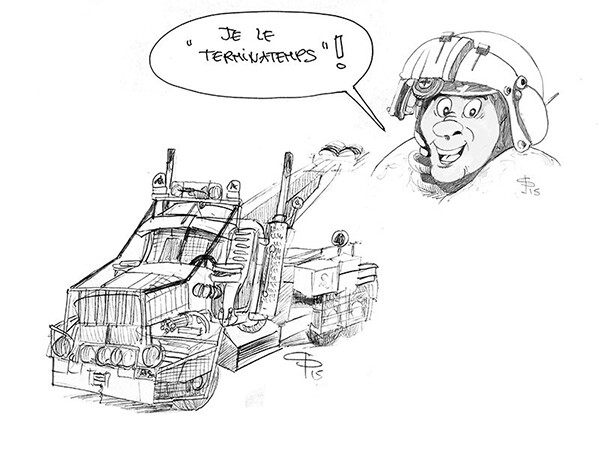
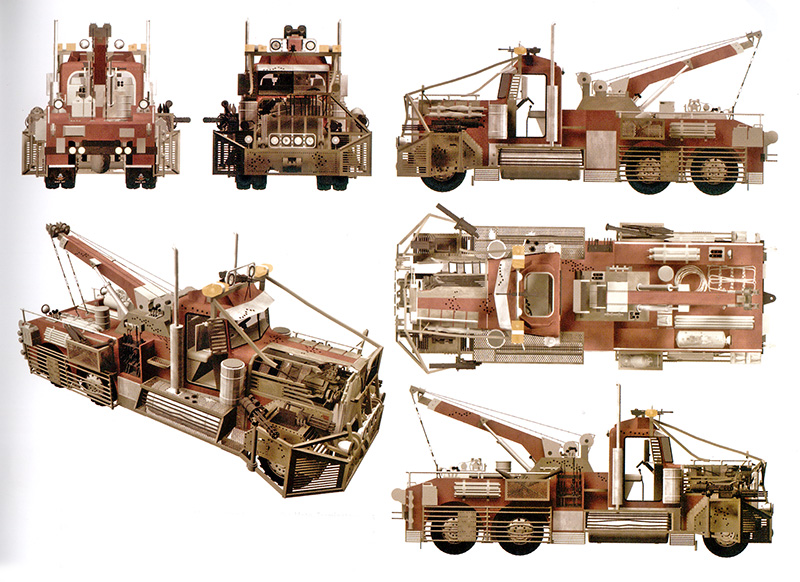
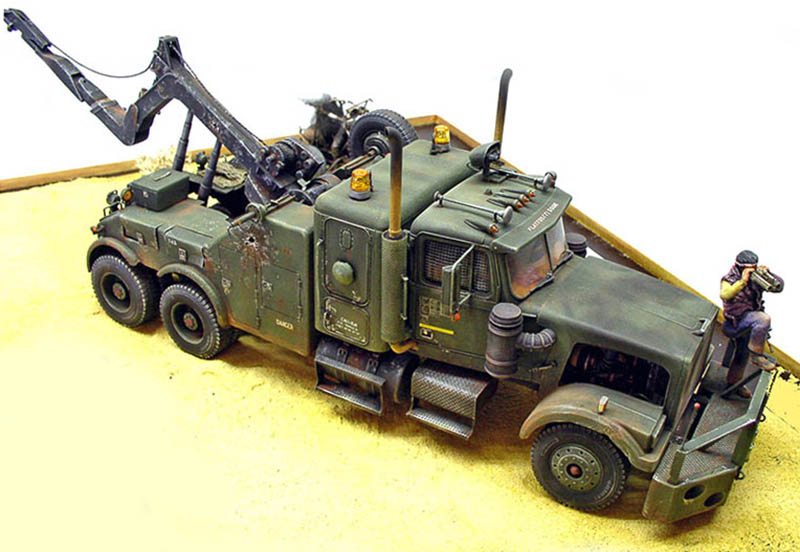
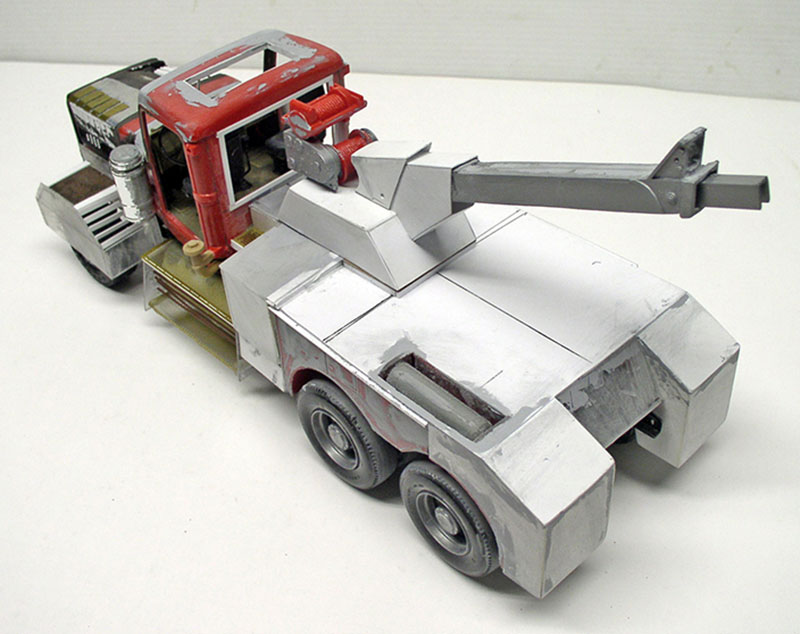
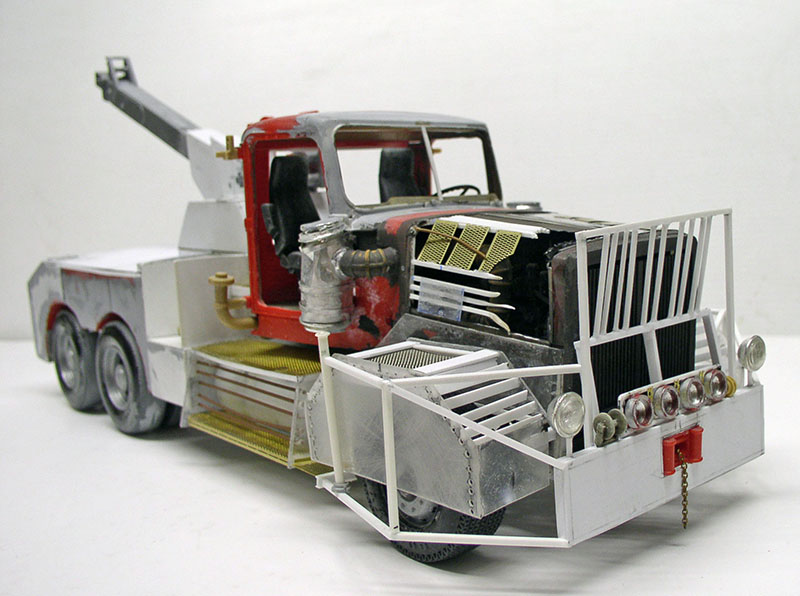
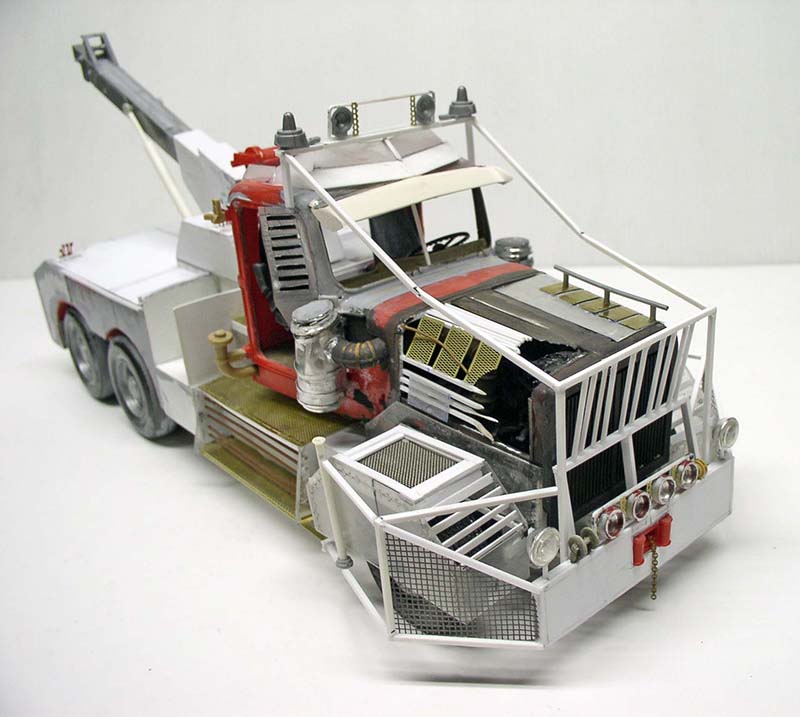
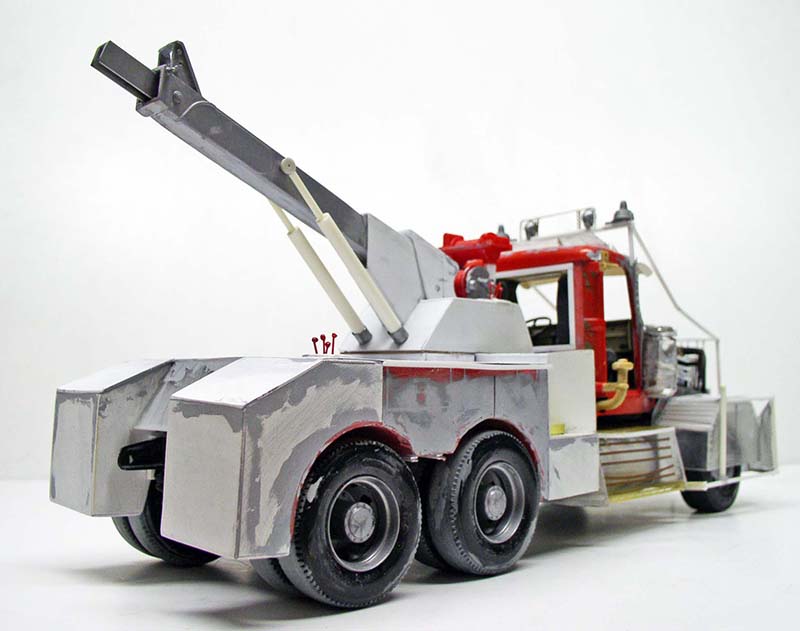
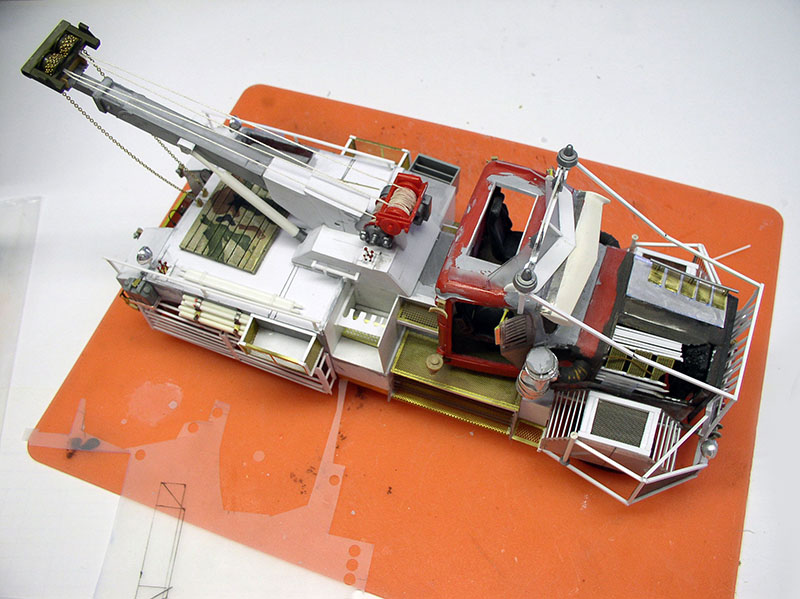
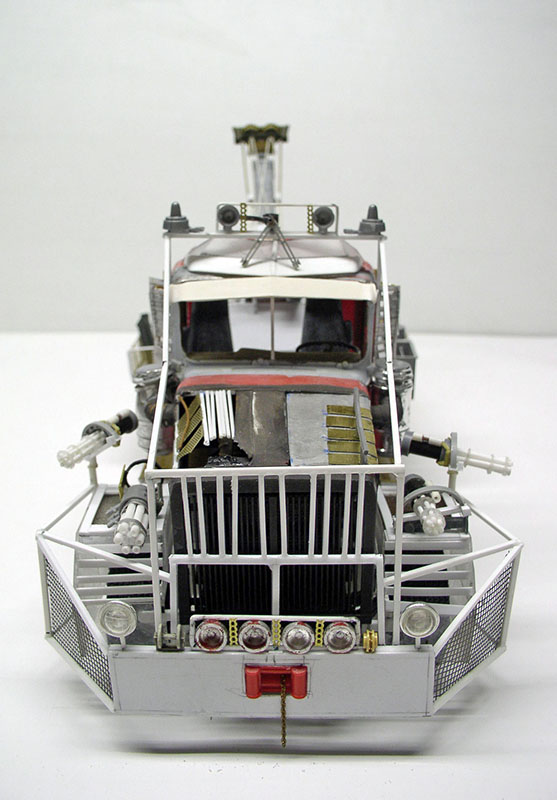
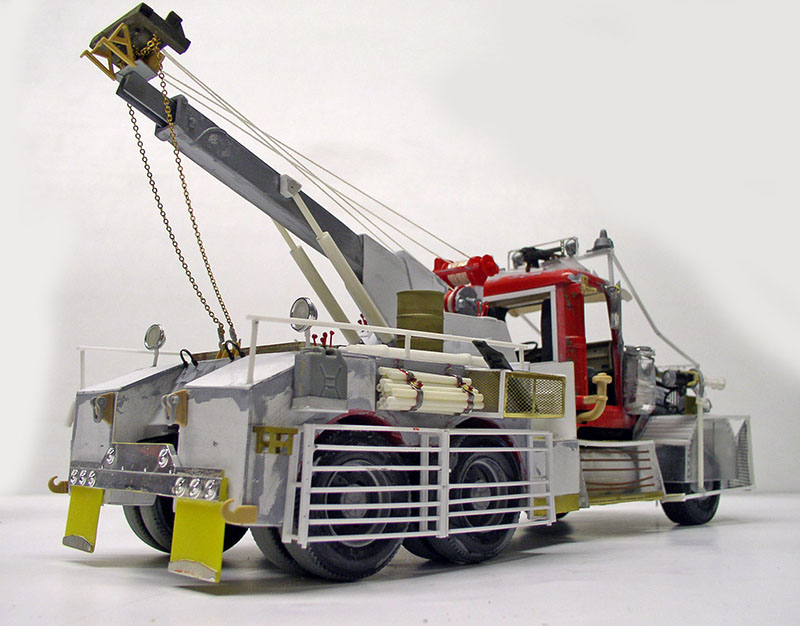
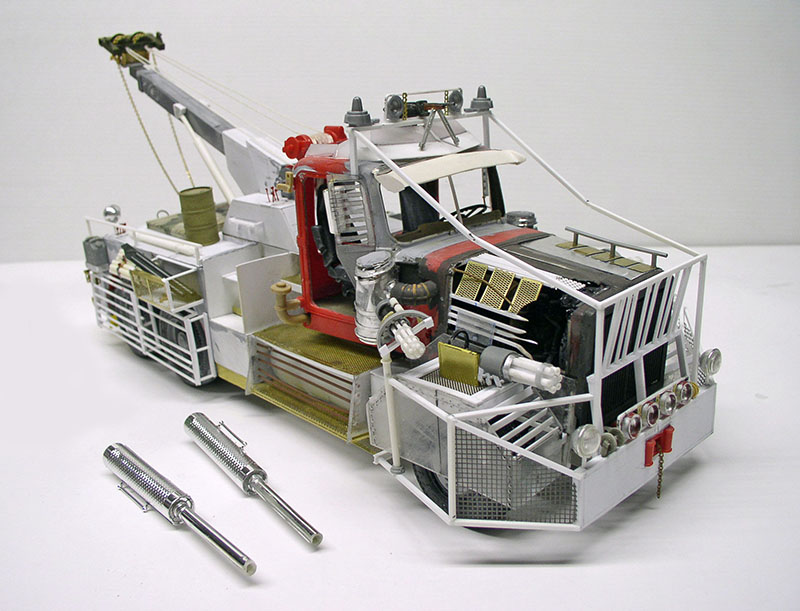
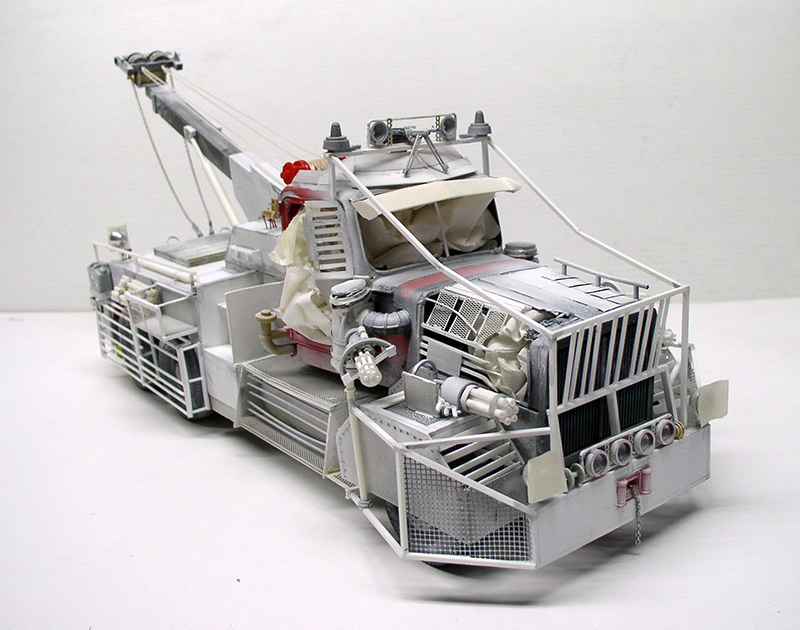
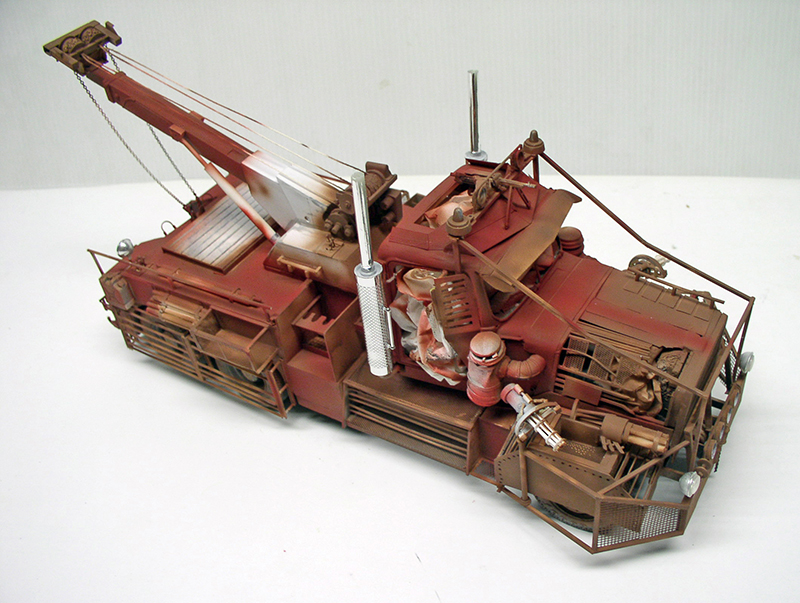
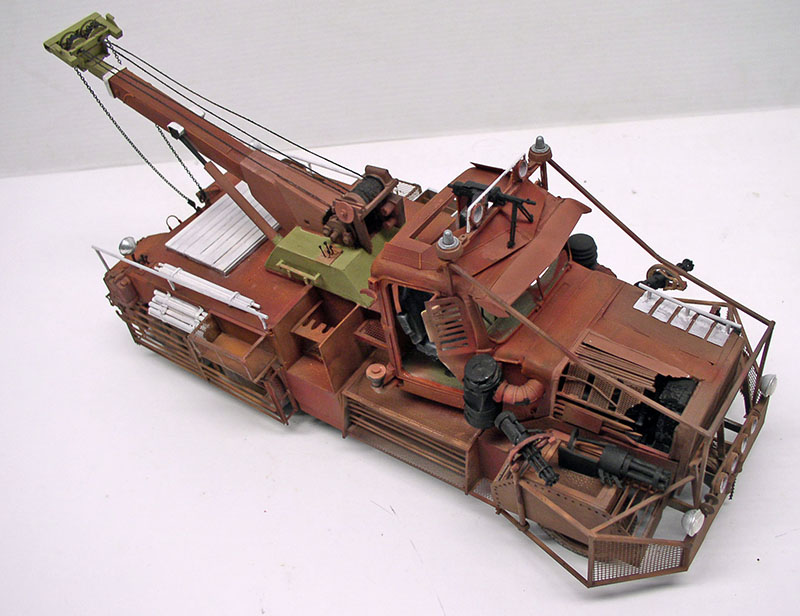
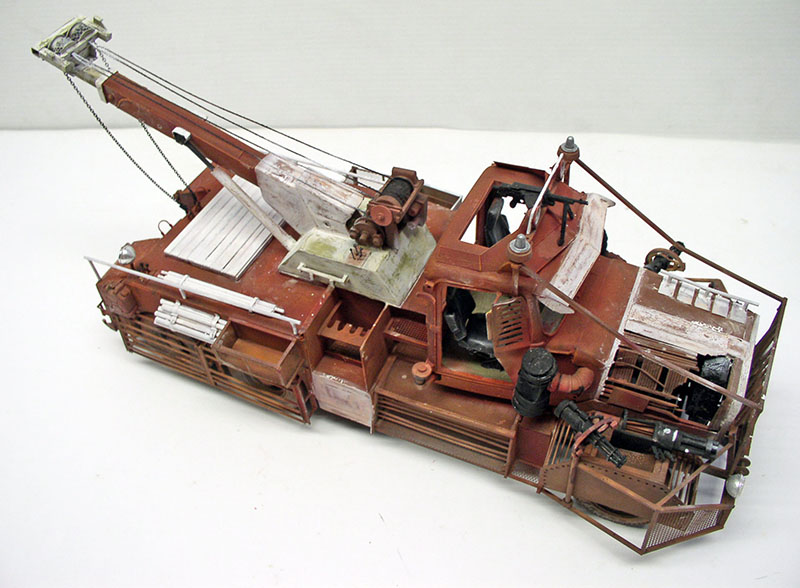
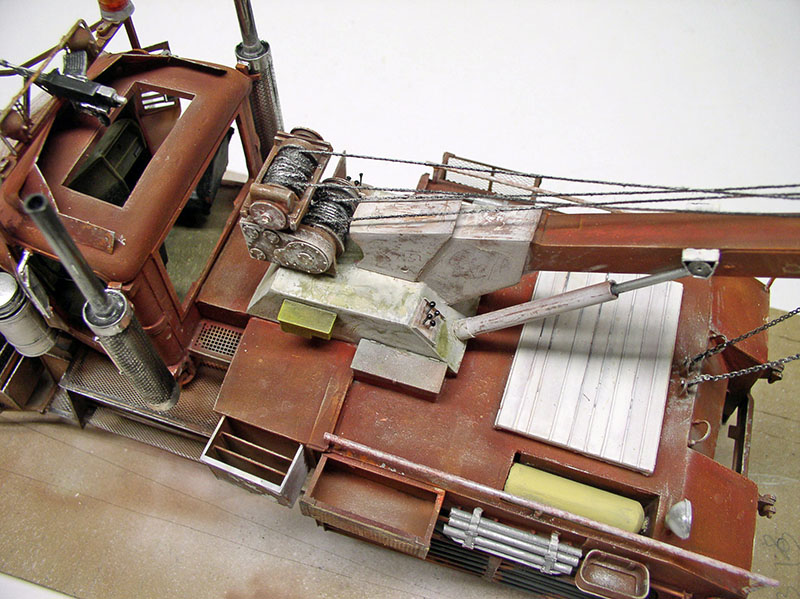
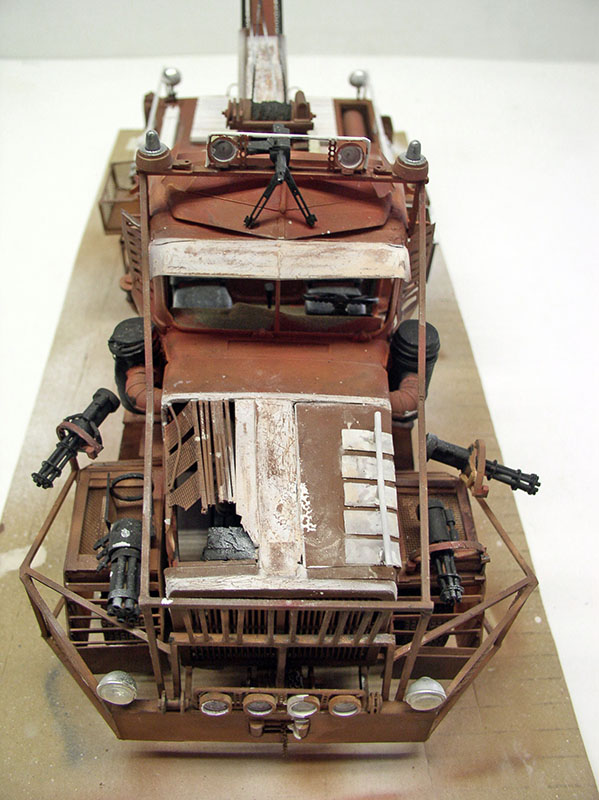
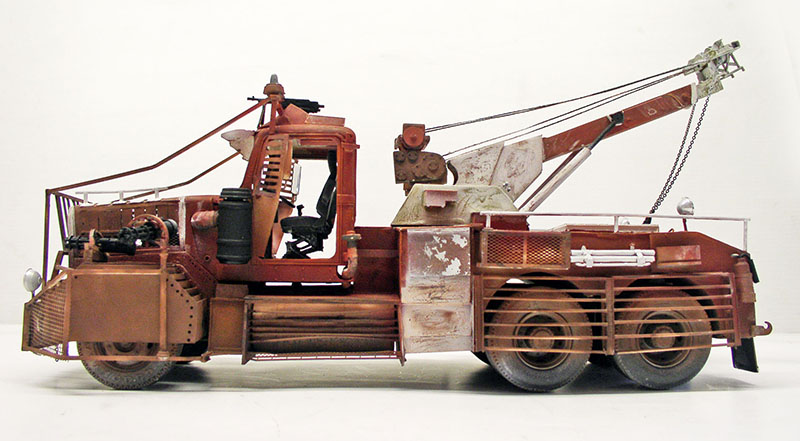
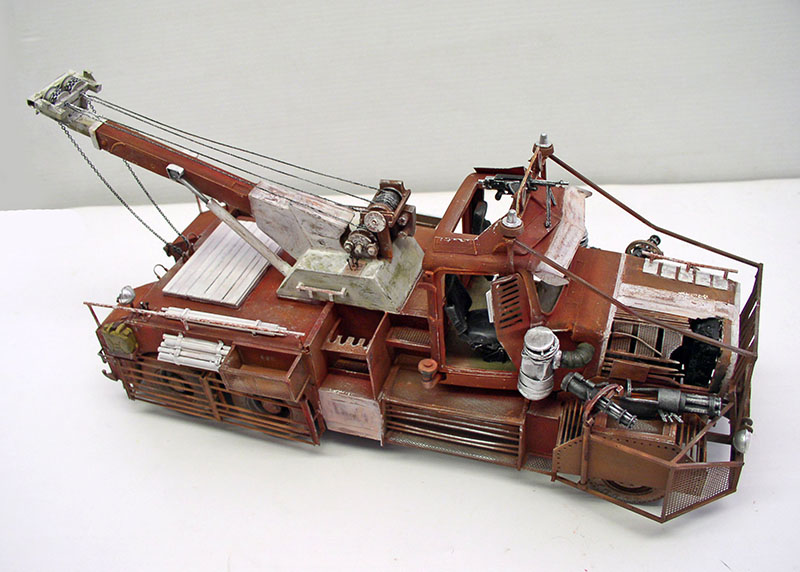
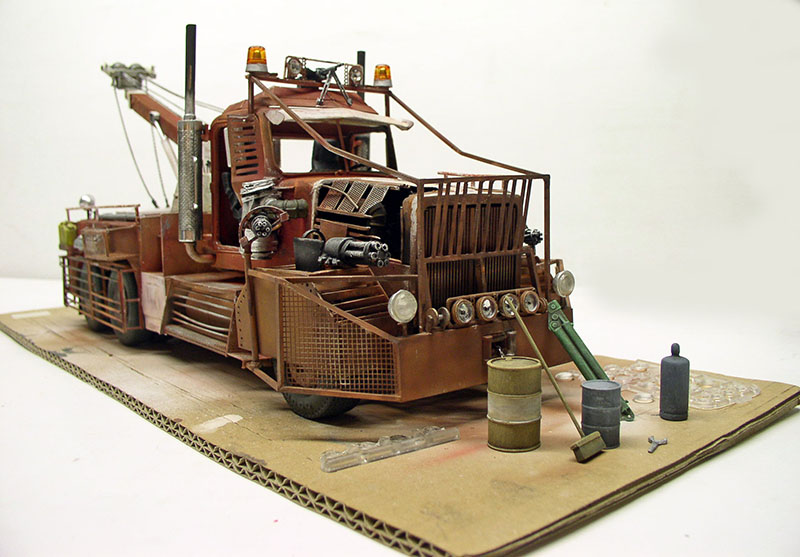
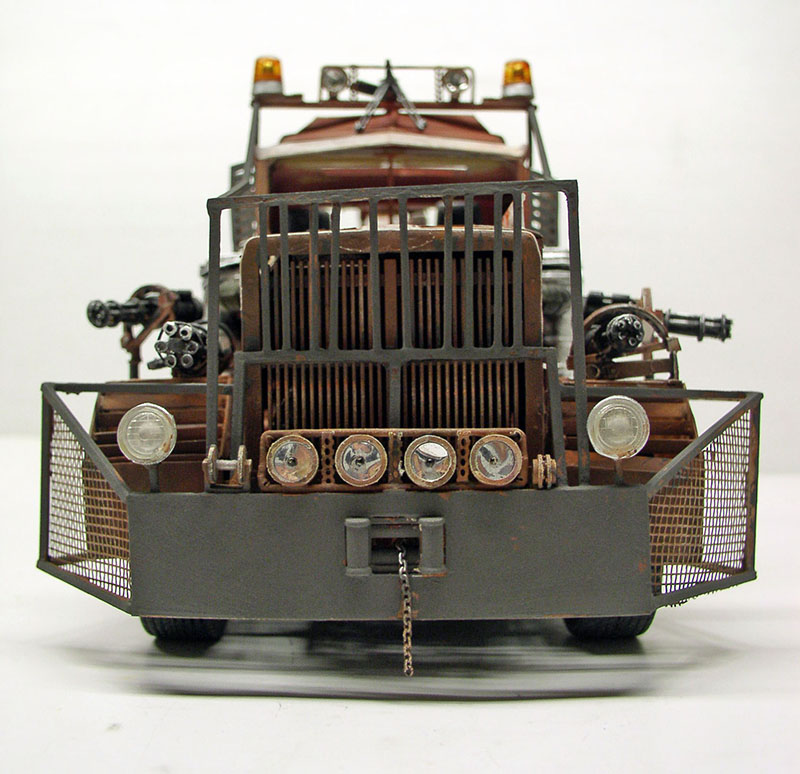
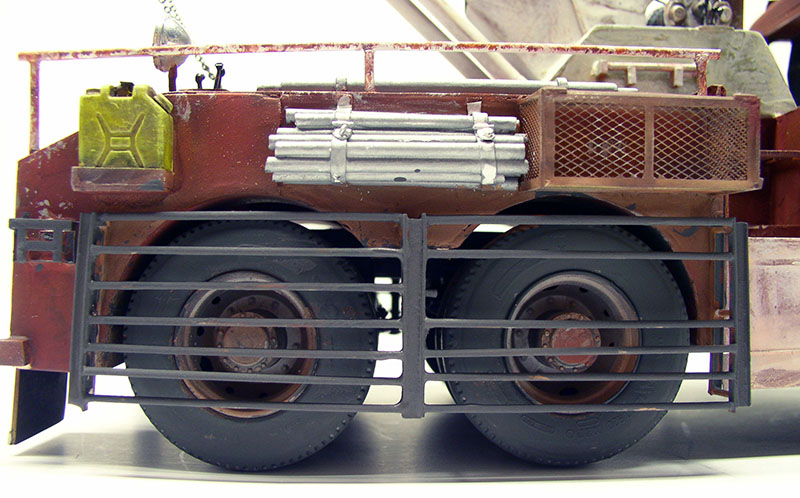
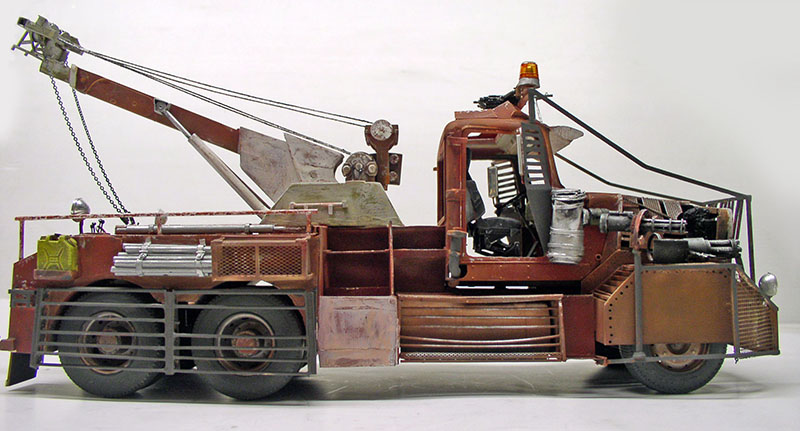
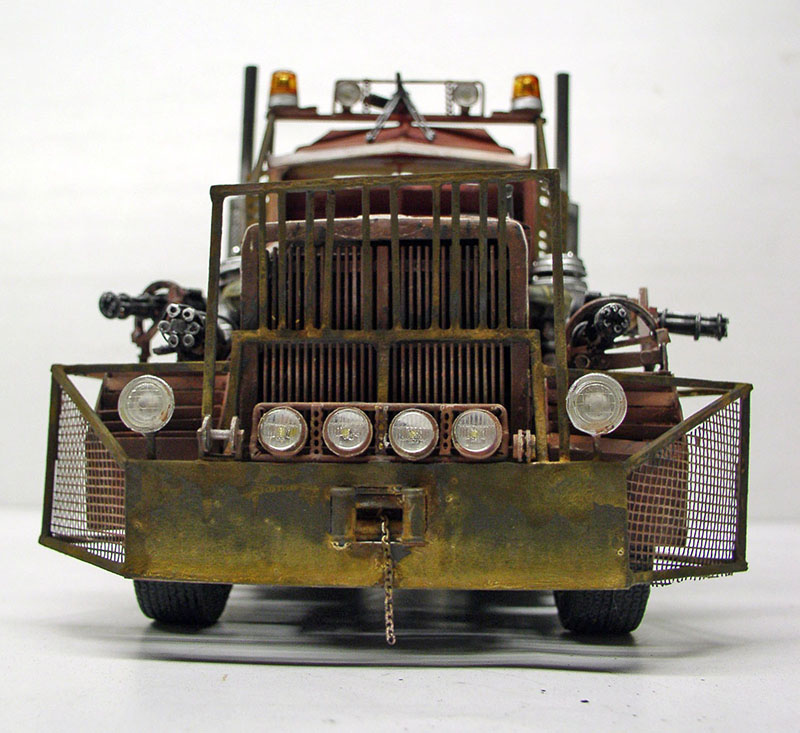
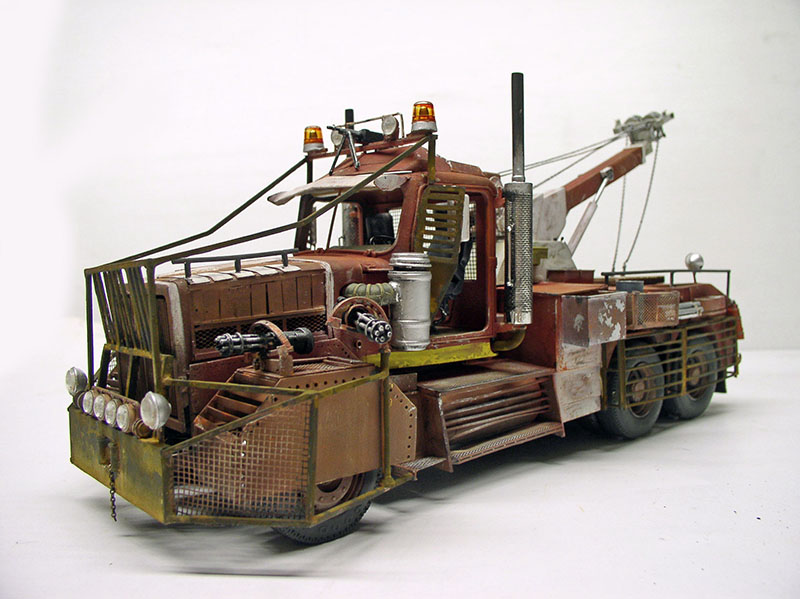
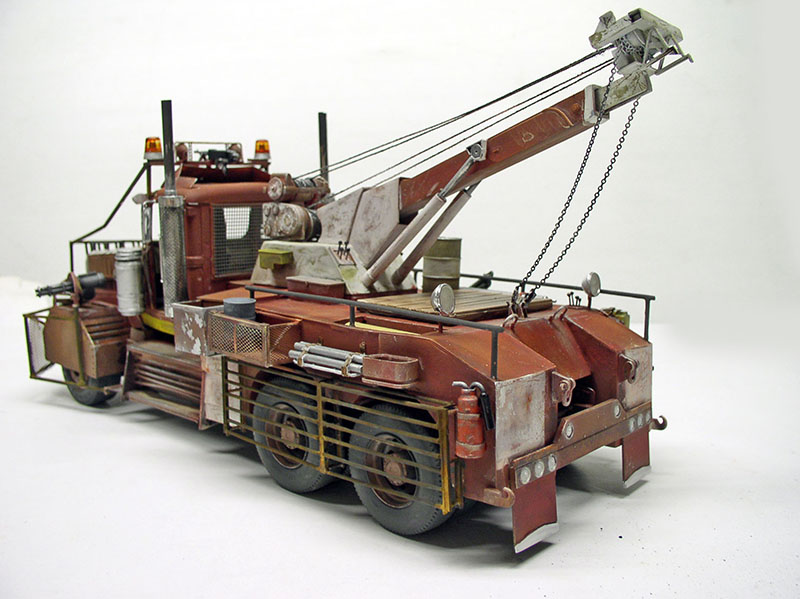
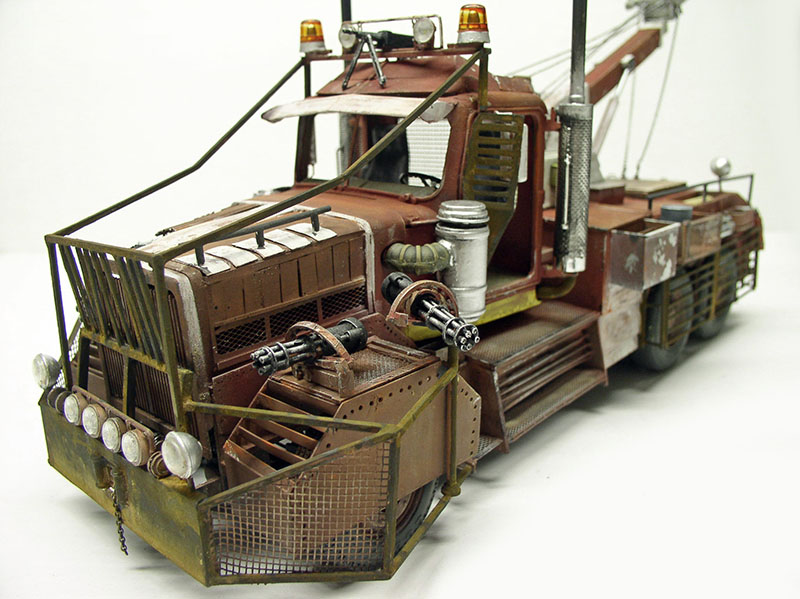
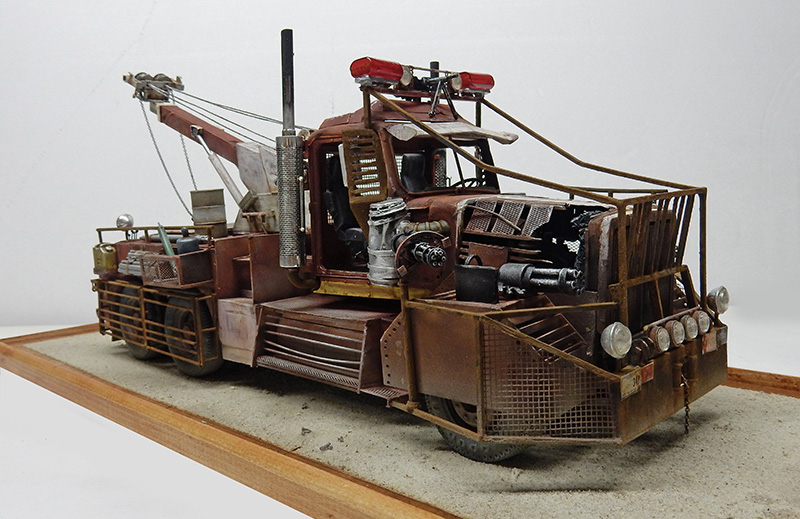
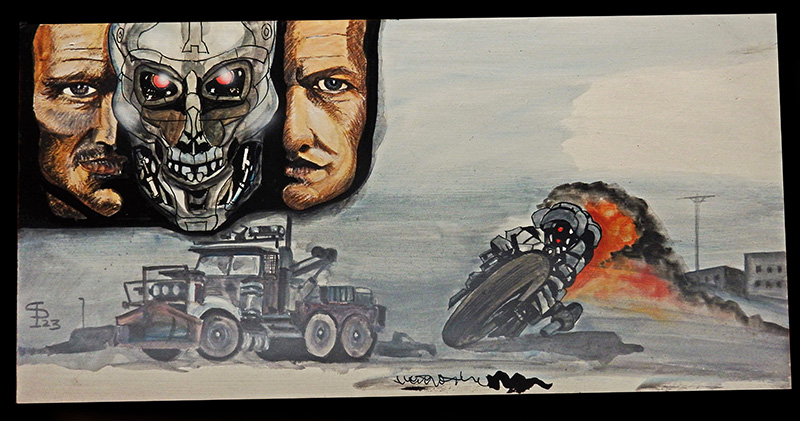
This is not the truck from the movie, but rather the more detailed production drawing, which led to the creation of the simplified, less expensive actual vehicle...
The vehicle used in the film is the subject of another tutorial.
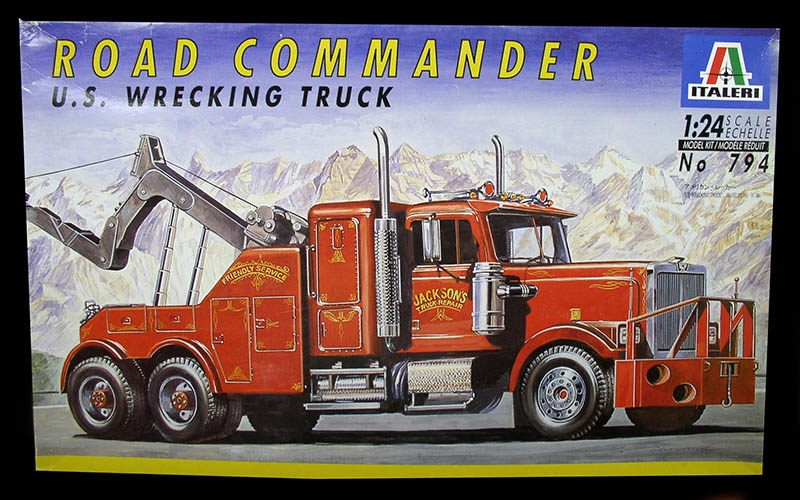
The basic kit for building this model will be Italeri's excellent 1/24-scale version of the American tow truck...
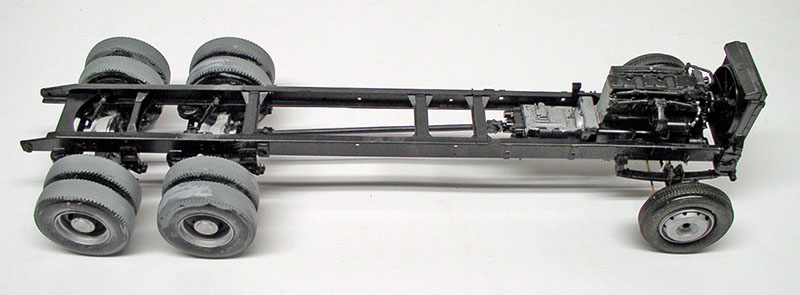
We start by assembling the chassis, the engine, the radiator, and the wheels...
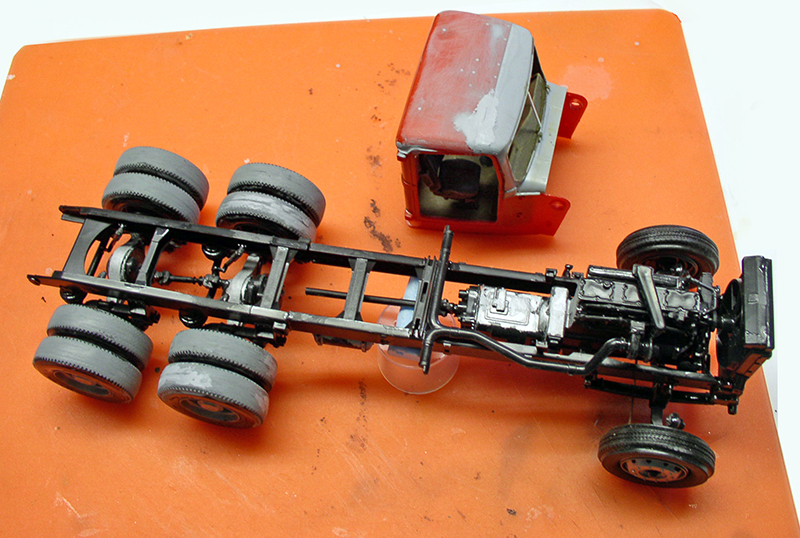
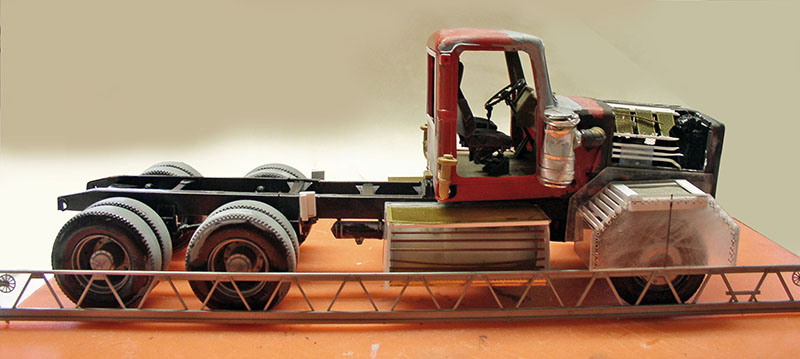
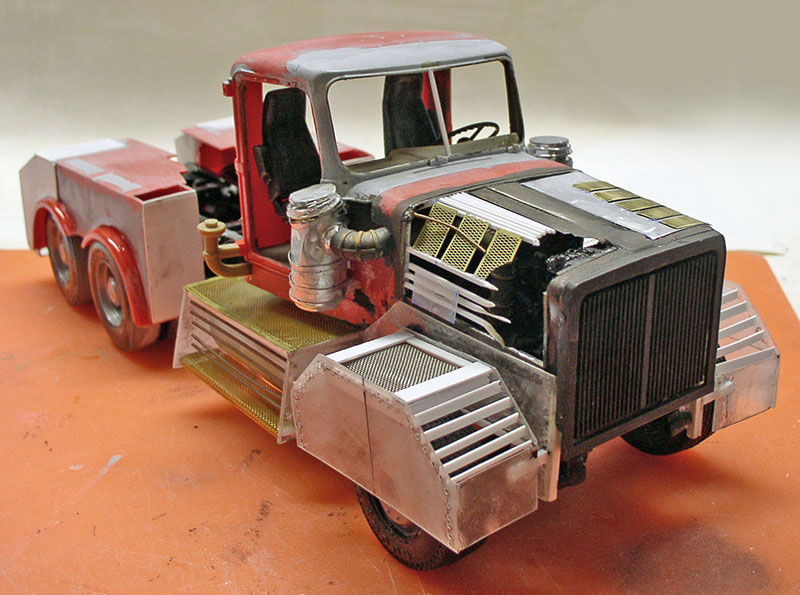
The chassis side members are cut and shortened by 4.5 cm. The "sleeping area" is removed. The cab is installed. The holes are filled with sealant, as is the joint between the roof and the windshield...
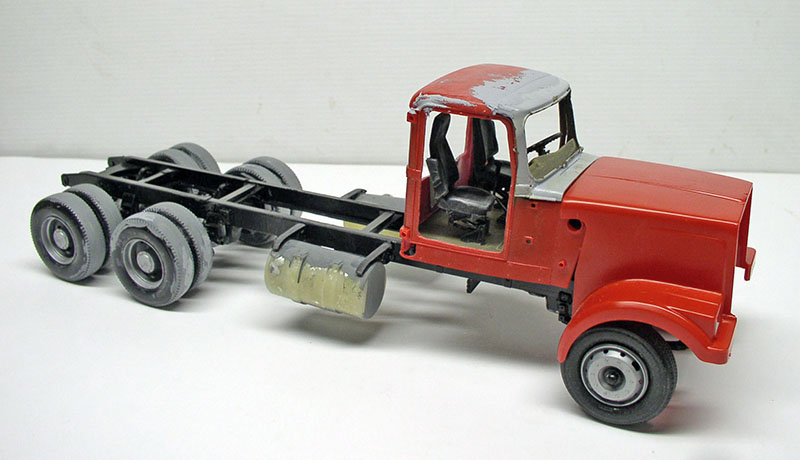
A "dry run" of the cabin. A window has been cut out in the back...
Air Filters
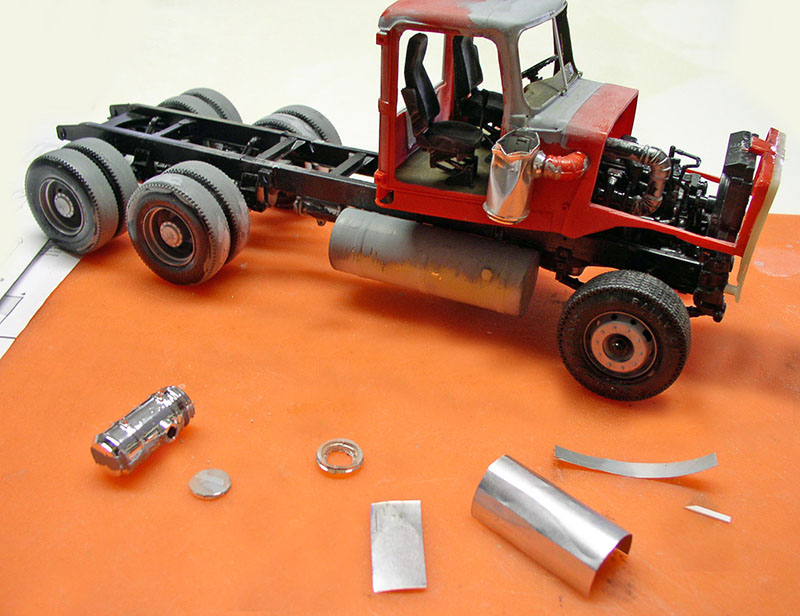
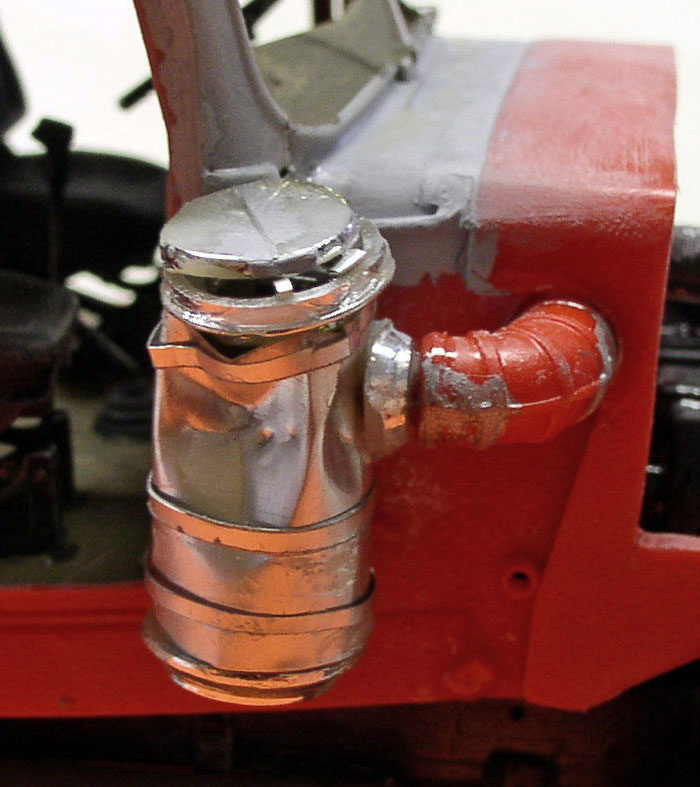
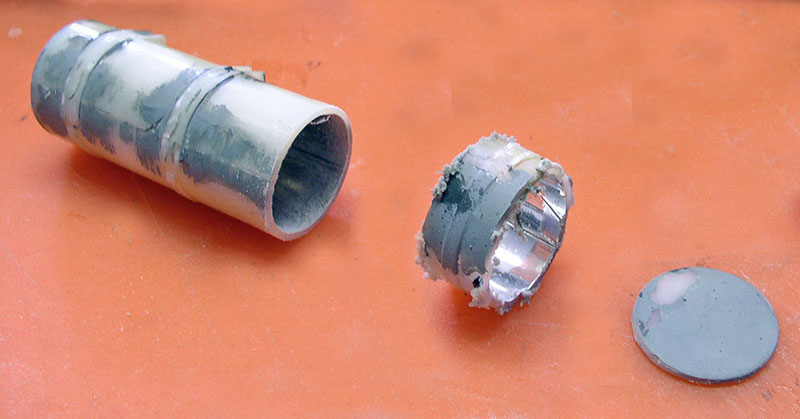
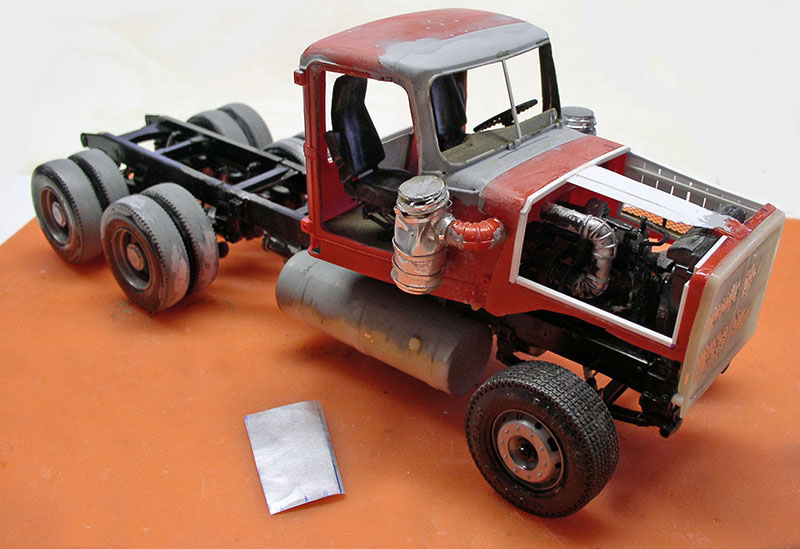
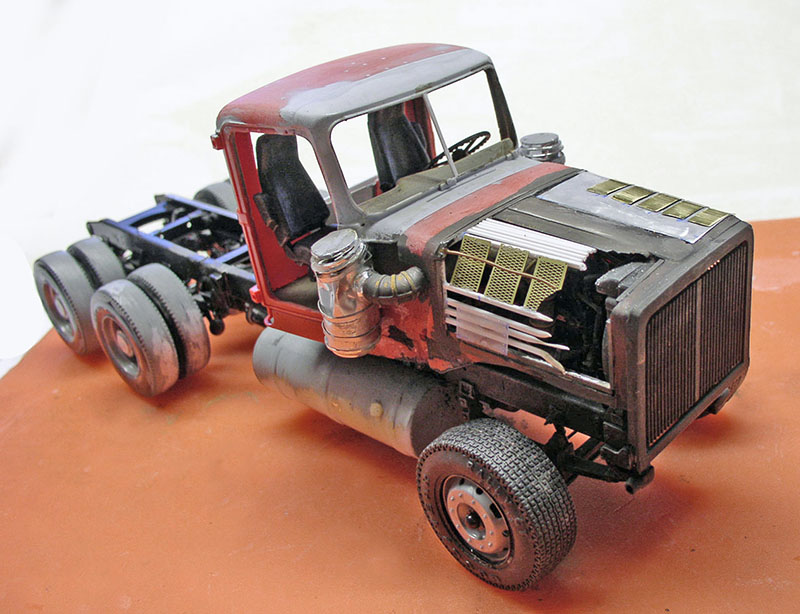
The flattened straight air filter has been rebuilt using sheet metal. The top and bottom sections from the kit were reused to connect them. The front wheels have been replaced with wider tires. The gas tanks have been lengthened. The fenders on the cab have been cut out, as have the two doors...
The new filter is in place...
In the center, the added section of the tanks...
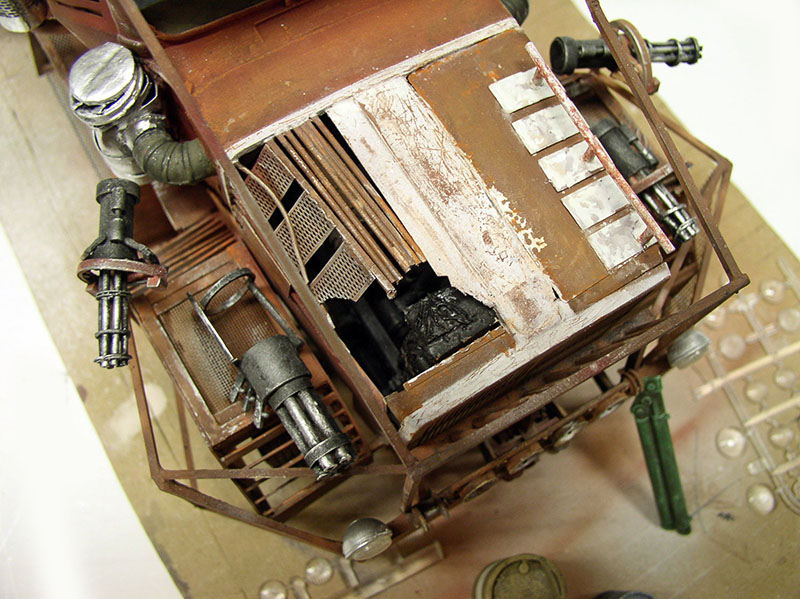
The truck's hood is cut out and rebuilt based on the production drawings...
The hood was damaged on the right side...
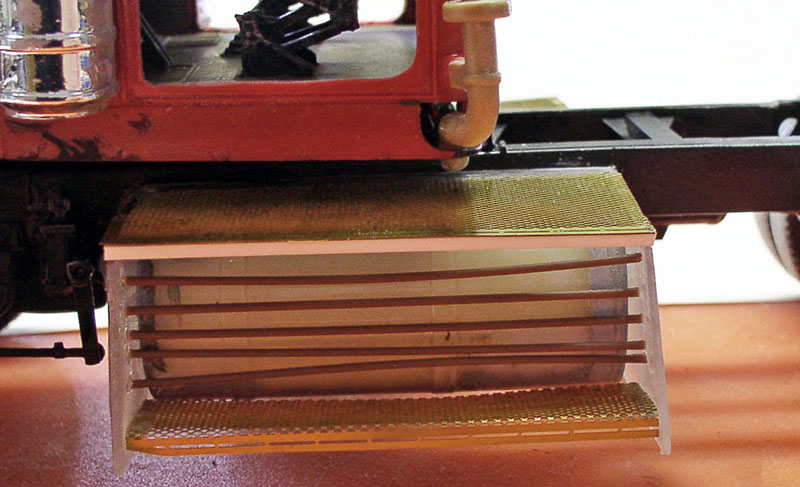
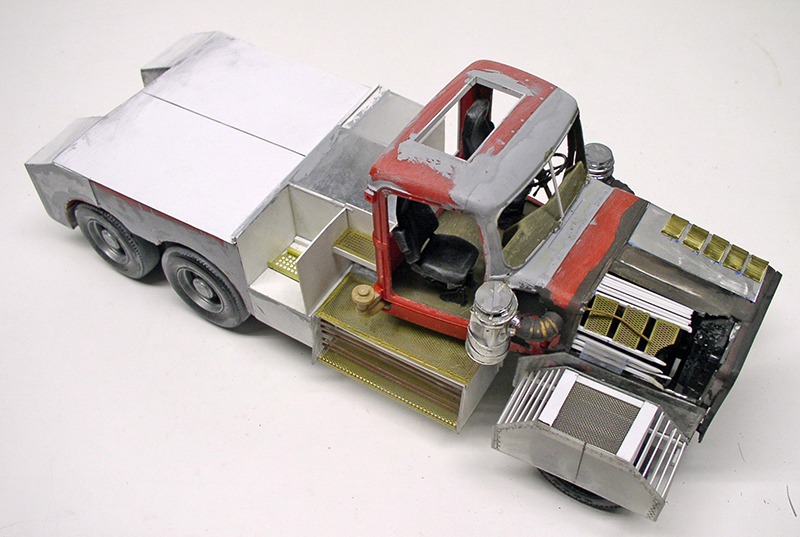
The running board is made from plastic card, Evergreen strips, and photo-etched parts. It should have a weathered look...
The Wings
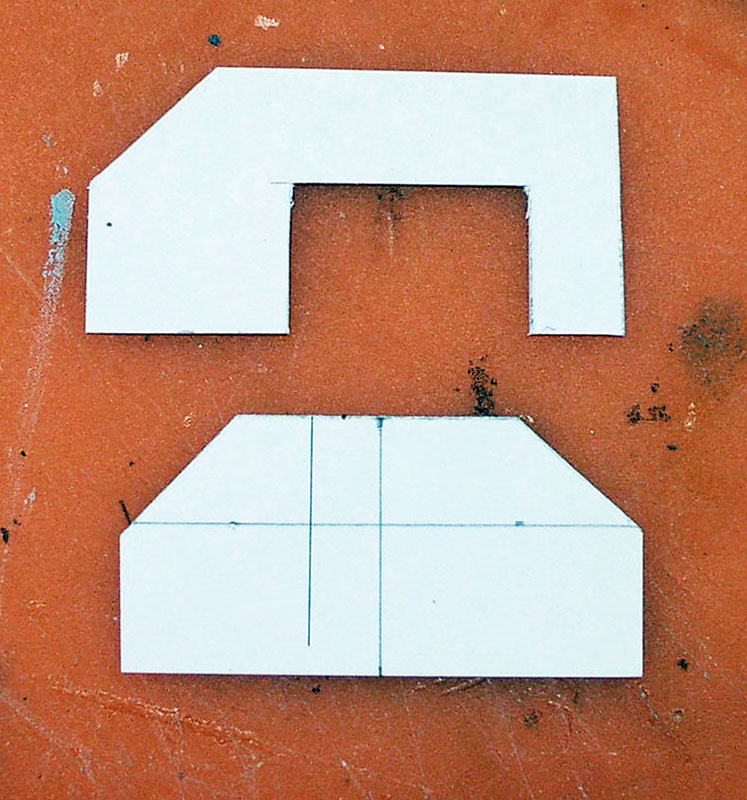
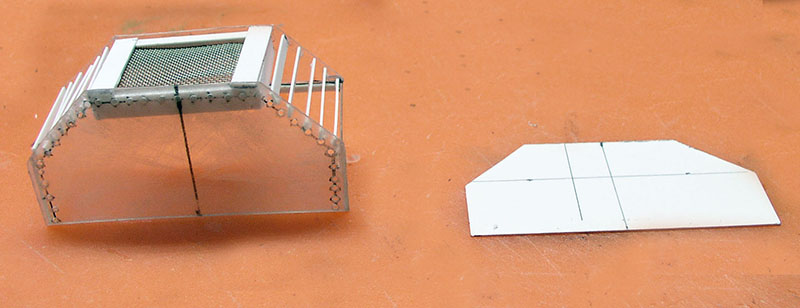
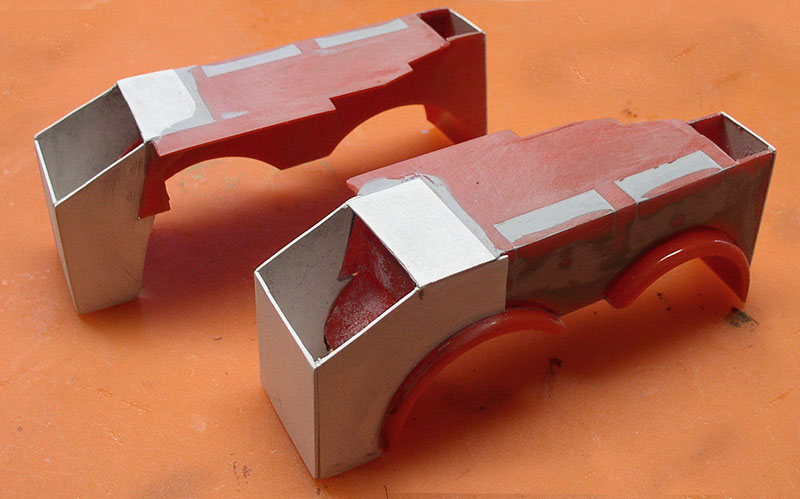
Manufacturing the armored fenders. We make two jigs...
...Then manufacturing...
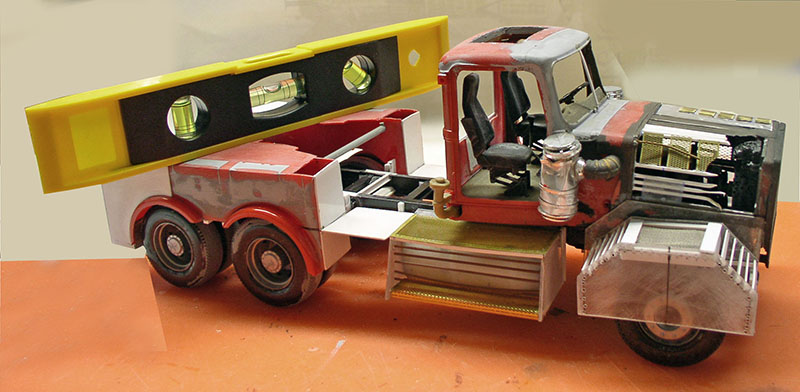
Once the wings are built, attach them to the frame, making sure they are perfectly horizontal relative to the ground...
Building the rear fenders using parts from the existing kit...
Glue them together onto the frame using plastic rods, making sure the whole thing stays level...
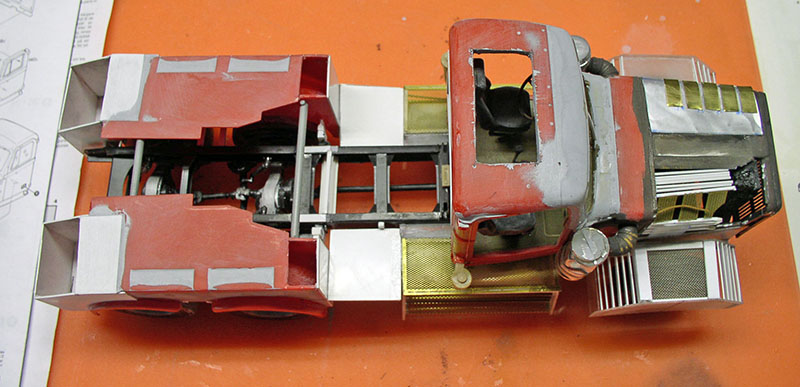
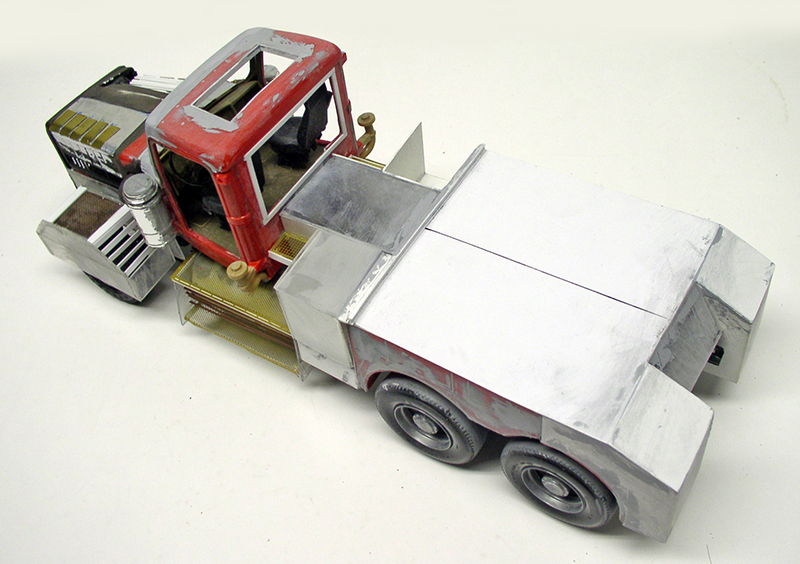
Top view. In the meantime, the cockpit gunner's hatch has been cut out...
Another view...
Trim for the rear section and the gunner's hatch...
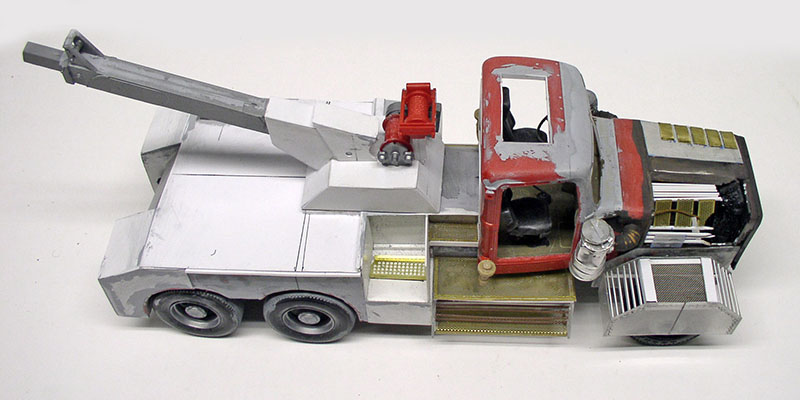
Crane installation. We're using part of the boom and the winches from the original kit...
Building the front armor using Evergreen strips. Installing the headlights...
Completion of the front armor. The gunner's visor is created. Installation of the mounting brackets for the rotating lights, which have been replaced with those from the kit...
The crane's hydraulic system is in place...
Manufacturing and installation of accessories, including various baskets... The crane is finished...
Machine Guns
"Patience and time accomplish more than strength or rage" -
A motto that should be the motto of layout artists...
A motto that should be the motto of layout artists...
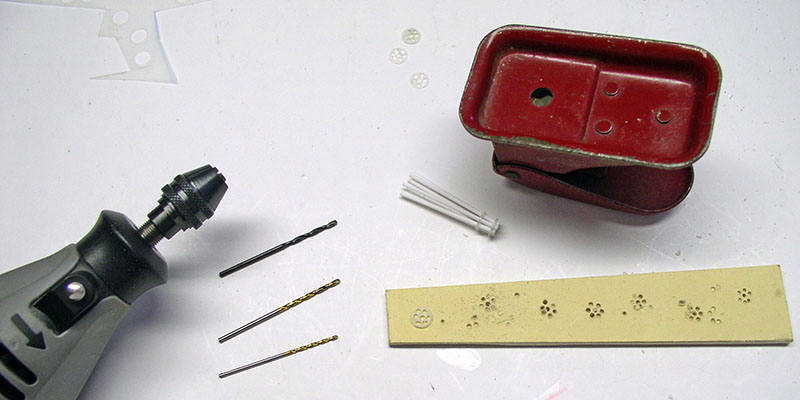
Making Gatling guns. Plastic circles are cut out using a hole punch designed for binder sheets; six holes must then be drilled in each circle with a mini drill so that the tubes can be threaded through, keeping in mind that at least three circles are needed per Gatling gun...
The weapons set up after a few hours of work...
Finishing the side panels and rear bumper...
The vehicle is finished and ready to be painted...
It is coated with a layer of white acrylic primer...
Painting
Humbrol 70 & 153 Insignia Red base coat. Then, after it dries, apply a wash made of matte black + 177...
"Dry brushing" with 178 British Scarlett... Then apply the hairspray technique to certain parts: the hood, the base of the crane and boom, the roof visor, and the trunks. The metal parts are painted matte black...
Details...
Painting metal parts...
Chromes
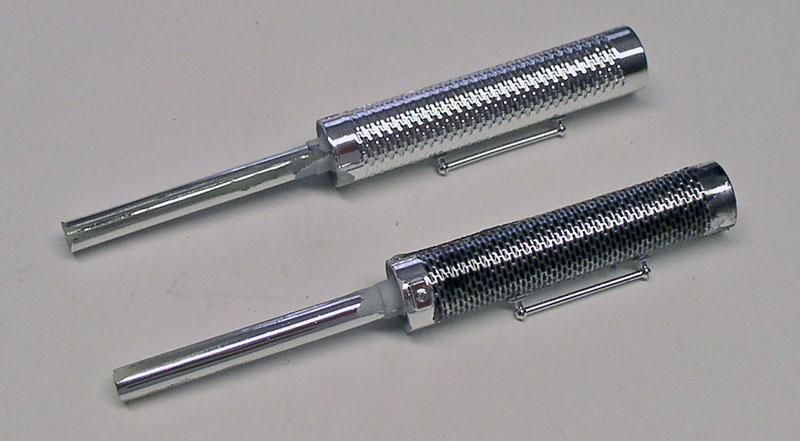
The exhaust pipes are painted with a coat of Humbrol matte black, which is then wiped off to leave only shadows in the recesses. Let them dry thoroughly. See the "Chromes" tutorial...
We paint the accessories. The exhaust pipes are dirtied up and installed...
Rust
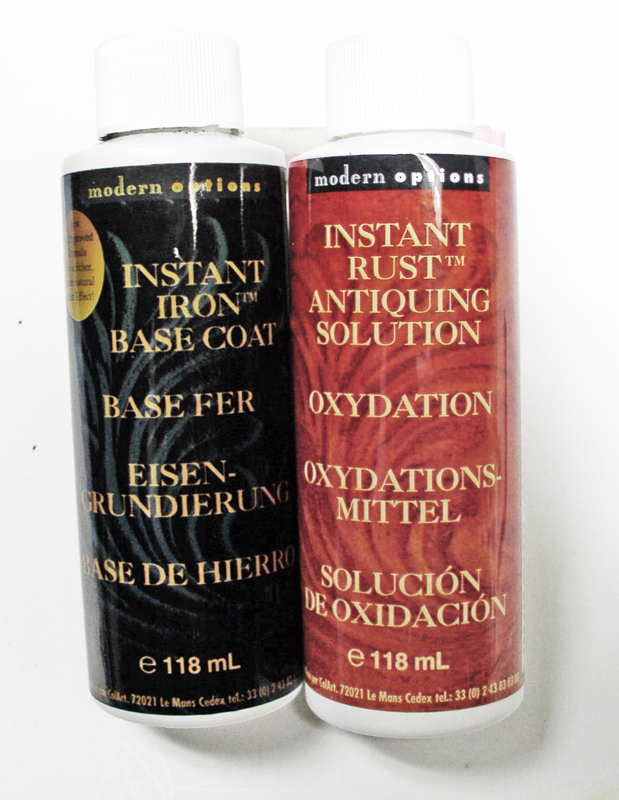
This product is used to create a rust effect on the truck's bumper and armor plating.
The appeal is that you get a lot of product for a fair price...
It should be noted that it has become harder to find, and its price abroad has risen significantly...
Apply two coats of the iron-based primer, allowing one hour to dry, followed by 12 hours. In the meantime, place chrome-coated paper inside the headlights and add a bulb made of plastic stretched over a flame using a remnant of translucent cluster...
Then we apply the rust remover...
The result ...
Note that you can enhance the effects by applying more product to certain areas...
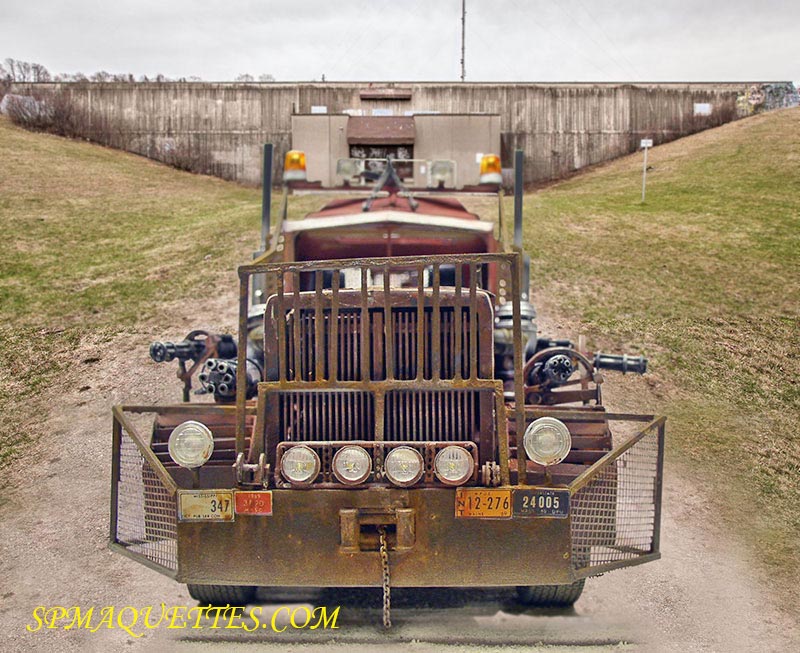
Install the vehicle's license plates and finish with a dusting of Humbrol Base 121 using an airbrush...
Again, there's no need for a special product to remove dust—which drives up the price of the model...
The flashing lights have since been replaced by rectangular bars...
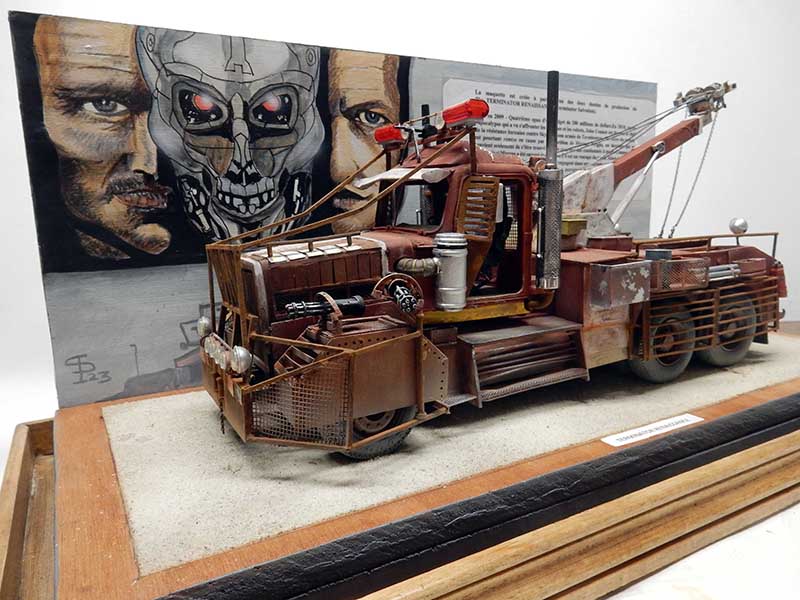
An acrylic-painted background is added along with an explanatory sheet...