


Techniques standards
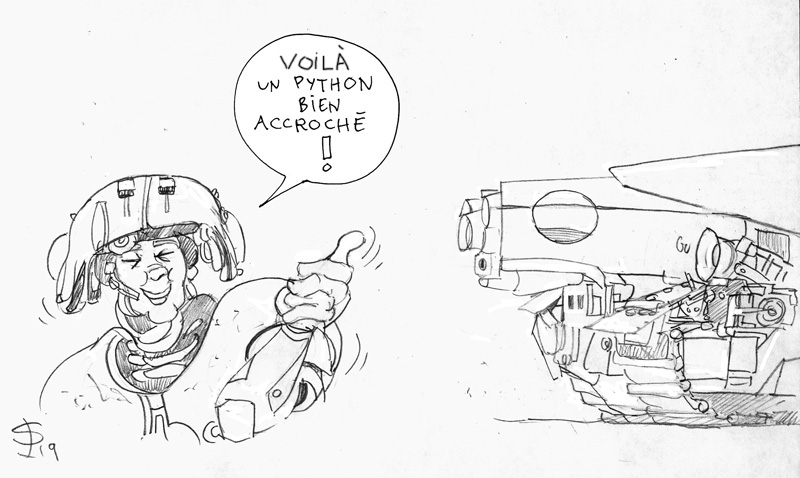 Here's a Python with a good grip!
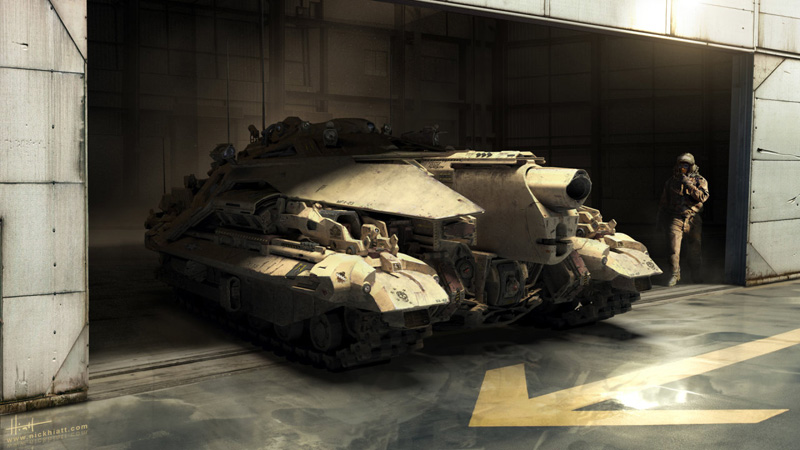 Une maquette à l'échelle 1/24ème inspirée d'un dessin 3D de Nick HIATT.
Aucune difficulté majeure. Accessible à un débutant comme à un adepte qui veut sortir des plans de montage et faire de la création. Il faut juste être logique et avoir un peu de stock de pièces. Ne pas coller des pièces très connues que l'on repère de suite au premier coup d'oeil....
A 1:24 scale model based on a 3D drawing by Nick HIATT.
No major difficultie. Accessible to beginners and enthusiasts alike who want to get away from the assembly plans and get creative. You just need to be logical and have a small stock of parts. Don't stick on well-known parts that you can spot at a glance....
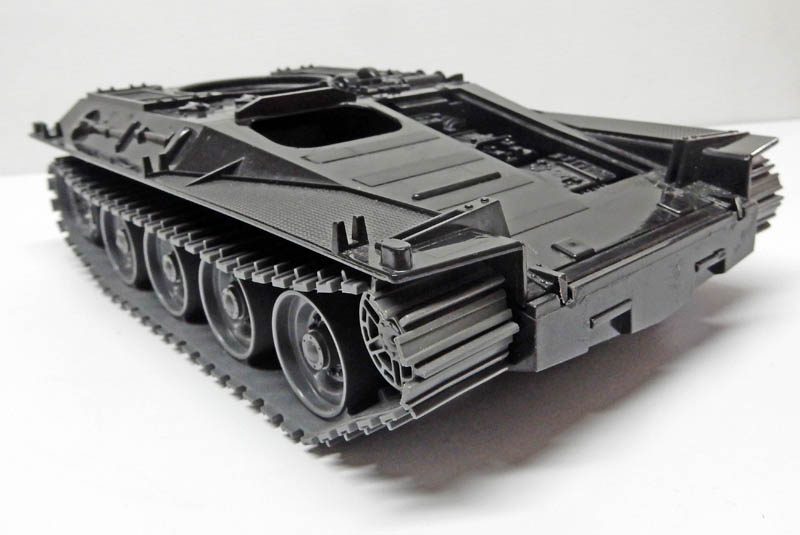 La base : un jouet Hasbro dont la superstructure a été enlevée, ainsi que les différents autocollants. La pièce est ensuite lavée à l'eau savonneuse...
The base: a Hasbro toy from which the superstructure has been removed, along with the various stickers. The part is then washed in soapy water...
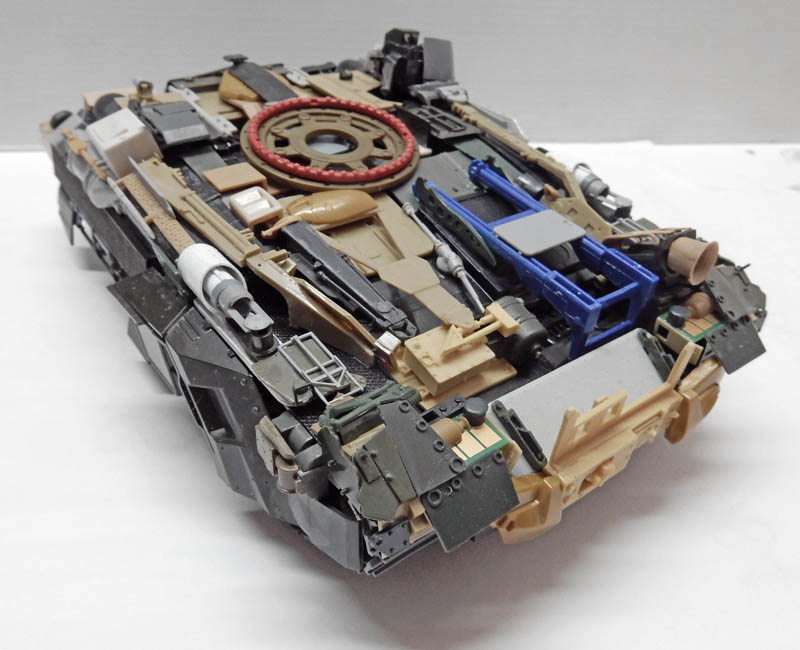
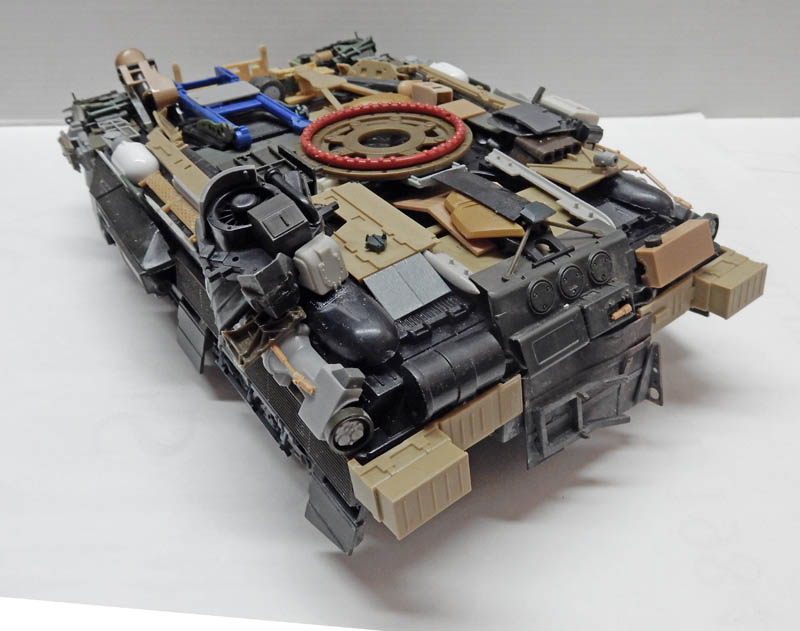 Habillage de la caisse...
Body cladding...
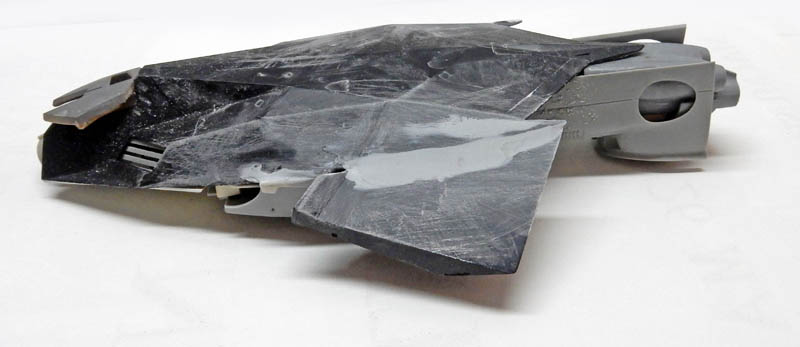
Création de la tourelle...
Creating the turret...
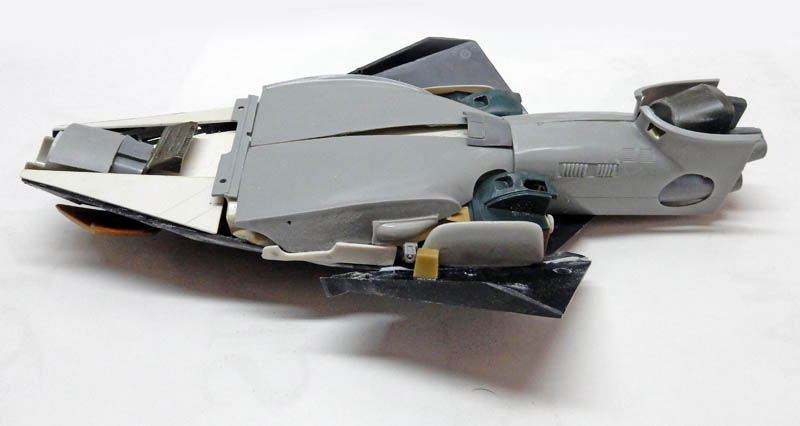
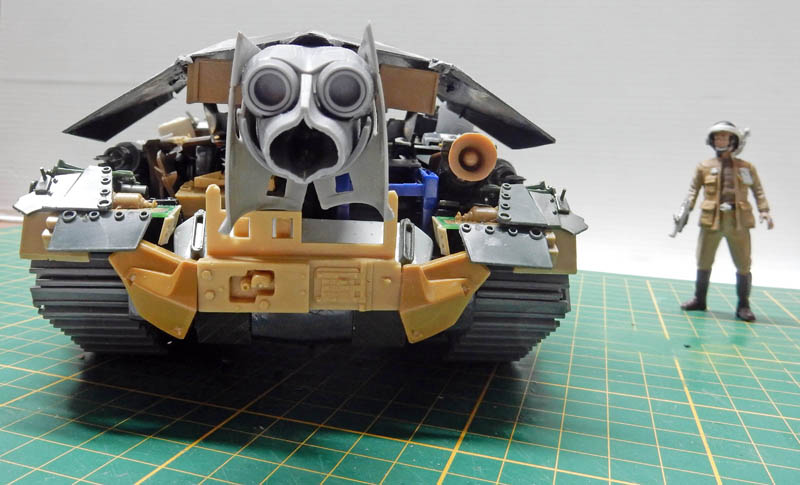
 Essais de positionnement...
Positioning tests...
 Ajout des détails sur la tourelle...
Details of the turret added...
 Extension des ailerons...
Fin extension...
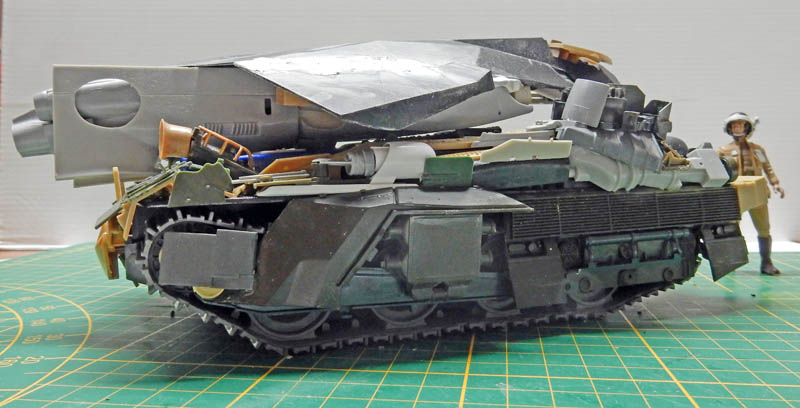
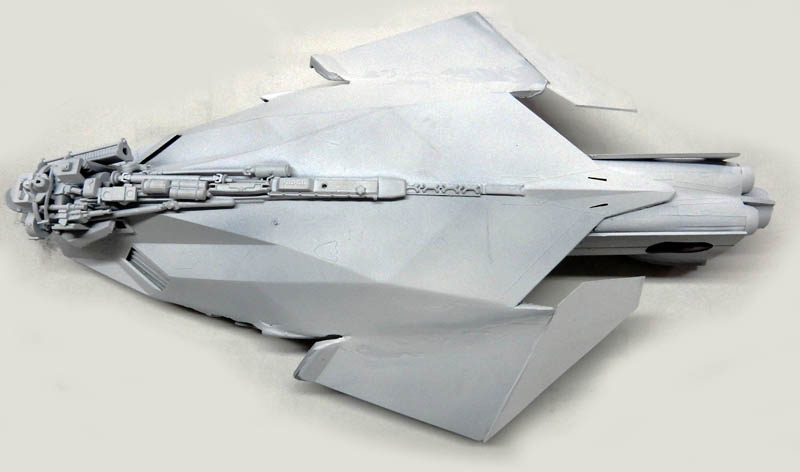
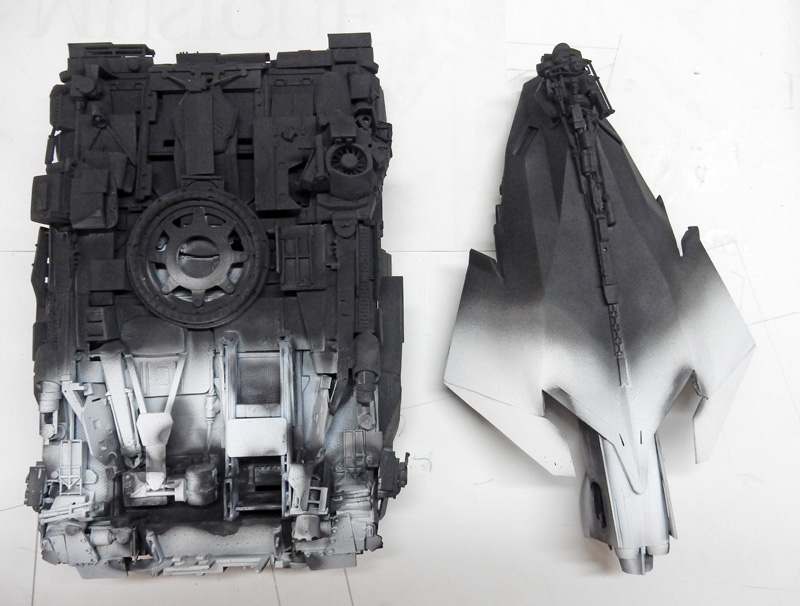
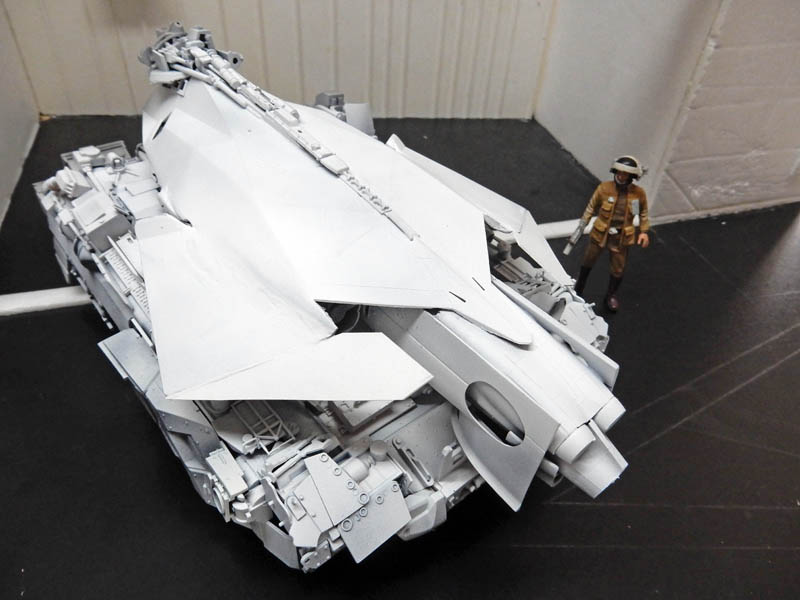 L'ensemble de la pièce reçoit une couche d'apprêt blanc. L'uniformité permet de voir si "tout se tient" et d'éventuels défauts ou "fautes de goût"...
The entire piece is given a coat of white primer. Uniformity allows us to see if "everything fits" and if there are any defects or "faults of taste"...
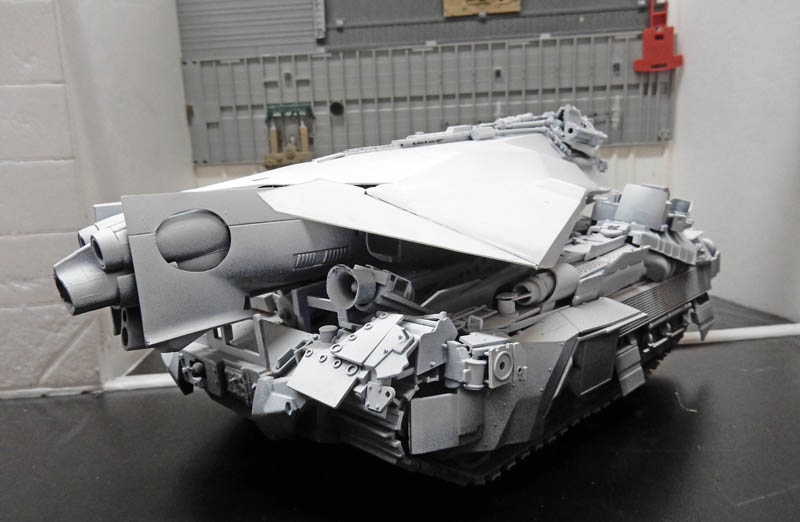 Le char est prêt pour sa peinture définitive...
The tank is ready for its final paint job...
Peinture du char
Painting
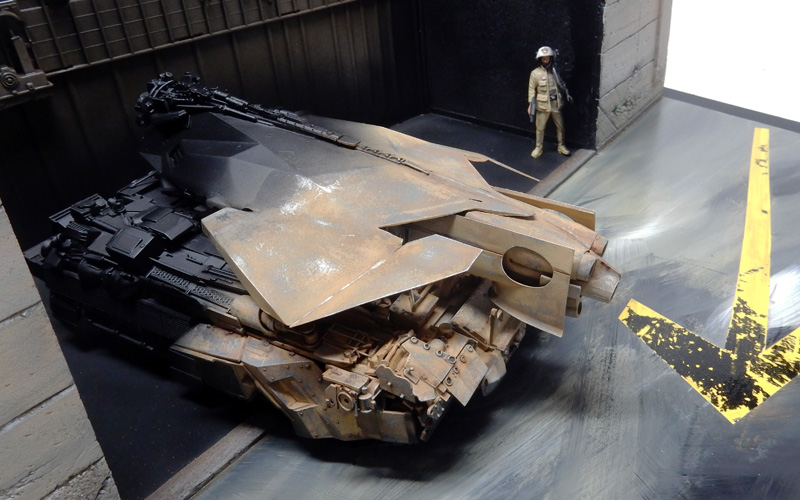
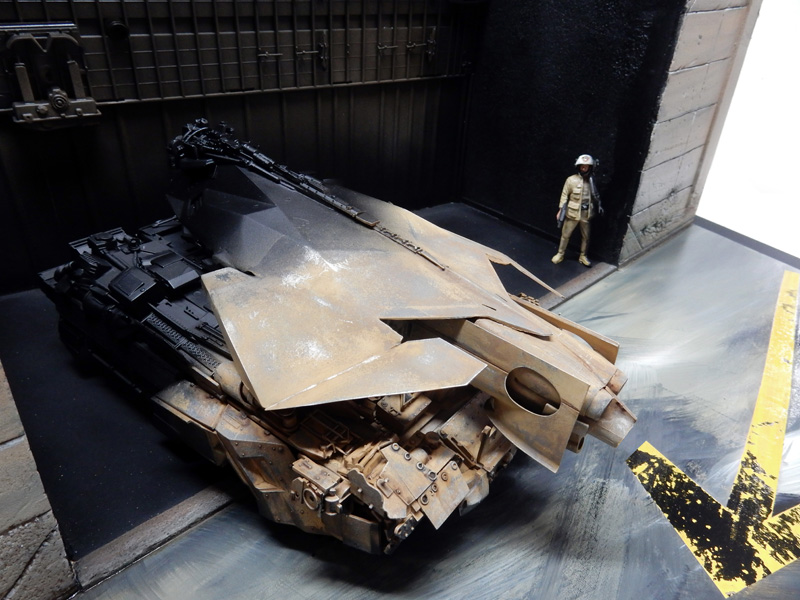
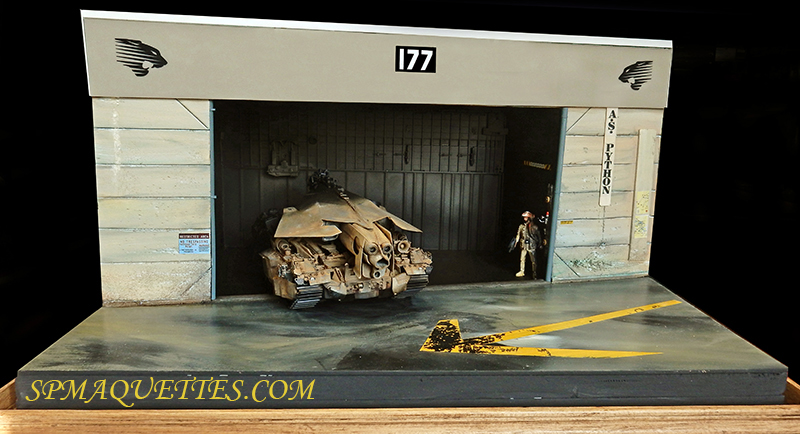
Le but de ce diorama n'est pas la construction mais l'éclairage qui tombe sur l'ensemble créant une ambiance intéressante...
The aim of this diorama is not the construction but the lighting that falls on the whole, creating an interesting atmosphere...
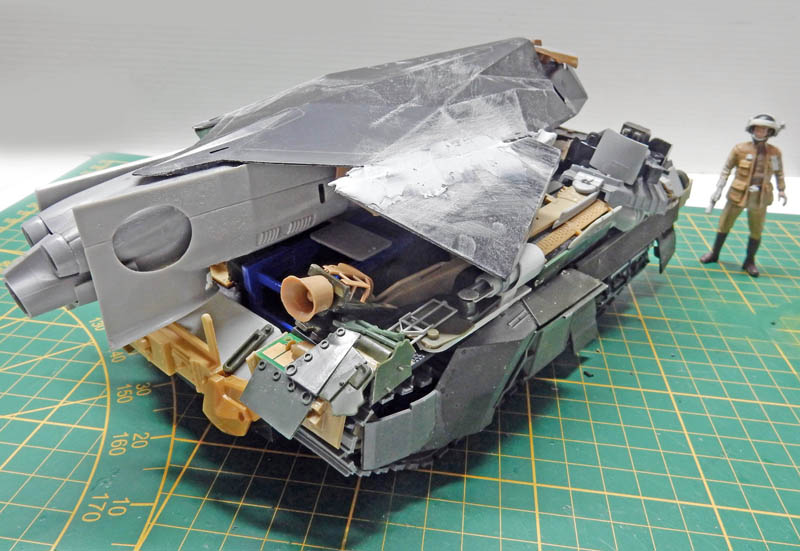
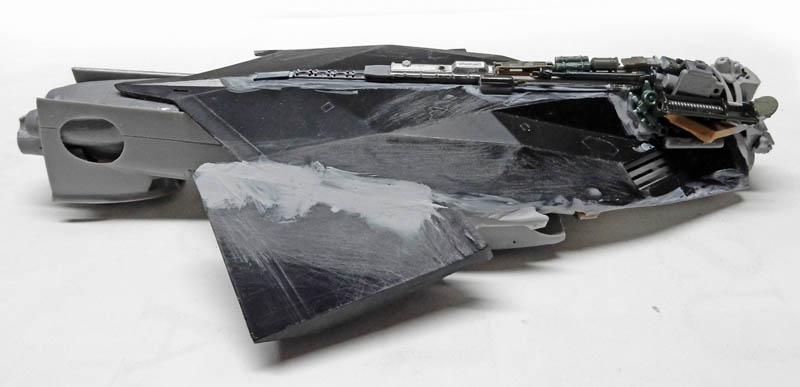
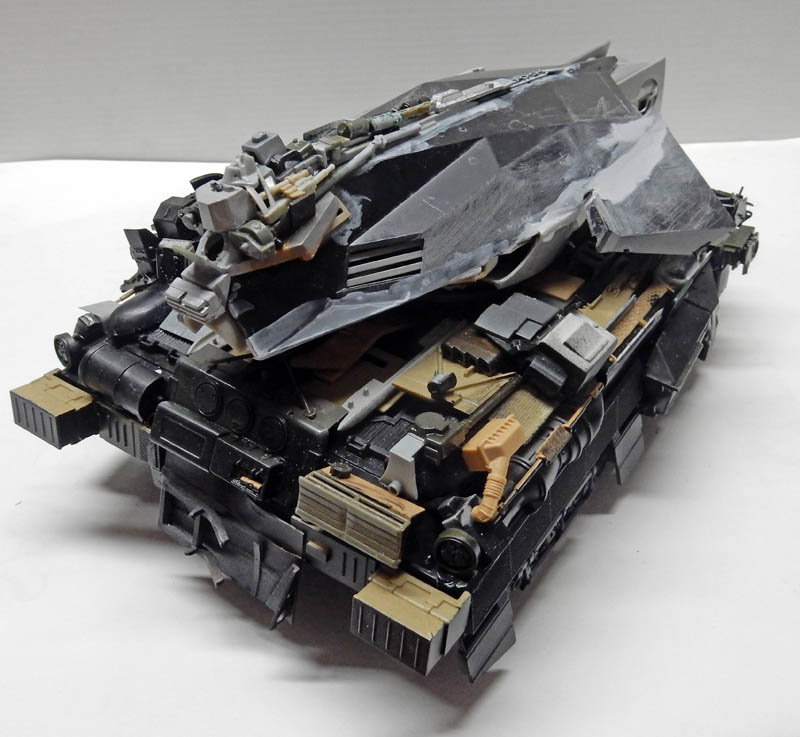
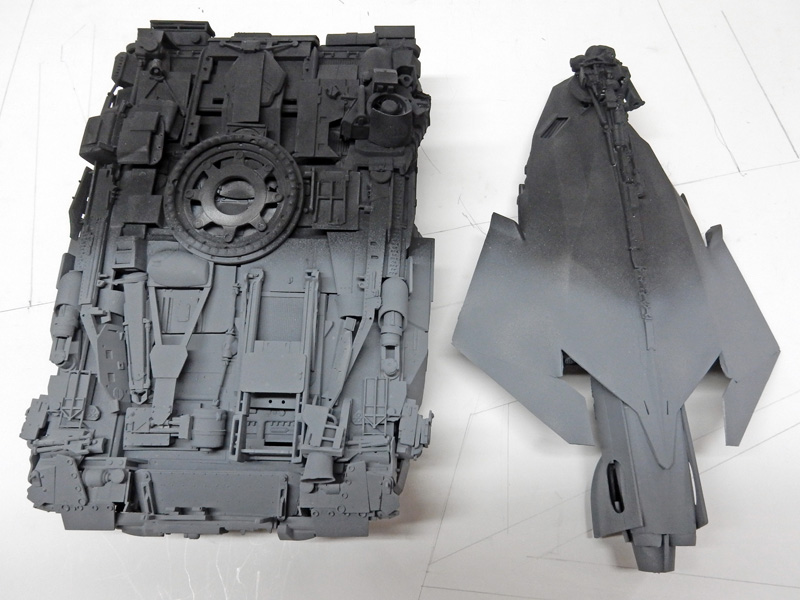
 Une partie du véhicule étant dans la pénombre, on débute par un noir mat Tamiya à l'aérographe sur une bonne partie de la pièce. Le medium employé est l'acrylique...
With part of the vehicle in semi-darkness, we started by airbrushing a large area with Tamiya matt black. The medium used is acrylic...
 L'avant reçoit un gris Tamiya XF53 neutral grey...
The front gets a Tamiya XF53 neutral grey...
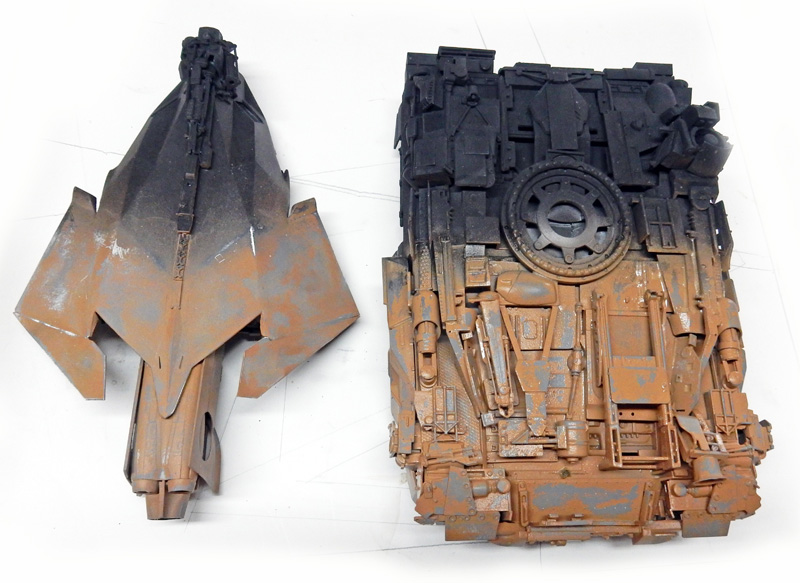 Puis Hobby Color 66. Là on pratique la technique de la laque à cheveux pour traiter l'effet d'usure - voir le tutoriel du Catalina ici...
Then Hobby Color 66. Here we use the hairspray technique to treat the wear effect - see the Catalina tutorial here...
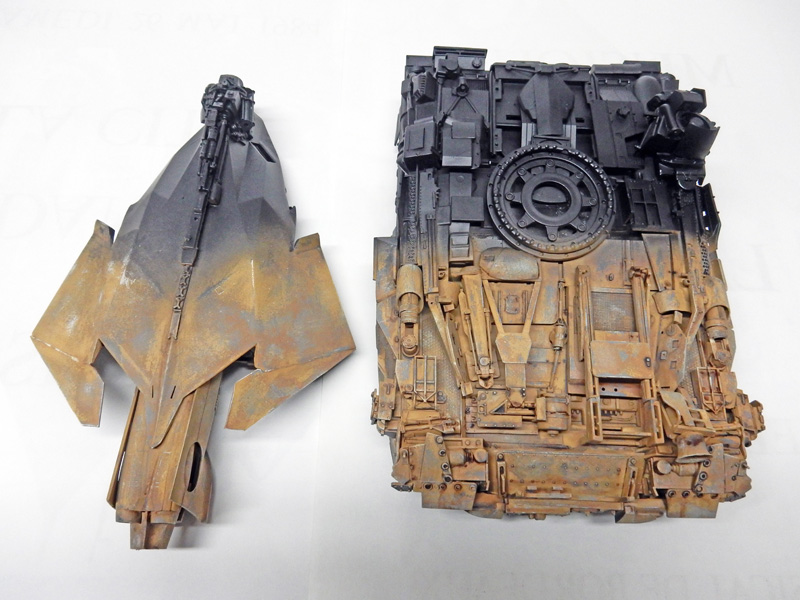 On termine avec un "drybrush" de Hobby Color RLM79 sandy brown, du Tamiya XF59 desert yellow et de l'Humbrol 71 à l'huile et du blanc. La partie noire reçoit délicatement sur le sommet un "drybrush" du gris de base...
We finish with a drybrush of Hobby Color RLM79 sandy brown, Tamiya XF59 desert yellow and Humbrol 71 in oil and white. The black part is delicately drybrushed with the base grey...
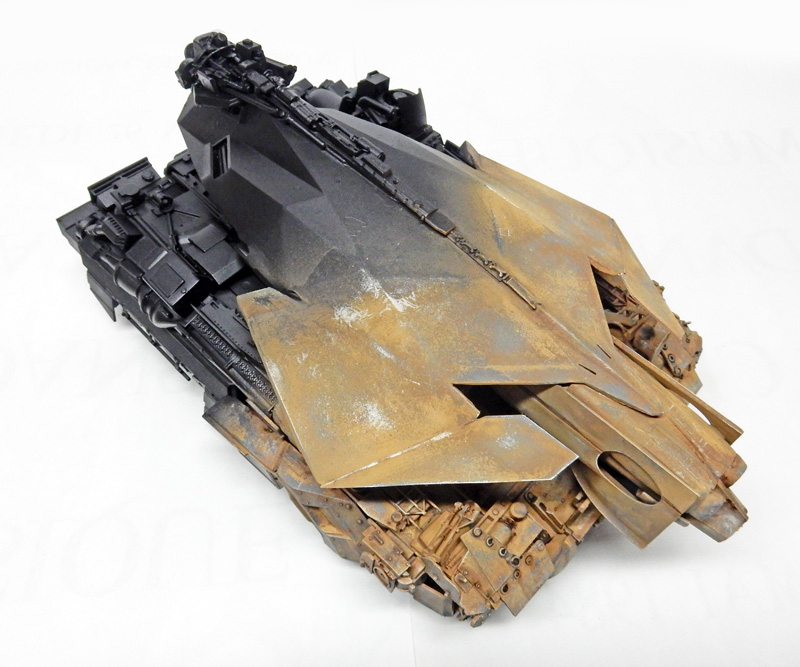
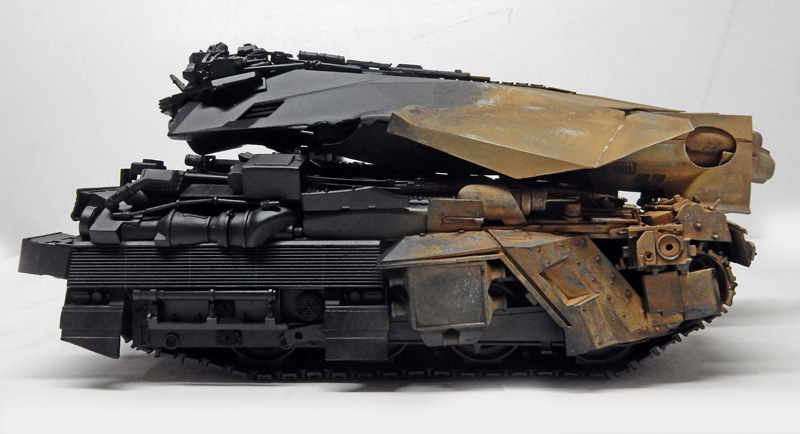 La mise en couleur de la pièce est terminée...
The painting of the room is now complete...
Le décor
The set
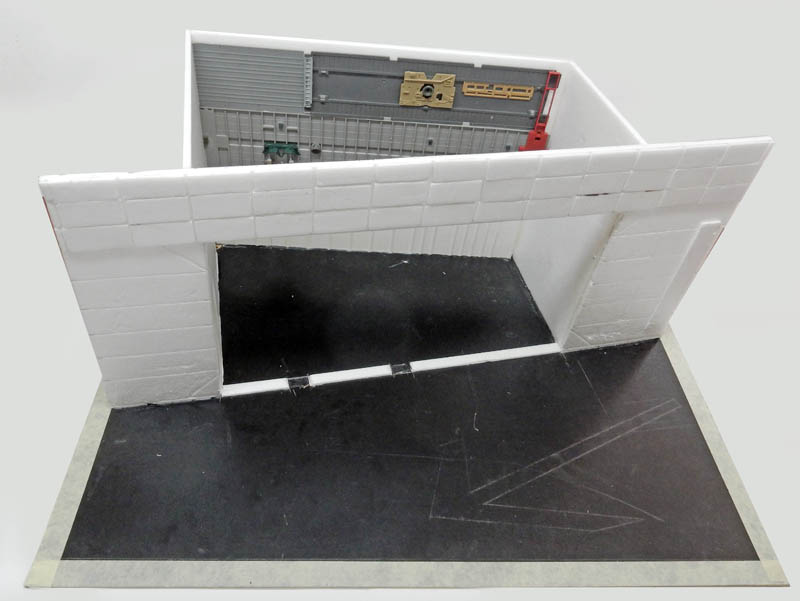 Isorel pour la base de 60cm x 40cm et plaques de polystyrène extrudé pour les murs...
Wood for the base and extruded polystyrene panels for the walls...
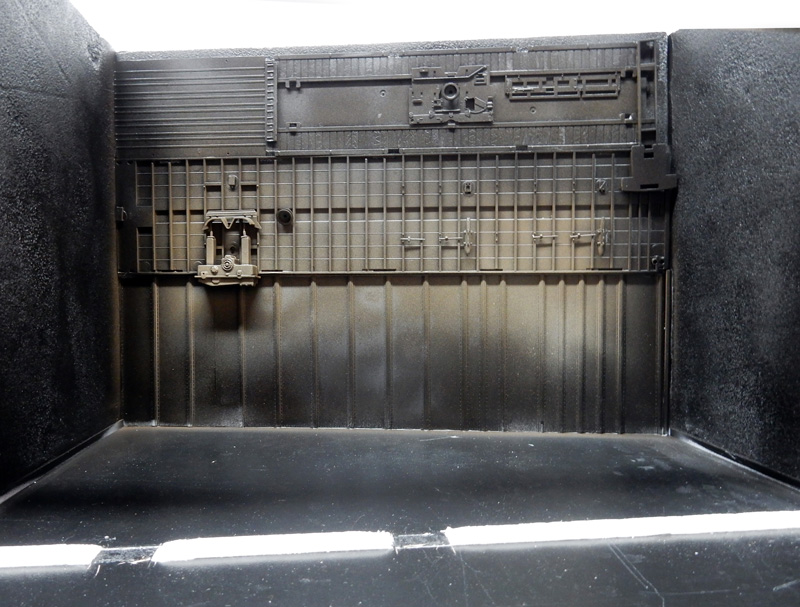
 Le mur du fond est détaillé à partir de la boîte à surplus et des dalles sont ajoutées à l'extérieur pour habiller le mur...
The back wall is detailed using the surplus box and tiles are added on the outside to dress the wall...
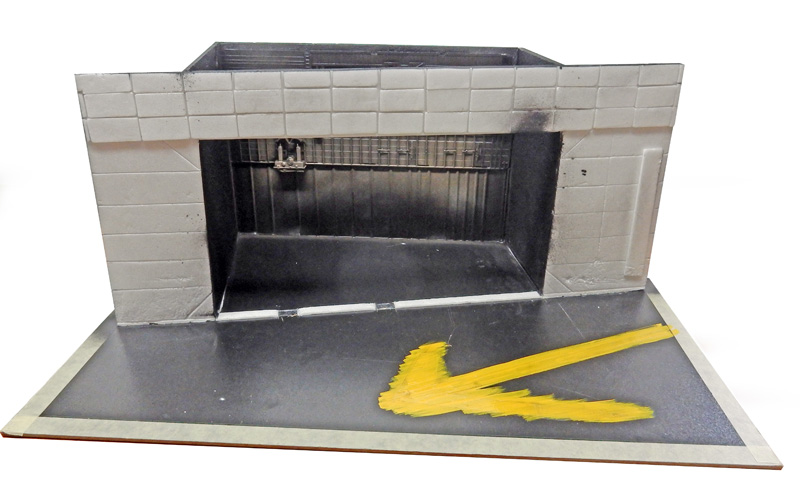 La flèche est tracée, peinte en jaune 69 Humbrol, et un film transparent (pochoir) est posé dessus...
A noter que l'on a gardé l'effet de perspective forcée pour le bâtiment et la flèche...
The arrow drawn, painted 69 Humbrol yellow, and a transparent film (stencil) is placed over it...
Note that we've kept the forced perspective effect for the building and the arrow...
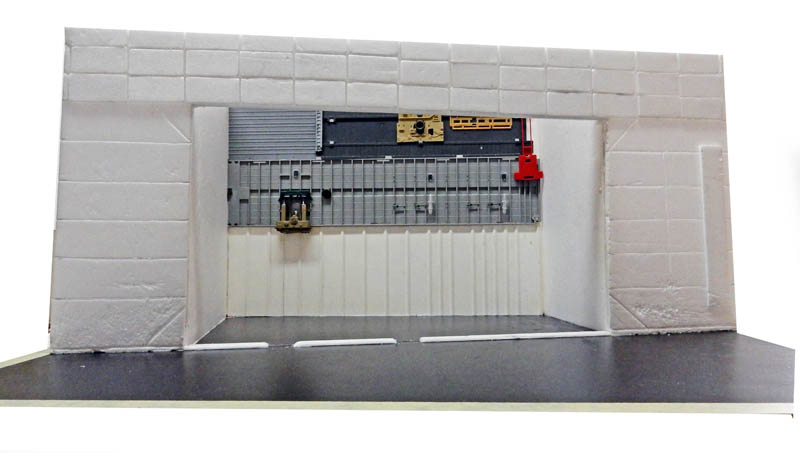
 On vaporise légèrement en halo du Tamiya XF59 desert yellow et du blanc sur le fond du mur...
We sprayed a light halo of Tamiya XF59 desert yellow and white on the background of the wall...
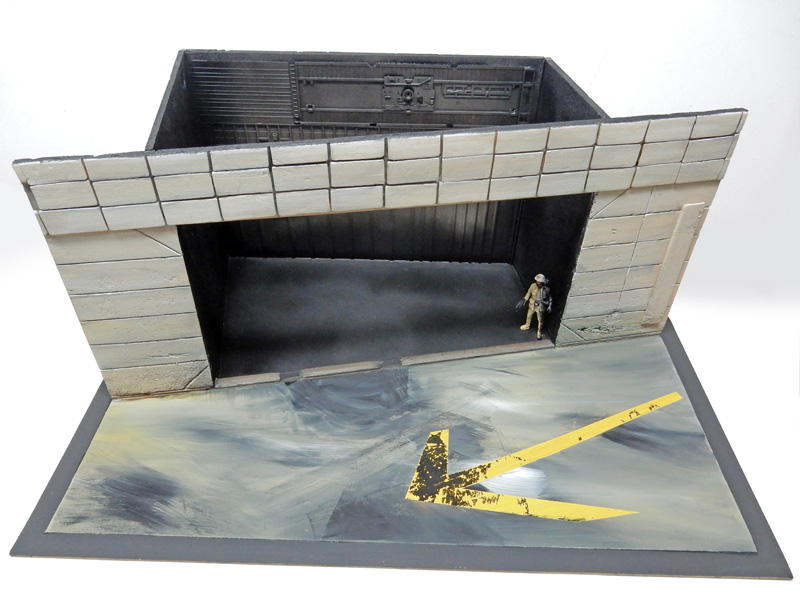 Le sol est peint à l'acrylique Liquitex au pinceau. Pour simuler le sol mouillé du dessin, on ajoute du vernis satiné au pinceau en insistant sur certains endroits...
The floor is painted with Liquitex acrylic by brush. To simulate the wet floor in the drawing, satin varnish is added with a brush, focusing on certain areas...
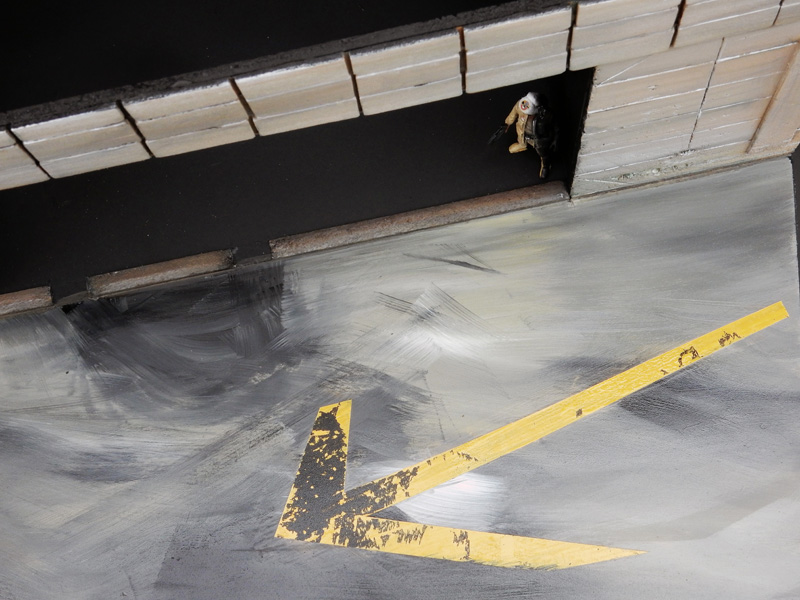 Le masque de la flèche est ôté, arrachant une partie de la peinture jaune (l'isorel dessous étant brillant et glacé) qui donne un effet d'usure intéressant...
The mask on the arrow is removed, tearing off some of the yellow paint (the isorel underneath is shiny and glossy) which gives an interesting worn effect...
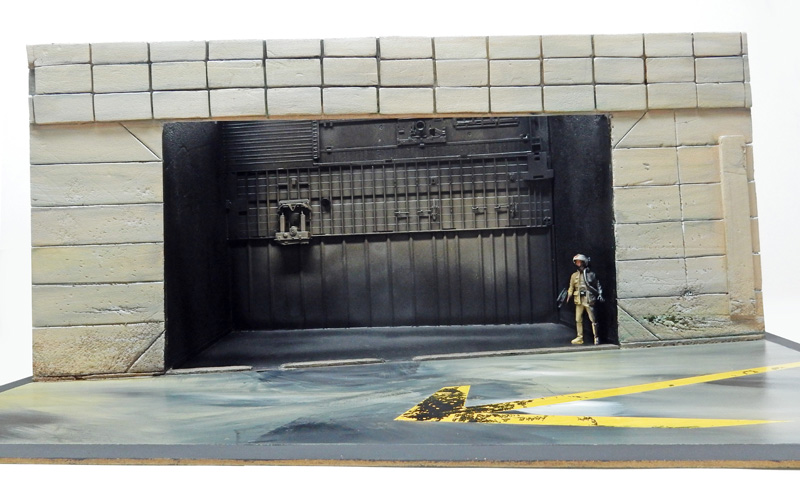 Une vue montrant avec le recul l'effet de halo au fond du bâtiment...
A view showing the halo effect at the back of the building...
|
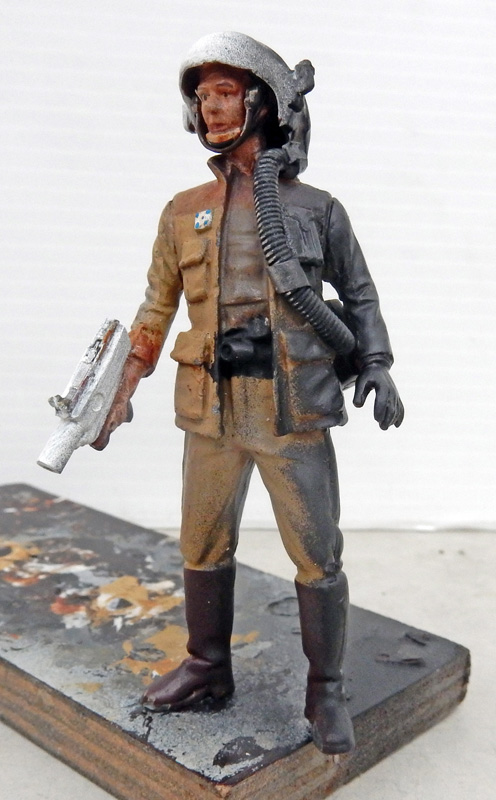
La figurine est un "Star-Wars" en plomb, repeinte et redétaillée. La partie droite simule la portion dans l'ombre du bâtiment...
The figure is a lead "Star-Wars", repainted and resized. |
 |
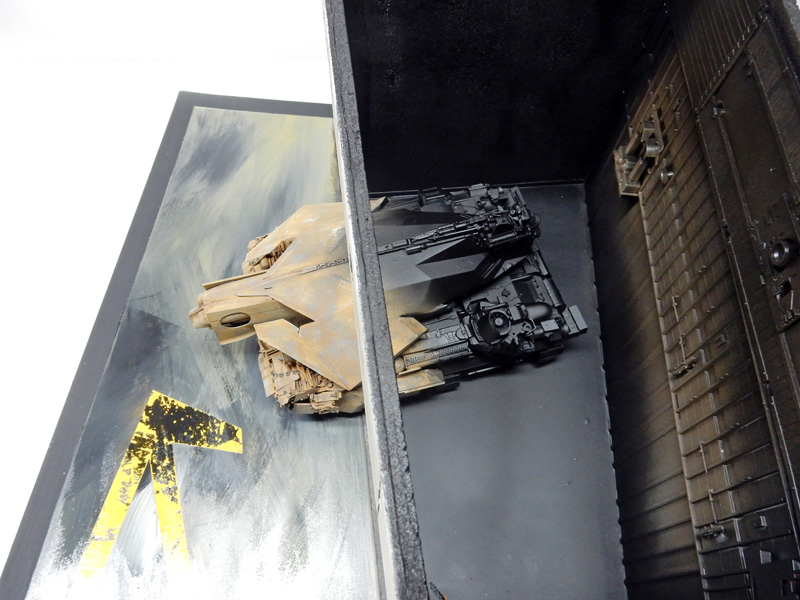 Une vue aérienne montrant la transition des couleurs. Un plafond noir viendra compléter l'ensemble...
An aerial view showing the colour transition. A black ceiling completes the look...
D'autres photos ? C'est par ici !
Téléchargez le tutoriel en PDF